by
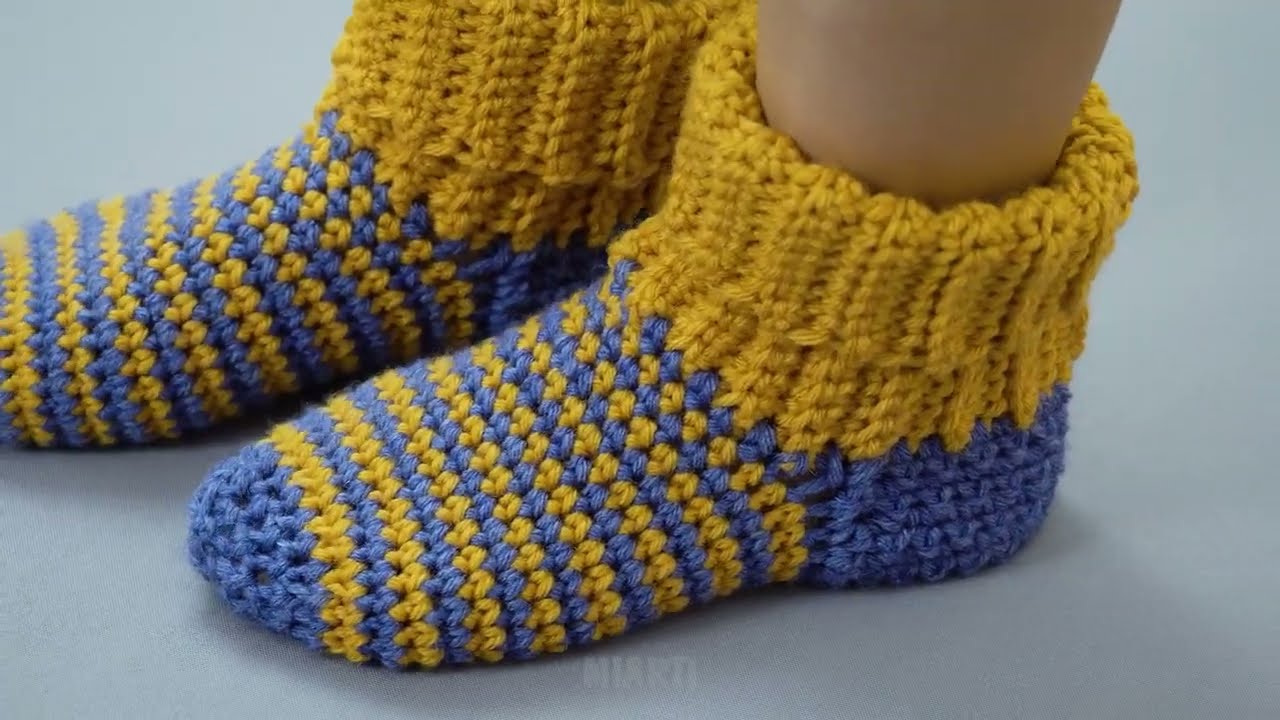
by Crocheting your own socks might sound like a challenge, but what if we told you that you could whip up a cozy pair in just a few hours — with zero complicated shaping? In this tutorial, you’ll learn how to make the easiest and fastest crochet socks, perfect for beginners who want quick results and warm feet.
No fiddly heel turns. No confusing stitch patterns. Just a simple, flat construction that’s seamed to fit your foot comfortably.
Whether you want warm house socks, thoughtful handmade gifts, or a relaxing project, these crochet socks will become your new go-to.
What You’ll Need:
| Item | Details |
|---|---|
| Yarn | Worsted weight (Category 4) yarn – approx. 150g per pair |
| Hook | 5 mm (H-8) crochet hook |
| Scissors | For cutting yarn |
| Tapestry needle | For seaming and weaving in ends |
| Stitch marker | Optional (for keeping track of rows) |
Yarn Tip: Use a soft acrylic, wool blend, or 100% wool yarn for warmth. Avoid cotton for socks — it lacks elasticity.
Sock Sizing Guide
This pattern is easy to customize to any foot size.
| Foot Length | Crochet Foot Panel Length |
|---|---|
| Small (US 5–6) | 8″ |
| Medium (US 7–9) | 9″ |
| Large (US 10–12) | 10″ |
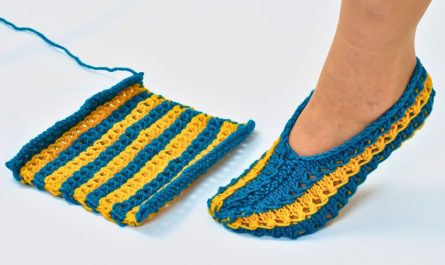
You’ll be making a flat rectangular panel that wraps around your foot and is sewn into a sock shape.
Stitches Used (US Terms)
-
ch – chain
-
sc – single crochet
-
hdc – half double crochet (main stitch used)
-
sl st – slip stitch
-
BLO – back loops only (for ribbing and stretch)
Pattern Overview
We’ll crochet one rectangle per sock, fold it, seam it, and close up the toe. It’s fast, minimal, and perfect for relaxing.
Construction:
-
Ribbed cuff (optional)
-
Foot panel
-
Toe seam
-
Heel seam
✨ Let’s Get Started!
Step 1: Crochet the Ribbed Cuff
Optional, but gives a stretchy and comfy ankle.
Row 1:
Ch 11.
Sc in second ch from hook and across. (10 sc)
Ch 1, turn.
Row 2–26: (or until it fits around your ankle snugly)
Sc in back loops only (BLO) across.
Ch 1, turn.
When the ribbed strip fits around your ankle (stretch it slightly), fold the short ends together and sl st them to form a tube.
Don’t cut the yarn — you’ll now work in rounds along the edge.
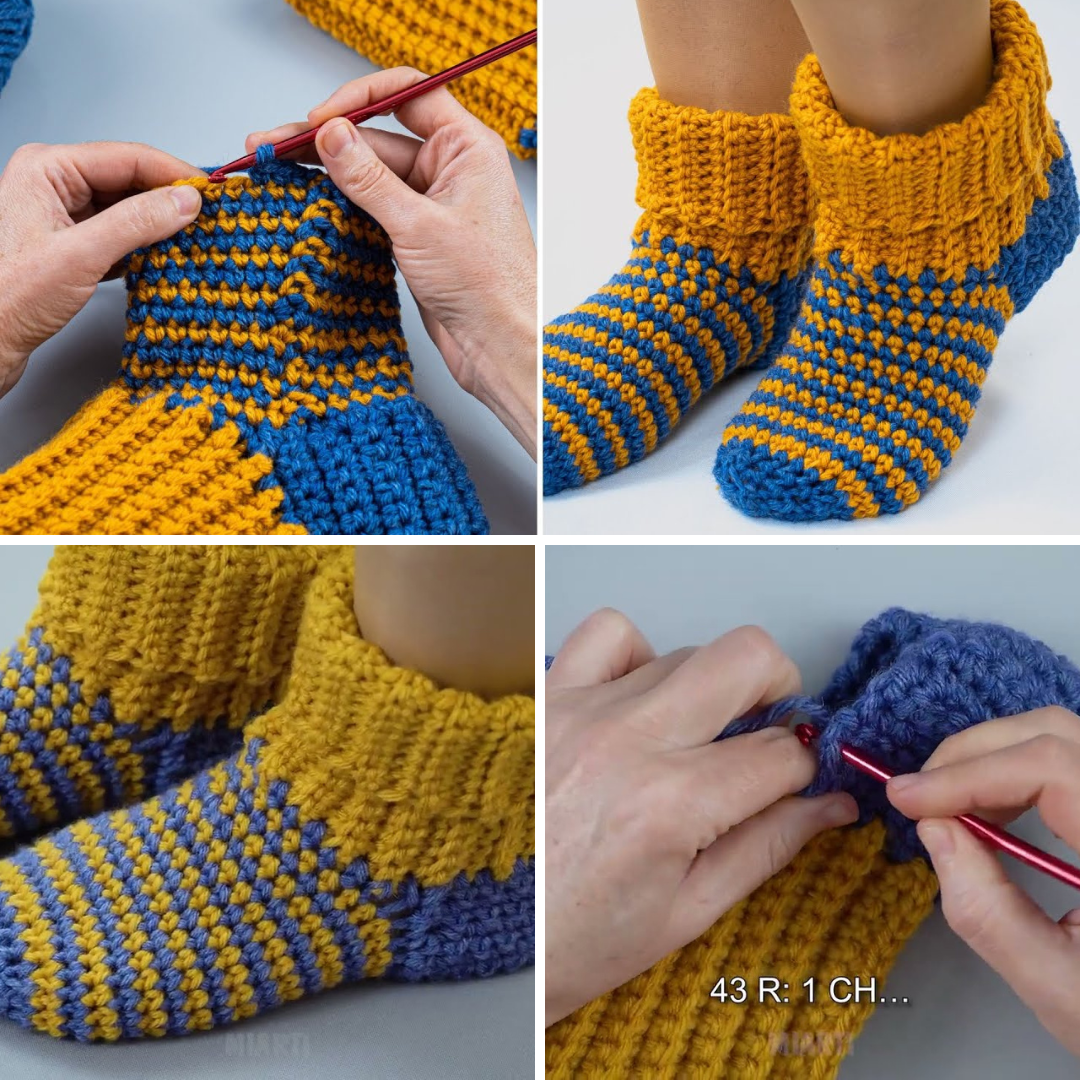
Step 2: Create the Foot Panel
Now we’ll work along the edge of the ribbed cuff, building the sock’s length.
Round 1:
Ch 1. Evenly hdc around the cuff edge. (You should get approx. 30–36 hdc depending on your cuff length.)
Join with sl st.
Rounds 2–12:
Ch 1, hdc in each stitch around. Join.
(Adjust the number of rounds depending on your foot length, stopping about 2 inches before your toes.)
Try the sock on as you go! The tube should cover your foot minus the toe section.
Step 3: Close the Toe
Time to shape the toe with simple seaming — no complicated decreases.
Option 1 – Whipstitch Seam:
-
Fasten off with a long tail.
-
Use a tapestry needle to fold the end of the sock flat and whipstitch the toe closed.
Option 2 – Drawstring Close:
-
Weave the yarn tail in and out around the last row.
-
Pull tight like a drawstring to close, then secure with a knot and weave in the end.
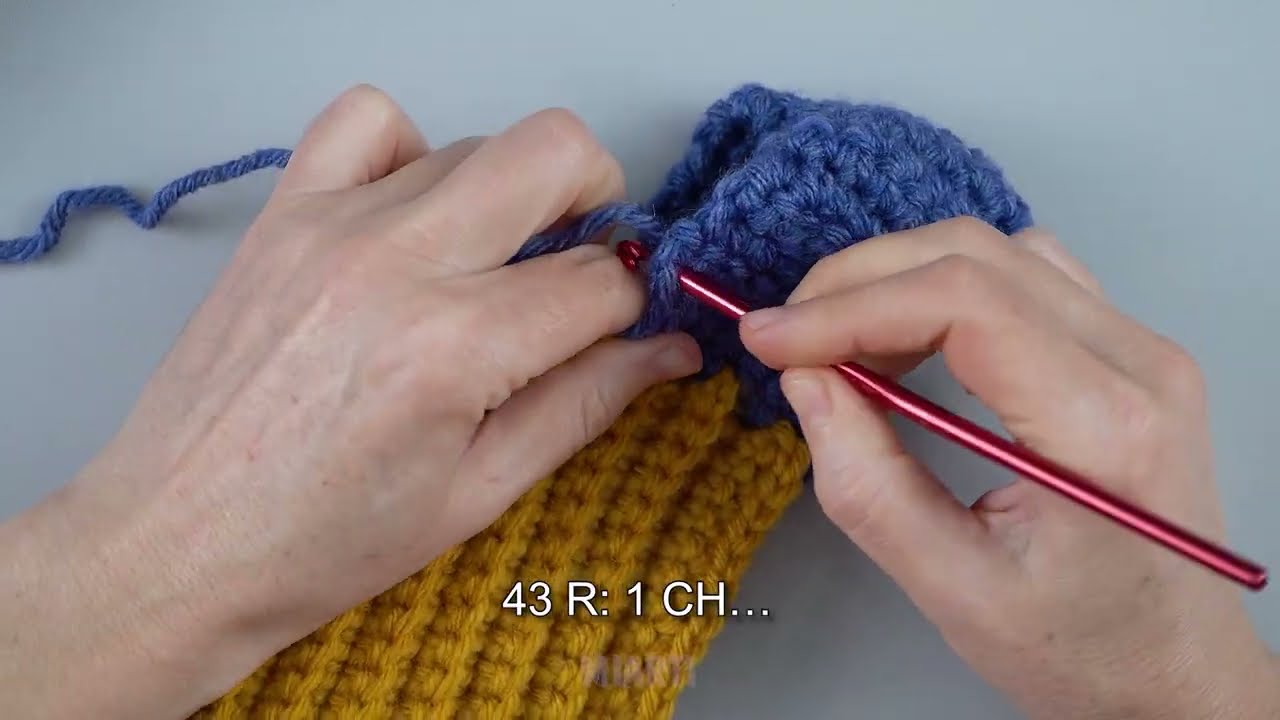
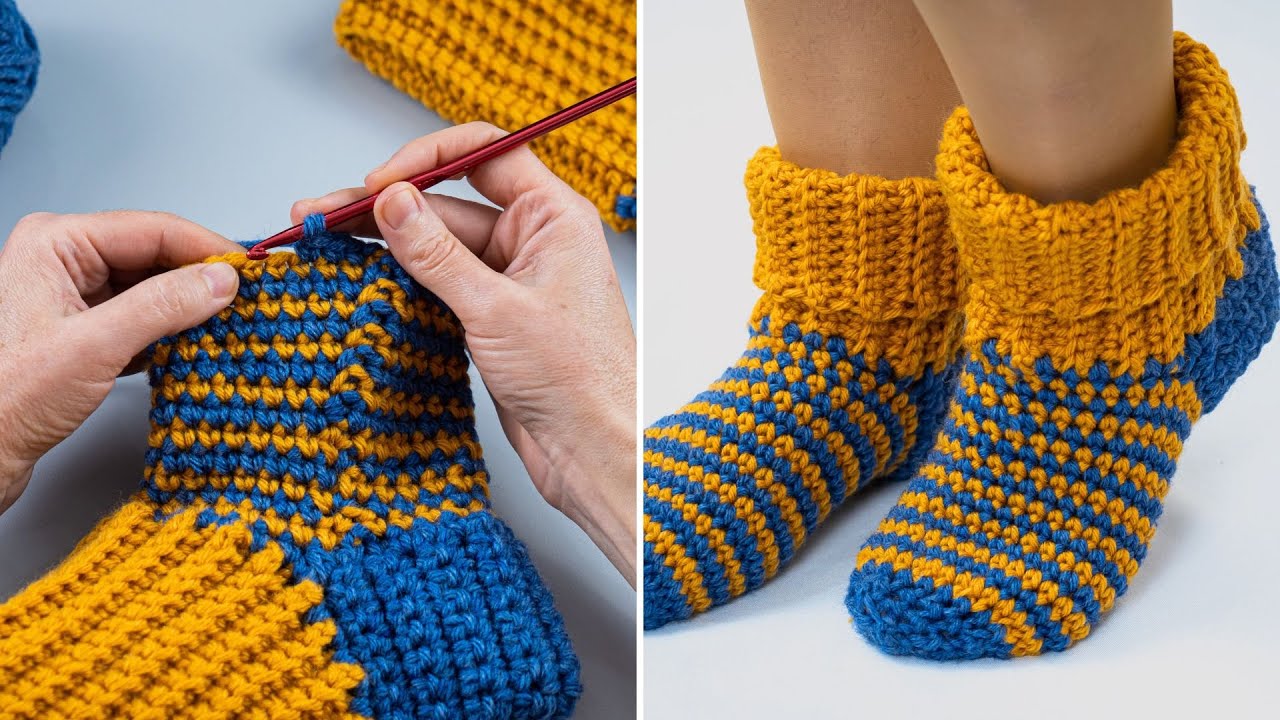
Step 4: Seam the Heel
From the open cuff, fold the sock flat and seam up the back using slip stitch or whipstitch, leaving the ribbed cuff open.
Fasten off, weave in all ends.
Repeat for the second sock.
Finishing Touches
-
Block the socks lightly with steam or a damp towel for smoother shape.
-
Add non-slip paint or puff fabric paint to the soles if using as house socks.
-
Optional: Add a scalloped or crab stitch edging to the top for flair.
Sock Customization Ideas
| Style | Add-ons |
|---|---|
| Color Block | Use different yarn colors for the cuff, body, and toe |
| Stripe It Up | Change color every 2–3 rows for a funky striped sock |
| Textured | Alternate hdc with puff stitches or bobbles |
| Ankle or Crew Length | Make a longer cuff for taller socks |
| Slipper Version | Use bulky yarn and a larger hook for warm slipper socks |
⏱ Time Estimate:
| Skill Level | Per Pair |
|---|---|
| Beginner | 3–4 hours |
| Intermediate | 2–2.5 hours |
| Speed Crocheter | 1–2 hours |
This is the perfect weekend or one-sitting project!
Final Thoughts
Crocheting socks doesn’t have to be intimidating or time-consuming. This flat and fast method is the easiest way to dip your toes (literally!) into handmade sock making. With basic stitches and no tricky shaping, you’ll have a cozy pair whipped up in no time.
These socks make fantastic holiday gifts, stash-busting projects, or self-care treats — and once you’ve made one pair, you’ll want to make them for everyone you know.
So grab your favorite yarn and start hooking up the warmest, fastest socks you’ll ever make!
Video Tutorial: