by
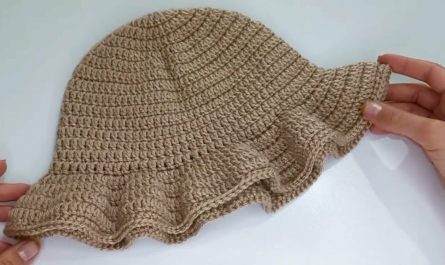
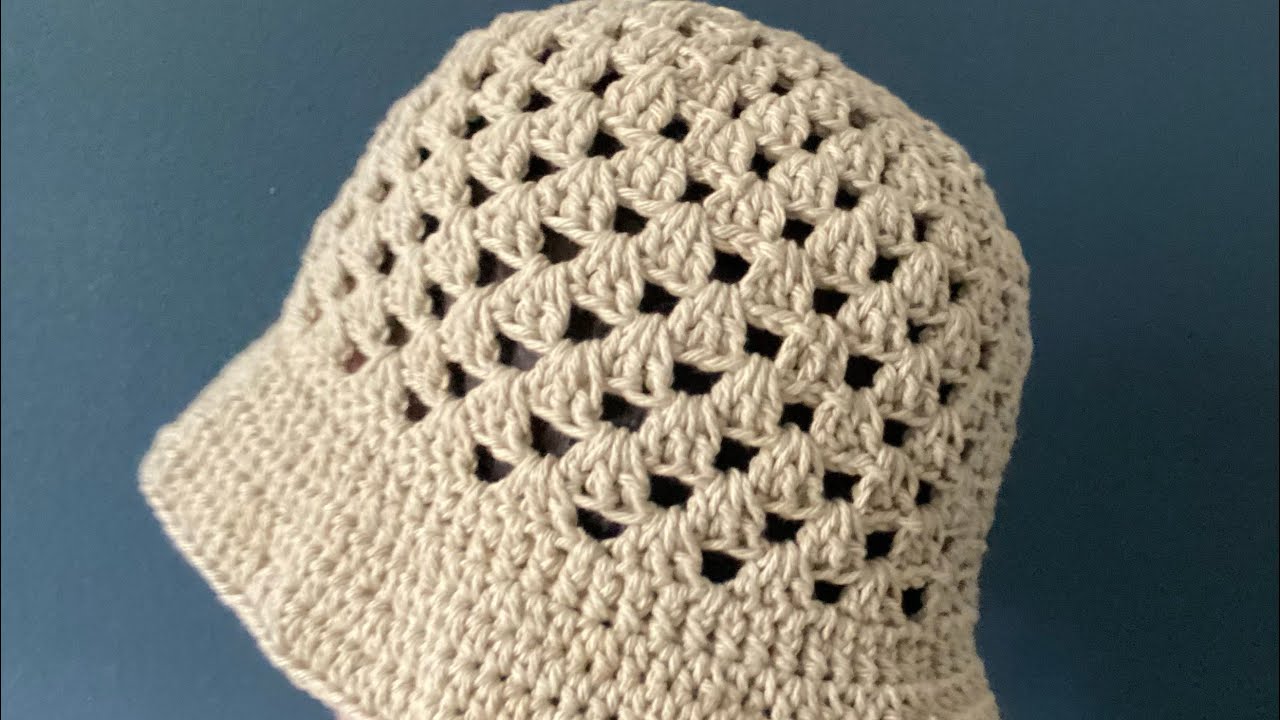
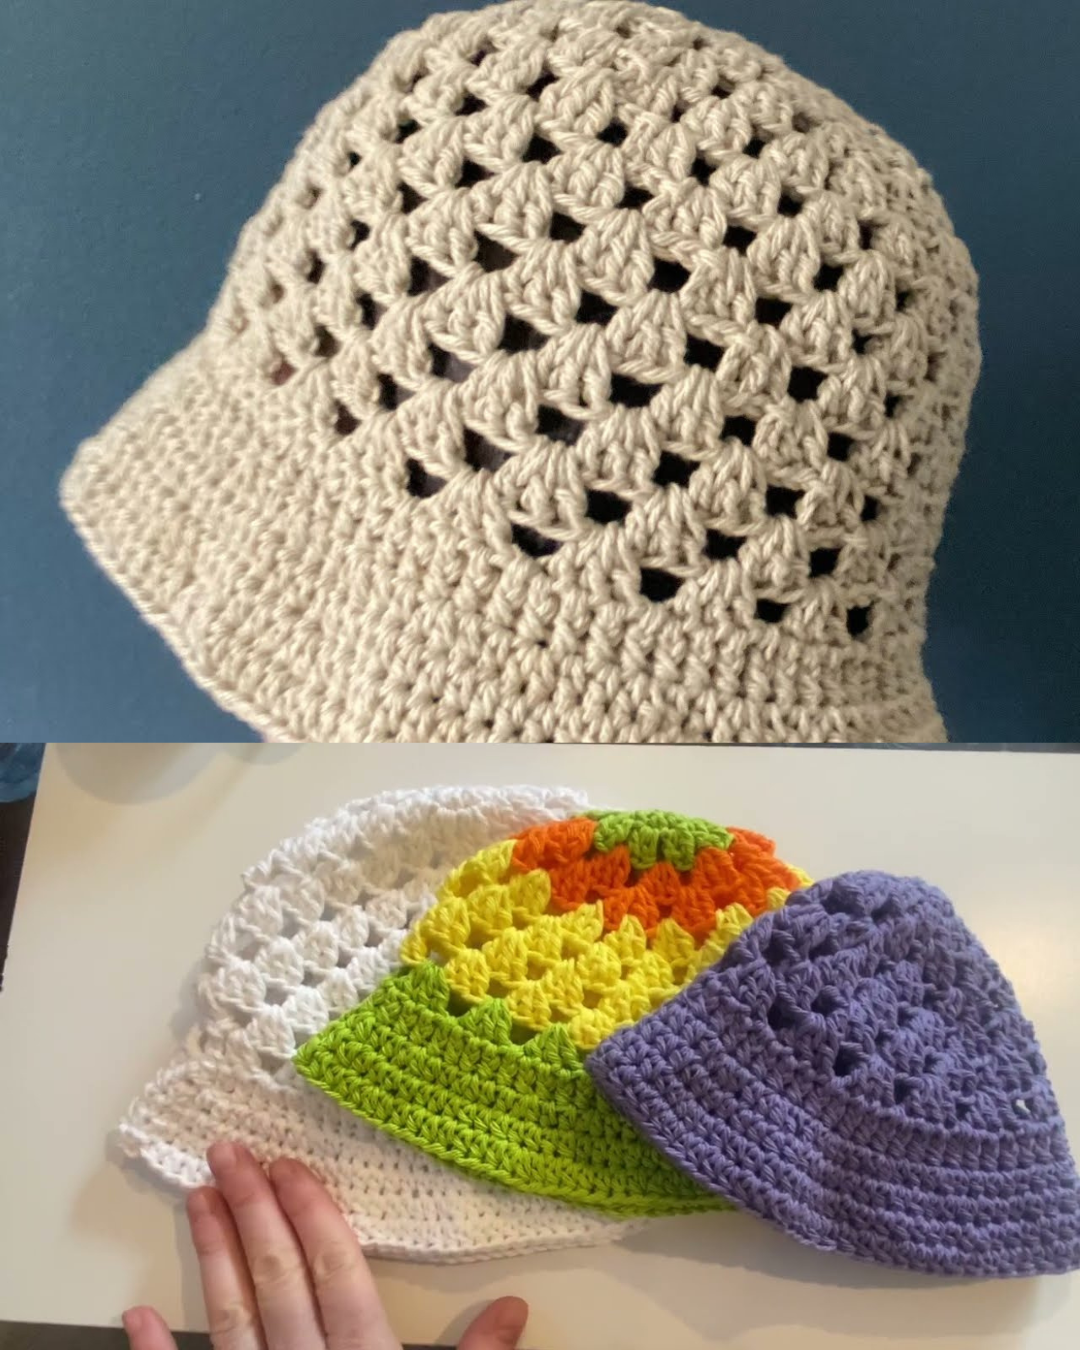
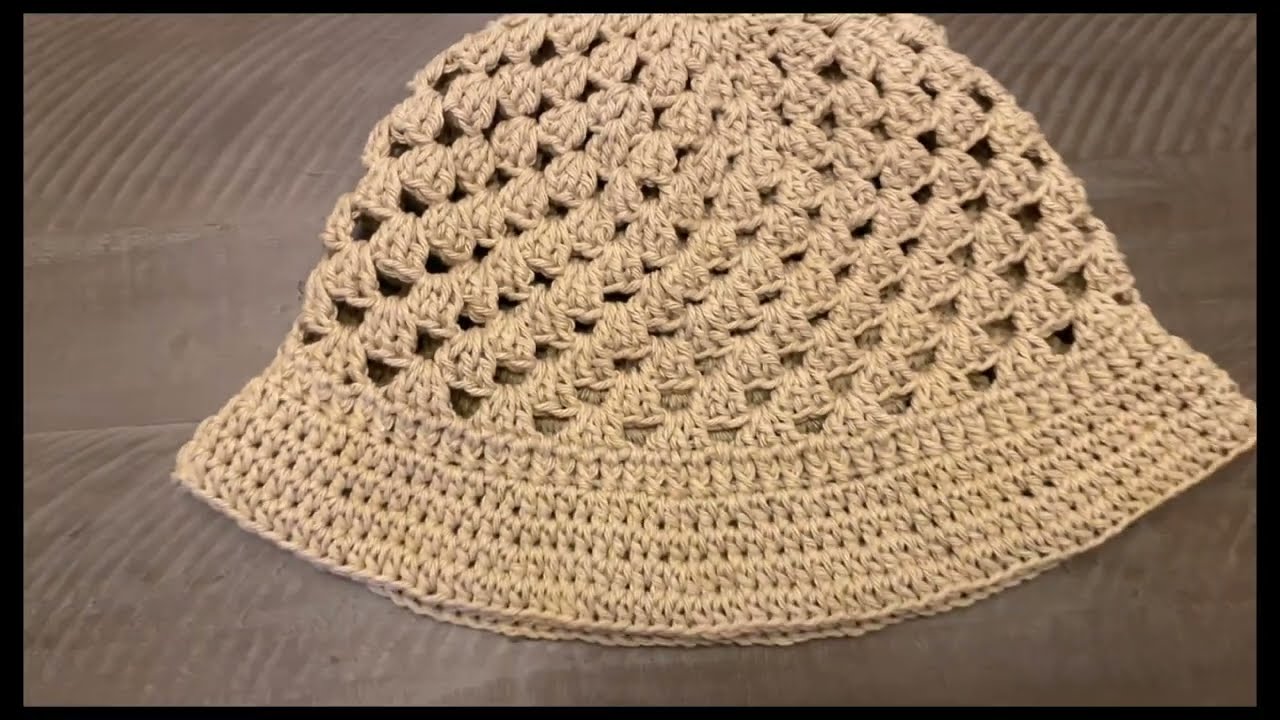
by Crocheted bucket hats are stylish, lightweight, and a fun way to personalize your wardrobe. Whether you’re heading to a festival, the beach, or just want a DIY fashion statement, this guide will walk you through creating your own bucket hat from scratch.
Materials Needed
Before you begin, gather the following supplies:
Yarn
-
Worsted weight (medium/4) cotton yarn – Cotton is breathable and holds structure well, ideal for hats.
-
Recommended brands: Lily Sugar’n Cream, Paintbox Cotton Aran, or any sturdy worsted cotton yarn.
-
Approx. 150–200 yards for an adult size hat.
Hook
-
5.0 mm (H-8) crochet hook (check yarn label for guidance)
Other Supplies
-
Yarn needle (for weaving in ends)
-
Stitch markers (optional but helpful)
-
Scissors
-
Measuring tape (optional for sizing)
Finished Size
This pattern will fit most adults:
-
Crown diameter: 6.5 in (16.5 cm)
-
Hat height: ~7 in (18 cm)
-
Brim width: ~2 in (5 cm)
You can adjust size by adding/removing rounds or switching hook size.
Stitches & Abbreviations (US Terms)
| Abbreviation | Stitch Name |
|---|---|
| ch | chain |
| sl st | slip stitch |
| sc | single crochet |
| hdc | half double crochet |
| dc | double crochet |
| st(s) | stitch(es) |
| inc | increase (2 sts in 1) |
Construction Overview
-
Crown – Start at the top and work in rounds to form a flat circle.
-
Body – Work even rounds without increasing to create the sides.
-
Brim – Gradually increase to create a slight downward curve.
Step-by-Step Instructions
Step 1: Crochet the Crown (Top Circle)
Start with a magic ring or chain 4 and sl st to form a ring.
Round 1:
Ch 2 (counts as dc), 11 dc into ring. Join with sl st to top of ch-2. (12 sts)
Round 2:
Ch 2, 2 dc in each st around. Join. (24 sts)
Round 3:
Ch 2, 1 dc in next st, 2 dc in next st. Repeat around. Join. (36 sts)
Round 4:
Ch 2, 1 dc in next 2 sts, 2 dc in next st. Repeat around. Join. (48 sts)
Round 5:
Ch 2, 1 dc in next 3 sts, 2 dc in next st. Repeat around. Join. (60 sts)
Round 6:
Ch 2, 1 dc in next 4 sts, 2 dc in next st. Repeat around. Join. (72 sts)
Optional: Keep increasing to achieve a larger hat or stop earlier for a smaller size.

Step 2: Crochet the Body (Hat Sides)
Work even rounds without increasing.
Rounds 7–13:
Ch 2, 1 dc in each st around. Join. (72 sts)
Tip: Adjust the number of rounds depending on how deep you want the hat to be.
Step 3: Crochet the Brim
Start increasing again to form the brim.
Round 14:
Ch 2, 1 dc in next 5 sts, 2 dc in next st. Repeat around. Join. (84 sts)
Round 15:
Ch 2, 1 dc in next 6 sts, 2 dc in next st. Repeat around. Join. (96 sts)
Round 16:
Ch 2, 1 dc in next 7 sts, 2 dc in next st. Repeat around. Join. (108 sts)
Round 17:
Ch 1, sc in each st around for structure. Join.
Optional: Add 1–2 more sc rounds for a wider brim.

✂️ Finishing
-
Fasten off and weave in all loose ends with a yarn needle.
-
Gently block your hat if needed (light steam blocking works best for cotton).
Customization Tips
-
Colors: Use multiple colors for stripes, color blocking, or ombré effects.
-
Yarn type: For summer, stick with cotton. For colder seasons, try wool or acrylic blends.
-
Textures: Swap dc for hdc or sc for a denser fabric.
-
Embellishments: Add embroidered flowers, a chin strap, or buttons for extra flair.
Care Instructions
Most cotton yarns are machine washable, but to maintain shape:
-
Hand wash in cold water
-
Reshape and lay flat to dry
Final Thoughts
Crocheting a bucket hat is a satisfying and relatively quick project suitable for beginners who know basic stitches. With just a few hours, some yarn, and your creativity, you’ll have a trendy, handmade accessory perfect for any season.
Whether you’re making one for yourself or gifting it, each stitch tells a story — so happy hooking!
Video tutorial: