 by
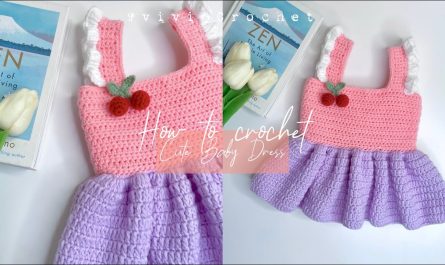
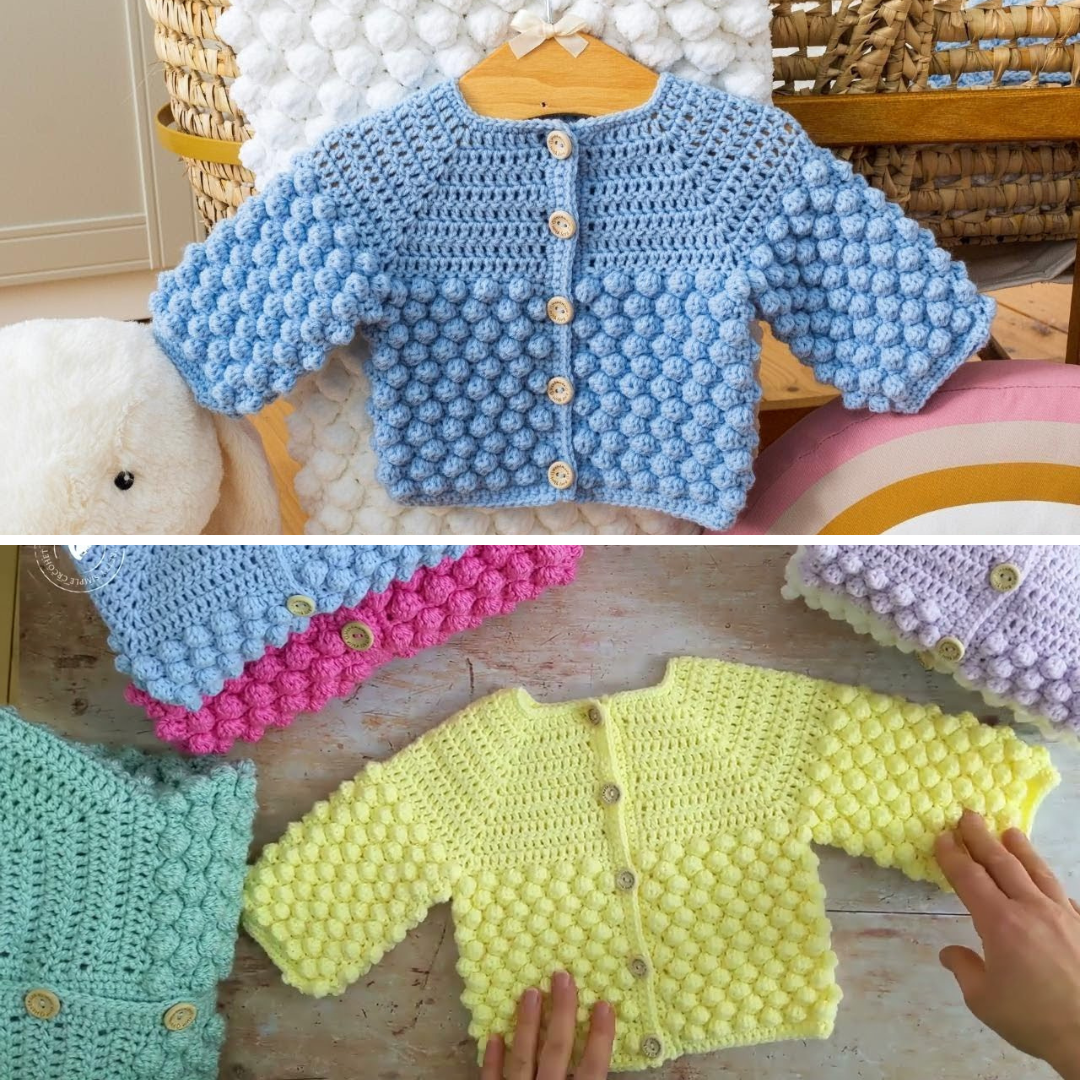
by Looking for a handmade gift that’s as cozy as it is cute? This Bobble Stitch Crochet Baby Cardigan is the perfect project! With its fun texture and soft feel, the bobble stitch adds just the right touch of charm and warmth. Whether you’re crafting for a newborn or making a thoughtful baby shower gift, this step-by-step tutorial will guide you through creating a super cute and cuddly cardigan.
Why Choose the Bobble Stitch?
The bobble stitch creates a beautifully textured, 3D effect that looks playful and soft—perfect for baby garments! It adds visual interest and a touch of whimsy, while still keeping the cardigan functional and warm.
What You’ll Need
Yarn
-
Worsted weight yarn (Category 4)
-
Soft acrylic or cotton blends recommended
-
Approx. 500 yards (for 0–6 months size)
-
Choose a baby-safe yarn: washable, soft, and non-irritating
-
Tools
-
Crochet hook: Size H/8 (5.0 mm) or as needed for gauge
-
Stitch markers (optional, but helpful for raglan shaping)
-
Yarn needle
-
Scissors
-
Buttons: 3 to 5 small baby-safe buttons (½” or smaller)
-
Measuring tape
Sizing Guide
This pattern can be adapted to various sizes (0–12 months) by adjusting the starting chain and number of rows. Below is a general guide:
| Size | Chest Circumference | Yarn Needed |
|---|---|---|
| 0–3 months | 16″ (40 cm) | 400 yds |
| 3–6 months | 18″ (45 cm) | 500 yds |
| 6–12 months | 20″ (50 cm) | 600 yds |
Stitch Abbreviations (US Terms)
-
ch – chain
-
sc – single crochet
-
hdc – half double crochet
-
dc – double crochet
-
bo – bobble stitch (see below)
-
sl st – slip stitch
-
st(s) – stitch(es)
-
inc – increase
-
dec – decrease
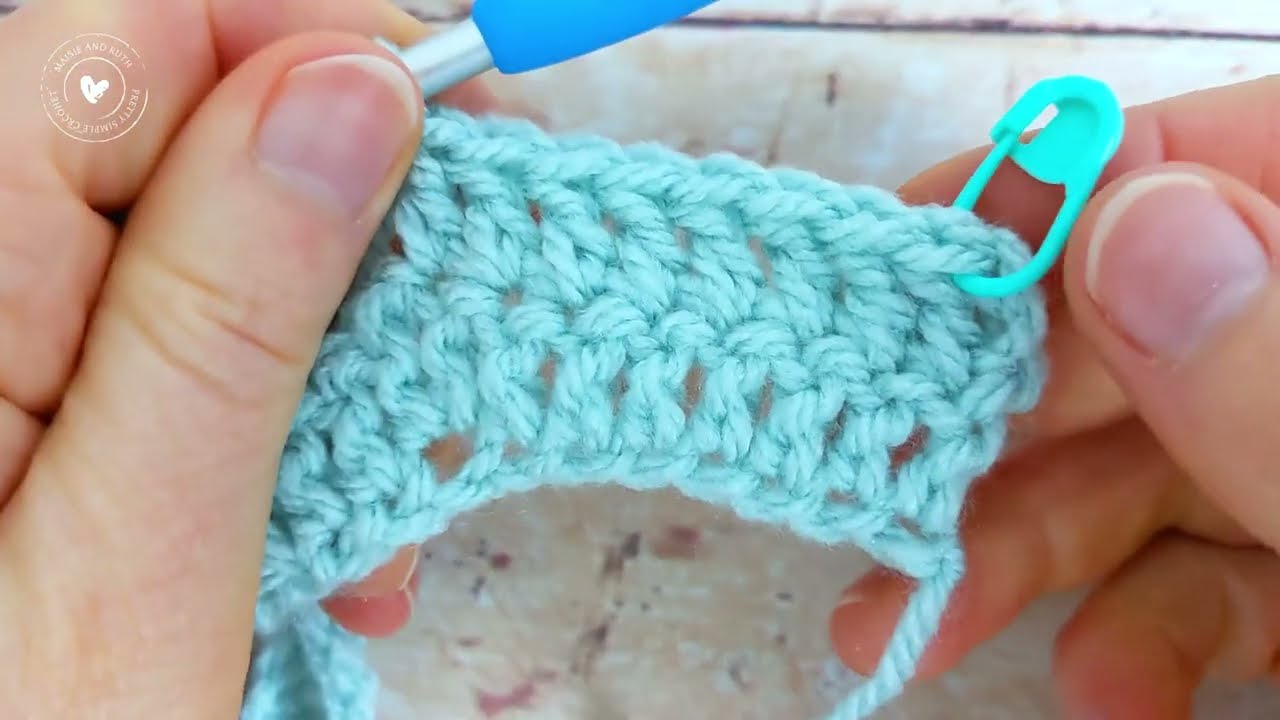
Bobble Stitch (bo) – How To
Bobble Stitch (bo):
Yarn over (YO), insert hook into stitch, YO, pull up a loop. Repeat this process 5 times, then YO and pull through all 11 loops on the hook.
Secure with one sc in the next stitch to “pop” the bobble forward.
PART 1: Yoke (Top-Down Raglan Style)
We’ll begin at the neckline and work our way down, increasing at the shoulders for a seamless fit.
Step 1: Foundation Chain
-
Ch 48 (for 0–3 months size)
-
Add multiples of 4 for larger sizes
-
Step 2: Row 1 – Setup Row
-
Dc in 3rd ch from hook and each ch across. (46 dc)
Turn.
Step 3: Row 2 – Raglan Increase
-
Ch 2 (counts as dc), dc in next 4 sts, ch 1, dc in next 8 sts repeat 4 times (mark the ch-1 spaces for raglan increases), dc to end.
Turn.
Step 4: Rows 3–8 – Continue Raglan
-
Increase 1 dc in each ch-1 space on every row.
Work until yoke measures approx. 3.5–4.5” depending on size.
PART 2: Add Bobble Rows to Body
Step 5: Separate for Body and Sleeves
-
Place sleeve stitches on stitch holders.
-
Continue working only on the body (fronts + back), joining underarm with 3 chs on each side.
Step 6: Body Pattern (Add Bobbles!)
Repeat the following for the body length:
-
Row A (bobble row):
[dc, bo] across row, ending with dc.
Turn. -
Row B:
Dc in each st across (sc in bobble sts if needed).
Turn.
Repeat Rows A and B until the cardigan body measures:
-
7″ for 0–3 months
-
8.5″ for 3–6 months
-
9.5″ for 6–12 months
Optional:
Add a shell stitch or scalloped edging in a contrast color at the hem for a delicate finish.
PART 3: Sleeves
-
Rejoin yarn at the underarm.
-
Work dc rounds evenly for the sleeve length:
-
4.5″ for 0–3 months
-
5.5″ for 3–6 months
-
6.5″ for 6–12 months
-
-
Optionally include 1–2 bobble rows near the cuff for a cute detail.
-
End with a round of sc or a ribbed cuff.
Repeat for the second sleeve.
PART 4: Front Bands & Buttonholes
Front Band
-
With right side facing, attach yarn to bottom corner of the front panel.
-
Sc evenly up the edge, around the neckline, and down the opposite side.
Add Buttonholes (on one side only)
On buttonhole side, ch 2 and skip 2 sc evenly spaced for buttons. Add 3–5 buttonholes depending on cardigan length.
Final Touches
-
Sew buttons securely on opposite side to match buttonholes.
-
Weave in all ends neatly.
-
Block your cardigan if desired for a professional finish.
Tips & Tricks
-
Use stitch markers at raglan points to keep increases tidy.
-
Practice the bobble stitch on scrap yarn before starting.
-
Make a matching beanie or booties to complete the outfit.
-
Use a finer yarn and smaller hook for a daintier look (e.g., for newborn photos).
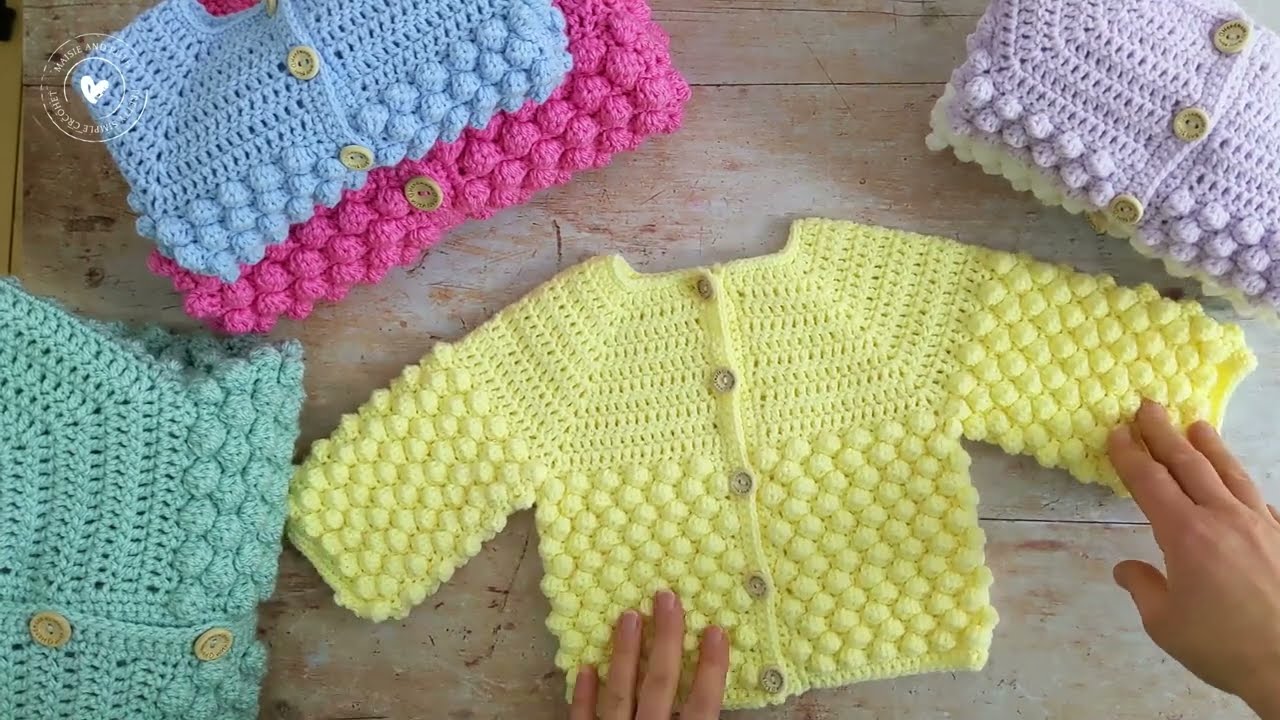
Perfect Gift Idea
This bobble stitch baby cardigan makes a perfect handmade gift for:
-
Baby showers
-
First birthdays
-
Holidays
-
Newborn photo props
Pair it with a matching blanket, hat, or booties for a sweet baby set. ❤️
Pattern Recap (0–3 Months)
-
Ch 48, dc across – foundation row
-
Raglan rows with dc increases at corners
-
Separate body and sleeves
-
Work alternating bobble + dc rows to desired body length
-
Finish sleeves in dc with optional bobble cuffs
-
Add front edging and buttonholes
-
Sew on buttons, weave in ends, and block
Final Thoughts
The bobble stitch baby cardigan is adorable, stylish, and easy to make with just a few techniques. Whether you keep it simple or get creative with colors and embellishments, this cozy cardigan will wrap any baby in soft, textured love.
Start today, and by tomorrow, you could have a handmade heirloom that will be treasured for years!
Video Tutorial: