by
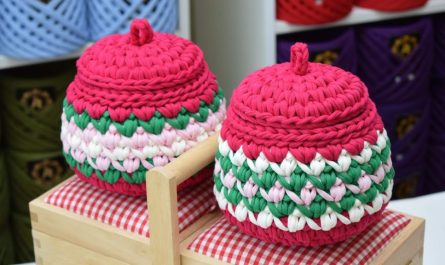
by Crochet baby booties are one of the most timeless and beloved handmade gifts. They’re tiny, adorable, and a beautiful way to welcome a new baby into the world. Whether you’re preparing for a baby shower, creating keepsakes, or building a handmade baby wardrobe, crochet baby booties are quick to make and always cherished.
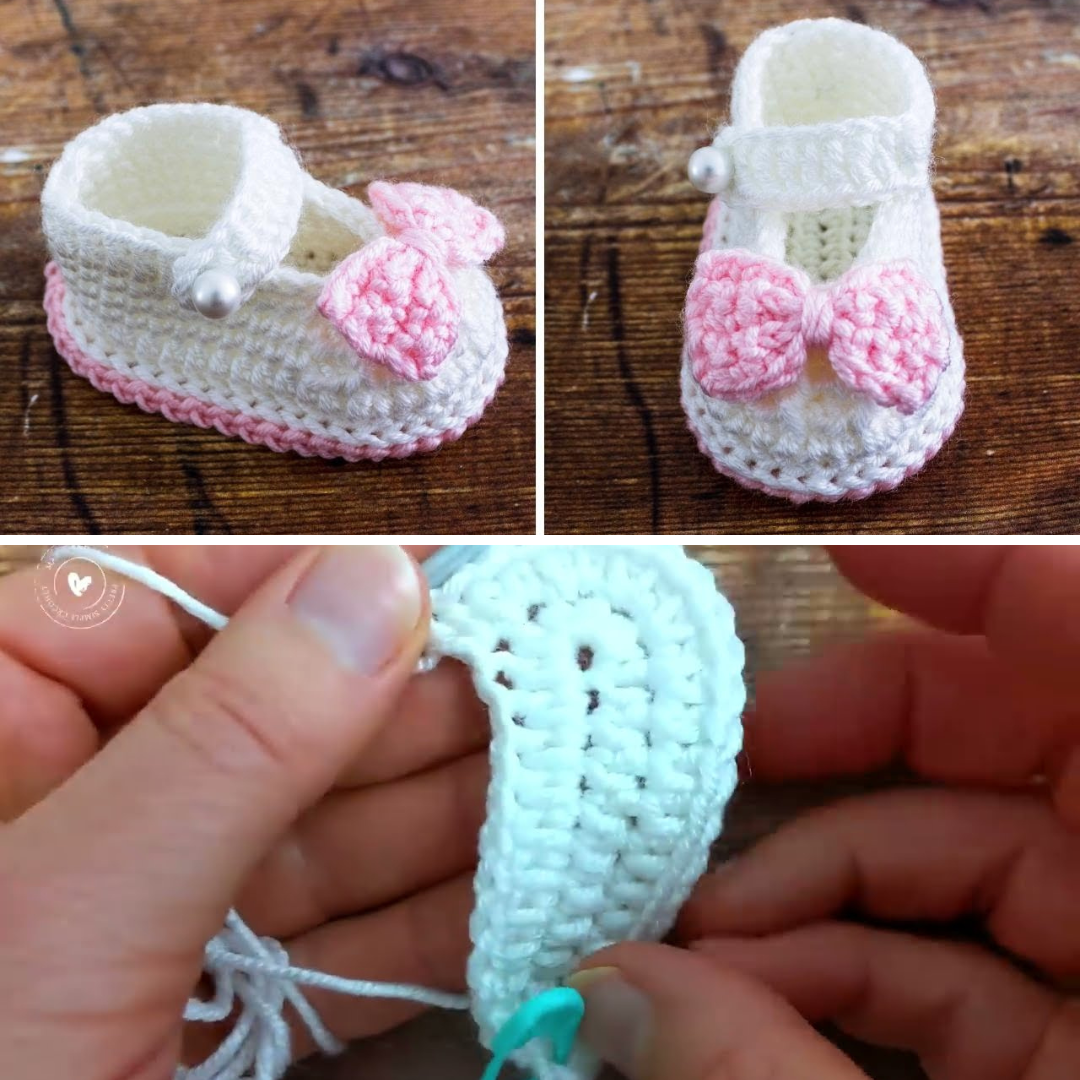
In this tutorial, you’ll learn how to make classic baby booties with a snug fit and cute details, ideal for newborns up to 6 months.

Materials You’ll Need
| Item | Description |
|---|---|
| Yarn | Soft worsted weight (4) or DK (3) baby-friendly yarn (cotton or acrylic blend) |
| Crochet hook | 3.5 mm (E) or 4.0 mm (G) depending on yarn thickness |
| Yarn needle | For weaving in ends |
| Scissors | For trimming yarn |
| Stitch marker (optional) | Helps keep track of rounds |
| Ribbon, buttons, or bows (optional) | For embellishing |
✨ Skills You’ll Use
-
Chain (ch)
-
Single crochet (sc)
-
Half double crochet (hdc)
-
Slip stitch (sl st)
-
Working in rounds and rows
-
Decreasing (sc2tog)
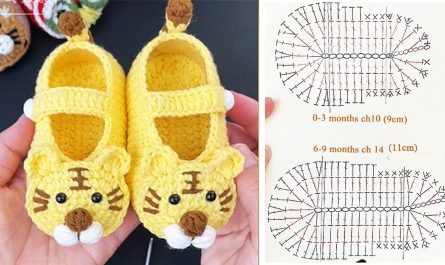
Sizing
The following pattern fits newborn to 3 months. You can size up by using a slightly larger hook or thicker yarn, or by adding a round to the sole.
Instructions: Crochet Baby Booties
We’ll divide the bootie into three main parts:
-
Sole
-
Sides (Upper)
-
Toe and Finishing Touches
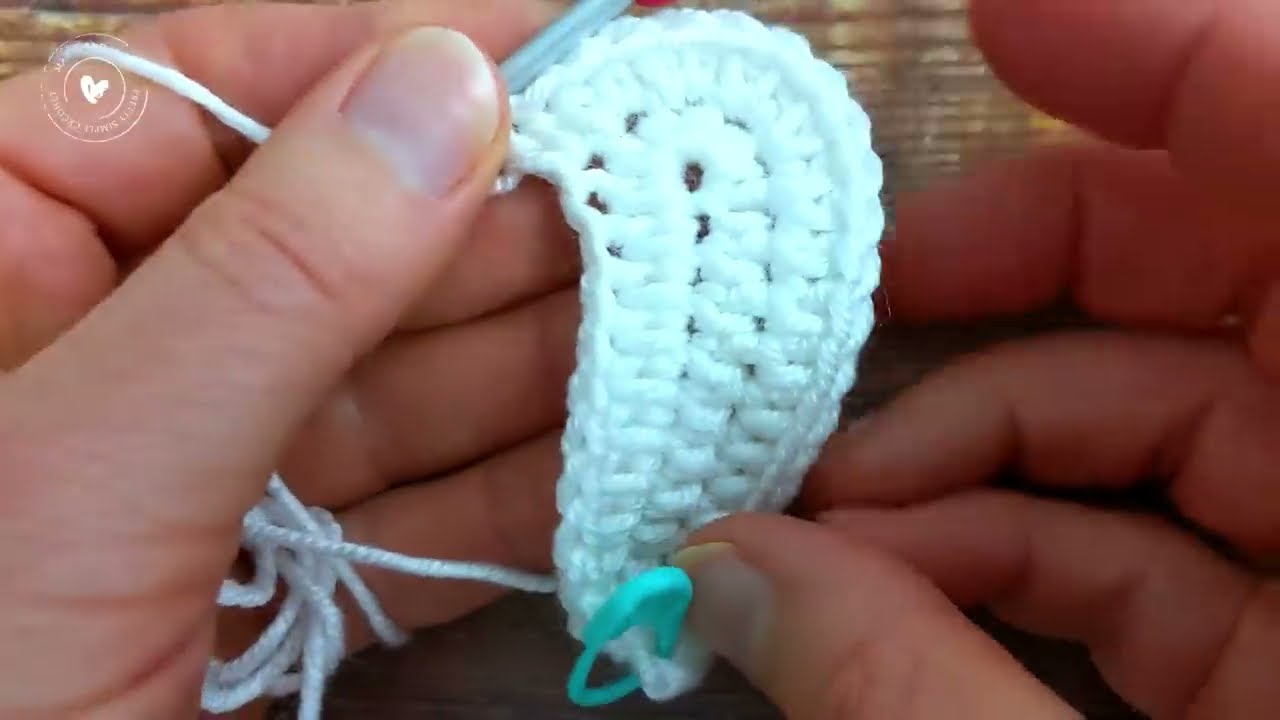
Part 1: Crochet the Sole
With main yarn and hook:
Rnd 1:
-
Ch 10.
-
2 hdc in 2nd ch from hook, hdc in next 7 ch, 5 hdc in last ch.
-
Working on the other side of the chain: hdc in next 7, 3 hdc in last st (same st as beginning).
-
Join with sl st. (24 sts)
Rnd 2:
-
Ch 1. 2 hdc in first 2 sts, hdc in next 7, 2 hdc in next 5, hdc in next 7, 2 hdc in last 3 sts.
-
Join with sl st. (34 sts)
Rnd 3:
-
Ch 1. Sc in each stitch around in back loops only to help the sole curve upward.
-
Join with sl st. (34 sts)
Part 2: Crochet the Upper Part (Bootie Body)
Rnd 4–5:
-
Ch 1. Sc in each st around.
-
Join with sl st. (34 sts)
Rnd 6:
-
Sc in next 11 sts, then sc2tog 6 times, then sc in remaining 11 sts. (28 sts)
-
Join with sl st.
Rnd 7:
-
Sc in next 9, then sc2tog 5 times, sc in next 9. (23 sts)
-
Join with sl st.
Rnd 8:
-
Sc in each stitch around.
-
Join with sl st. (23 sts)
Fasten off and weave in ends.
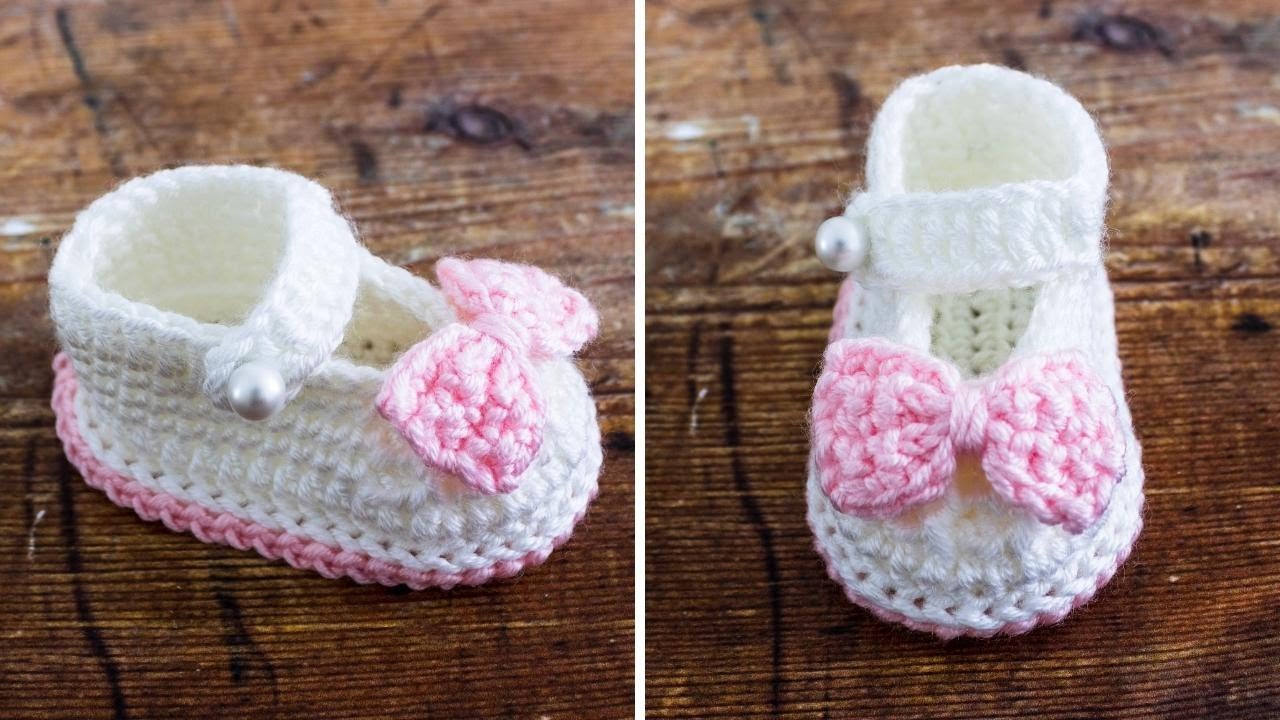
Part 3: Add a Strap, Bow, or Ribbon (Optional but Adorable)
Option 1: Simple Crochet Strap
-
Attach yarn to the side of the bootie.
-
Ch 12, sl st to the opposite side to form a strap.
-
You can add a small button for a faux closure or sew the strap down.
Option 2: Bow Tie
-
Ch 25, fasten off.
-
Wrap yarn tightly around the center of the chain to form a bow.
-
Stitch it to the toe or side of the bootie.
Option 3: Satin Ribbon
-
Weave thin ribbon through the ankle area (Rnd 5) and tie a bow in front.
-
This gives it a ballerina slipper vibe
Washing & Care Tips
-
Use machine-washable yarns suitable for babies (hypoallergenic is best).
-
Wash cold on gentle and lay flat to dry to maintain shape.
-
Avoid ironing or using fabric softeners.
Tips for Success
-
Use soft yarn that’s gentle on baby skin—acrylic baby yarns or organic cottons are ideal.
-
Avoid yarns with loose fibers or glitter—they can irritate newborn skin or become a choking hazard.
-
Make two identical booties right away to ensure size consistency.
-
Add non-slip dots with fabric paint on the sole if baby will be standing or walking.
Perfect Gift Idea
Pair these baby booties with a matching crochet baby hat, blanket, or mittens for a complete gift set. Package in a kraft box or wrap in tissue paper for a boutique-style baby shower present!
Final Thoughts
Crocheting baby booties is a sweet and satisfying project. In under an hour or two, you’ll have a beautiful handmade treasure that combines charm and comfort. Whether you’re making these for your own baby or as a heartfelt gift, they’re sure to be appreciated and remembered.
Video Tutorial:
https://youtu.be/YqiPsSnxYrU