by
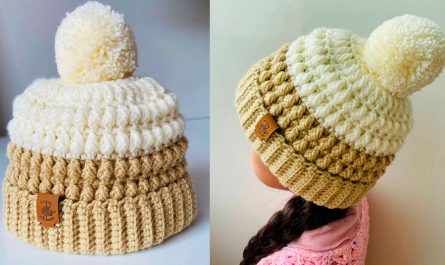
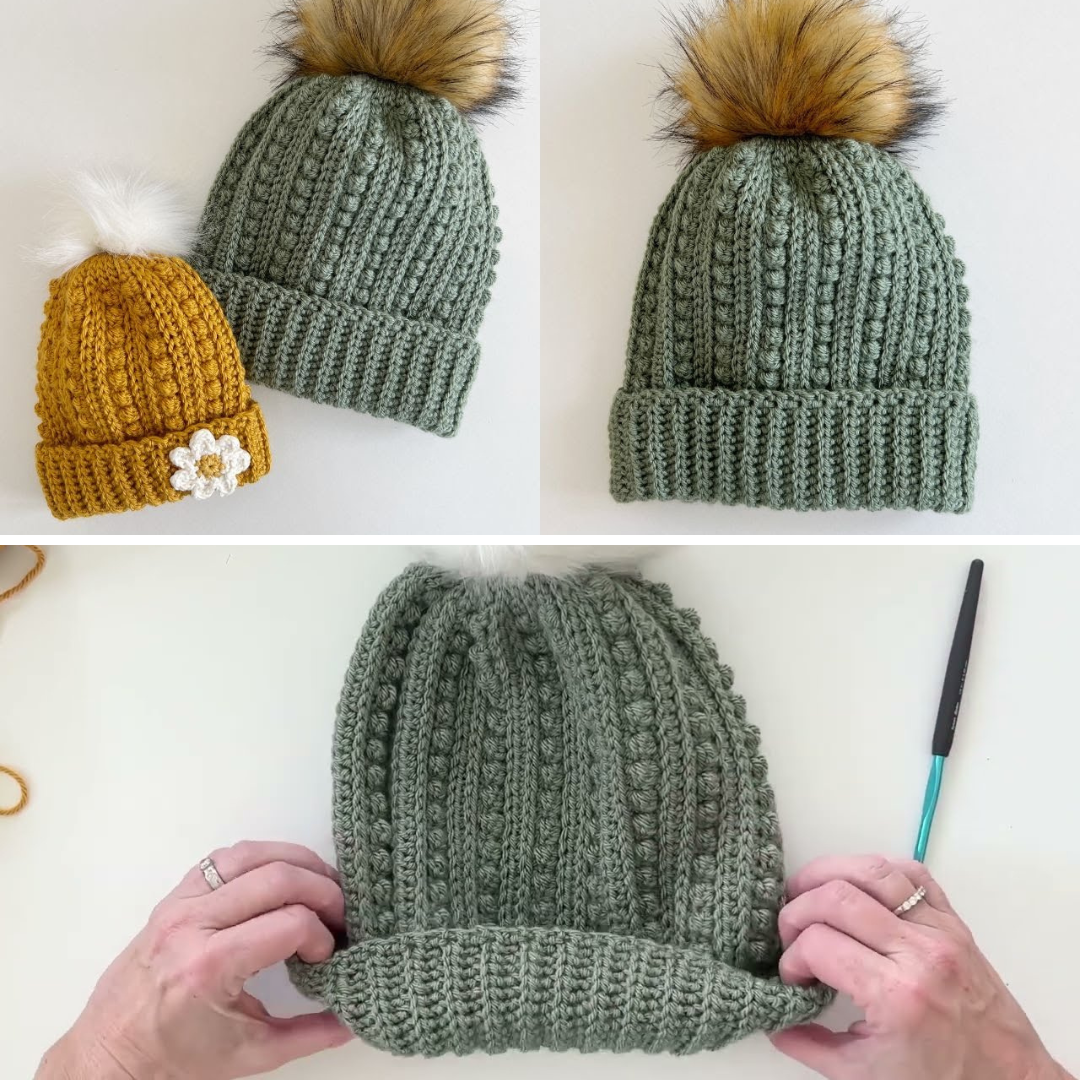
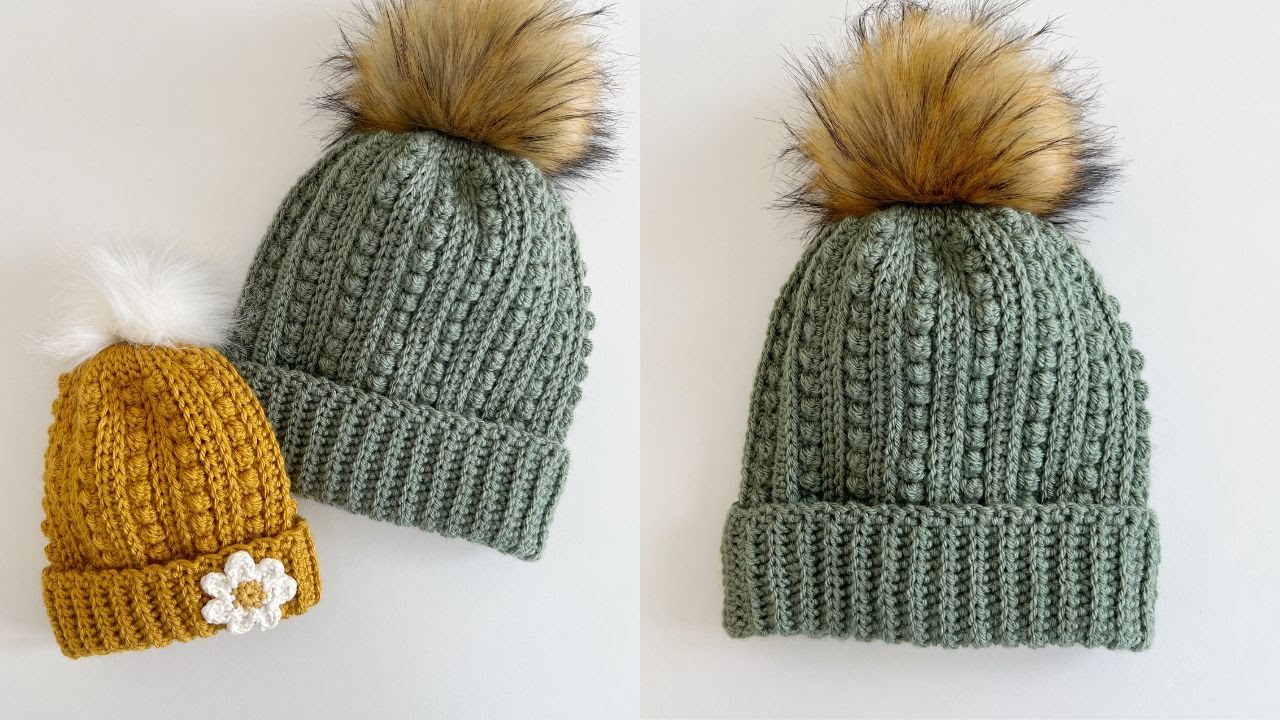
by The Winterberry Hat is a cozy, textured crochet hat worked flat and then sewn into shape. It’s ideal for beginner-to-intermediate crocheters who want to learn fun stitch combinations like the Berry Stitch and Half Double Slip Stitch. Designed by Daisy Farm Crafts, this hat combines elegance and warmth — perfect for cold winters or holiday gifting.
Materials Needed
To make the Winterberry Hat, you’ll need:
-
Yarn: Worsted weight (medium, size 4).
Suggested: Patons Canadiana or any similar acrylic yarn. -
Hook: 5 mm (US H-8)
-
Tapestry Needle: For sewing edges and weaving in ends
-
Scissors
-
Measuring Tape
-
Optional: Pom-pom with snap attachment
Sizing Guide
The hat is worked flat as a rectangle and seamed into a tube, so you can adjust the height by your foundation chain and the head circumference by the number of rows.
| Size | Height (chain length) | Width (finished rows) |
|---|---|---|
| Toddler (1–2 yrs) | 8.5 in (approx. 40 chains) | 16 in (stretched) |
| Child (3–10 yrs) | 9–9.5 in | 17–18 in |
| Teen/Adult S | 10 in | 19–20 in |
| Adult L | 10.5 in | 21–22 in |
Crochet Stitches Used
Here are the stitches you’ll use in this pattern, with a brief explanation:
| Stitch | Abbreviation | Description |
|---|---|---|
| Slip Stitch | SL ST | Insert hook, YO, pull through both loops |
| Half Double Slip Stitch | HDSS or HDSLST | YO, insert, YO, pull up loop, pull through all loops |
| Single Crochet | SC | Insert, YO, pull up loop, YO, pull through two loops |
| Half Double Crochet | HDC | YO, insert, YO, pull up loop, YO, pull through all three loops |
| Berry Stitch | Berry | YO, insert, YO, pull up loop, YO, pull through one loop, YO, insert in same st, YO, pull up, YO, pull through all 5 loops |
✨ Special Techniques

Back Loop Only (BLO): Insert hook only under the back loop of the stitch.
Front Bottom Loop (FBL): Insert hook under the horizontal bar below the front loop — gives the hat its signature ridged texture.
Pattern Construction Overview
-
Start with a foundation chain for the hat’s height.
-
Work rows across, combining brim and textured sections.
-
Repeat the rows until you reach the desired width (circumference).
-
Sew the short ends together to form a tube.
-
Gather the top of the hat closed.
-
Add a pom-pom, if desired.
Pattern Instructions (Toddler Size Example)
You can adjust the chain number and number of rows to resize for other ages.
✅ Foundation Chain:
-
Chain 40 (this determines the height of the hat, including brim).
✅ Row 1:
-
SL ST into first 5 chains (this forms the brim).
-
HDC in remaining 35 chains.
-
Chain 1, turn.
✅ Row 2:
-
SL ST into back loops only for 5 sts (brim).
-
HDSS in BLO for 14 sts.
-
SC in next st.
-
(Berry stitch in next st, SC in next) repeat until 5 sts remain.
-
SL ST in BLO for last 5 sts.
-
Chain 1, turn.
✅ Row 3:
-
BLO SL ST in 5 sts (brim),
-
HDC in next 19 sts,
-
BLO HDSS in next 14 sts,
-
HDSS in final stitch.
-
Chain 1, turn.
✅ Row 4:
-
HDSS in 1st st,
-
BLO HDSS for next 14,
-
FBL HDC in next 19,
-
BLO SL ST in last 5.
-
Chain 1, turn.
✅ Row 5:
-
BLO SL ST in 5 sts (brim),
-
BLO SC in next 19,
-
BLO HDSS in next 14,
-
HDSS in final stitch.
-
Chain 1, turn.
✅ Repeat Rows 2–5
Repeat the 4-row sequence until the piece is wide enough to wrap around the head.
For toddler size: ~48 rows
For adult size: ~64–70 rows (adjust for your yarn and tension)
Assembly
Once the rectangle is wide enough:
-
Fold the piece in half with right sides facing.
-
Sew the starting chain edge to the last row (use slip stitch or whip stitch).
-
Gather the top of the hat:
-
Use a long strand of yarn and weave it through every few stitches along the top edge.
-
Pull tight to close the top and secure with knots.
-
-
Attach a pom-pom (preferably one with a snap base for easy washing).
Finishing Touches
-
Weave in all loose ends.
-
Lightly block the hat if needed.
-
Use a blow dryer to fluff up a faux fur pom-pom.
Tips for Success
-
Keep your tension loose when doing slip stitches to avoid a stiff hat.
-
Use stitch markers to track where your brim ends and texture begins.
-
Practice the Berry Stitch on a swatch — it’s not hard but needs precision.
-
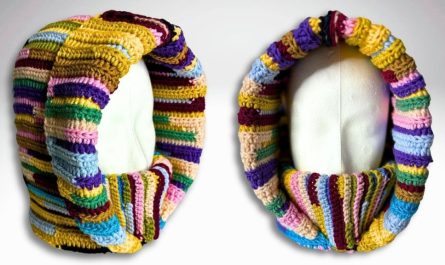
Make a matching scarf or mittens using the same texture for a full winter set!
Final Thoughts
The Winterberry Hat is a perfect mix of style and comfort. With its varied textures and clean construction, it’s a rewarding project whether you’re crocheting for a loved one or your craft market booth.
The flat construction method also makes it beginner-friendly — no increasing in the round, just rows and beautiful stitchwork.
Video Tutorial: