 by
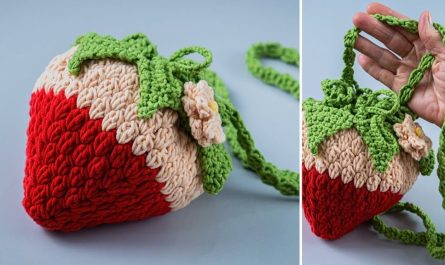
by Crocheting isn’t just for scarves, hats, and cozy blankets—it’s also a fantastic way to personalize and protect your tech gadgets! One of the trendiest and most useful small crochet projects today is a crocheted AirPods case. Not only does it keep your AirPods safe from scratches and dust, but it also allows you to showcase your creativity and style.
Whether you’re a beginner or an experienced crocheter looking for a quick and satisfying project, this guide will walk you through how to crochet an AirPods case, complete with instructions, materials, tips, and customization ideas.
Why Crochet an AirPods Case?
Before we dive into the stitches and rows, here’s why this project is so popular:
-
Protective: Adds a soft, cushioned layer that guards against scratches and minor falls.
-
Customizable: Use your favorite colors, yarn textures, and embellishments.
-
Eco-friendly: A reusable case that reduces the need for plastic covers.
-
Great Gift: Perfect for birthdays, holidays, or as a thoughtful handmade surprise.
-
Fast & Fun: You can finish this project in under an hour!
What You’ll Need
Materials:
-
Worsted weight cotton yarn (like Lily Sugar’n Cream or any #4 medium weight cotton yarn)
-
3.5 mm or 4.0 mm crochet hook (depending on your tension)
-
Yarn needle (for weaving in ends)
-
Stitch marker (optional but helpful)
-
Small button or snap (for closure)
-
Scissors
-
AirPods case (for measuring as you go)
✨ Crochet Stitches Used
You don’t need to be a crochet wizard for this project. Basic stitches are all you need:
-
Chain (ch)
-
Slip Stitch (sl st)
-
Single Crochet (sc)
-
Increase (2 sc in one stitch)
-
Optional: Magic Ring (for circular base)
Pattern Overview: AirPods Case Design
We’ll be making a snug pouch-style case with a button flap. It will be worked in the round from the bottom up, then finished with a simple flap for closure.
This pattern is designed to fit both AirPods 1/2 or AirPods Pro, with slight adjustments in size.
Step-by-Step Instructions
✅ Step 1: Base Circle (Optional)
If you prefer a rounder base:
-
Magic Ring, ch 1.
-
6 sc into the ring. (6)
-
2 sc in each stitch around. (12)
-
Sc in next stitch, 2 sc in next around. (18)
-
Work in sc around (no increases) for 1–2 more rows to create a short “bowl” shape.
OR…
✅ Step 1 (Alternative): Flat Oval Base (Great for Beginners)
-
Ch 8.
-
In 2nd ch from hook, sc in each stitch across (7), 3 sc in last stitch.
-
Continue on the opposite side of the chain: sc in each stitch (6), 2 sc in the last stitch. (18 total stitches).
-
Place a stitch marker. You’ll now work in a continuous spiral.
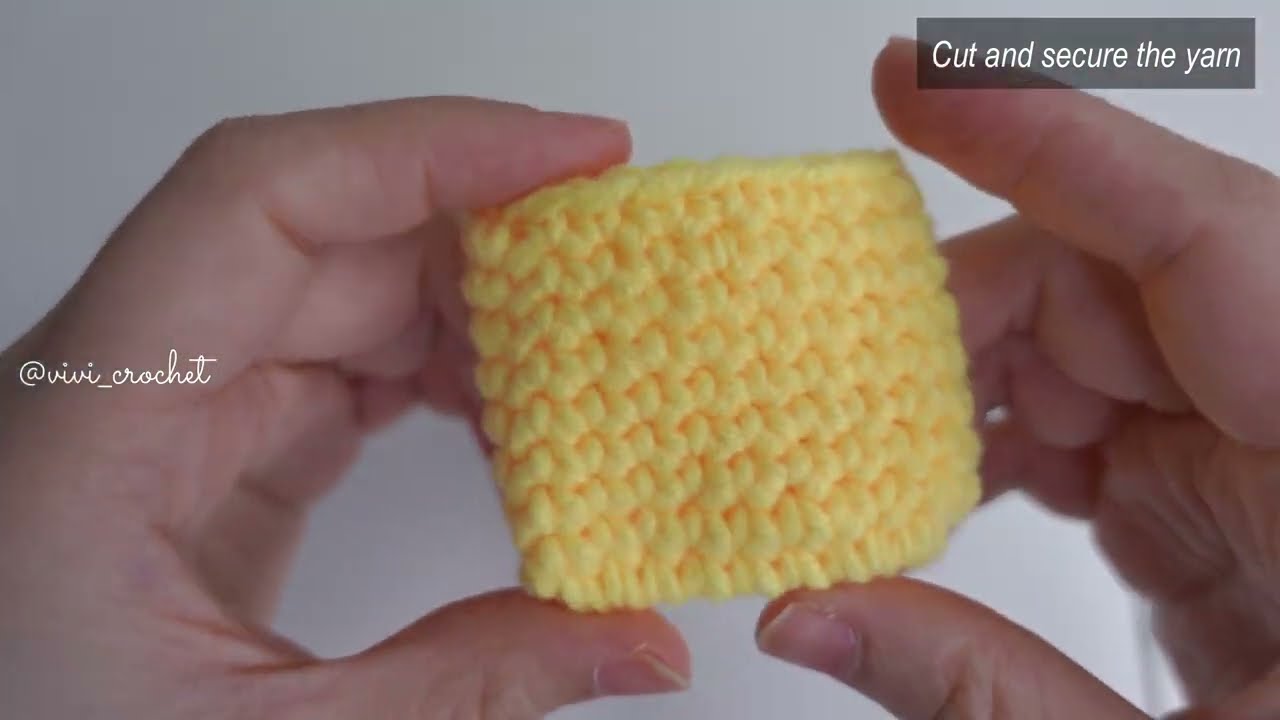
✅ Step 2: Build the Body
-
Sc in each stitch around for 12–15 rounds (approx. 2.25″ tall for AirPods 1/2, or 2.5″ for AirPods Pro).
-
Try fitting your actual AirPods case inside as you go to make sure it fits snugly.
Tip: If it’s too tight, frog (undo) a few rounds and increase your hook size slightly or loosen your tension.
✅ Step 3: Flap Closure
-
Once the body is tall enough, stop working in the round.
-
Turn the case, ch 1, and work sc across half the stitches only (this forms the flap).
-
Continue working rows of sc back and forth for 5–6 rows.
-
Optional: Decrease one stitch at each end of the row to taper the flap into a triangle.
-
When you’re down to 1–2 stitches, ch 3–4, and sl st back into the same spot to form a button loop.
✅ Step 4: Finishing Touches
-
Weave in ends with your yarn needle.
-
Sew on a small button where the loop meets the body.
-
Optional: Line the case with a small piece of felt for extra protection.
-
Try adding a keyring or carabiner loop for portability.
Customization Ideas
Here’s where your creativity shines! Consider these ideas to personalize your case:
-
Use variegated yarn for a colorful look.
-
Add appliqués like hearts, stars, or initials.
-
Stitch on a face to make it look like a chick , bear , or frog .
-
Create a character theme, like Pikachu, Hello Kitty, or Baby Yoda.
-
Add a lanyard or wrist strap with braided or chained yarn.
Care Instructions
Because this case will be touched often, especially with oily hands or makeup, it’s best to use cotton yarn, which is more durable and washable.
To clean:
-
Hand wash with mild soap
-
Lay flat to dry
-
Do not bleach or machine dry
Troubleshooting & Tips
| Problem | Solution |
|---|---|
| The case is too tight | Go up a hook size or loosen tension |
| The flap doesn’t close evenly | Count your stitches and make sure decreases are centered |
| Yarn is too fuzzy or stretchy | Use smooth, sturdy cotton for best shape retention |
| Edges curl up | Block the case lightly with steam or shape around the AirPods case |
Size Adjustment Chart
| Model | Height | Width | Suggested Rounds |
|---|---|---|---|
| AirPods (Gen 1/2) | 2.0 in | 1.75 in | 12–13 rounds |
| AirPods Pro | 2.25 in | 2.0 in | 14–15 rounds |
| AirPods 3 | 2.1 in | 1.9 in | 13–14 rounds |
Always test your case with the real device inside to make sure it fits snugly!
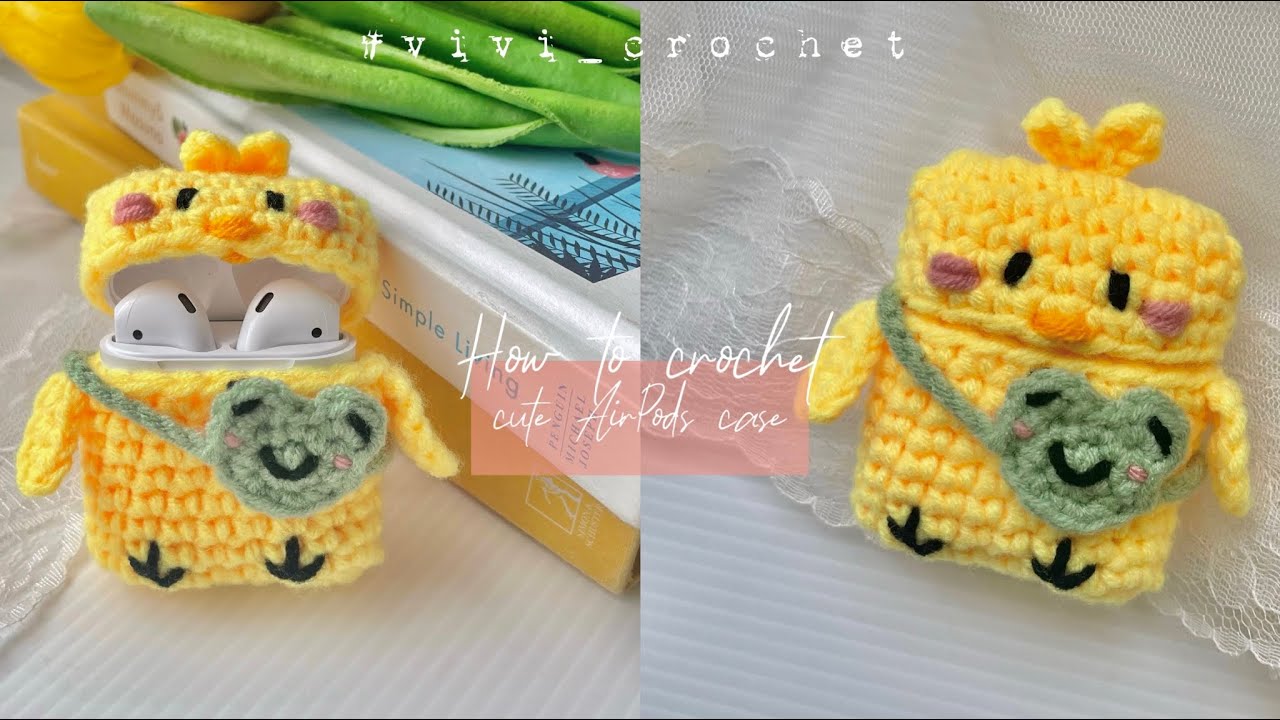
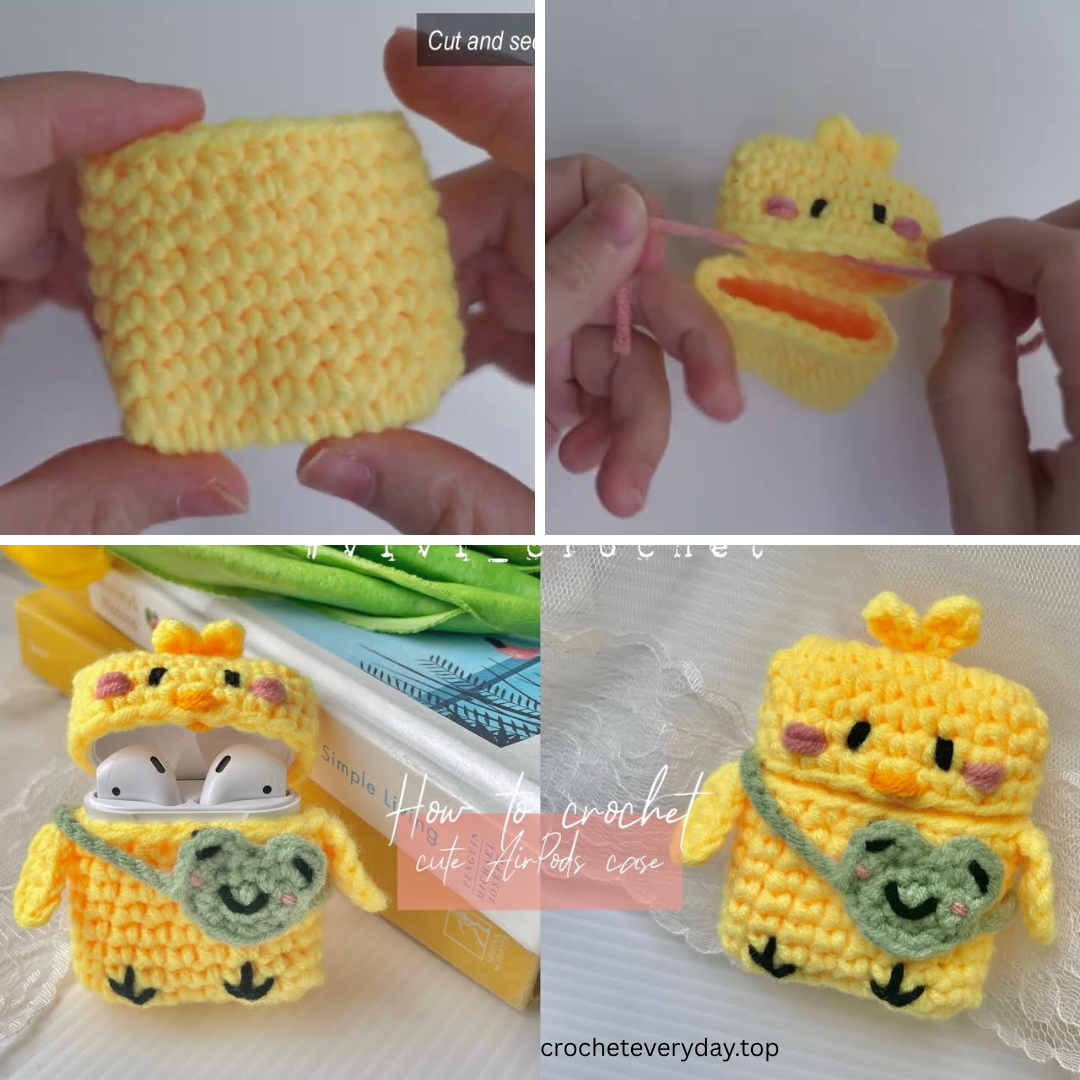
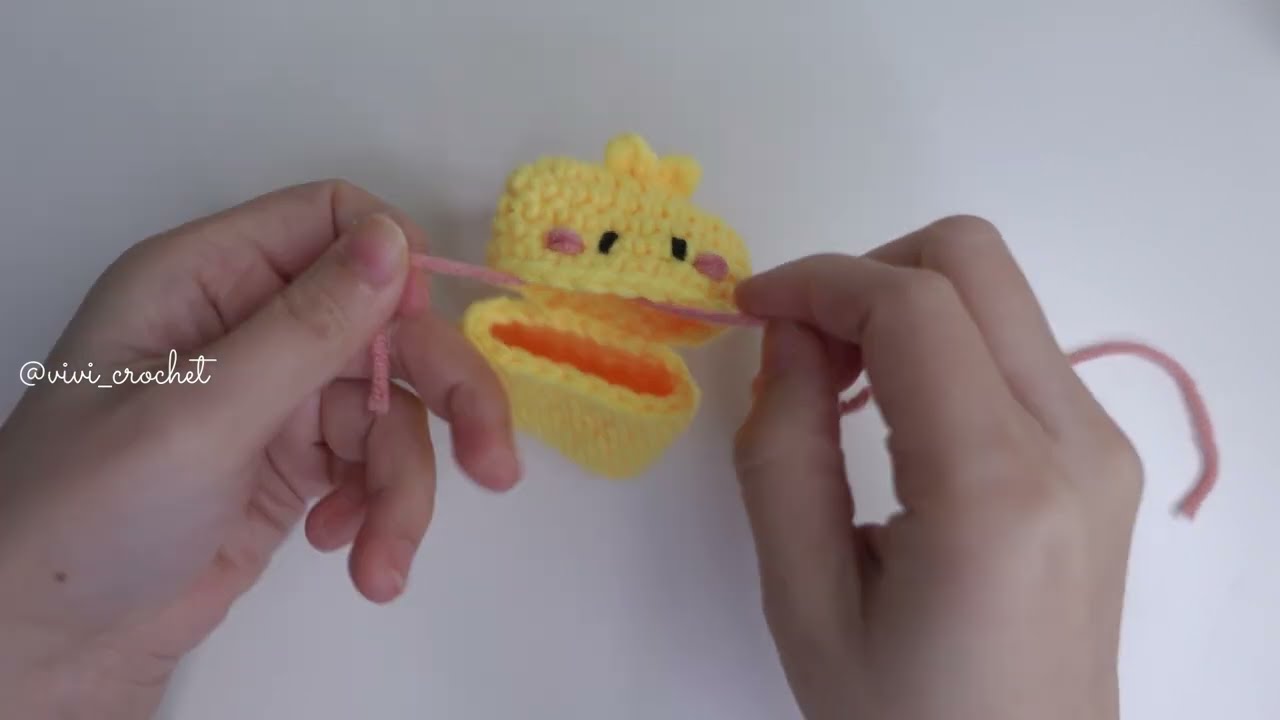
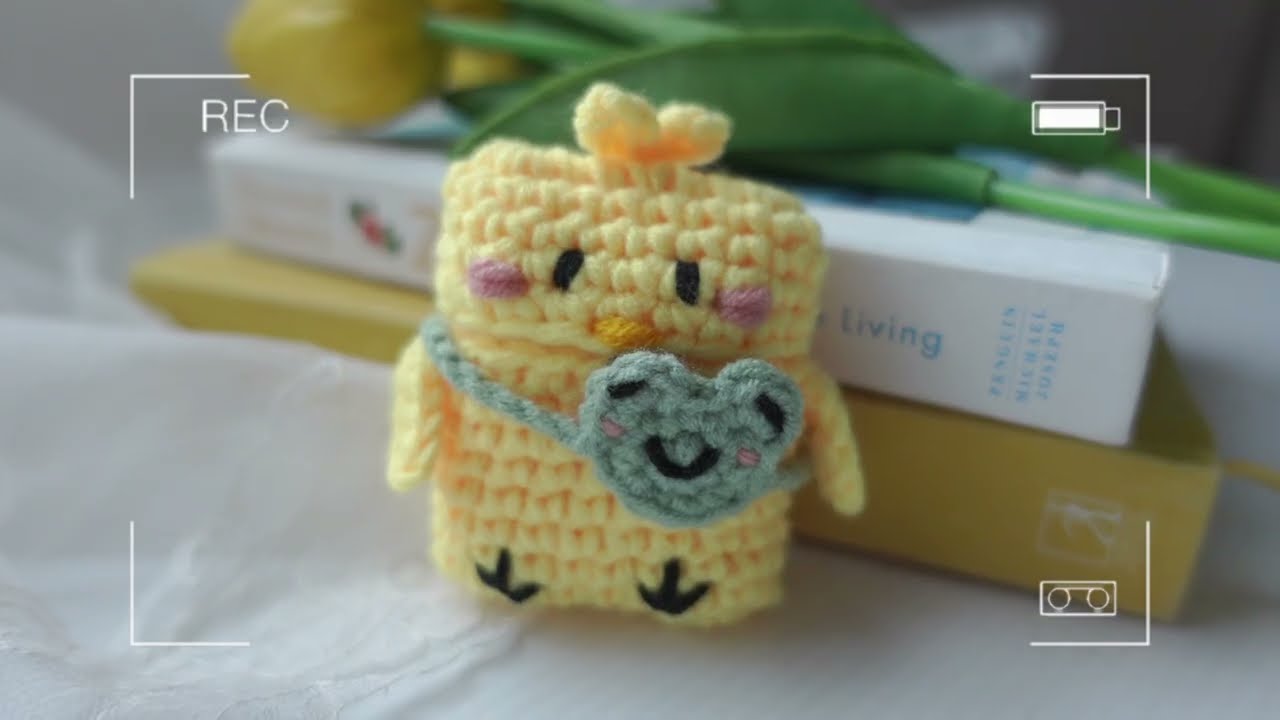
Bonus Project: Chick-Themed AirPods Case
Want to make your case extra adorable? Try this baby chick version:
-
Use yellow yarn for the body.
-
Add a tiny orange beak using felt or embroidery.
-
Sew on googly eyes or crochet small black eyes.
-
For wings, crochet 2 small half-circles and sew to the sides.
Final Thoughts
Crocheting an AirPods case is a fantastic beginner-to-intermediate project that combines practicality with creativity. Whether you’re making it for yourself, a friend, or to sell on Etsy, this quick little project is bound to bring joy and style to any AirPods owner.
Video Tutorial:
https://youtu.be/DgcTI57NOWI
So grab your yarn, hook, and favorite tunes—and crochet your way to the cutest gadget cover ever!