by
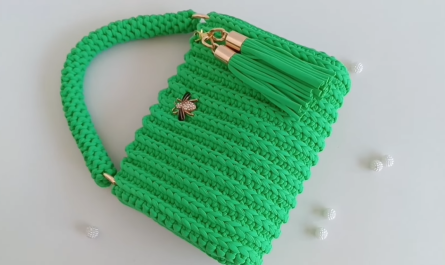
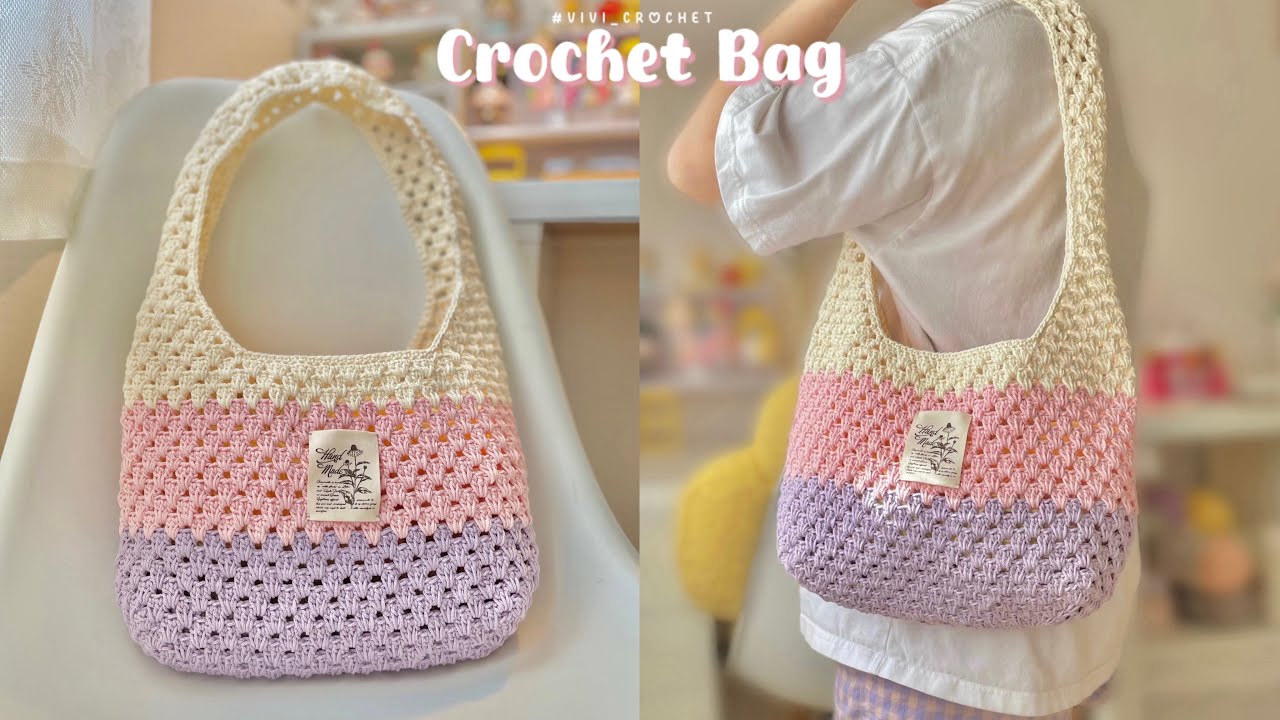
by Crocheting your own bag is both practical and stylish, and one of the best patterns for a handmade tote is the timeless granny stitch. This iconic stitch is easy to learn, works up quickly, and adds a beautiful vintage flair. Whether you’re headed to the farmer’s market, beach, or just want a cute everyday bag, this Granny Stitch Crochet Tote Bag is the perfect DIY project.
This guide will walk you through how to crochet a granny stitch tote bag step by step — from choosing your yarn to adding optional lining and handles.
Materials You’ll Need
Before we get started, gather the following:
Yarn & Tools
-
Worsted weight cotton yarn (Size 4) – About 300–400 yards
(Choose cotton for structure and durability; acrylic for softer bags) -
Crochet hook – 5.0 mm (H/8) or recommended size for your yarn
-
Yarn needle – for weaving in ends
-
Scissors
-
Stitch markers (optional but helpful)
Optional Add-ons
-
Fabric lining (for added strength)
-
Magnetic snap or button
-
Bag handles or D-rings (if you prefer leather or bamboo handles)
-
Tassels, pom-poms, or appliqués (for decorating!)
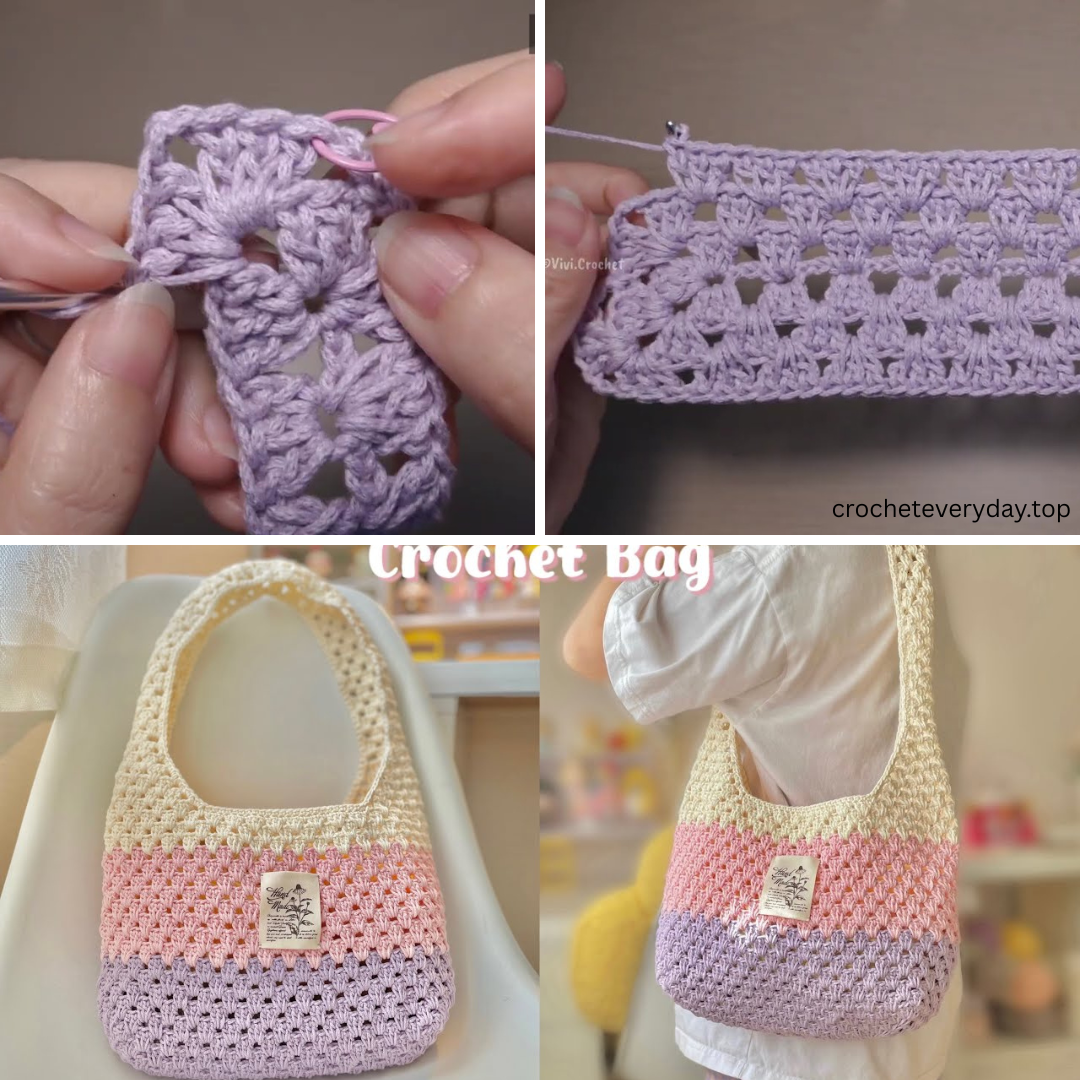
About the Granny Stitch
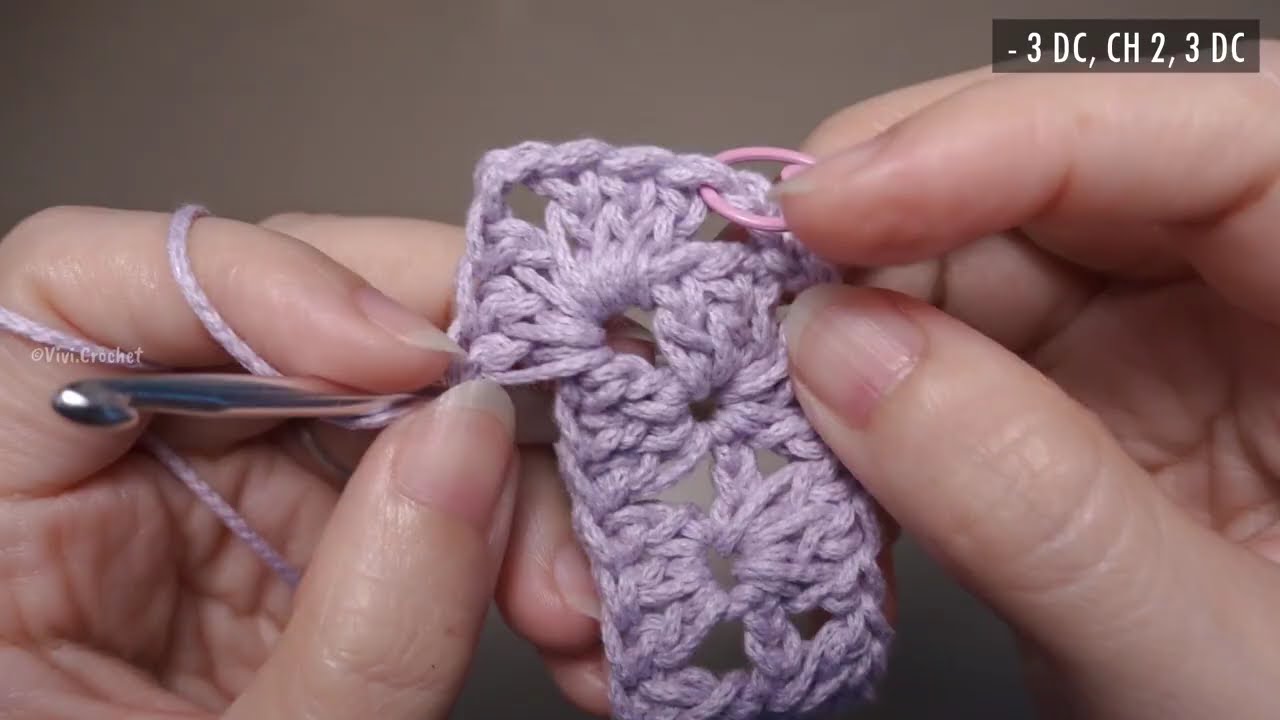
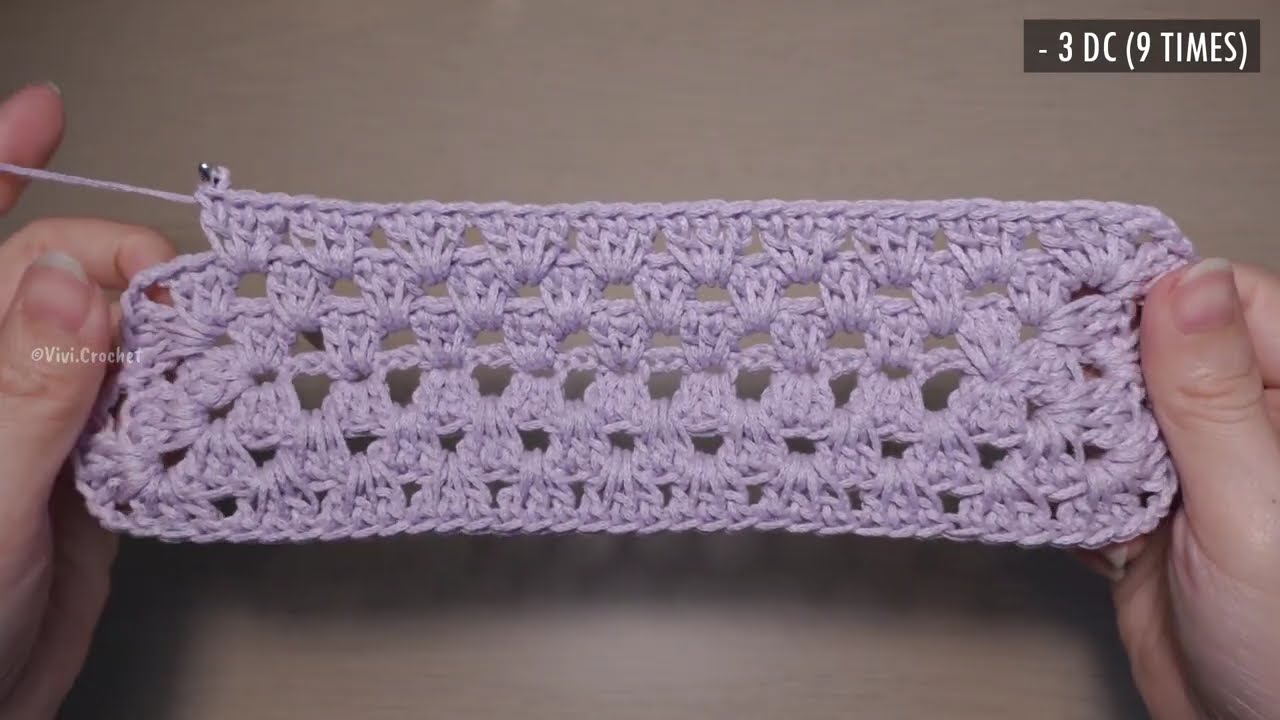
The granny stitch is a series of 3 double crochets (dc) worked into the same space, often separated by chain spaces. It creates a lacy, geometric pattern that looks great in solid colors or stripes.
Skill level: Easy / Beginner
Finished size (approx.): 14” wide x 15” tall (excluding handles)
Step-by-Step: Granny Stitch Crochet Tote Bag
Step 1: Make the Base (Rectangle)
We’ll start by creating the bottom of the bag with rows of granny stitch clusters.
-
Foundation Chain: Chain 38 (or any multiple of 3 + 2 for turning)
-
Row 1: In 4th ch from hook, work 3 dc (first granny cluster), skip 2 ch, 3 dc in next ch; repeat across. Turn.
-
Row 2: Ch 3 (counts as dc), 3 dc in space between previous granny clusters, repeat across. End with 1 dc in top of turning ch. Turn.
-
Repeat Row 2 for about 15–18 rows (or desired base height). This creates a flat rectangle, the base of your tote.
Step 2: Build the Body in the Round
Now, we’ll crochet around the base to build the bag walls.
-
Round 1: Ch 3, turn your work 90°, work 3 dc in side of each row across, 3 dc in corner, continue granny stitch around the other sides of the rectangle. Join with sl st to top of ch 3.
-
Round 2: Ch 3, 3 dc in each space between clusters, continue around. Join.
-
Repeat for 20–25 rounds, or until your bag reaches the desired height.
Optional: Switch colors every 2–3 rounds for a striped look!
Step 3: Shape and Finish the Top Edge
-
Work 1 round of single crochet (sc) evenly around the top to create a clean edge.
-
You can also add a row of slip stitches for reinforcement.
Step 4: Make and Attach Handles
You have a few options for the handles:
Option A: Crochet Handles
-
Chain 70–90 (for shoulder length)
-
Row 1: sc in 2nd ch from hook and across
-
Row 2–3: Turn, sc across (or use hdc)
-
Attach to inside of bag about 3–4” from sides
Option B: Use Pre-made Handles
-
Sew on leather, bamboo, or fabric handles using a tapestry needle and strong thread/yarn.
✨ Step 5: Optional Features
Add Lining (Optional but Recommended)
-
Cut a piece of fabric slightly larger than the inside of the bag
-
Sew sides together, hem the top edge
-
Hand-stitch lining to inside using a yarn needle or small sewing needle
Add Button or Snap Closure
-
Sew a magnetic snap or a button/loop at the top center to keep your bag closed.
Decorate!
-
Add a granny square pocket, tassels, pom-poms, or embroidered patches.
Tips for Success
-
Use stitch markers to keep track of corners and rounds
-
Cotton yarn helps your bag hold its shape
-
Use a tighter tension for added structure
-
Wash and block your bag before adding lining or straps
Care Instructions
-
Hand wash or machine wash on gentle cycle (if unlined)
-
Lay flat to dry
-
If lined, spot clean only
Perfect For:
-
Everyday tote
-
Beach bag
-
Market bag
-
Crochet project bag
-
Handmade gift for friends
Final Thoughts
A Granny Stitch Crochet Tote Bag is a classic-meets-modern project that’s both stylish and practical. Whether you prefer a clean monochrome look or a rainbow of colorful stripes, this bag gives you room to customize and show off your crochet skills.
With just basic stitches and a little time, you’ll have a handmade tote you’ll be proud to carry anywhere!
Video Tutorial :