by
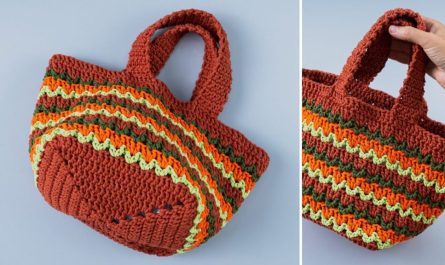
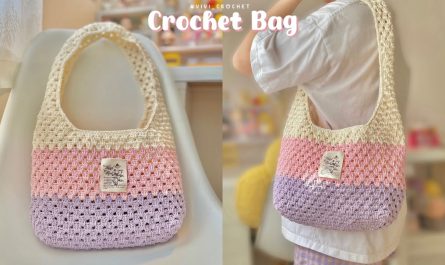
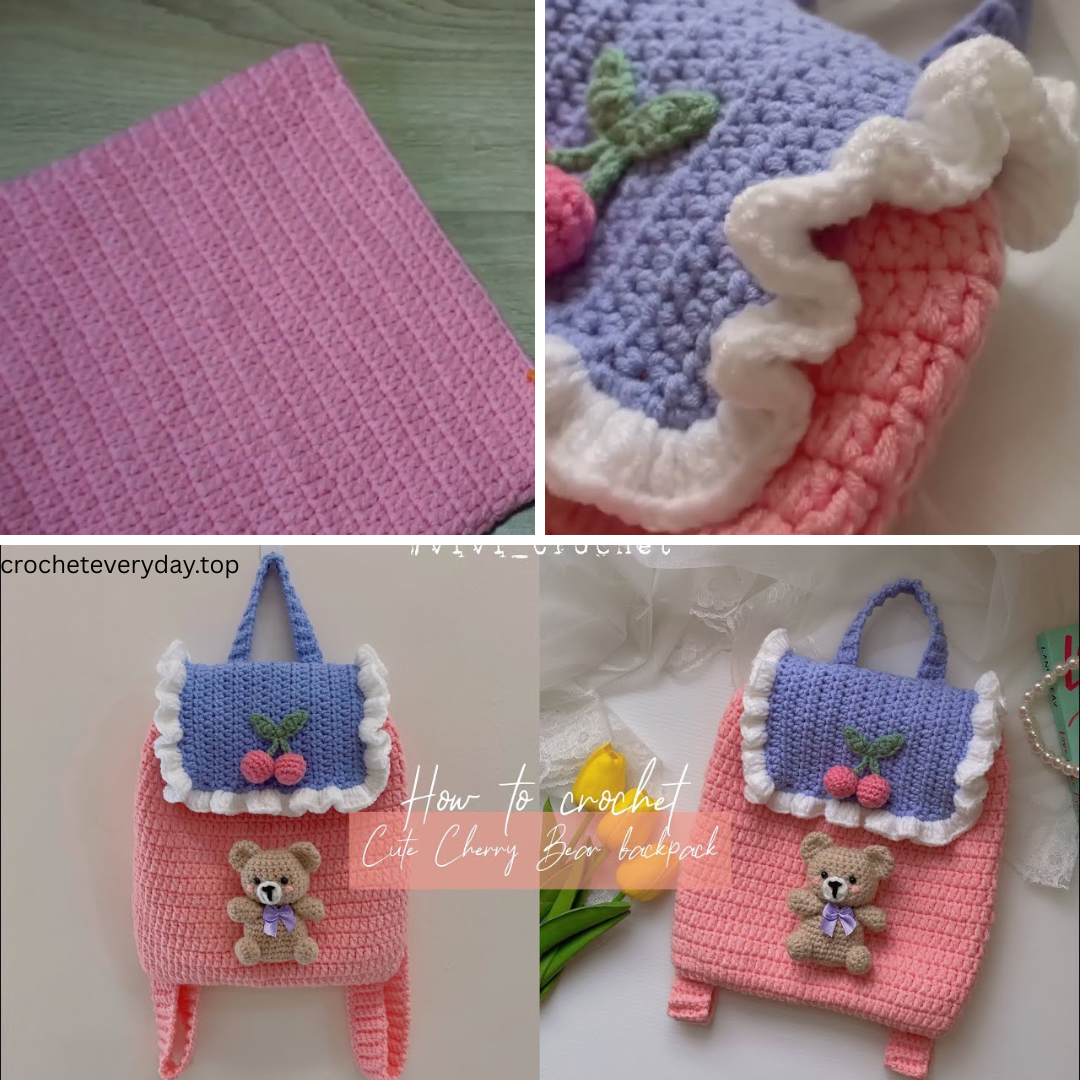
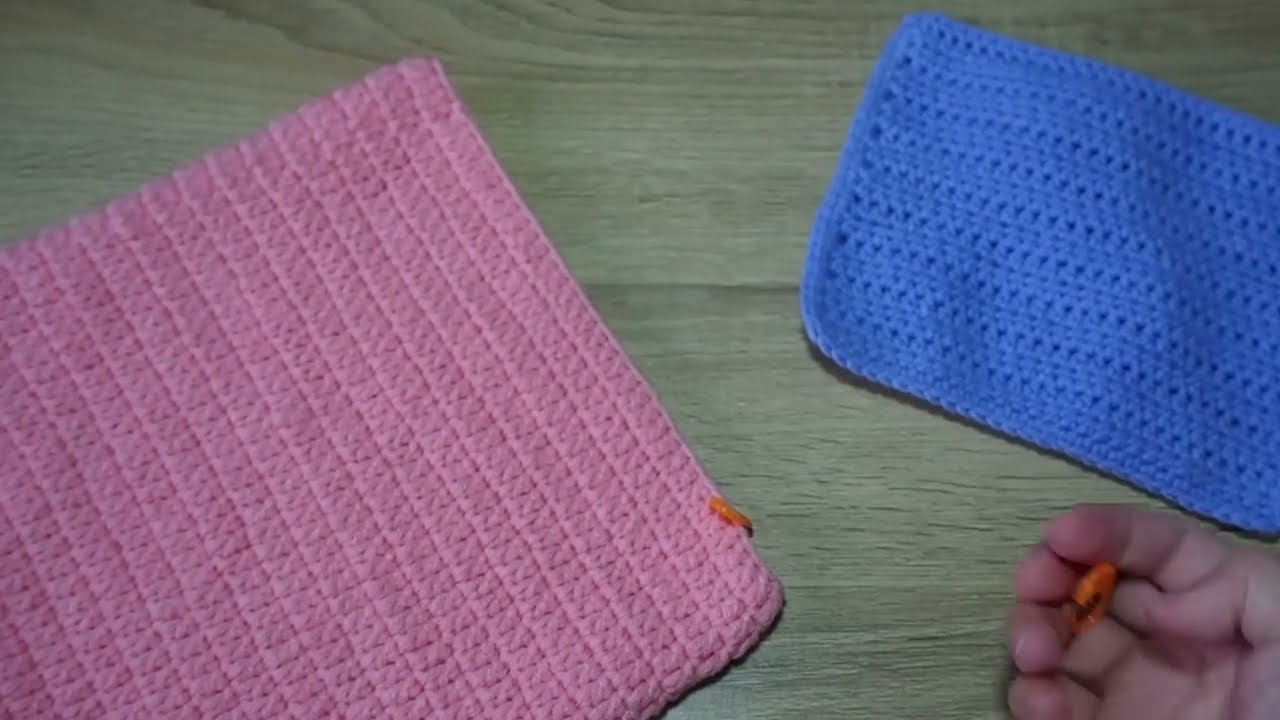
by Looking for a fun and functional crochet project? A crocheted backpack is the perfect accessory—stylish, handmade, and great for carrying your daily essentials. Whether you want a mini bag for a child, a trendy drawstring sack for yourself, or even a bear-themed backpack , this project lets you combine creativity with practicality.
In this step-by-step guide, you’ll learn how to crochet a cute backpack from start to finish, including the main body, flap, straps, and adorable finishing touches.
Materials You’ll Need
Here’s what you’ll need to get started:
Basic Supplies
-
Worsted weight yarn (Size 4) — Cotton or acrylic; choose one main color and optional contrast color(s)
-
~200–250g (approx. 300–400 yards)
-
-
Crochet hook — 4.0 mm (G-6) or 5.0 mm (H-8), depending on tension
-
Yarn needle — for sewing pieces and weaving in ends
-
Stitch markers — helpful for rounds
-
Scissors
-
Buttons, toggles, or cord locks (optional)
-
Lining fabric and sewing needle/thread (optional, for added durability)
For the “Cute Factor”
-
Safety eyes or buttons
-
Felt or yarn scraps for ears, nose, and cheeks
-
Embroidery thread for facial features
Construction Overview
Your backpack will consist of:
-
The Body – a cylindrical or slightly tapered bag
-
The Base – a sturdy round or oval bottom
-
The Flap – closes the top
-
The Straps – adjustable or fixed crochet straps
-
Decorative features – such as a bear face, ears, or other kawaii-style details
Step-by-Step Instructions
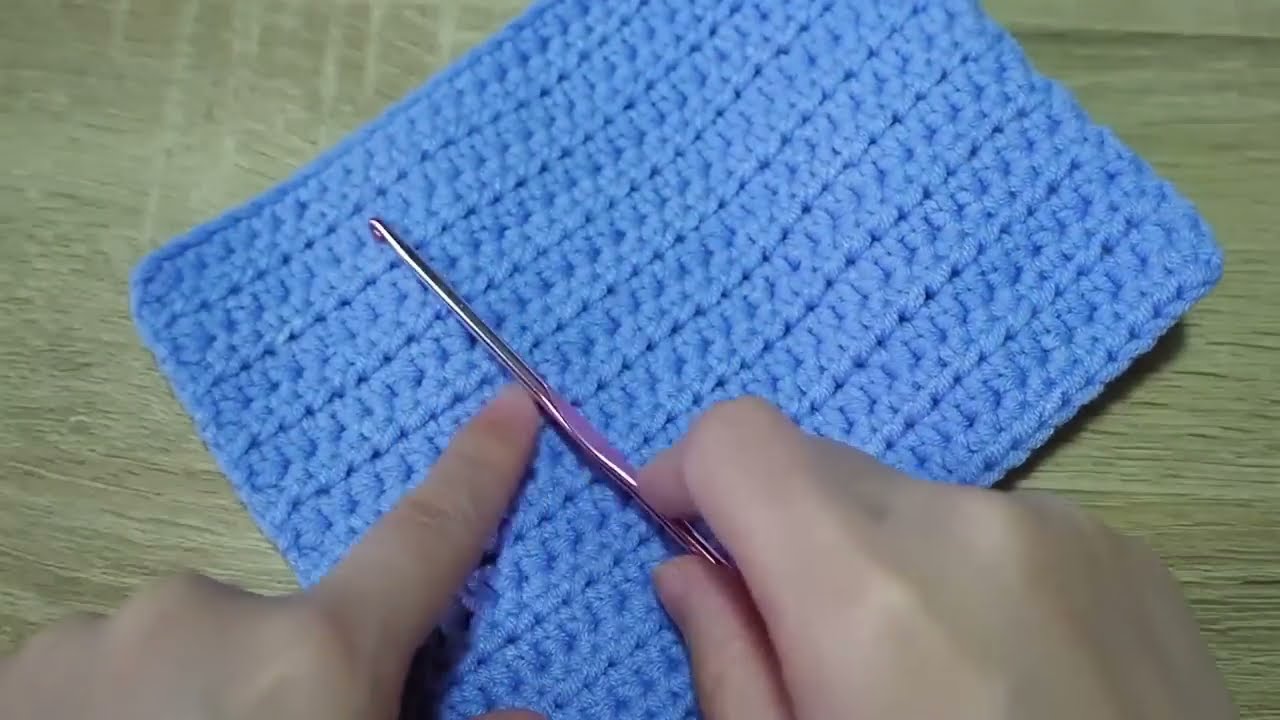
1. Crochet the Backpack Body
We’ll crochet this in the round from the bottom up.
Make the Base (Round)
-
Start with a magic ring (or chain 4 and slip stitch to form a ring)
-
Round 1: Ch 2, work 10 dc into the ring, sl st to top of ch 2 (10 dc)
-
Round 2: Ch 2, 2 dc in each stitch (20 dc)
-
Round 3: (1 dc in next st, 2 dc in next) repeat around (30 dc)
-
Continue increasing like this until the base is approx. 5–6 inches in diameter (or desired size)
Build the Body
-
Next Rounds (without increasing): Ch 2, dc in each st around. Continue working in the round for 25–30 rounds, or until the body is 9–12 inches tall.
-
Optional: Add color changes for stripes, or use puff stitches for texture.
2. Create the Flap
The flap is a semi-circle or rectangle that folds over the opening.
-
Attach yarn to the back center of the opening.
-
Row 1: Ch 2, dc across ~⅔ of the back width.
-
Row 2+: Turn, dc across, decreasing 1 stitch on each end if making a rounded shape.
-
Work 6–8 rows total, depending on desired flap size.
-
Optional: Add a buttonhole in the last row (ch 2, skip 2, continue dc).
3. Make the Straps
Crochet two sturdy straps. Here’s how:
-
Chain 70–90 (for child) or 100–110 (for adult)
-
Work hdc or sc back across for 2–3 rows
-
Fasten off and attach securely to bottom corners and upper back sides of bag
-
Optional: Use adjustable buckles or D-rings
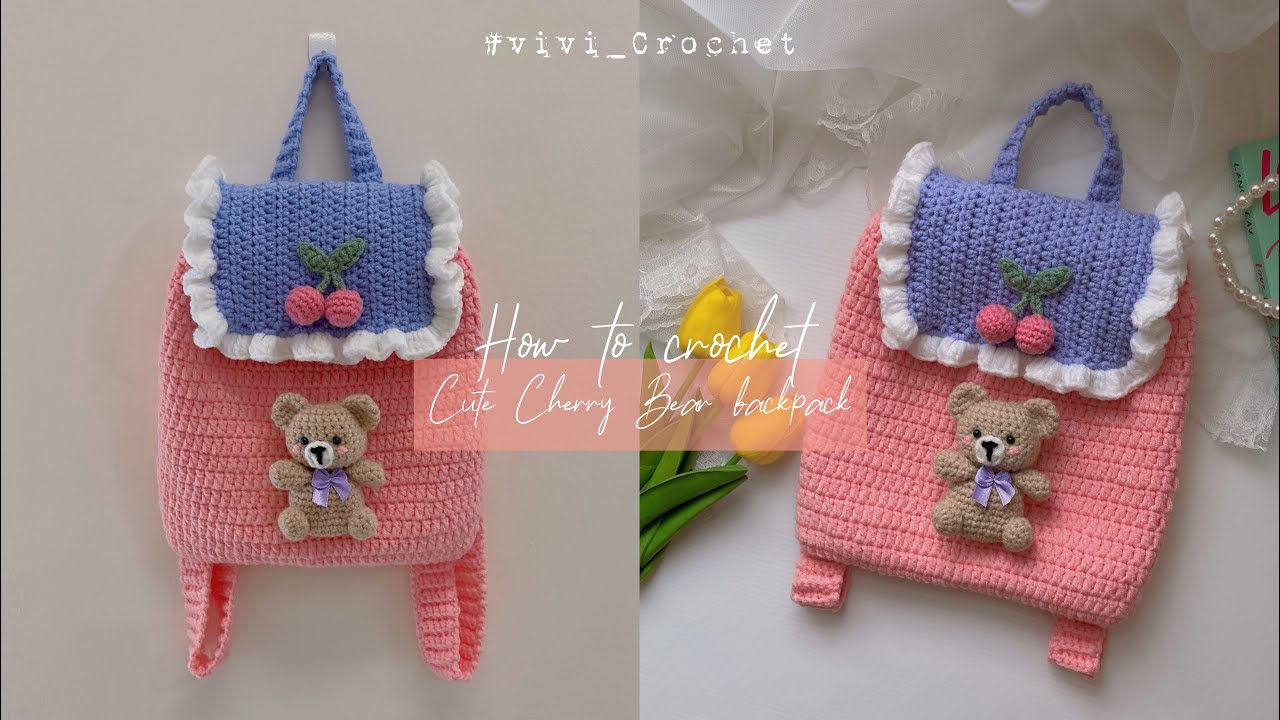
4. Add Bear Face & Cute Features
Let’s make it adorable:
Bear Ears (Make 2)
-
Magic ring, work 6 sc into ring
-
Next round: 2 sc in each st (12)
-
Next: sc around for 1–2 rounds
-
Fasten off and sew to sides of flap
Face Details
-
Eyes: Use safety eyes or sew on buttons
-
Nose/Snout: Crochet a small oval or sew felt
-
Mouth/Cheeks: Use embroidery thread or felt
-
Add blush with pink yarn or fabric paint for cuteness!
5. Assembly and Finishing Touches
-
Weave in all ends securely with a yarn needle
-
Optional: Sew in a fabric lining for extra strength
-
Attach a drawstring at the top using a long chain stitch (or use a cord)
-
Close the flap with a button, toggle, or snap
-
Test the straps and adjust placement for comfort
Pro Tips
-
Reinforce the bottom with a few extra rows or a fabric insert
-
Make it washable by avoiding glued pieces
-
Personalize it with patches, appliqués, or initials
-
Use chunky yarn and a larger hook for a bigger backpack
-
Try animal variations: bunny, panda, frog, or cat
Care Instructions
-
Hand wash or use gentle cycle
-
Air dry flat
-
If lined, spot clean inner fabric as needed
Great For:
-
Back-to-school gifts
-
Handmade toddler bags
-
Festival fashion
-
Travel pouches
-
Cute storage for crochet tools or makeup
Video Tutorial :
https://youtu.be/1SfDYAzbZlY
Final Thoughts
Crocheting a cute backpack is not only practical but allows endless creativity. From sweet bear faces to pastel stripes and custom shapes, you can turn simple stitches into something truly magical. ✨
Whether you’re making it for a child or yourself, this crochet backpack will carry both your essentials and your handmade charm wherever you go.