by
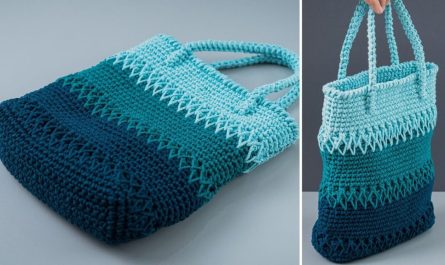
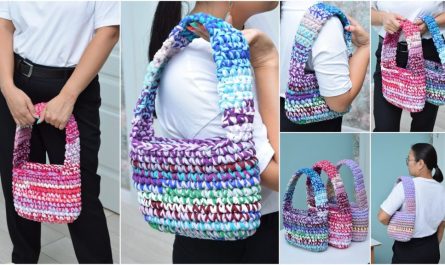
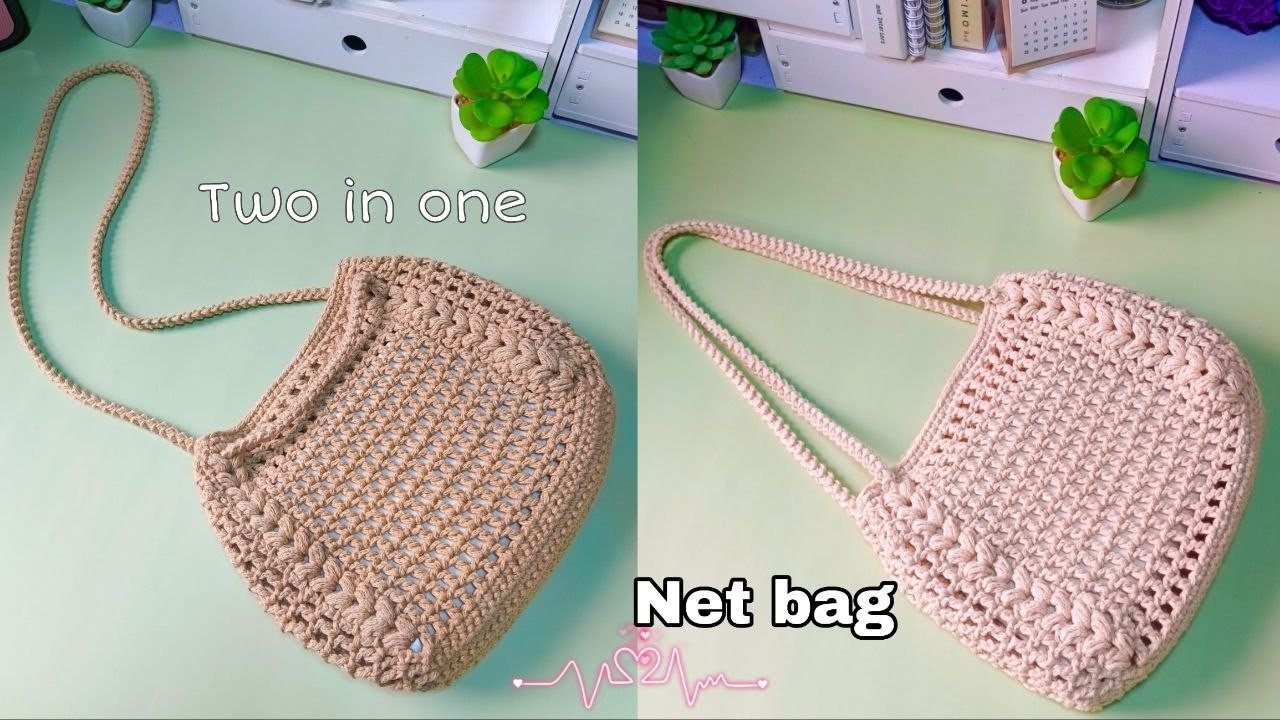
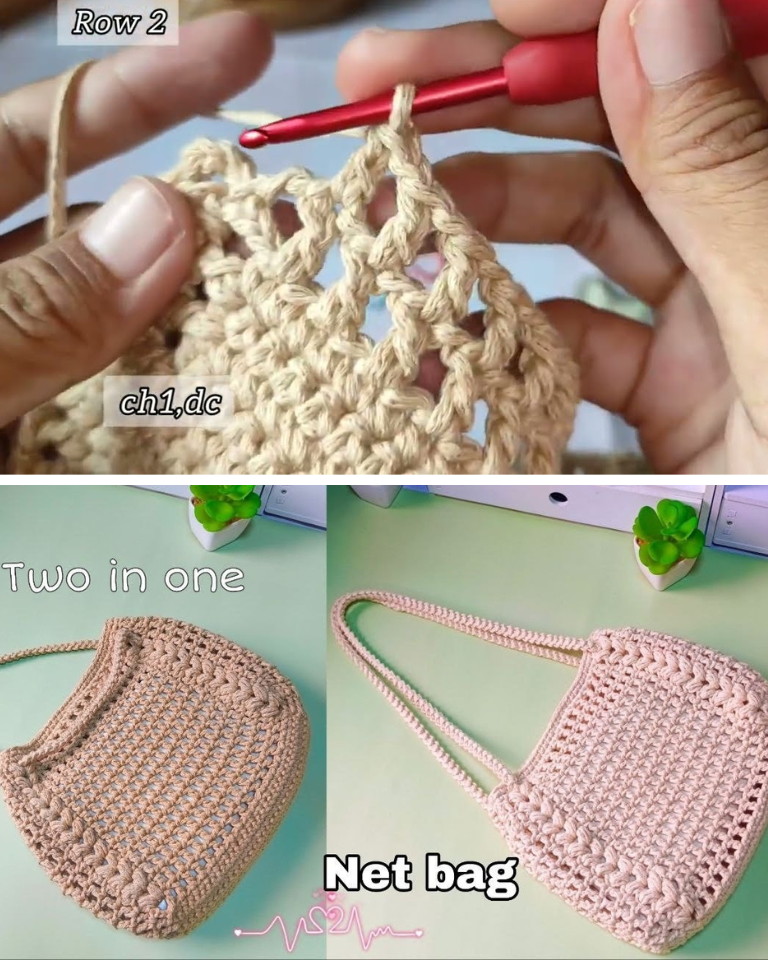
by A two-in-one net bag is the perfect project for those who want a versatile, stylish, and sustainable accessory. This design combines two functions—usually a sturdy base tote with an expandable net overlay. Whether you’re headed to the market or the beach, this crochet project gives you a practical and fashionable solution that folds down easily when not in use.
In this guide, you’ll learn how to crochet your own two-in-one net bag, even if you’re a beginner with basic crochet knowledge.
Materials You’ll Need
-
Yarn: 100–150g of cotton yarn (preferably DK or worsted weight). Cotton is durable and washable.
-
Crochet hook: Size 4.0 mm (G-6) or 4.5 mm (based on your yarn choice).
-
Scissors
-
Tapestry needle
-
Stitch markers (optional but helpful)
-
Measuring tape
Skills Required
-
Chain stitch (ch)
-
Slip stitch (sl st)
-
Single crochet (sc)
-
Double crochet (dc)
-
Working in the round
-
Mesh/net stitch (ch spaces)
If you know these stitches, you’re ready to go!
Overview of the Bag Design
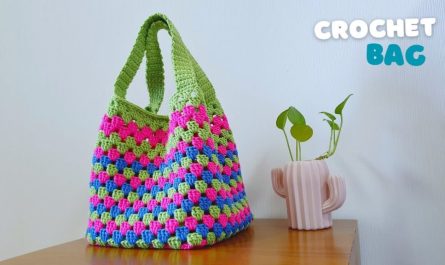
The Two-in-One Net Bag consists of:
-
A solid bottom and base for carrying heavier items.
-
An expandable netted body for a lightweight, stretchable finish.
-
Optional lining or pouch (can be added separately or crocheted in).
-
Two handles—one for the outer net, and another integrated into the base.
Step-by-Step Instructions
Step 1: Crochet the Solid Base
We begin with a round bottom using single crochet.
1.1 – Magic Ring:
-
Make a magic ring and work 6 sc into it. Pull to tighten and join with a sl st. (6 sts)
1.2 – Increasing Rounds:
-
Round 2: 2 sc in each st around (12 sts)
-
Round 3: (1 sc, 2 sc in next st) around (18 sts)
-
Round 4: (2 sc, 2 sc in next st) around (24 sts)
-
Continue increasing in this pattern until the base reaches 6–8 inches in diameter, depending on your desired bag size.
1.3 – Build the Wall:
-
Next round: sc in back loop only (BLO) of each st – this gives the bag structure.
-
Then, work 3-5 rounds of regular sc to create a solid bottom base.
Step 2: Start the Netting
Now it’s time to create the expandable mesh/net section.
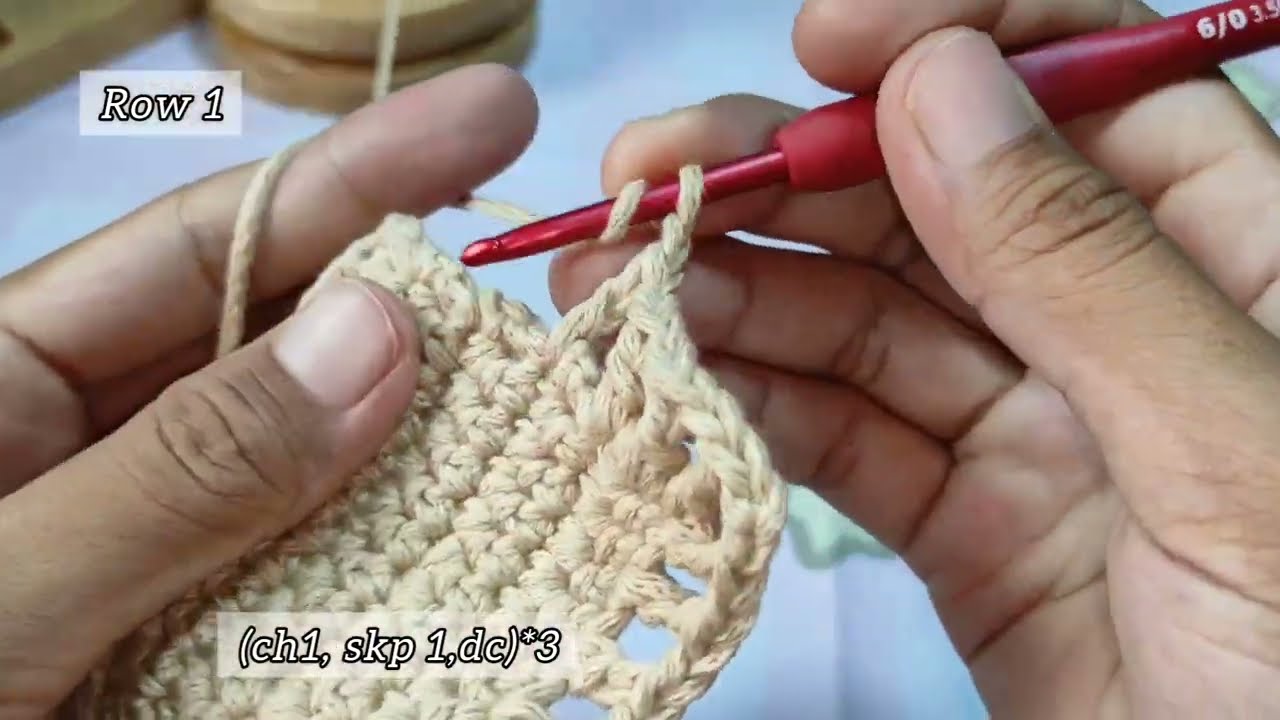
2.1 – First Mesh Round:
-
*Ch 4 (counts as 1 dc + ch 1), skip 1 st, dc in next st. Repeat from * around.
-
Join with sl st to the 3rd chain of starting ch-4.
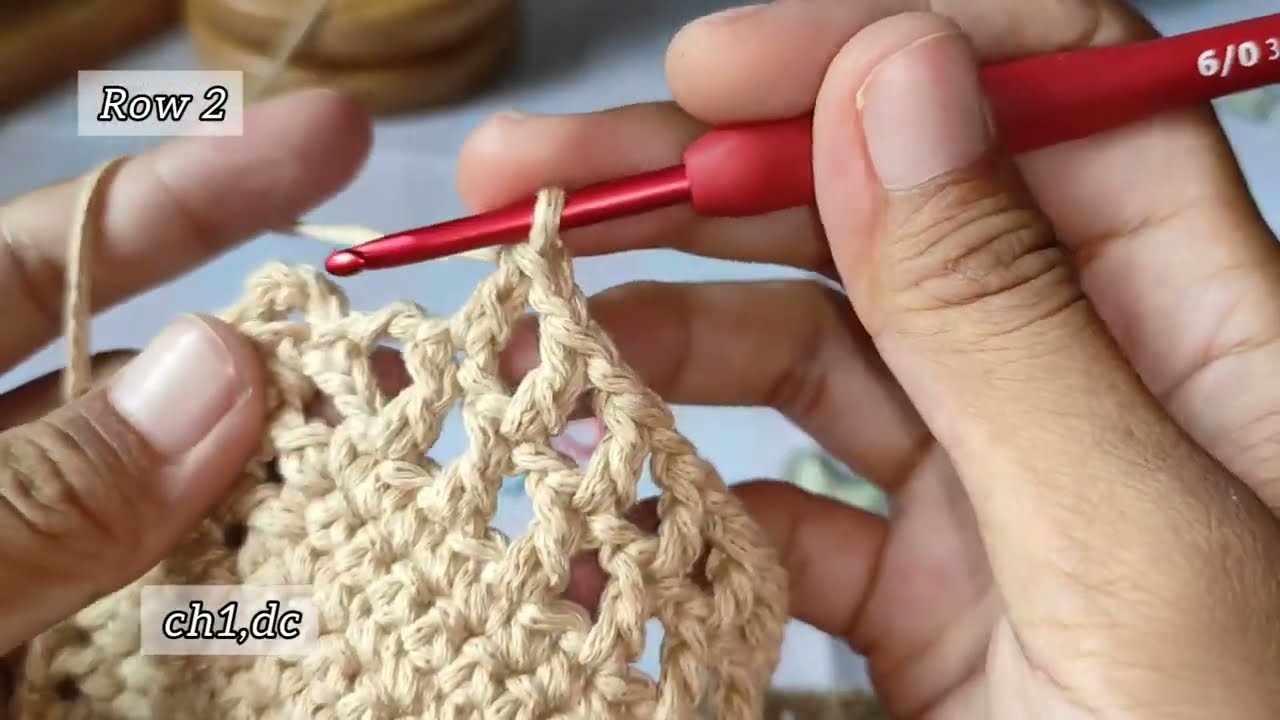
2.2 – Repeat Mesh Rounds:
-
In each round: Ch 1, dc into the next dc (not the ch-space).
-
Repeat this pattern until the net portion is about 10–12 inches high (or desired height).
Step 3: Shape the Top and Add Handles
3.1 – Finishing Edge:
-
Once the mesh is tall enough, do 1–2 rounds of single crochet around to stabilize the top edge.
3.2 – Add Handles:
Choose between short handles or longer shoulder straps.
-
Mark where you want the handles (usually 20–25 stitches apart).
-
On the next round: sc to marker, ch 35–50 (for strap), skip stitches to second marker, sc to next marker. Repeat for other handle.
-
Next round: sc into each ch of handle and continue sc around the top.
-
Optional: Do 1–2 more rounds to reinforce handles.
Optional: Add an Inner Pouch
To make it “two-in-one,” you can crochet or sew a small pouch inside the bag that the net portion folds into—like a built-in storage pocket.
How to make the pouch:
-
Crochet a 5”x5” square using single crochet.
-
Fold it in half and seam two sides.
-
Attach it to the inside of the bag with whip stitches.
-
Add a button or drawstring if desired.
Final Touches
-
Weave in all loose ends using a tapestry needle.
-
Block your bag gently by wetting and shaping it flat.
Tips for Success
-
Use stitch markers to keep track of mesh rounds—easy to lose your place!
-
Cotton yarn provides strength and stretch recovery.
-
Don’t over-tighten your stitches in the mesh—it needs flexibility.
-
Reinforce the base with an extra layer or line with fabric if you plan to carry heavy items.
Care Instructions
-
Hand-wash or machine-wash on gentle with cold water.
-
Lay flat to dry.
-
Avoid overstretching when wet.
Final Thoughts
Creating a two-in-one net bag is a practical and rewarding crochet project. It’s perfect for eco-conscious makers looking to combine style with sustainability. Once you’ve made one, you’ll likely want to make more—for yourself or as gifts!
Whether you use it for shopping, beach trips, or everyday essentials, this versatile net bag is sure to become a favorite.
Video tutorial: