by
by Crafting Stylish Comfort One Stitch at a Time
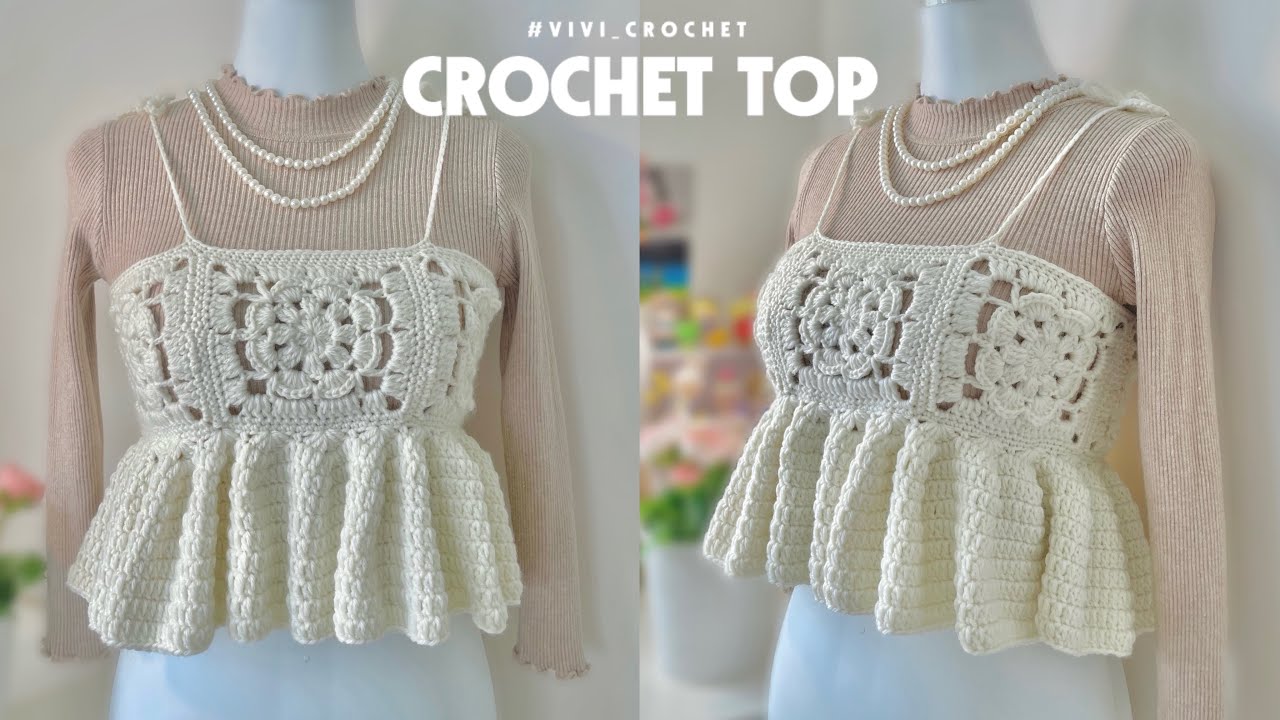
Crochet tops are having a moment—and it’s easy to see why. They’re lightweight, customizable, and effortlessly stylish. Among the most sought-after designs is the ruffle crochet top, which adds a delicate, flirty flair to any outfit. Whether you’re aiming for a boho-chic summer look or a romantic layering piece, the ruffle crochet top is a must-have addition to your handmade wardrobe.
In this step-by-step guide, you’ll learn everything you need to know to crochet your very own ruffle top—from choosing yarn to adding the final frilly touches.
Materials You’ll Need
Before starting, gather your materials:
Yarn:
-
Weight: Use a lightweight yarn like DK (Double Knitting) or sport weight for a breezy, delicate look.
-
Fiber: Cotton or cotton blends are perfect for breathability.
-
Yardage: Approximately 600–1000 yards, depending on your size and design.
Hook:
-
Suggested hook size: 3.5mm – 4.5mm (E to G).
-
Use the size that achieves your desired tension. Swatching is crucial!
Other Supplies:
-
Stitch markers
-
Yarn needle
-
Scissors
-
Measuring tape
-
Buttons (if you’re making a buttoned back or front)
-
Elastic band (optional, for fitted ruffles or straps)
Skill Level Required
This project is suitable for adventurous beginners to intermediate crocheters. You should be familiar with:
-
Chain (ch)
-
Slip stitch (sl st)
-
Single crochet (sc)
-
Half double crochet (hdc)
-
Double crochet (dc)
-
Increasing and decreasing
-
Reading a basic pattern
Sizing and Fit
You can customize your top based on your bust size and desired fit (snug or flowy). Measure:
-
Bust circumference
-
Length from shoulder to desired hemline
-
Width and placement of straps or sleeves
Keep in mind that crochet stretches, so consider that when sizing.
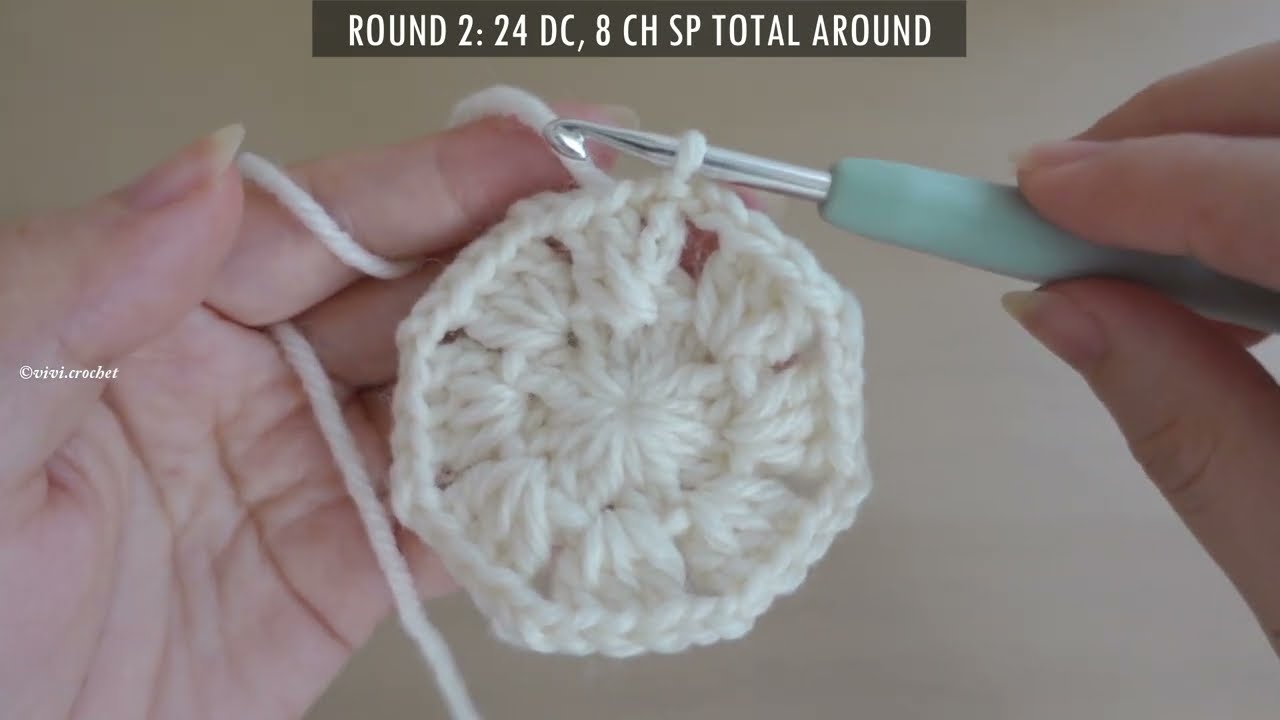
Step-by-Step Instructions
✨ STEP 1: Create the Base Bodice
Foundation Chain
Start with a chain that matches your bust measurement + 2″ for ease. Make sure it’s an even number of stitches.
Example: For a 36″ bust using DK yarn, you might start with ~100–110 chains.
Row 1-5: Ribbing (Optional)
To create a stretchy ribbed hem, work rows of hdc in back loop only (BLO). This gives your bodice a snug lower edge.
Main Bodice Stitch Pattern
Choose a stitch pattern like:
-
Half double crochet for a dense and simple look.
-
Mesh stitch (alternating dc and ch) for a more breathable, lacy texture.
Work even rows back and forth (or in rounds if working in the round) until you reach your desired bodice length, usually just under the bust line (crop) or at the waist.
✨ STEP 2: Shape the Bust and Straps
Bust Cups (Optional for Added Shape)
Split your work in half and work two triangle-shaped bust cups.
-
Row 1: Attach yarn to the corner. Ch 1, sc across (e.g., 20 stitches).
-
Row 2+: Decrease 1 stitch at each end every row to shape the triangle. Repeat until 1 stitch remains.
Repeat for the other cup.
Straps
From the top of each cup (or corner of the front panel), ch 40–60 (depending on how long you want the straps). Attach to the back panel (or top of the back). Make sure to try on for accurate placement.
You can also crochet thicker straps or even ruffled straps for a bolder look.
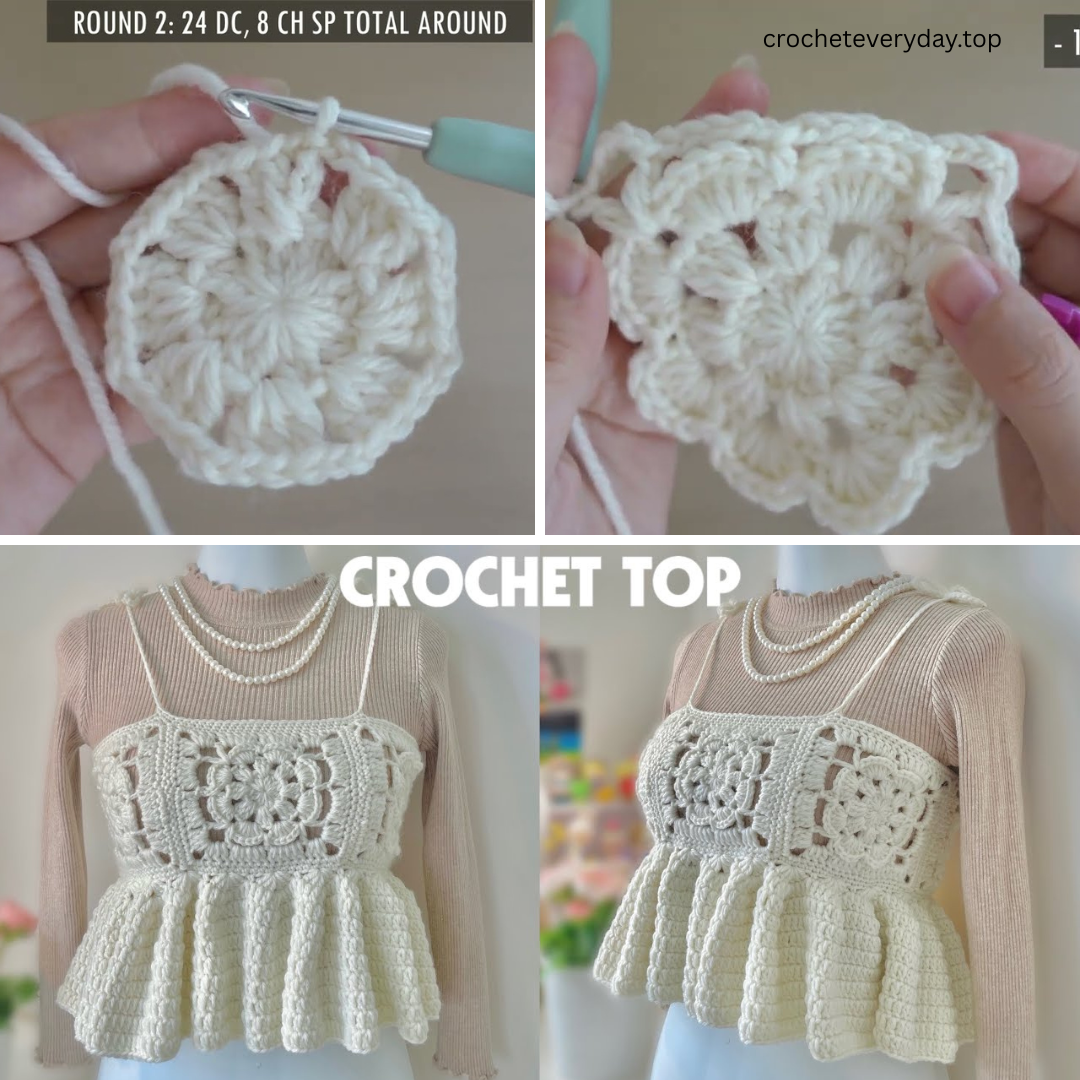
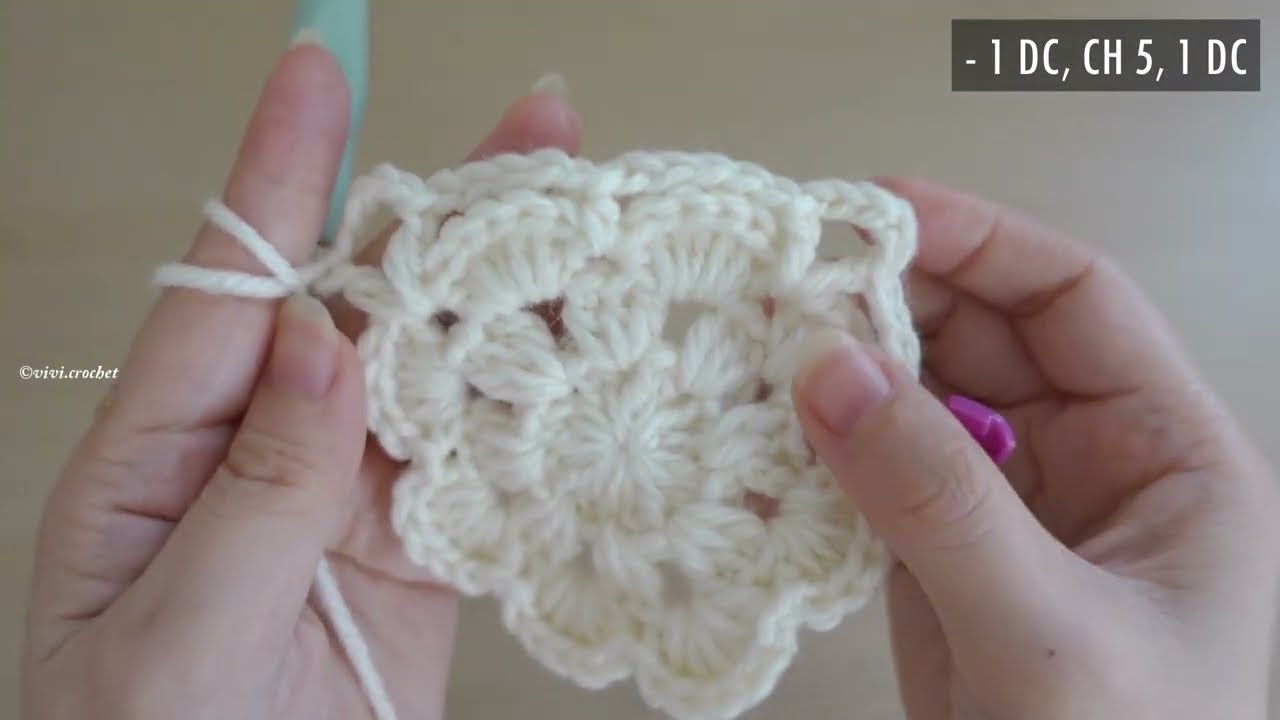
✨ STEP 3: Add the Ruffles
This is the fun part! Ruffles can be added:
-
Along the neckline
-
Across the bust line
-
On the hem
-
On the straps
-
Around the sleeves (if adding)
Basic Ruffle Formula:
Ruffles are made by increasing stitches—typically 2 or 3 stitches in one base stitch.
Example:
-
Row 1: Attach yarn to the area where you want the ruffle (e.g., neckline).
-
Row 2: Work dc into each st across.
-
Row 3: Work 2 dc in each dc (for gentle ruffle), or 3 dc in each dc for a fuller, dramatic frill.
-
Optional Row 4: Add a picot or shell edging for a decorative finish.
You can make layered ruffles by working multiple rows in different colors or starting points.
✨ STEP 4: Finishing Touches
-
Seam the sides if you worked flat.
-
Add buttons or ties for an open-back style.
-
Steam block your top to relax the stitches and shape the ruffles.
-
Weave in all ends with a yarn needle.
Style Variations
Here are some creative variations to personalize your ruffle top:
| Style Element | Description |
|---|---|
| Off-the-shoulder | Add wide ruffle sleeves that drape over the arms. |
| Cropped tie-front | Finish the hem with ties and make it adjustable. |
| Color-blocked ruffles | Use different yarn colors for a bold contrast. |
| Lace stitch body | Combine open lace stitches with solid ruffles. |
| Peplum ruffle | Work a longer ruffle at the bottom hem for a flared silhouette. |
Care Tips
Since crochet tops are often delicate:
-
Hand wash in cold water with mild soap.
-
Lay flat to dry to prevent stretching.
-
Avoid ironing directly on the ruffles—use a steamer or press with a cloth.
Final Thoughts
A ruffle crochet top is a playful, eye-catching garment that showcases both your personality and skill. Whether you keep it simple with a single frill or go bold with layers of cascading ruffles, this project offers endless room for creativity and flair.
If you’re new to garment-making, don’t be intimidated. With patience, some measuring, and your favorite yarn in hand, you’ll have a beautiful handmade top in just a few evenings.
Video Tutorial :