by
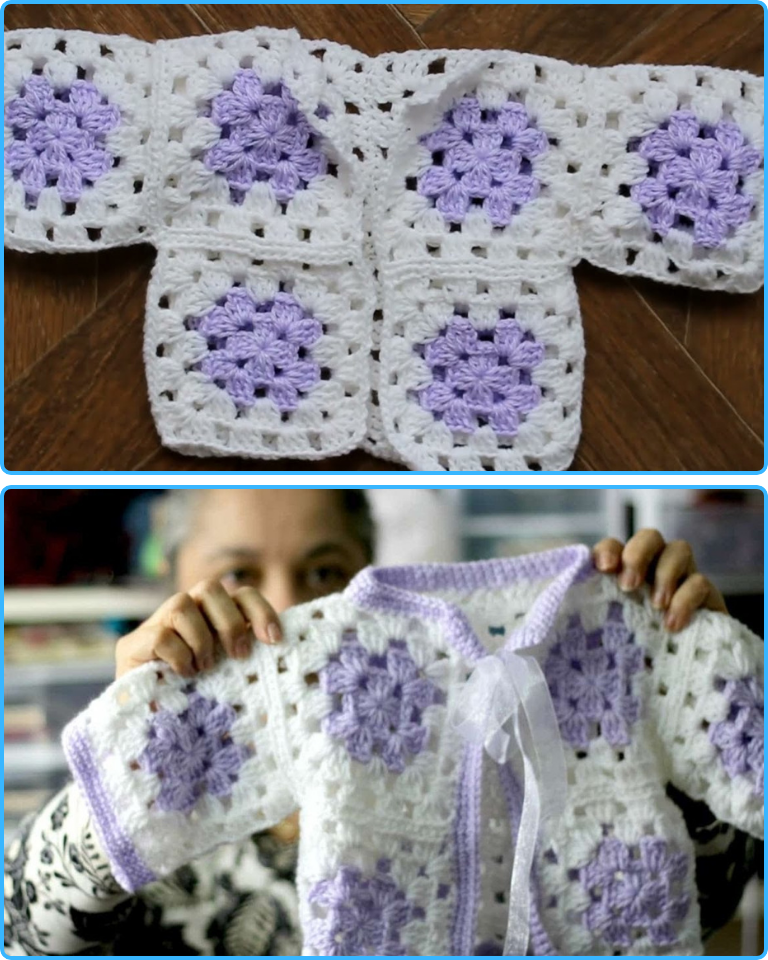
by Crocheting a baby cardigan doesn’t have to be intimidating—even for beginners. One of the easiest and most charming ways to create one is by using granny squares, a classic crochet motif that’s both simple and versatile. This guide will walk you through how to crochet a granny square baby cardigan, from start to finish, using basic techniques that even a beginner can master.
Whether you’re preparing a gift for a baby shower or making something special for your own little one, a granny square cardigan is a cozy, customizable, and joyful project.
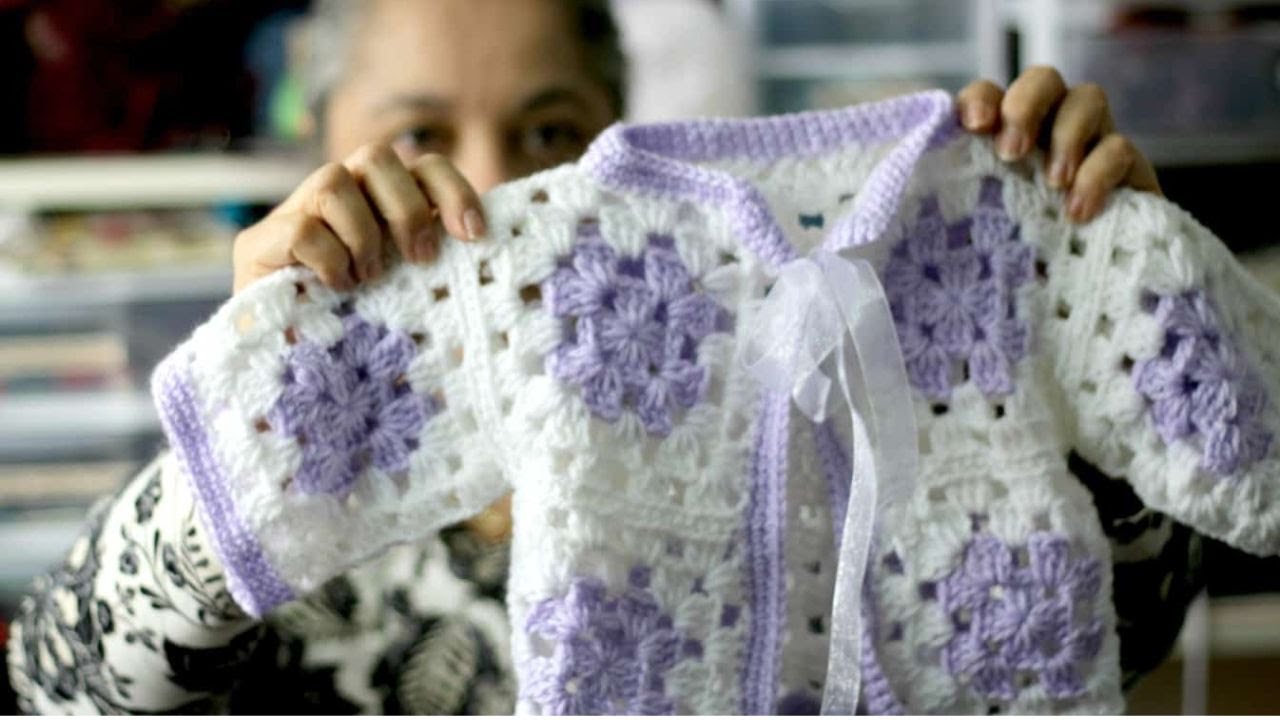
Table of Contents
-
-
Step 1: Crochet the Granny Squares
-
Step 2: Join the Squares
-
Step 3: Shape the Armholes and Body
-
Step 4: Add the Sleeves
-
Step 5: Crochet the Collar and Borders
-
Step 6: Finishing Touches
-
Why Choose Granny Squares?
Granny squares are ideal for beginners because they use basic stitches, work up quickly, and can be assembled like building blocks. Plus:
-
They are modular—you can adjust the size of your cardigan by simply using more or fewer squares.
-
You can mix and match colors to create a playful or elegant look.
-
They are great stash-busters, letting you use up leftover yarn.
Materials Needed
Here’s what you’ll need to get started:
-
Yarn: Choose soft, baby-friendly yarn (lightweight DK or worsted weight). Cotton or acrylic blends are ideal.
-
Hook: Usually 4.0 mm (G) or 4.5 mm (7), depending on yarn.
-
Scissors
-
Yarn needle
-
Stitch markers (optional)
-
Measuring tape
-
Buttons (optional): 3–5 small buttons for fastening.
-
Blocking supplies: If you want clean, professional-looking squares.
Basic Crochet Skills You’ll Need
You’ll use the following crochet stitches and skills:
-
Chain (ch)
-
Slip Stitch (sl st)
-
Double Crochet (dc)
-
Working in the round
-
Joining squares (whip stitch, slip stitch, or join-as-you-go)
If you’re unfamiliar with these, there are many beginner video tutorials available that explain each stitch in detail.
Step-by-Step Instructions
This pattern uses traditional granny squares to create a cardigan suitable for a baby aged 3–6 months. You can easily scale it up by using larger squares or more of them.
✅ Step 1: Crochet the Granny Squares
You’ll need about 16 squares for a basic 3–6 month cardigan. Each square will be approximately 4″ x 4″.
Classic Granny Square Pattern (4 Rounds)
Round 1
-
Ch 4, sl st to form a ring.
-
Ch 3 (counts as 1 dc), 2 dc into ring, ch 2, 3 dc into ring, ch 2 repeat 3 times.
-
Sl st into top of beginning ch-3. (You have 4 corners.)
Round 2
-
Sl st to the first ch-2 space.
-
Ch 3 (counts as dc), 2 dc in same space, ch 2, 3 dc in same space (corner made).
-
In next ch-2 space, 3 dc, ch 2, 3 dc. Repeat around.
-
Sl st to join.
Round 3 & 4
-
Continue working 3 dc clusters in each space, with 3 dc, ch 2, 3 dc in each corner.
-
After 4 rounds, fasten off and weave in ends.
Repeat until you have 16 squares.
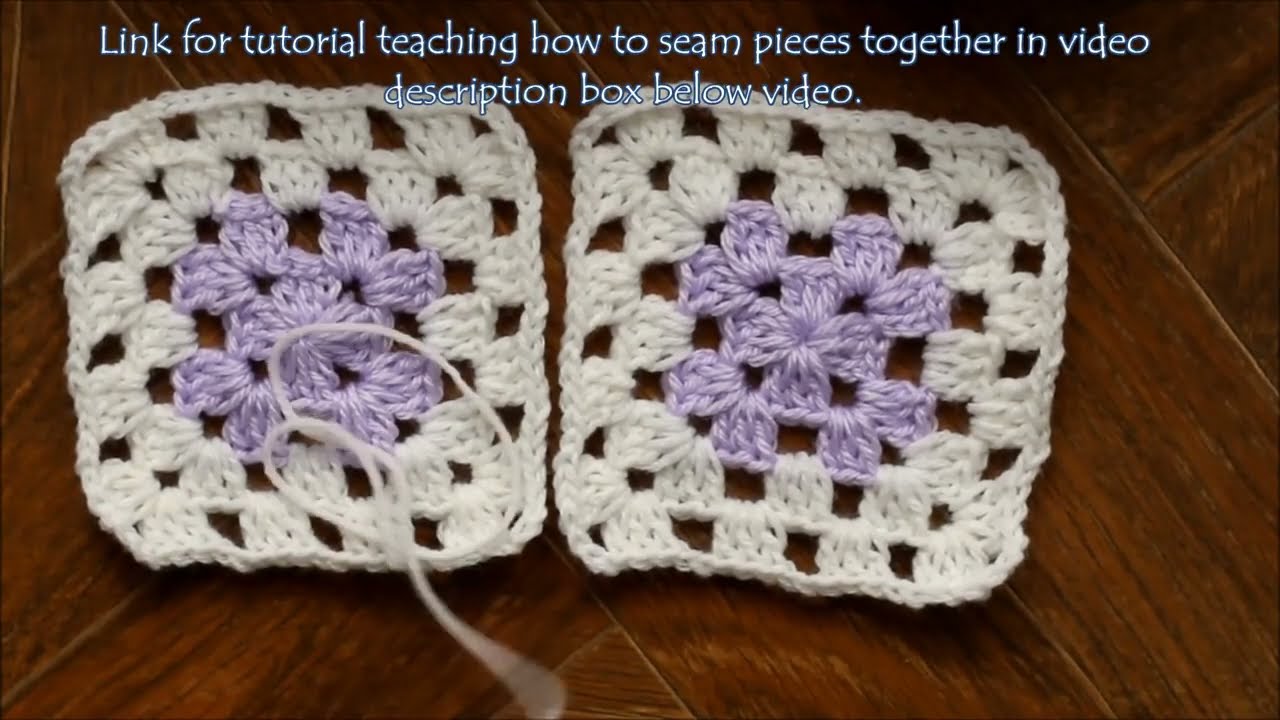
✅ Step 2: Join the Squares
Layout Plan:
-
2 squares each for left and right front panels (4 total)
-
4 squares for the back
-
2 squares each for the top of the sleeves (4 total)
-
4 squares for the lower sleeves (optional, can shorten)
Assembly:
-
Lay out your squares flat.
-
Use whip stitch or slip stitch to seam them together, right sides facing inward for less visible seams.
-
First join the front and back panels, then attach the sleeve squares.

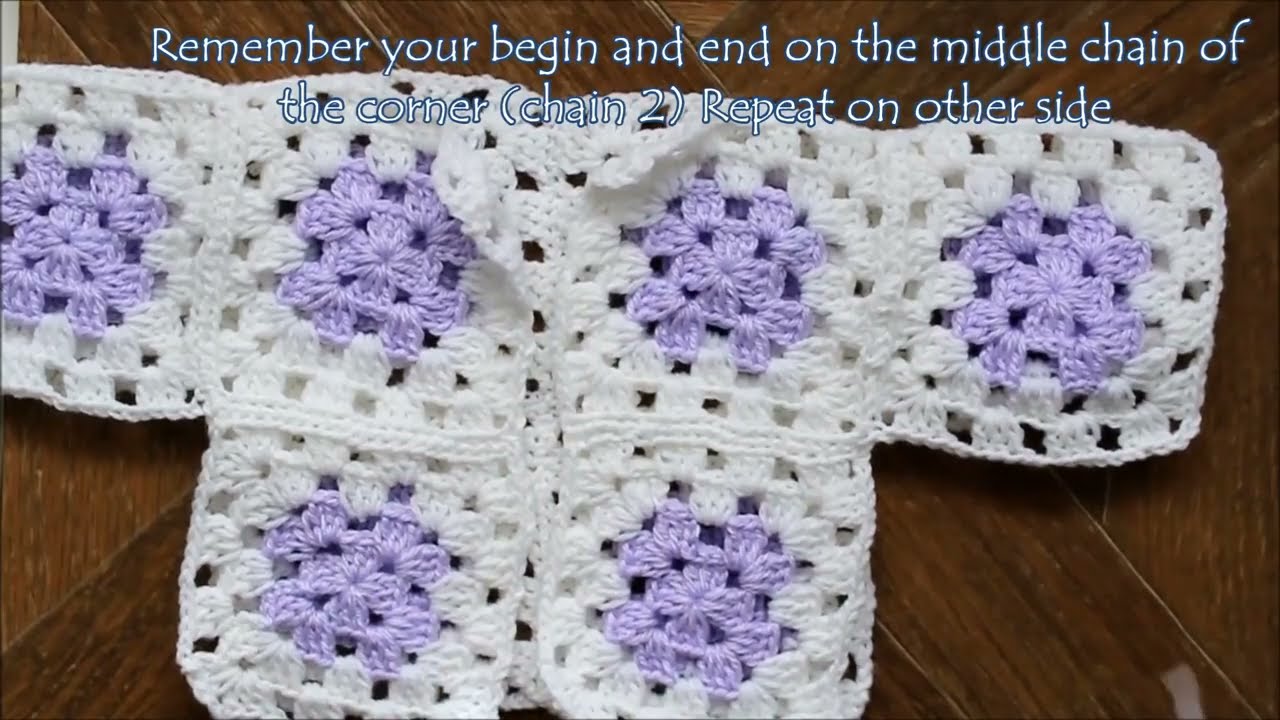
✅ Step 3: Shape the Armholes and Body
-
Fold the assembled body piece in half (like a T-shape).
-
Leave the top squares of each front panel open for armholes.
-
Join the sides using whip stitch or sl st, leaving room for the arms to move freely.
At this point, you should have a basic cardigan shape!
✅ Step 4: Add the Sleeves
To create sleeves:
-
Join yarn at the underarm.
-
Work dc stitches in the round evenly around the sleeve opening.
-
Continue crocheting in rounds (about 5–7 rounds) or add additional granny squares if desired.
-
You can decrease stitches slightly as you move down the arm for a more fitted sleeve.
Optional: Finish the sleeve with a decorative shell stitch border or a row of single crochet.
✅ Step 5: Crochet the Collar and Borders
To add a collar and neaten the cardigan’s edges:
-
Neckline and front edge: Join yarn at bottom front corner.
-
Ch 1, and sc evenly up the front, around the neck, and down the other front edge.
-
Add buttonholes on one side (ch 1, skip 1) every 1–1.5″.
Optional Collar:
-
Work 3–5 rows of hdc or dc around the neckline for a soft fold-over collar.
✅ Step 6: Finishing Touches
-
Weave in all ends securely with a yarn needle.
-
Block your cardigan to shape the granny squares neatly and give it a professional look.
-
Sew on buttons opposite your buttonholes.
-
Try it on! Admire your beautiful work.
Tips for Success
-
Use stitch markers to help align squares before joining.
-
Keep color consistency or play with rainbow hues—this is your design!
-
Weave in ends as you go to avoid a daunting task at the end.
-
If your squares are curling or uneven, block them before assembly.
-
Adjust sizing by using larger yarn or adding extra squares.
FAQs
Q: Can I use different granny square designs?
Absolutely! As long as the squares are the same size, you can use solid squares, flower-centered squares, or other motifs.
Q: How do I resize the cardigan for older babies?
-
Add more squares to increase width or length.
-
Use a larger hook and thicker yarn.
-
Increase the number of sleeve rows for longer arms.
Q: What if my granny squares don’t match up?
Make sure you’re using the same number of rounds and the same tension for each. Blocking can help fix minor size differences.
Conclusion
Crocheting a granny square baby cardigan is a fun, beginner-friendly project that offers flexibility and endless creative possibilities. With just a handful of basic stitches and a bit of time, you can create a cozy, colorful cardigan full of handmade charm.
Whether you stick with a classic one-color design or go bold with bright, contrasting squares, this cardigan is sure to be a treasured item for any baby’s wardrobe. Best of all, it’s a great stepping stone for future crochet garments and gifts.
Video tutorial: