by
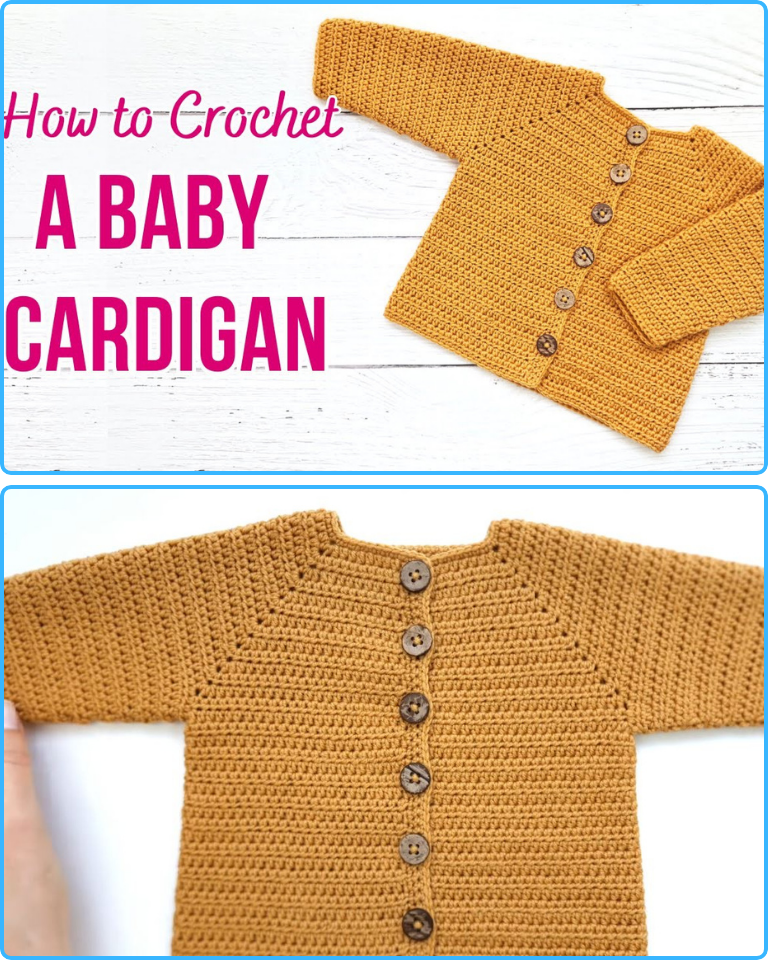
by Crocheting a baby cardigan is a rewarding project that blends creativity, practicality, and love. Whether you’re making it as a heartfelt gift or for your own little one, a handmade cardigan adds warmth and charm to any baby’s wardrobe. In this comprehensive guide, we’ll walk you through everything you need to know to crochet a baby cardigan—from selecting materials to completing your final stitch.
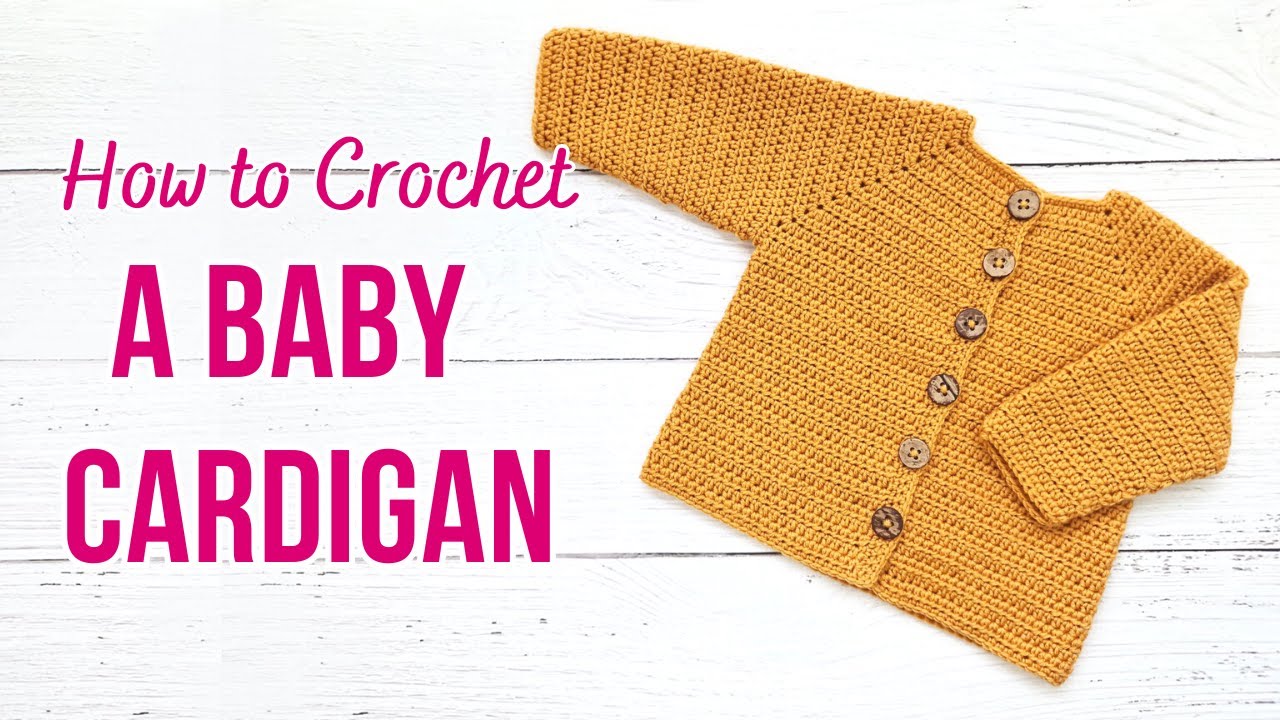
Table of Contents
-
-
Step 1: Crochet a Gauge Swatch
-
Step 2: Crochet the Yoke
-
Step 3: Divide for Sleeves and Body
-
Step 4: Crochet the Body
-
Step 5: Crochet the Sleeves
-
Step 6: Add Finishing Touches
-
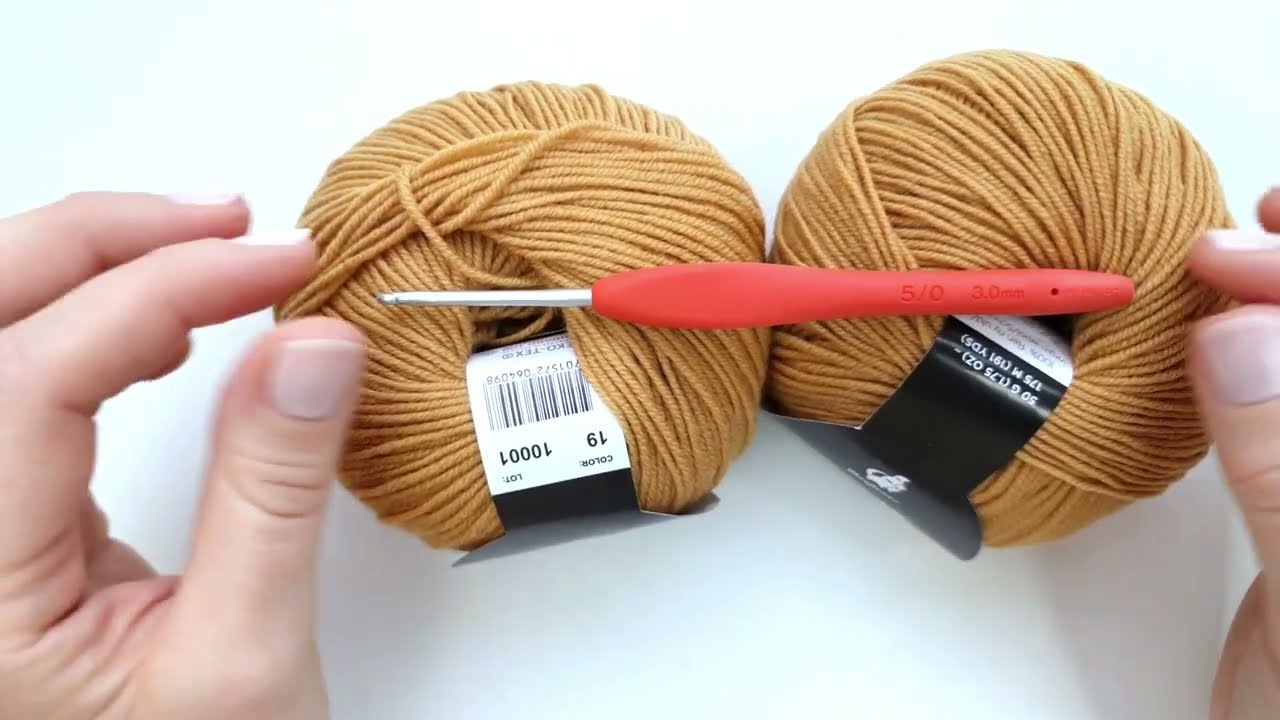
Materials Needed
Before starting, gather the following materials:
-
Yarn (Lightweight/DK or worsted weight recommended)
-
Crochet hook (typically 4.0 mm to 5.0 mm, depending on yarn)
-
Scissors
-
Yarn needle (for weaving in ends)
-
Measuring tape
-
Stitch markers
-
Buttons (optional, usually 3–5 small ones)
-
Pattern (we will include a basic one here)
Choosing the Right Yarn and Hook
Yarn
Choose a soft, machine-washable yarn that’s gentle on baby skin. Acrylic and cotton blends work well. Avoid fuzzy or textured yarns, as they can irritate delicate skin or be hard to work with.
-
DK (Double Knitting): Great for lighter cardigans.
-
Worsted Weight: Ideal for warmth and structure.
Hook
Check the yarn label for the recommended hook size. Always make a gauge swatch to ensure your finished cardigan fits the intended size.
Understanding Sizing
Baby clothes typically come in the following sizes:
-
Newborn (0–3 months)
-
3–6 months
-
6–12 months
-
12–18 months
-
18–24 months
This guide will use 3–6 months as the standard size. To adjust for other sizes, increase the starting chain and number of rows according to a reliable baby size chart or your pattern’s instructions.
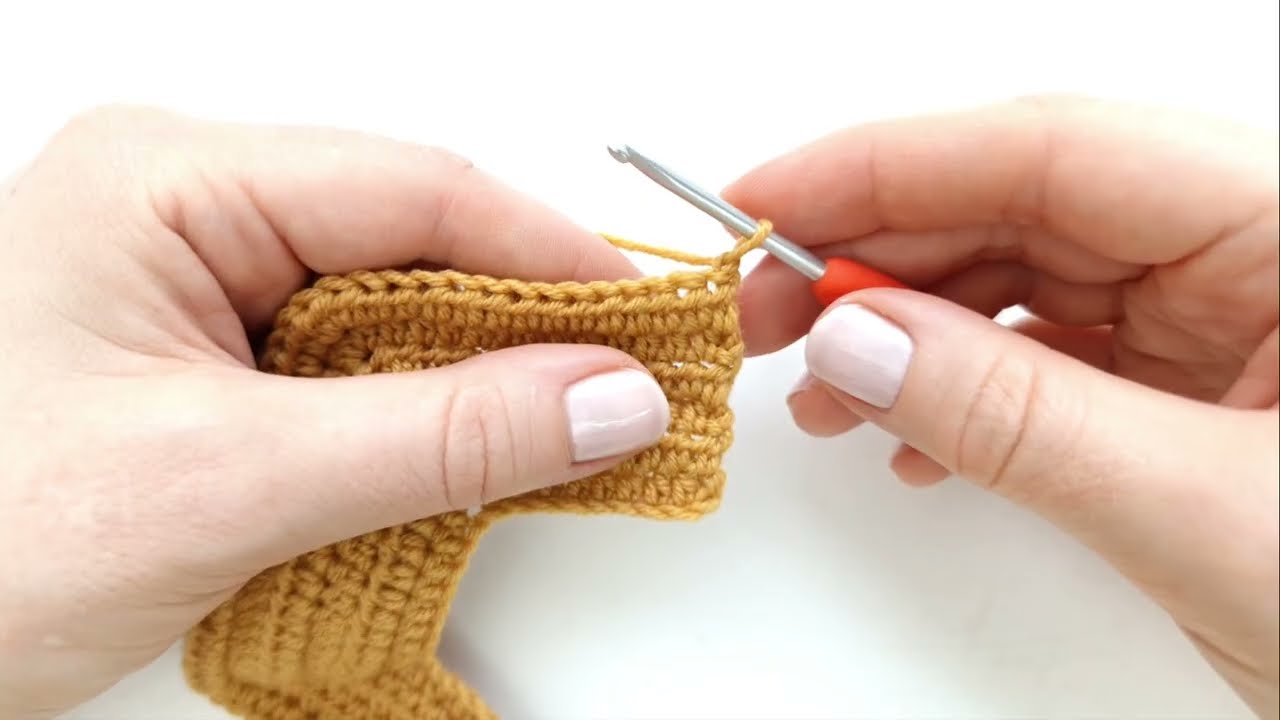
Basic Stitches and Techniques
You’ll need to be familiar with these stitches:
-
Chain (ch)
-
Slip stitch (sl st)
-
Single crochet (sc)
-
Half-double crochet (hdc)
-
Double crochet (dc)
-
Increasing and decreasing
If you’re new to crochet, take some time to practice these stitches before beginning your cardigan.
Step-by-Step Instructions
Let’s walk through a simple top-down, seamless baby cardigan pattern.
Step 1: Crochet a Gauge Swatch
Make a swatch using the stitch called for in the pattern (typically dc or hdc). Measure a 4″x4″ area. If you have too many stitches, go up a hook size; too few, go down.
Step 2: Crochet the Yoke
Foundation chain: Ch 48
Row 1: Dc in the 4th ch from the hook, and in each ch across (45 dc).
Row 2: Ch 2, turn. Dc in next 6 stitches, 2 dc in next stitch repeat across. This increases the stitch count to begin shaping the yoke.
Row 3–6: Continue increasing at regular intervals (such as every 6–7 stitches), forming the front panels, sleeves, and back.
Mark the beginning of sleeves with stitch markers as you go.
Step 3: Divide for Sleeves and Body
On the final row of the yoke, you’ll separate the sleeves from the body:
-
Dc across the front
-
Ch a few stitches (these become the underarm)
-
Skip the sleeve section
-
Continue dc across the back
-
Repeat for other sleeve
Example:
-
Front: 10 stitches
-
Sleeve: 12 stitches
-
Back: 16 stitches
-
Underarm chain: 3–5 stitches
Step 4: Crochet the Body
Now, working just on the body stitches:
-
Row 1: Dc across all stitches and chains from underarms.
-
Rows 2–12: Continue working in dc until desired length is reached.
Optional: Add a ribbed or scalloped border at the bottom edge.
Step 5: Crochet the Sleeves
Return to the skipped sleeve sections.
-
Join yarn at the underarm.
-
Dc around, including the underarm stitches.
-
Work in rounds or rows depending on preference.
-
Decrease slightly every few rows for a tapered sleeve.
-
Repeat for the second sleeve.
Typical sleeve length for 3–6 months: 4.5 to 5 inches.
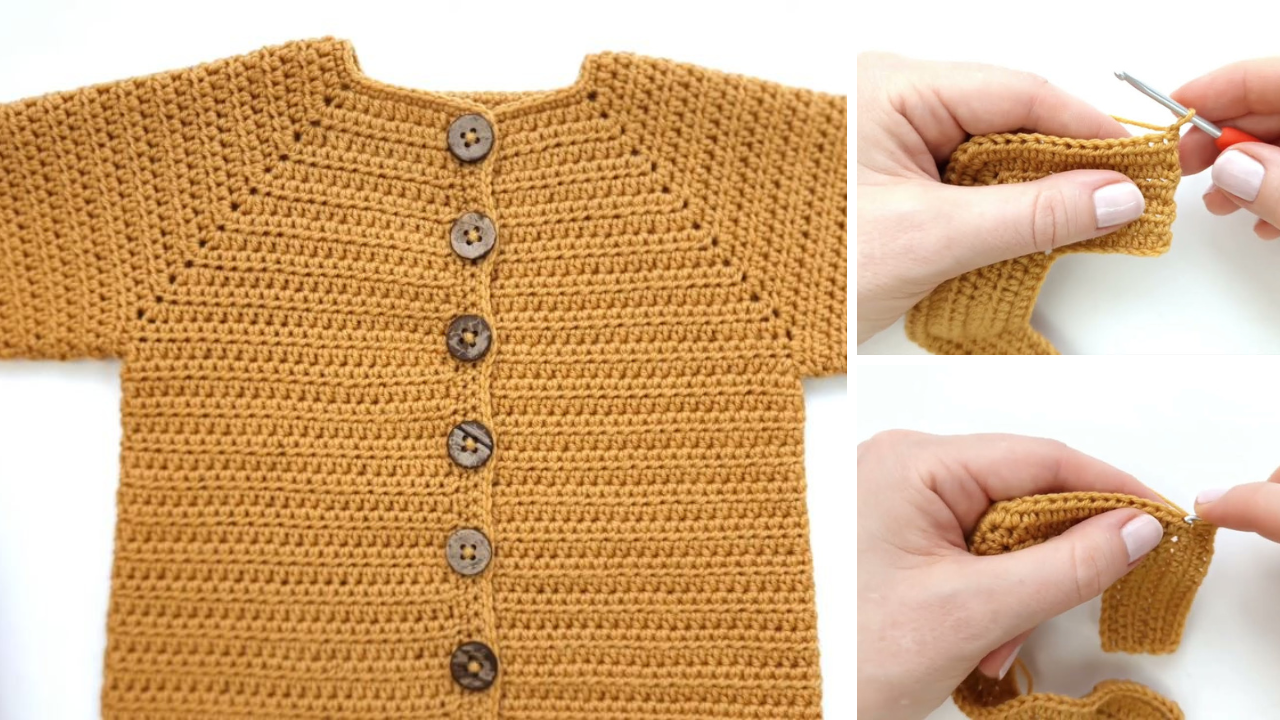
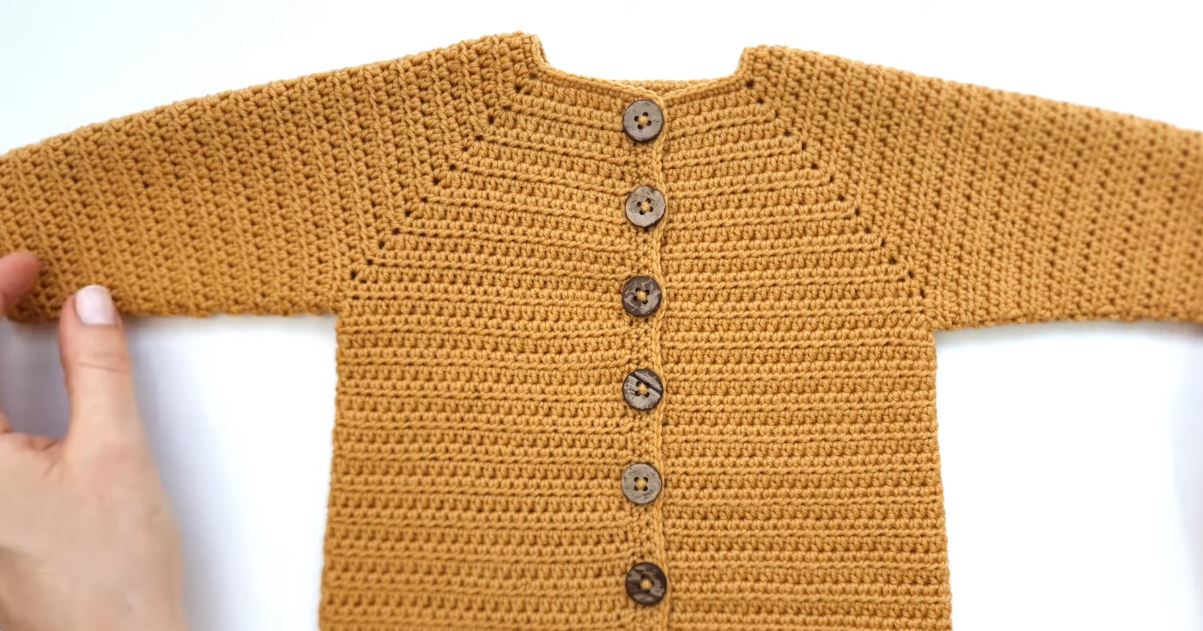
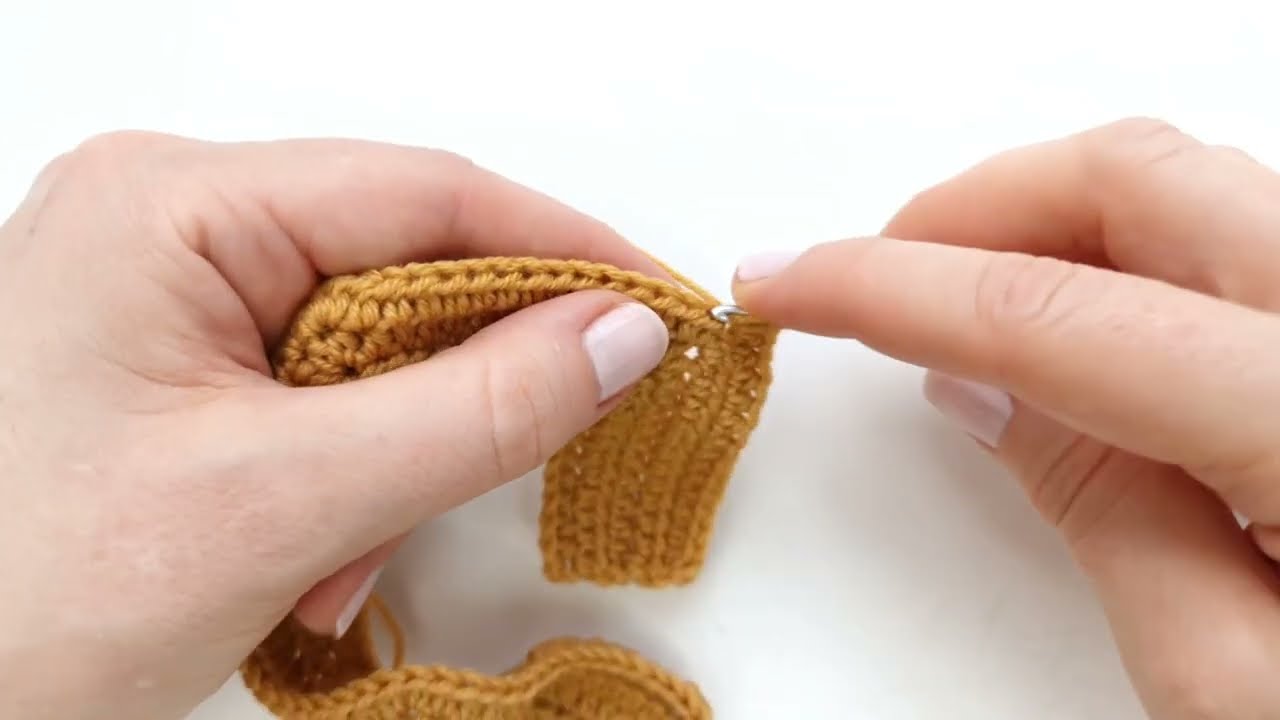
Step 6: Add Finishing Touches
-
Front Edging: Work sc or hdc along both front panels and neckline.
-
Buttonholes: On one side, evenly space small gaps (ch 1, skip 1) for buttons.
-
Sew buttons: On the opposite side.
-
Weave in all ends with a yarn needle.
You can add decorative touches like a shell stitch border, appliqués, or color changes.
Tips for Success
-
Mark your increases: Use stitch markers to avoid confusion.
-
Check fit as you go: If possible, try the yoke on a baby or use a sizing template.
-
Count your stitches frequently.
-
Choose the right pattern: Beginners should look for “seamless” or “top-down” designs.
-
Use a light-colored yarn: It’s easier to see stitches than with dark yarns.
Frequently Asked Questions
Q: How long does it take to crochet a baby cardigan?
A: For intermediate crocheters, it may take 6–10 hours. Beginners might take longer depending on the complexity of the pattern.
Q: Can I make it larger or smaller?
A: Yes. Adjust by changing the number of stitches in the yoke and by crocheting more rows.
Q: What’s the best yarn for sensitive baby skin?
A: Hypoallergenic options like bamboo blends, organic cotton, or soft acrylic yarns like Bernat Baby or Lion Brand Baby Soft are ideal.
Conclusion
Crocheting a baby cardigan is a beautiful and functional project that’s perfect for practicing your skills while creating something meaningful. Whether you’re gifting it to a friend or preparing for your own little one, the process is filled with creativity, warmth, and care. With the right yarn, a little patience, and a step-by-step approach, you can craft a cozy cardigan that will be cherished for years.
Video tutorial: