by
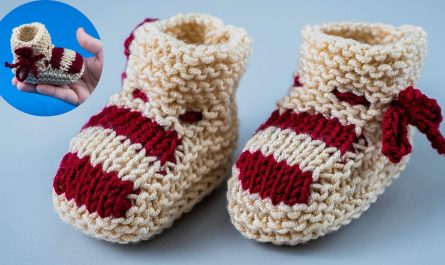
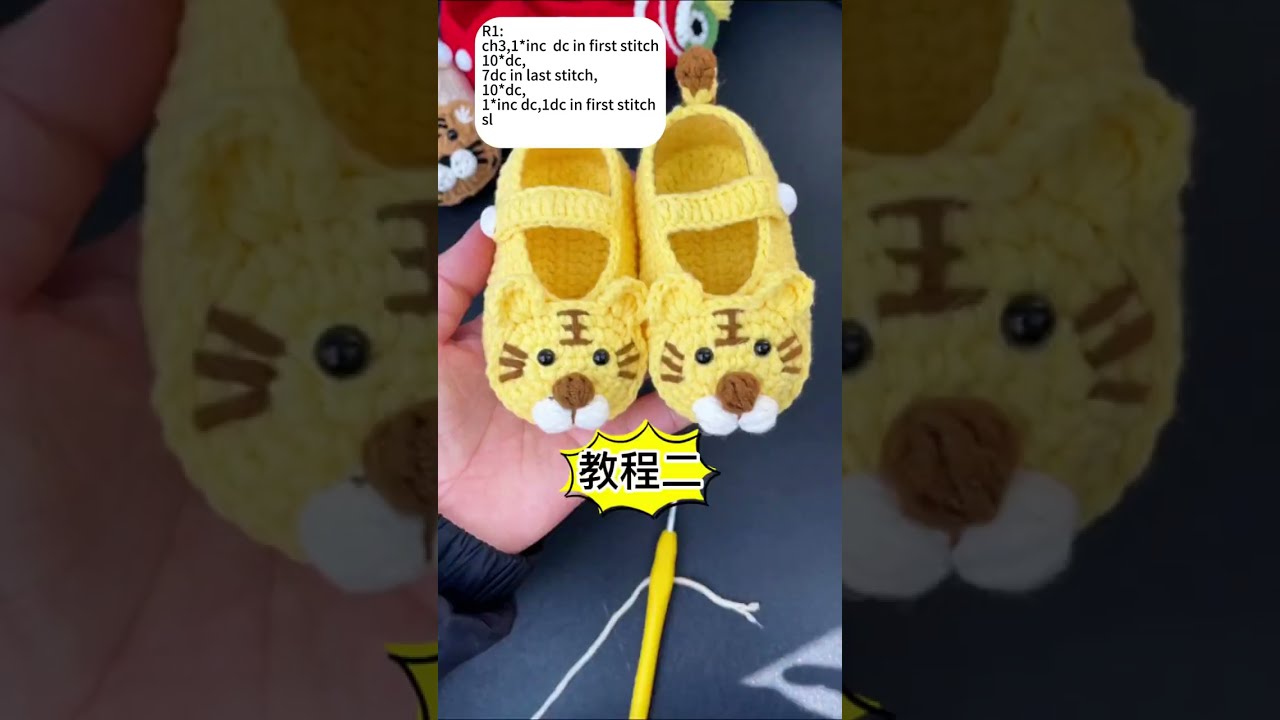
by Crocheting baby shoes is a beloved project for beginners and seasoned crafters alike. These tiny creations are not only adorable but also practical gifts for newborns. Adding a playful touch—like a cute tiger design—brings extra personality and charm. Whether you’re making them for your own little cub or as a heartfelt handmade gift, tiger-themed baby shoes are sure to be a roaring success!
This comprehensive guide will walk you through everything you need to know: from selecting materials to crafting the tiger face details, with clear instructions for beginners.
Materials You Will Need
Before getting started, make sure you have the right supplies on hand:
Yarn:
-
Main color (Orange) – for the body of the shoe.
-
Secondary color (Black) – for tiger stripes and facial features.
-
White – for the eyes and snout.
-
A small amount of Pink or Red – for the tongue or nose (optional).
Choose a soft, baby-friendly yarn like:
-
Cotton (e.g., Lily Sugar’n Cream)
-
Acrylic blends designed for baby items (e.g., Bernat Baby, Red Heart Soft Baby)
Hook:
-
2.5 mm to 3.5 mm crochet hook (Depending on your yarn choice and tension)
Notions:
-
Yarn needle
-
Stitch markers
-
Scissors
-
Safety eyes (6 mm or 8 mm) or black yarn for embroidered eyes
-
Optional: Non-slip fabric or puffy paint for the soles
Skills Required
-
Magic ring (adjustable ring)
-
Chain (ch)
-
Slip stitch (sl st)
-
Single crochet (sc)
-
Half double crochet (hdc)
-
Increase and decrease stitches
-
Sewing appliqué pieces
If you’re unfamiliar with any of these stitches, it’s a good idea to practice on a scrap piece before starting the main project.
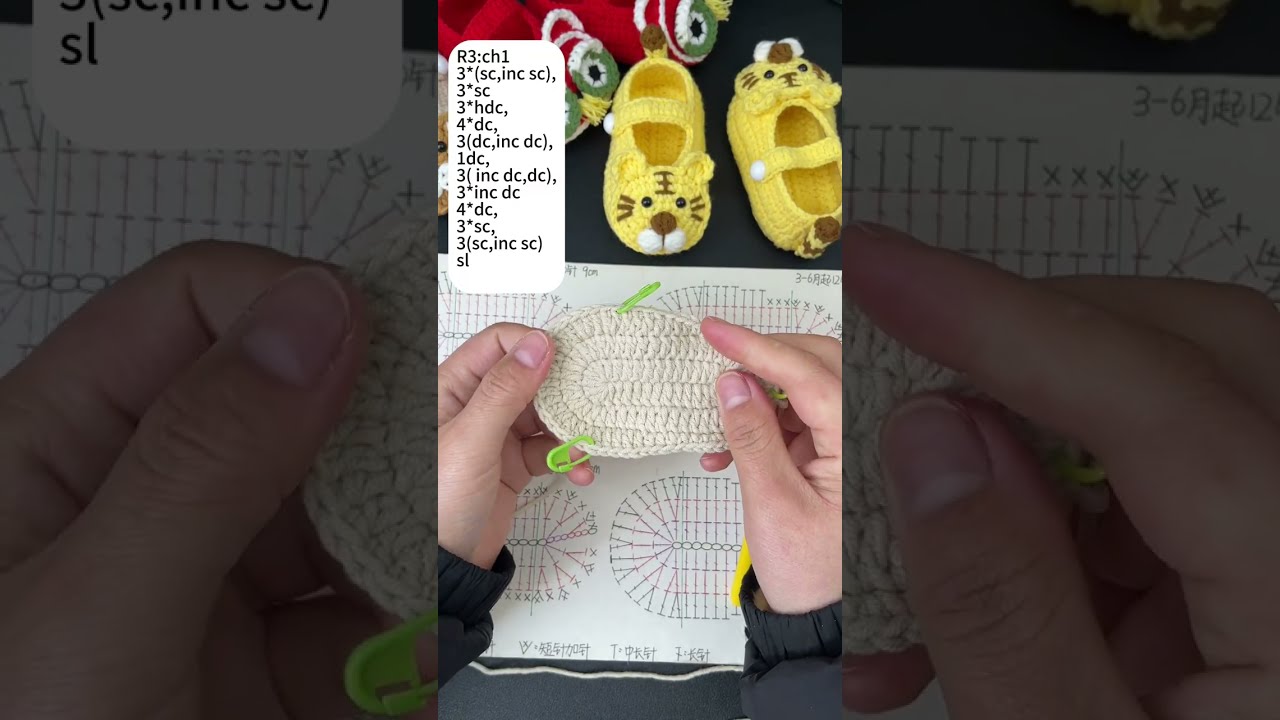
Part 1: Crocheting the Base of the Baby Shoe
We’ll start by crocheting the sole of the shoe. This basic pattern is for 0–3 months; adjustments can be made for larger sizes by adding extra rounds.
Sole Pattern (Make 2):
Using orange yarn:
Round 1:
Make a magic ring, ch 1, and work 8 sc into the ring. Join with sl st. (8 sts)
Round 2:
Ch 1, 2 sc in each st around. Join with sl st. (16 sts)
Round 3:
Ch 1, sc in next st, 2 sc in next repeat around. Join. (24 sts)
Round 4:
Ch 1, sc in next 2 sts, 2 sc in next, repeat around. Join. (32 sts)
Flatten and shape the oval slightly. Fasten off and weave in ends.
Part 2: Building the Upper Shoe
Using orange yarn:
Attach yarn to the back loop of any stitch from the sole’s last round.
Round 1 (Upper Base):
Ch 1, sc in each st around in back loops only. Join. (32 sts)
Round 2-4:
Ch 1, sc in each st around. Join. (32 sts)
This forms the base of the shoe.
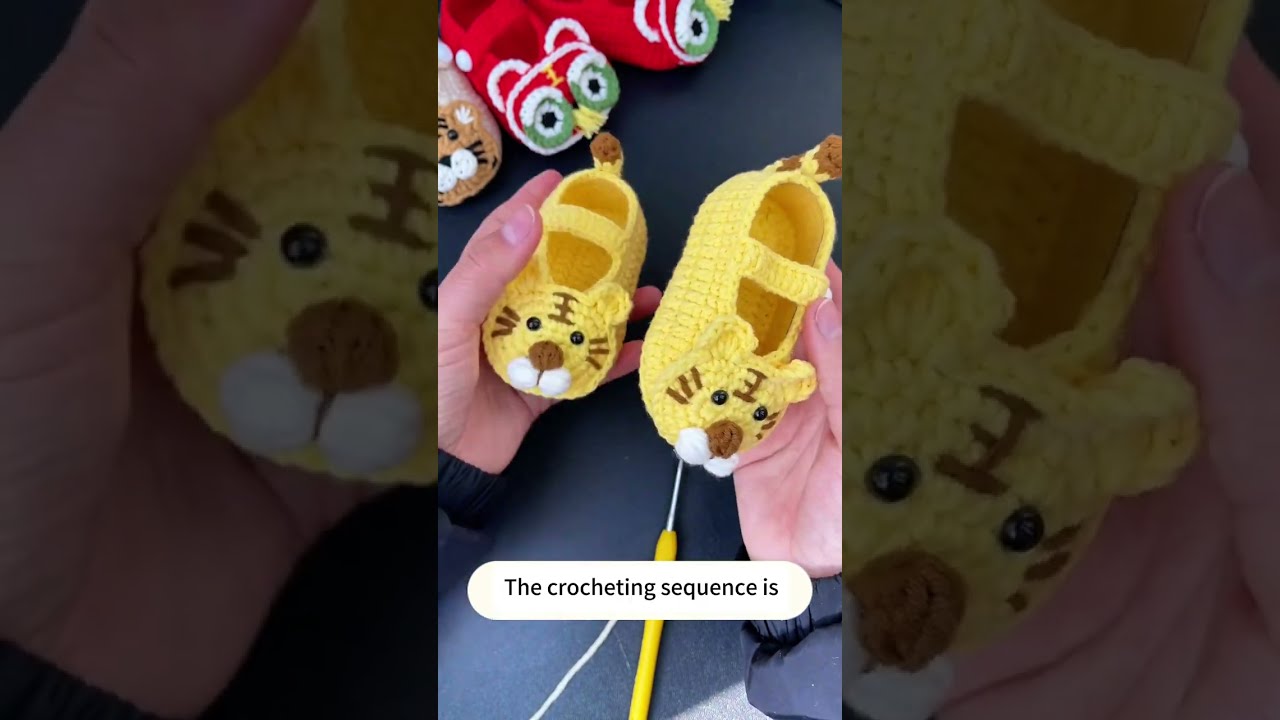
Part 3: Shaping the Toe
Now you’ll decrease to shape the front of the shoe.
Round 5:
Sc in 10 sts, sc2tog (single crochet 2 together) 6 times, sc in 10 sts. Join. (26 sts)
Round 6:
Sc in 8 sts, sc2tog 5 times, sc in 8 sts. Join. (21 sts)
Round 7:
Sc in 7 sts, sc2tog 3 times, sc in 8 sts. Join. (18 sts)
Fasten off and leave a long tail for sewing if needed.
Optional: You can also create a strap across the ankle using chains and sc rows, and close with a button or snap.
Part 4: Crocheting the Tiger Face Details
Now the fun part: turning these orange baby shoes into tiny tiger faces!
Eyes (Make 2 for each shoe):
Using white yarn:
-
Magic ring, ch 1, 6 sc into ring. Pull tight and join. (6 sts)
-
Switch to black yarn.
-
Ch 1, 2 sc in each st, join. (12 sts)
Sew or glue a small black safety eye or embroider a dot in the center. Attach eyes to the front of the shoe (slightly to the sides).
Snout (Make 1 per shoe):
Using white yarn:
-
Magic ring, ch 1, 6 sc into ring. Do not join.
-
Round 2: 2 sc in each st around. (12 sts)
-
Round 3: sc around. Fasten off, leaving a tail.
Use black or pink yarn to embroider a small nose triangle in the center. Sew the snout just below the eyes.
Ears (Make 2 per shoe):
Using orange yarn:
-
Ch 2, in 2nd ch from hook: 3 sc. Turn.
-
Row 2: 2 sc in each st (6 sts)
-
Row 3: sc across. Fasten off.
Using black yarn, embroider a line or dot on each ear’s center. Sew ears onto the sides of the upper shoe.
Tiger Stripes (Embroidered or Crocheted):
Option 1 (Embroidered):
Use black yarn and a yarn needle to embroider small V shapes or lines on the toe and sides of the shoe.
Option 2 (Crocheted):
Using black yarn:
-
Ch 6, sl st in 2nd ch from hook and back down to make thin stripes.
-
Sew these stripes on each side of the shoe.
Part 5: Assembly & Final Touches
-
Position and sew all tiger face features securely.
-
Weave in any remaining yarn tails.
-
Add a strap or button if desired.
-
Optionally, apply non-slip fabric paint or sew soft felt to the soles for grip.
Care Instructions
Because these are handmade for babies, it’s important to ensure they’re easy to clean and safe:
-
Hand wash in cold water or machine wash on gentle in a mesh bag.
-
Lay flat to dry.
-
Always double-check all parts are securely fastened to avoid choking hazards.
Tips & Customization Ideas
-
Color Variants: Try pink tigers, white “snow tigers,” or even blue for a fantasy-style look.
-
Add a Tail: Sew a small yarn tail to the back of the heel for extra cuteness.
-
Grow-With-Me Sizing: Repeat the pattern with more increase rounds to make shoes for older babies or toddlers.
Conclusion
Crocheting baby shoes with a cute tiger design is a delightful and rewarding project. It blends basic crochet skills with creative flair, making it perfect for gifts, baby showers, or just spoiling your own little one. With bright colors, playful details, and a handmade touch, these tiger-themed baby booties are sure to capture hearts.
Whether you’re new to crochet or a yarn enthusiast, give this project a try—you’ll be amazed at how much personality you can pack into something so small.
Video tutorial: