by
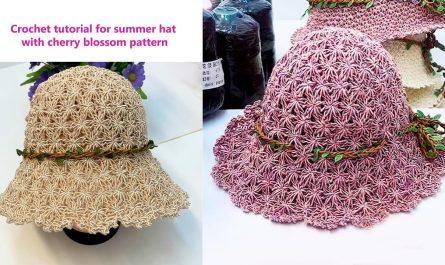
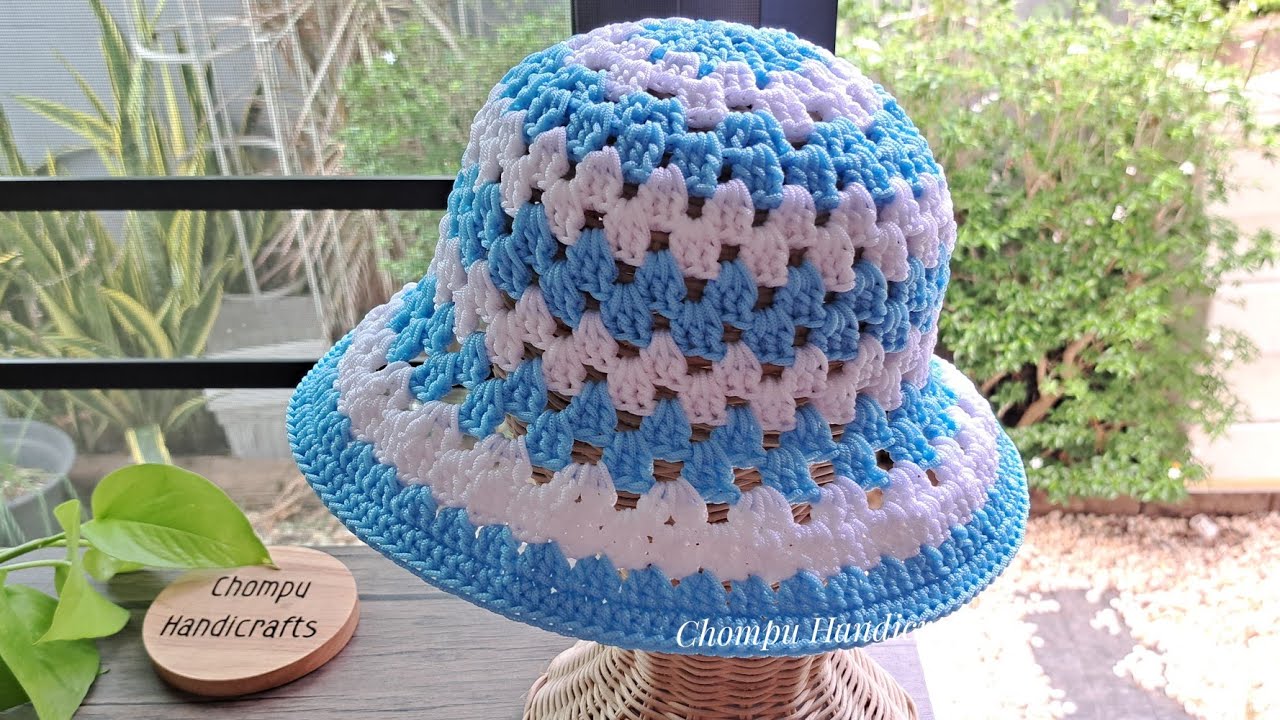
by Crochet sun hats are lightweight, breathable, and chic — the perfect handmade accessory for summer. This tutorial is designed with simplicity and comfort in mind, so even if you’re new to crochet, you’ll be able to follow along and create a beautiful sun hat of your own.
Why Make a Crochet Sun Hat?
-
Sun Protection: The wide brim shields your face from the sun.
-
Customizable: Choose your color, brim width, and yarn type.
-
Eco-Friendly: Cotton yarn is natural and breathable.
-
Trendy: DIY sun hats are stylish and make great gifts!
Materials You’ll Need
Yarn
-
Worsted weight cotton yarn (category 4)
Cotton is ideal for summer wear due to its structure and breathability.
Approx. 150–200 yards for an adult hat.
Hook
-
5.0 mm (H-8) crochet hook
(Check the yarn label; some may prefer 4.5 mm for a firmer finish.)
Other Tools
-
Yarn needle (to weave in ends)
-
Scissors
-
Stitch markers (helpful for keeping track of rounds)
-
Measuring tape
Finished Size
-
Fits average adult head (~21–23” circumference)
-
Hat height: ~7 inches
-
Brim: ~3 inches (adjustable)
Abbreviations (US Terms)
| Abbreviation | Stitch |
|---|---|
| ch | chain |
| sl st | slip stitch |
| sc | single crochet |
| dc | double crochet |
| inc | increase (2 dc in 1) |
| st(s) | stitch(es) |
✨ Pattern Overview
-
Crown – Start from the top and work outward to form a flat circle.
-
Sides (Body) – Work evenly to create the height.
-
Brim – Add increases to build a flared sun-blocking brim.
Instructions: Easy Crochet Sun Hat
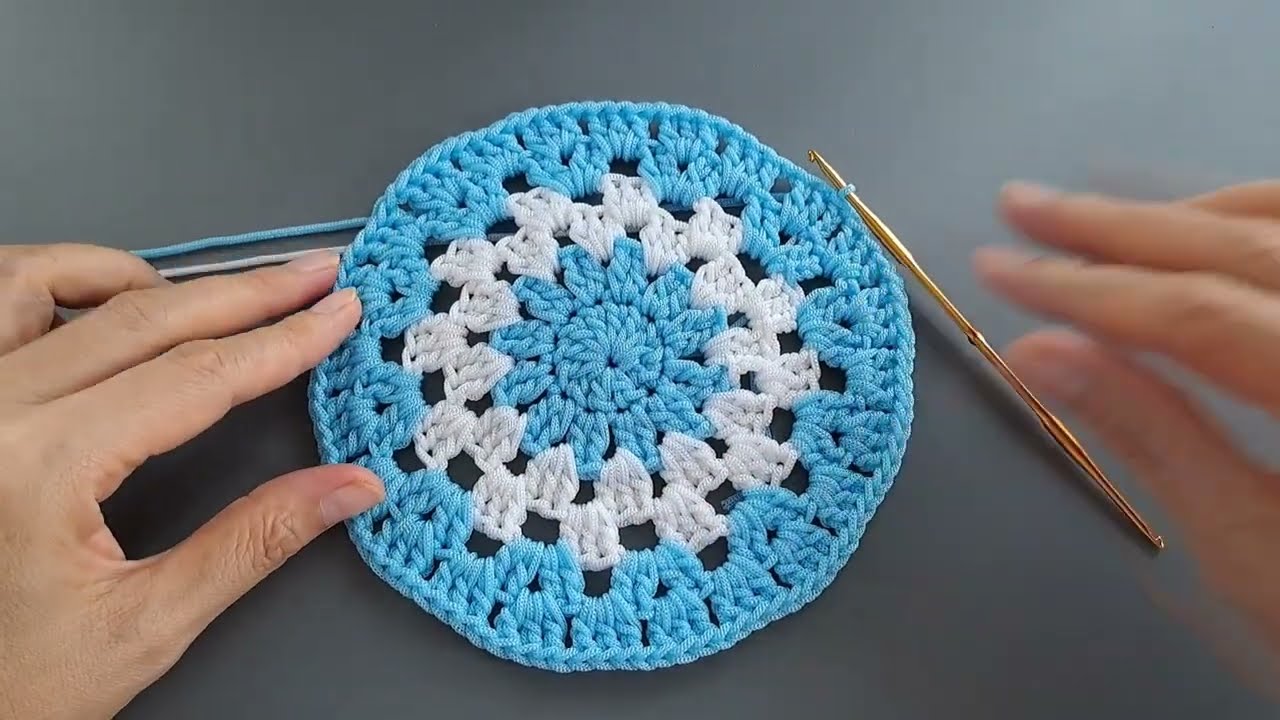
Step 1: Crown (Top of Hat)
You’ll start by working in joined rounds to create a flat circle.
Round 1:
Start with a magic ring (or ch 4, join with sl st to form ring).
Ch 2 (counts as dc), 11 dc into ring. Join with sl st to top of ch-2.
(12 dc)
Round 2:
Ch 2, 2 dc in each st around. Join. (24 dc)
Round 3:
Ch 2, 1 dc in next st, 2 dc in next st. Repeat. Join. (36 dc)
Round 4:
Ch 2, 1 dc in next 2 sts, 2 dc in next st. Repeat. Join. (48 dc)
Round 5:
Ch 2, 1 dc in next 3 sts, 2 dc in next st. Repeat. Join. (60 dc)
Round 6:
Ch 2, 1 dc in next 4 sts, 2 dc in next st. Repeat. Join. (72 dc)
✏️ Tip: The crown should lay flat. If it starts to ripple or curl, check your stitch count.
Step 2: Hat Body (Height)
Now you’ll build the vertical portion that covers your head.
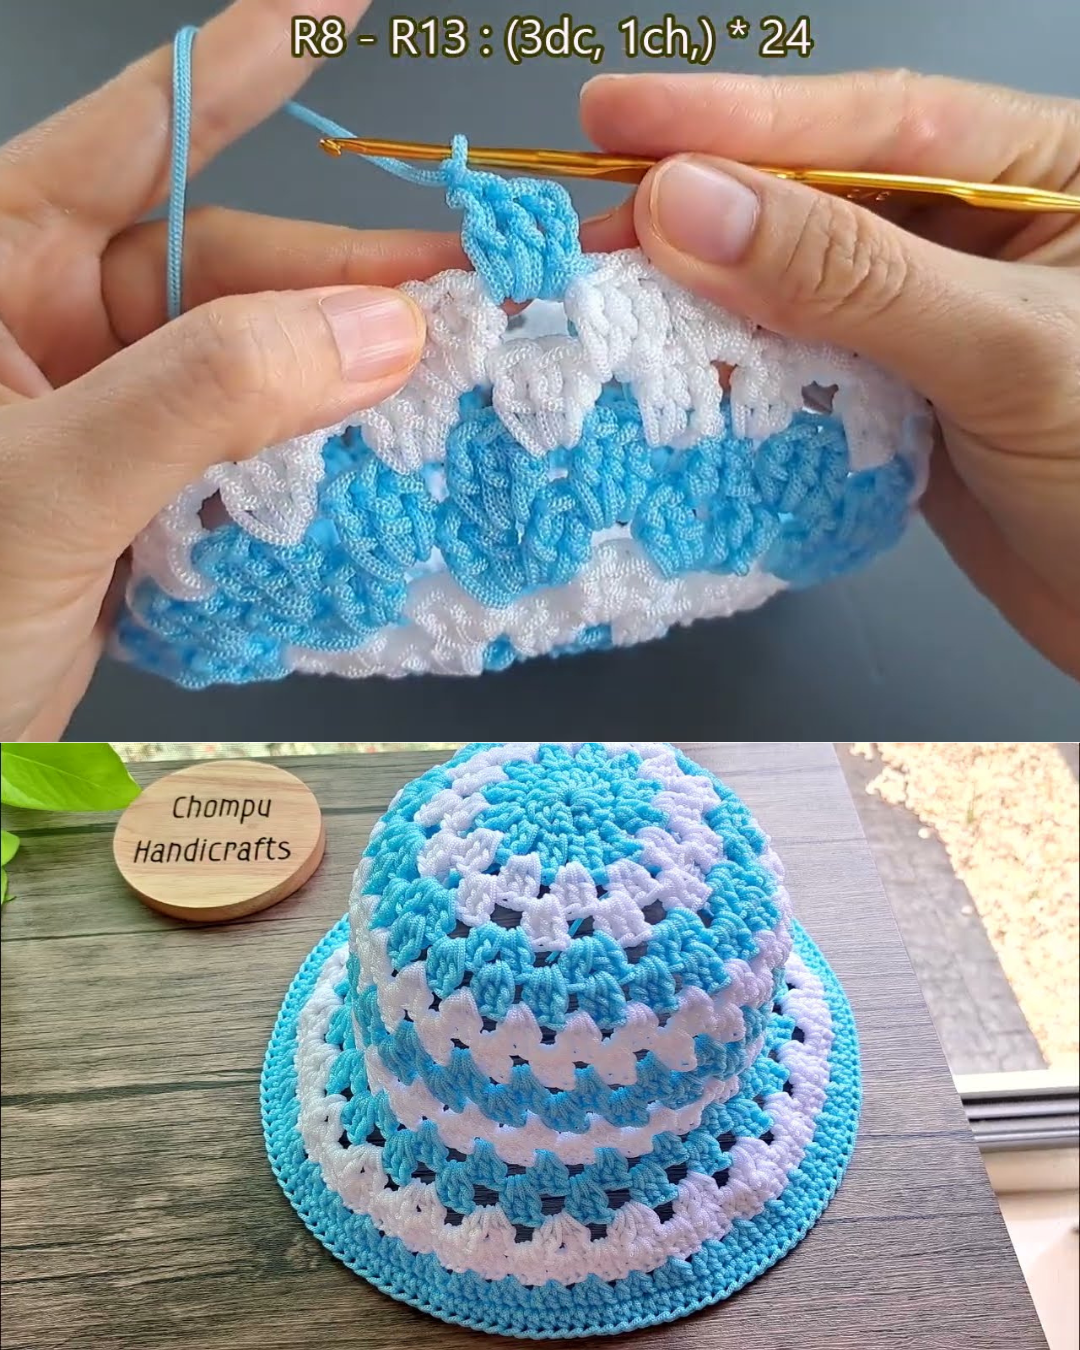
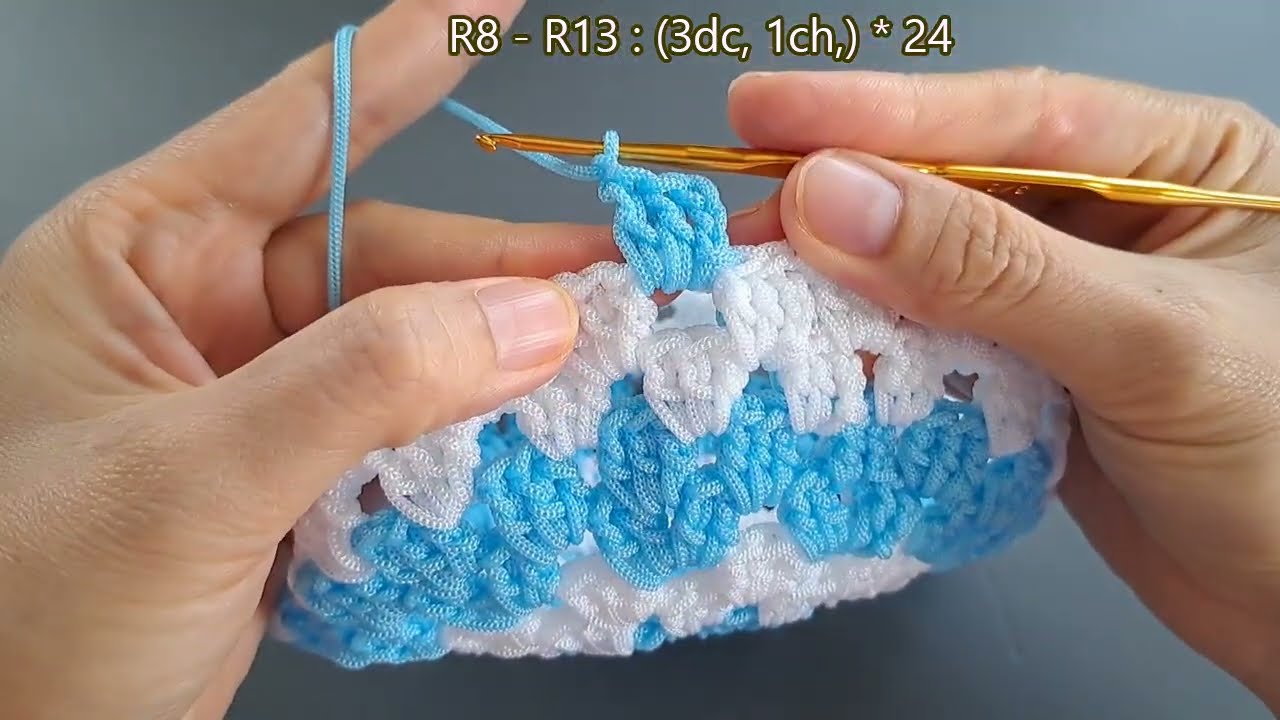
Rounds 7–13:
Ch 2, 1 dc in each stitch around. Join.
Repeat this round until hat height is approx. 6.5–7 inches.
Adjust the number of rounds depending on desired coverage.
Step 3: Brim
The brim will widen outward to offer sun protection.
Round 14:
Ch 2, 1 dc in next 5 sts, 2 dc in next st. Repeat around. Join. (84 dc)
Round 15:
Ch 2, 1 dc in next 6 sts, 2 dc in next st. Repeat. Join. (96 dc)
Round 16:
Ch 2, 1 dc in next 7 sts, 2 dc in next st. Repeat. Join. (108 dc)
Round 17:
Ch 1, switch to sc: 1 sc in each st around. Join.
✨ Optional: Add 1–2 more rounds of sc for a firmer, wider brim.
Optional Customizations
-
Color changes: Add stripes or ombré effect with different yarn colors.
-
Brim edging: Use a contrasting color for the final round of the brim.
-
Lacy look: Replace dc rounds with dc, ch 1, skip 1 for a breezier style.
-
Ribbon tie: Weave a thin ribbon through the last body round for decoration.
Finishing Touches
-
Fasten off: After the last round, cut yarn and pull through loop.
-
Weave in ends: Use yarn needle to tuck loose ends into the hat.
-
Block (optional): Gently steam and shape the hat on a bowl or mannequin head for the perfect form.
Care Instructions
-
Hand wash in cold water or gentle machine wash (if yarn allows)
-
Reshape and lay flat to dry
-
Avoid wringing or high heat
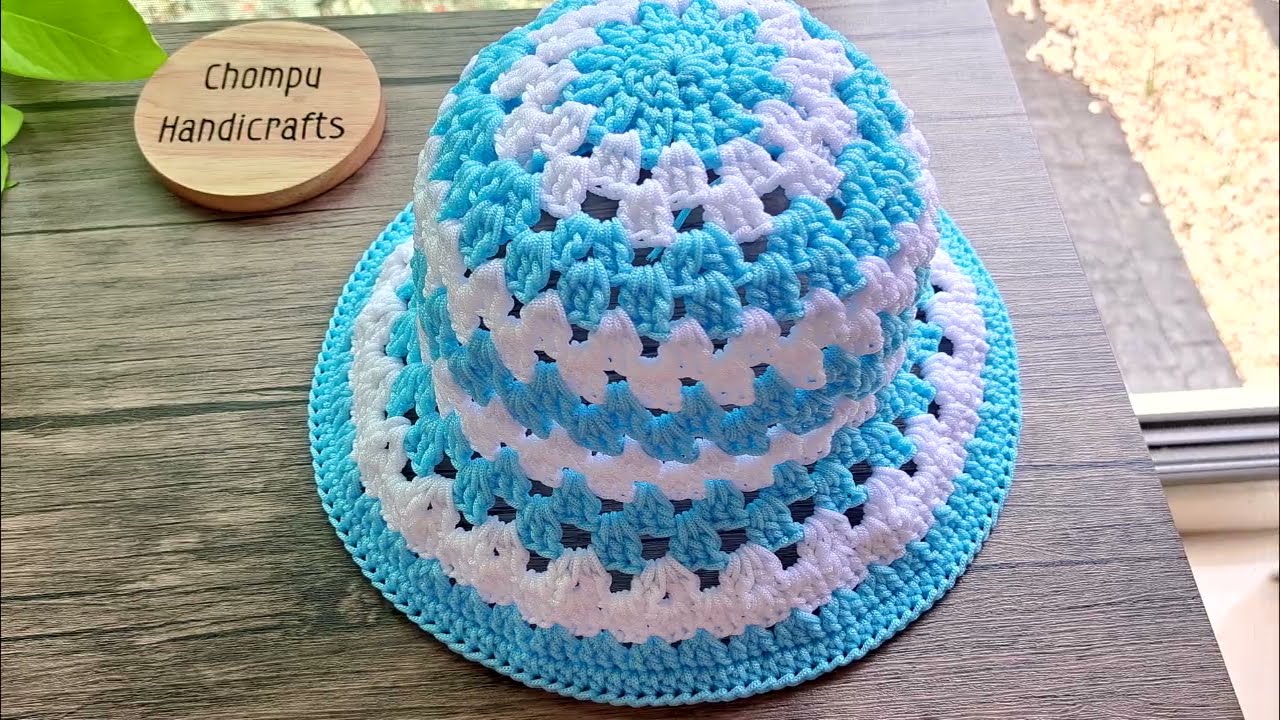
Final Thoughts
Creating your own crochet sun hat is a fun, rewarding project that combines style and functionality. It’s lightweight, practical, and completely customizable. Whether you’re heading to the beach or just want to protect your skin while gardening, your handmade sun hat will keep you cool and fashionable.
Ready to Crochet?
This beginner-friendly sun hat pattern is a great way to build your skills while making something you’ll actually use. And once you’ve made one, you’ll probably want to make more — for friends, family, or even your Etsy shop!
Video tutorial: