by
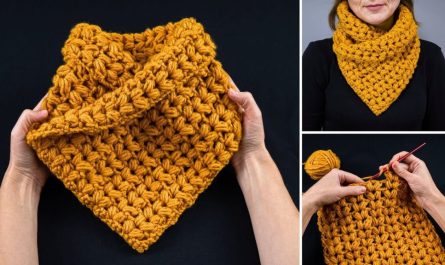
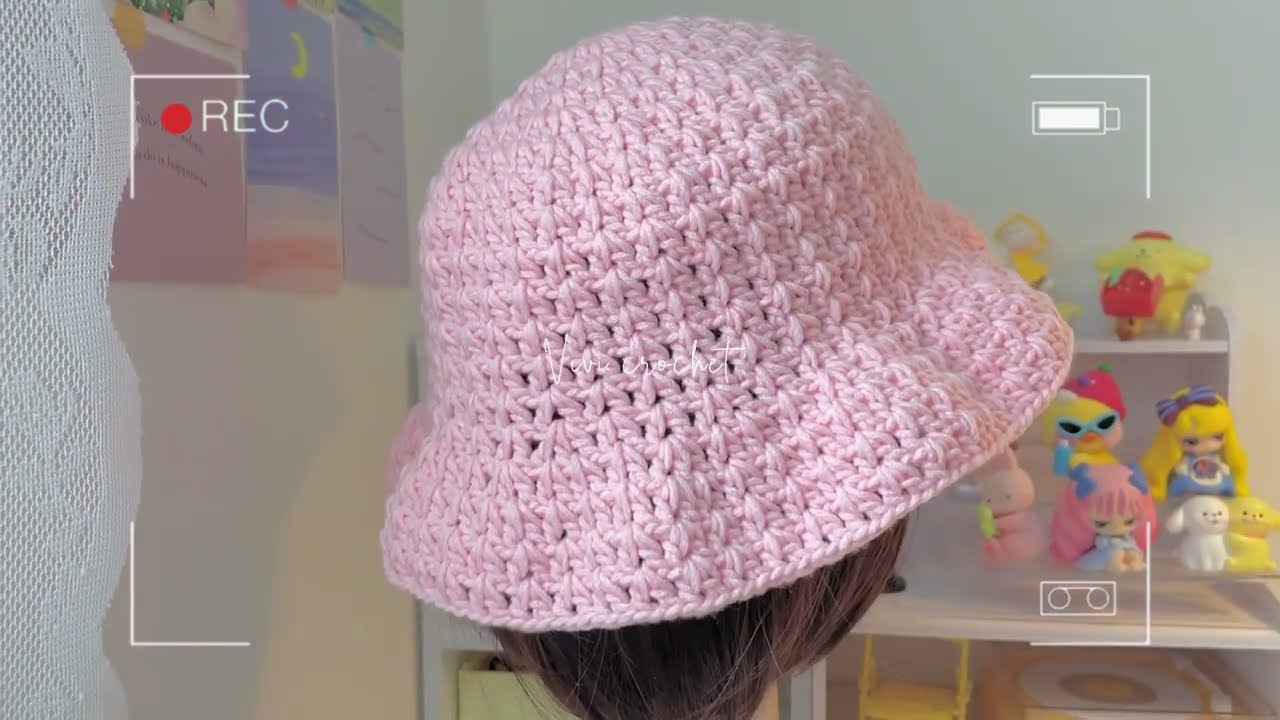
by Crochet bucket hats are the perfect blend of style, comfort, and sun-smart fashion. Whether you’re planning a day at the beach, a summer picnic, or just want to add a handmade flair to your wardrobe, a crochet bucket hat is a fantastic project to take on. These hats are trendy, lightweight, and incredibly versatile—not to mention fun and quick to make.
In this in-depth guide, you’ll learn everything you need to know to crochet your very own bucket hat, including choosing the right yarn, selecting a pattern, shaping the crown, body, and brim, and adding custom finishes. Suitable for beginners with some basic crochet experience and fun for more advanced crafters too!
Materials You’ll Need
Before getting started, gather these essential materials:
✨ Yarn
-
Fiber Type: Cotton or a cotton blend is ideal—breathable, durable, and holds shape well
-
Yarn Weight:
-
DK (Light Worsted, #3) – for a thinner, more flexible hat
-
Worsted Weight (Medium #4) – for a thicker, structured hat
-
-
Color: Choose your favorite! Solids, stripes, color-block, or variegated yarns all work beautifully
✨ Crochet Hook
-
Recommended Size: 4.0 mm – 5.5 mm (Check yarn label for guidance)
-
Use a smaller hook than normal if you want a tighter fabric to prevent floppiness
✨ Notions
-
Tapestry needle (for weaving in ends)
-
Stitch markers (helpful for keeping track of rounds)
-
Scissors
-
Measuring tape
Crochet Stitches & Techniques Used
To follow this guide, you should be familiar with the following stitches:
-
Magic Ring (or alternative chain circle)
-
Chain (ch)
-
Slip Stitch (sl st)
-
Single Crochet (sc)
-
Half Double Crochet (hdc) – optional
-
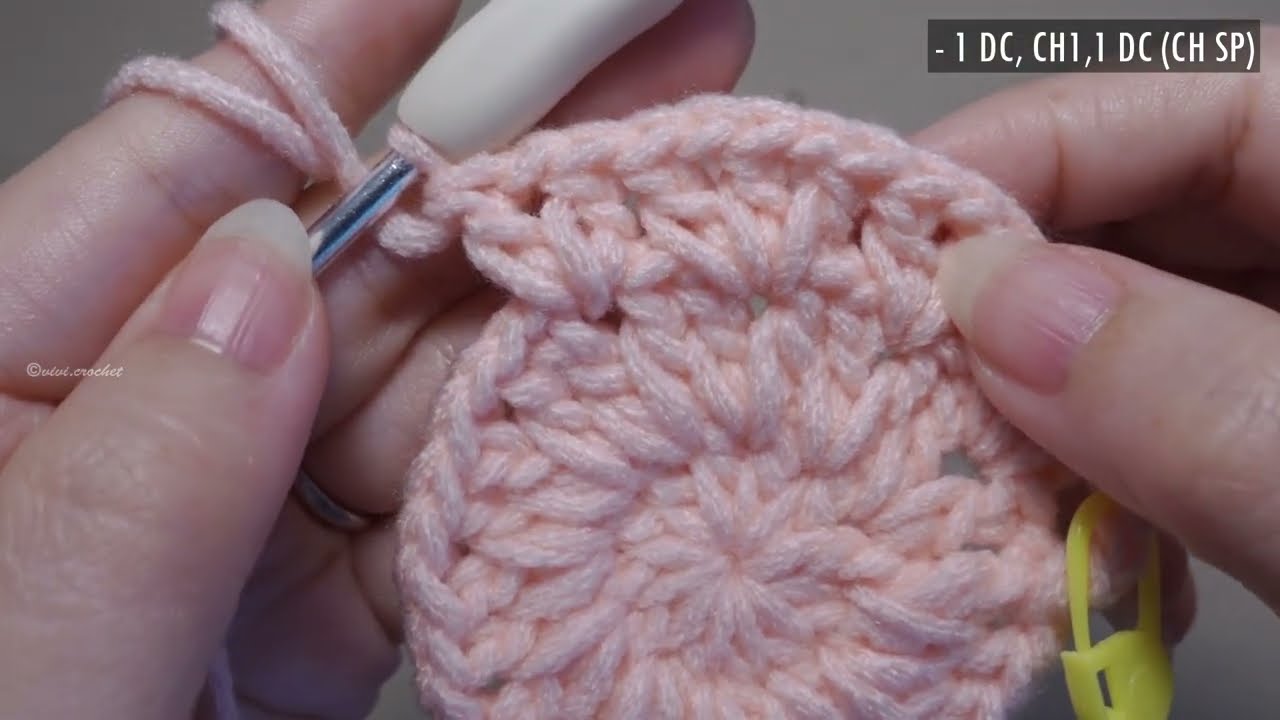
Double Crochet (dc) – for certain designs
-
Increasing in rounds
Step-by-Step: How To Crochet a Basic Bucket Hat
The bucket hat is made in three main sections:
-
Crown – the top of the hat
-
Body – the straight sides of the hat
-
Brim – the flared edge that frames your face
Part 1: Crochet the Crown (Top)
The crown is made using increasing rounds in a flat circle.
Tip: The number of increase rounds you make will determine the hat’s diameter, and thus its fit.
Pattern (Worsted Weight Yarn):
Round 1:
Make a magic ring, ch 1, work 8 sc into the ring.
Sl st to first sc to join. (8 sts)
Round 2:
Ch 1, 2 sc in each st around.
(16 sts)
Round 3:
Ch 1, [1 sc in next st, 2 sc in next] repeat around.
(24 sts)
Round 4:
Ch 1, [1 sc in next 2 sts, 2 sc in next] repeat.
(32 sts)
Continue increasing in this pattern:
-
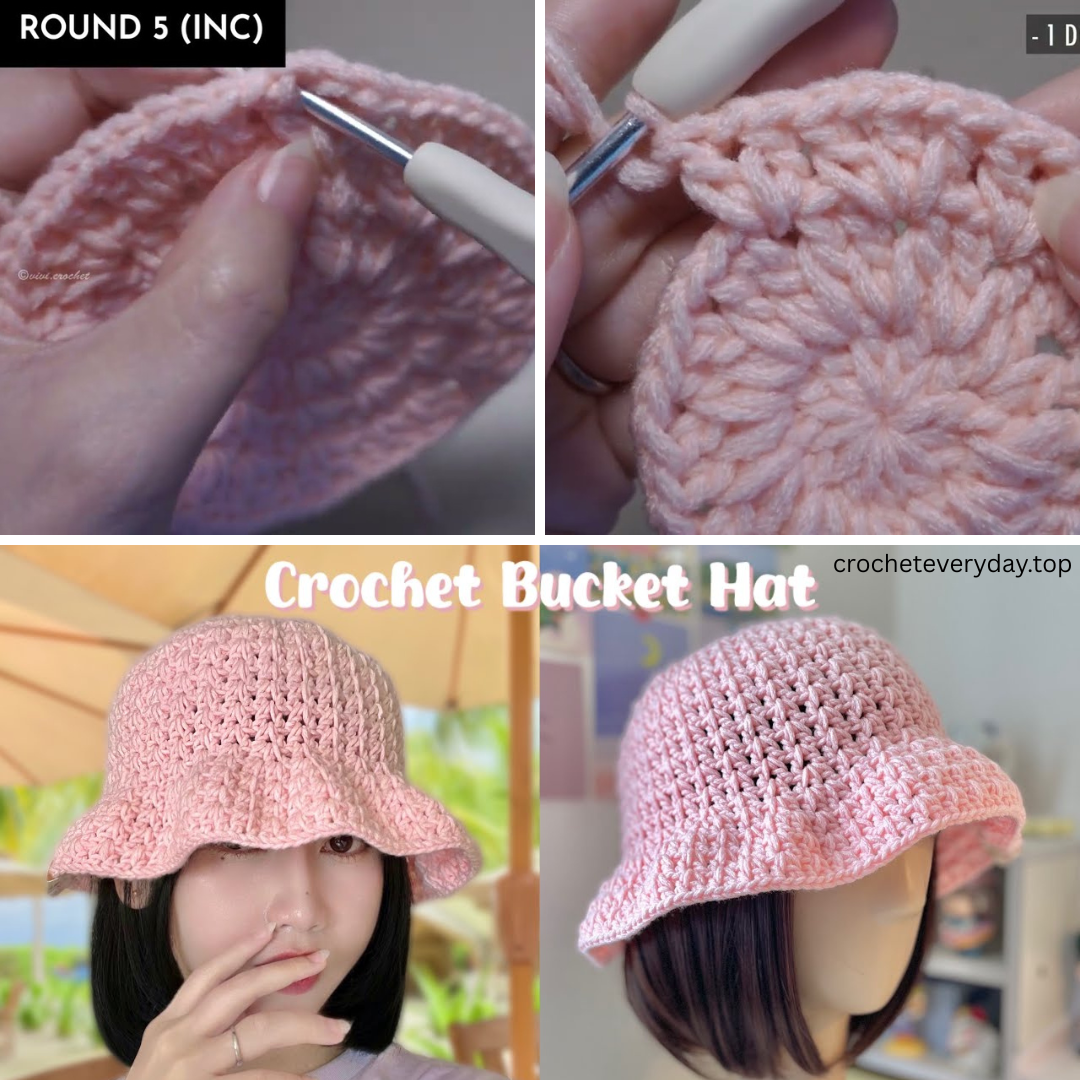
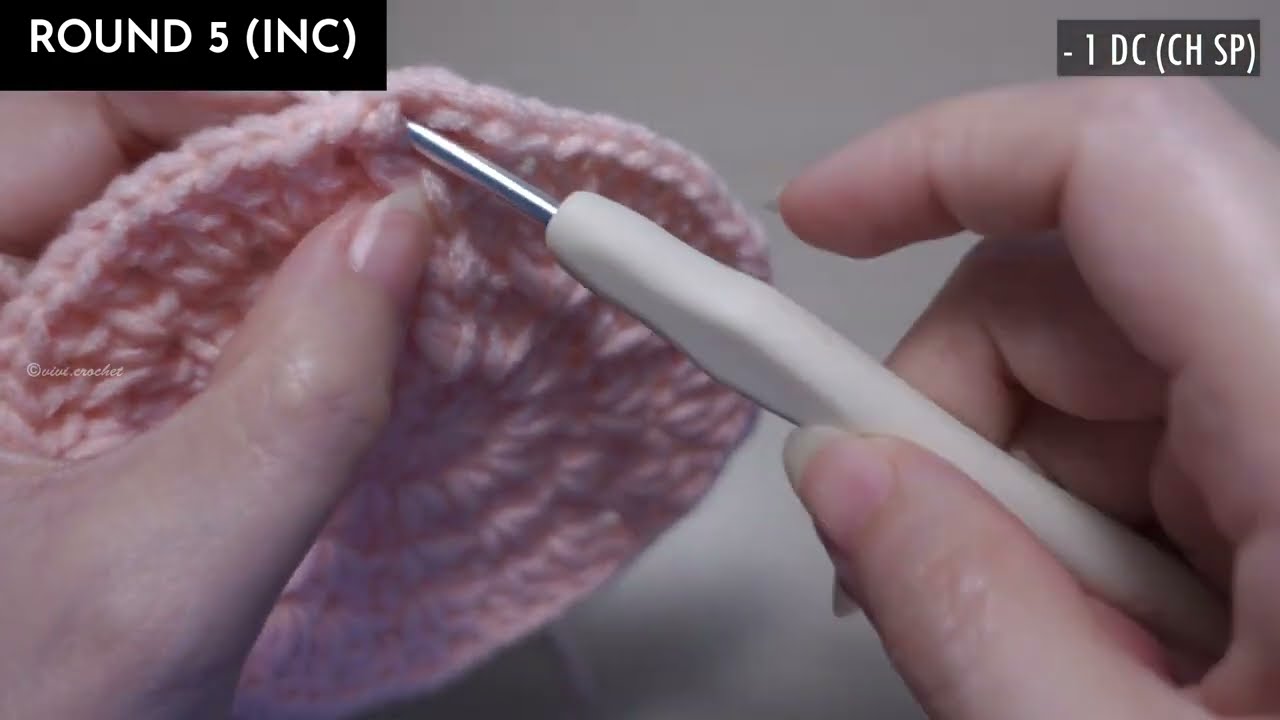
Round 5: [1 sc in 3, inc] – 40 sts
-
Round 6: [1 sc in 4, inc] – 48 sts
-
Round 7: [1 sc in 5, inc] – 56 sts
-
… and so on
✅ Goal:
Keep increasing until the circle is 6–7 inches in diameter for an adult-sized hat.
Part 2: Crochet the Body (Straight Sides)
Once the crown is wide enough, stop increasing and work even rounds to build the body.
Pattern:
Next Rounds (approx. 10–12):
Ch 1, 1 sc in each stitch around.
Sl st to join.
Continue working in rounds without increasing until the hat is about 3.5–5 inches tall from the top of the crown.
Optional Variation:
Use hdc or dc instead of sc for a more open weave and faster growth.
☀️ Part 3: Crochet the Brim
The brim gives the bucket hat its signature flair. It usually flares slightly outward, achieved by gradual increases.
Simple Brim Pattern:
Brim Round 1:
Ch 1, [1 sc in 5 stitches, 2 sc in next] repeat around
Sl st to join
Brim Round 2:
Work 1 sc in each stitch (no increases)
Brim Round 3:
[1 sc in 6 stitches, 2 sc in next] repeat
Continue alternating between increase rounds and plain rounds until brim is 1.5 to 3 inches long, depending on your style preference.

Final Touches
✔️ Fasten Off:
-
After completing the last round, fasten off yarn and weave in all loose ends using a tapestry needle.
✔️ Block (Optional):
-
Lightly steam or wet-block your hat to help it hold shape and even out stitches.
-
Use a bowl or mannequin head to shape while drying.
Size Guide (Approximate)
| Head Circumference | Crown Diameter | Height (Body) | Brim Width |
|---|---|---|---|
| 20–21″ (Teen) | 6.25″ | 4″ | 1.5–2″ |
| 22–23″ (Adult) | 6.75–7″ | 4–5″ | 2–3″ |
Pro Tip: Try the hat on as you go to adjust height and brim width.
Customization Ideas
-
Color Blocking – Change colors for each section
-
Stripes – Alternate colors every 2 rounds
-
Open Weave – Use dc stitches for a beachy, breathable look
-
Ties or Chin Strap – Add for windy days
-
Appliqués – Sew on flowers, fruit motifs, or patches
-
Lacy Brim – Add shell stitches or picot edging for a feminine touch
Care Instructions
-
Hand wash gently with cool water and mild detergent
-
Reshape and air dry
-
Do not wring, twist, or iron
-
Store flat or on a hat stand to preserve shape
Variations: Try These Next!
-
Granny Square Bucket Hat: Combine mini granny squares into a funky, retro bucket hat
-
Mesh Stitch Hat: Light and airy, perfect for hot summer days
-
Raffia or Jute Yarn Version: For a structured, sunhat-style finish
-
Floppy Brim Style: Increase more in brim rounds for a dramatic summer silhouette
☀️ Final Thoughts
Crocheting your own bucket hat is not just a rewarding project—it’s a practical way to showcase your creativity and stay stylish all summer long. With endless customization possibilities, from color schemes to stitch styles, your hat can be as unique as you are.
Whether you’re a beginner looking for your first wearable project or a pro aiming to create a full summer wardrobe of handmade accessories, the crochet bucket hat is a must-make.
Video Tutorial :