by
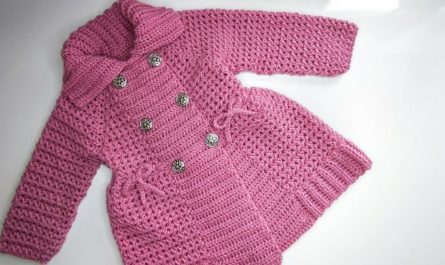
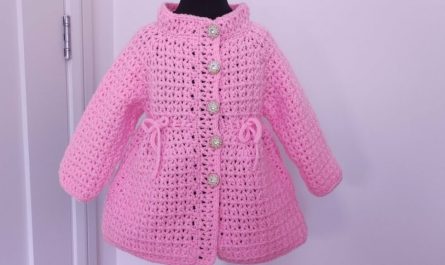
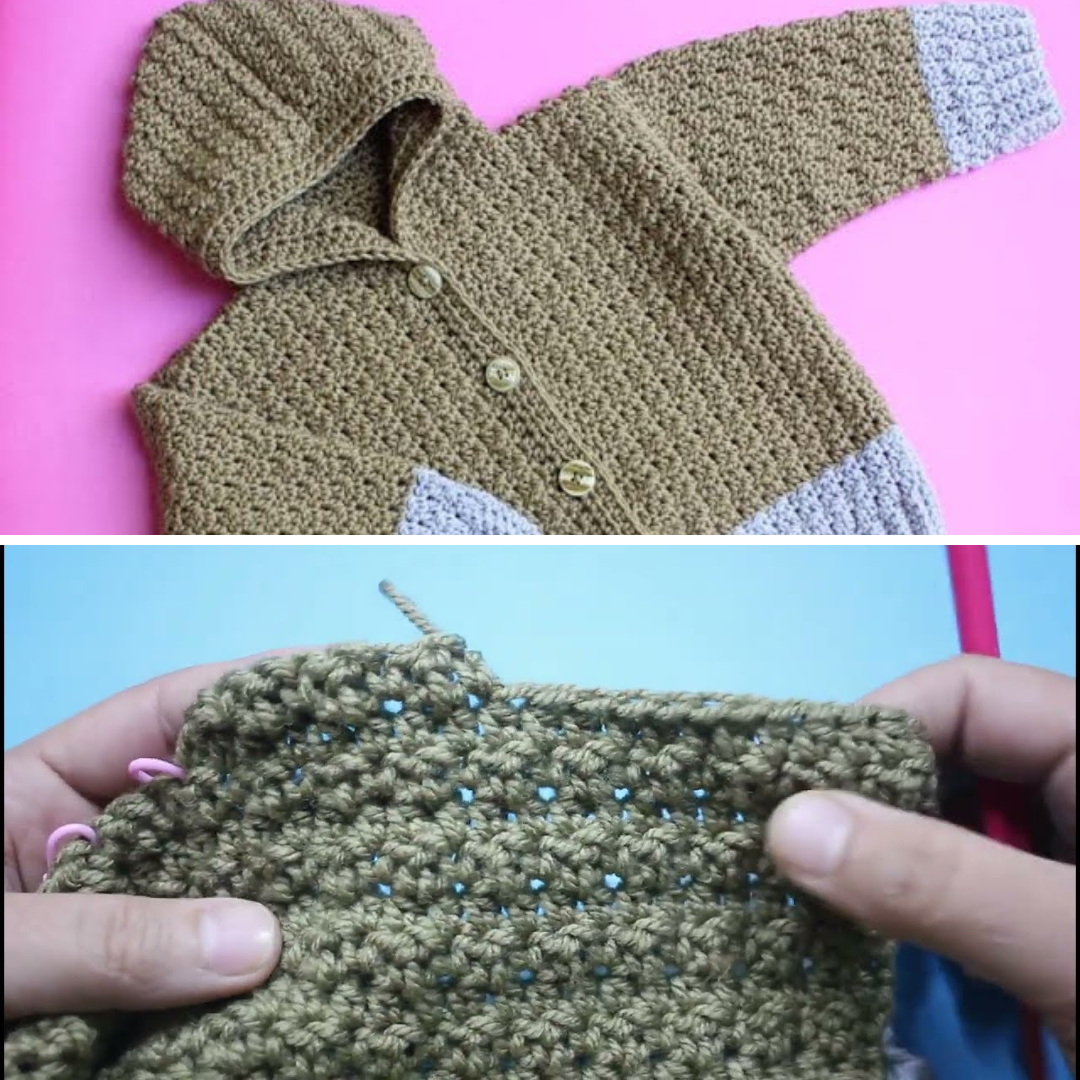
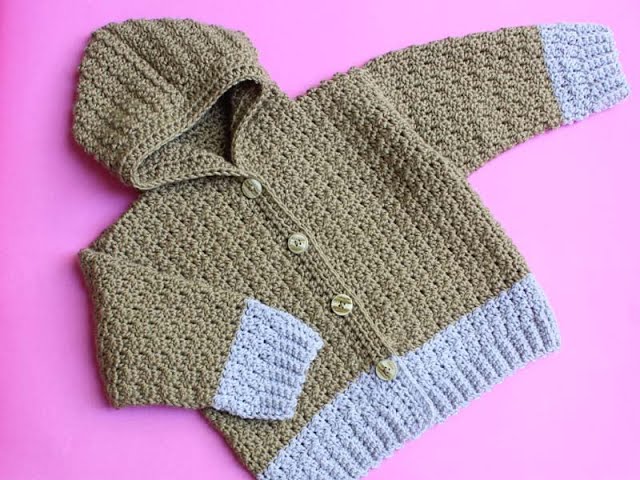
by A handmade crochet hoodie coat for a toddler is one of the most practical and charming garments you can make. This seamless crochet jacket with a built-in hoodie is warm, stylish, and completely adorable on little ones aged 2–3 years. In this guide, you’ll learn how to make it step-by-step, using easy stitches and minimal shaping.
Materials You’ll Need
| Item | Recommended Specification |
|---|---|
| Yarn | DK or Light Worsted (Category 3), 300–350g |
| Crochet Hook | 4.5 mm or 5 mm (US size 7 or H) |
| Buttons | 4–6 medium-sized buttons |
| Yarn Needle | For weaving in ends |
| Stitch Markers | Optional but helpful |
| Scissors | Basic crafting scissors |
| Measuring Tape | To ensure sizing accuracy |
Choose a soft, machine-washable yarn—cotton-acrylic blends work well for toddlers.
Finished Measurements (2–3 Years)
| Measurement | Approximate |
|---|---|
| Chest | 21–22 inches (53–56 cm) |
| Jacket Length | 14–15 inches (36–38 cm) |
| Sleeve Length | 10–11 inches (25–28 cm) |
| Hood Height | 8 inches (20 cm) |
This pattern can be adjusted slightly up or down by changing hook size or yarn weight.
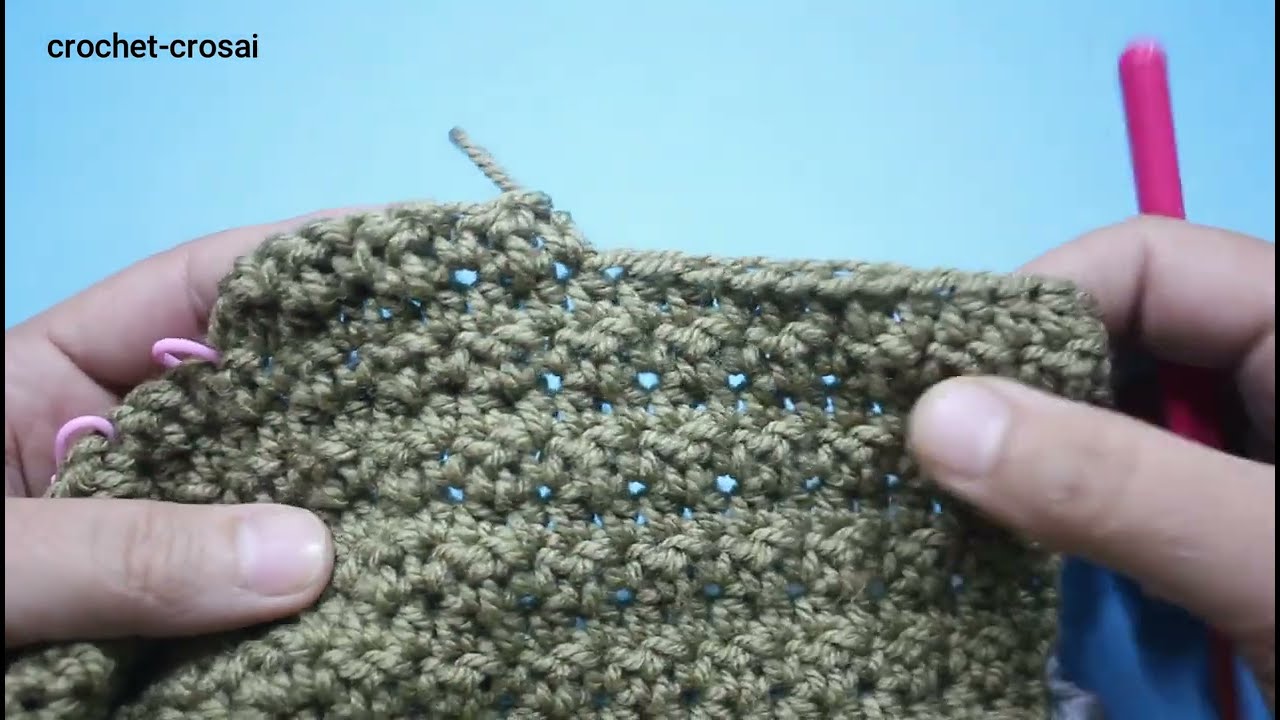
Crochet Stitches Used
This pattern is built using basic stitches:
-
ch – chain
-
sl st – slip stitch
-
sc – single crochet
-
hdc – half double crochet
-
dc – double crochet
-
dc inc – 2 double crochet in the same stitch
Construction Overview
This hoodie cardigan is worked in one seamless piece from top-down:
-
Yoke (shoulder to underarm)
-
Separate sleeves and body
-
Work the body down to desired length
-
Add sleeves in the round
-
Crochet the hood
-
Add edging and buttons
Video Tutorial Part1:
Crochet Baby Cardigan Jacket Pattern (2–3 Years)
Step 1: Start the Yoke (Top of Jacket)
Foundation Chain:
-
Ch 60 (for 2–3 years)
-
Join with sl st if working in rounds OR leave it flat for a front-opening jacket
Row 1 (Setup):
-
Dc in 4th ch from hook and in each chain across
-
(57 dc)
Mark raglan increase points:
-
After 10 dc (left front), mark
-
8 dc (sleeve), mark
-
21 dc (back), mark
-
8 dc (sleeve), mark
-
10 dc (right front)
Step 2: Raglan Increases (Forming Shoulder & Chest)
Rows 2–10 (or until chest width = 21–22 in):
-
Ch 2, turn
-
Dc in each st to marked stitch, 2 dc in marked stitch, dc, 2 dc in same marked st, continue
-
This increases by 8 stitches per row
-
Repeat for 8–10 rows until your yoke reaches armpit depth (~5.5–6 inches)
Step 3: Divide for Body and Sleeves
Next Row:
-
Dc across front
-
Skip sleeve stitches, ch 6–8 for underarm
-
Dc across back
-
Skip second sleeve, ch 6–8
-
Dc across final front section
➡️ You’ve now started the main body of the jacket.
Step 4: Work the Body
Rows 1–15 (or until desired length):
-
Dc in each stitch and ch-space across
-
Ch 2, turn at each row
-
Work until the jacket measures ~14 inches from shoulder
Optional: Use hdc or sc for the last 2–3 rows for a snug hem
Step 5: Add Sleeves (In the Round)
For each sleeve:
-
Attach yarn to underarm
-
Dc evenly around the armhole (approx. 30–32 dc)
-
Join with sl st, ch 2
Rounds 1–12 (or to desired length):
-
Dc around
-
Decrease slightly (dc2tog) every 3–4 rounds for a tapered sleeve
Last Round: sc or hdc for a neat finish
Step 6: Make the Hood
Attach yarn at neckline (back center).
Row 1:
-
Work dc evenly around neckline (~48–54 dc)
-
Ch 2, turn
Rows 2–16:
-
Dc back and forth (no shaping), making a rectangle that’s ~8 inches tall
Fold hood in half at the top and sl st or whip stitch the top edge closed.
Optional: Add a drawstring or pom-pom at the back for flair.
Step 7: Front Edging & Button Band
Left Front:
-
Sc evenly along edge (work 1 row or more if you want thicker edging)
Right Front:
-
Sc evenly and create buttonholes (ch 2, skip 2 stitches) spaced 1–1.5 inches apart
Bottom Edge & Hood Edge:
-
Sc or reverse sc around for a finished look
Step 8: Sew Buttons & Finish
-
Attach buttons to line up with buttonholes
-
Weave in all yarn tails securely
-
Lightly block the sweater if desired
Style Variations
| Style Idea | How to Do It |
|---|---|
| Two-tone look | Use different color for sleeves or hood |
| Striped body | Alternate 2-3 colors every few rows |
| Decorative trim | Add picot or shell edge along hem and sleeves |
| Animal ears on hood | Crochet 2 ovals and sew on top of hood |
| Appliqués | Add crochet flowers, stars, or initials |
Helpful Tips
-
Use stitch markers for raglan points and underarm joins
-
Check sizing as you go—babies grow fast!
-
Choose soft, breathable yarn to prevent skin irritation
-
Make sure buttons are securely attached to avoid choking hazards
-
Add a small label/tag if it’s a gift!
Why You’ll Love This Pattern
-
✅ Seamless construction – No complicated sewing
-
✅ Beginner-friendly – Basic stitches only
-
✅ Adaptable – Add length or width for bigger sizes
-
✅ Unisex – Just change the colors
-
✅ Practical – Great for layering year-round
Final Thoughts
Making a crochet baby hoodie cardigan for toddlers aged 2–3 years is both rewarding and fun. With a cozy hood, roomy fit, and stylish finish, this jacket is sure to become a favorite wardrobe staple—handmade with love and perfect for everyday adventures.
Whether you make it in classic white, bright rainbow stripes, or earthy neutrals, this jacket is designed to be worn, washed, and loved over and over again.
Video Tutorial Part2: