by
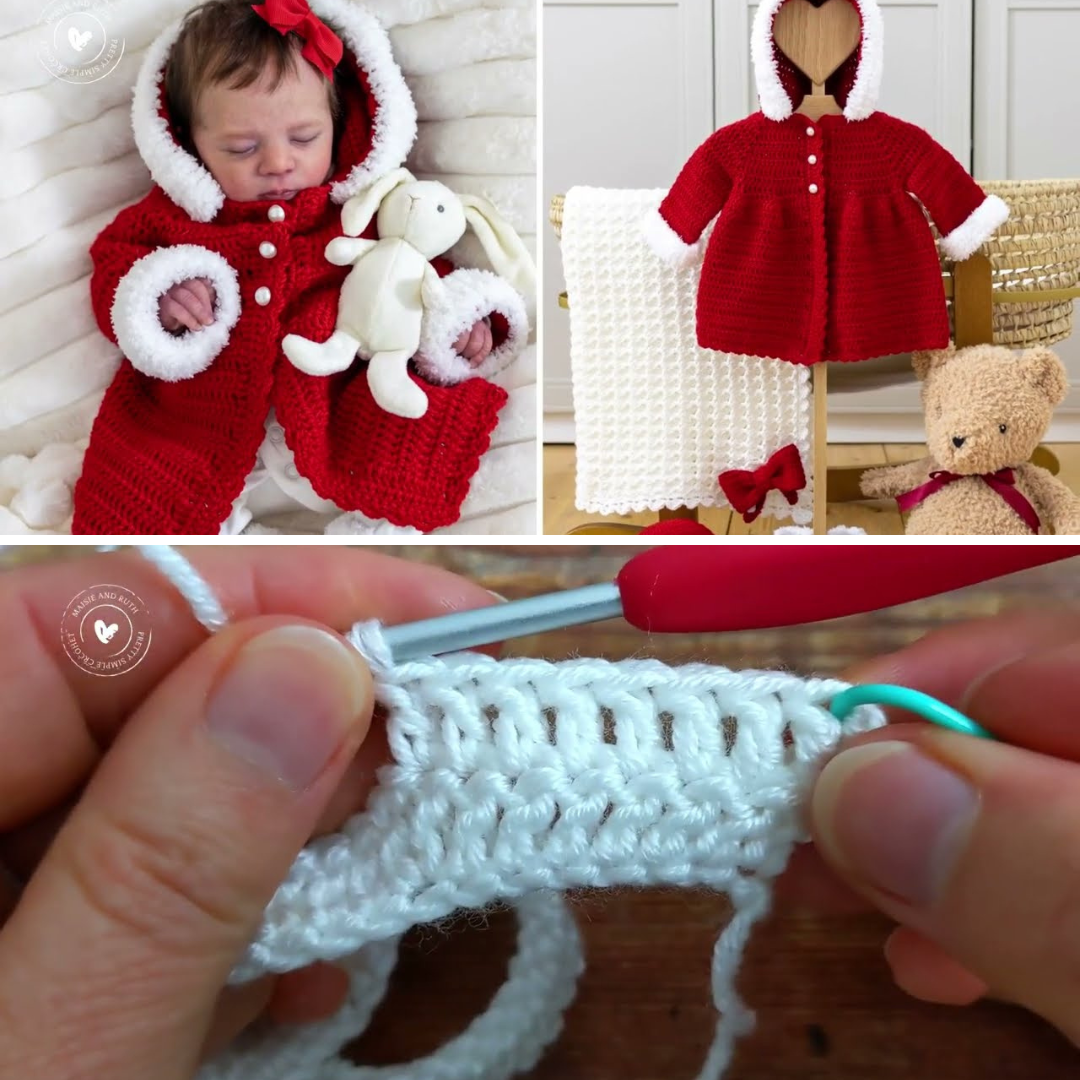
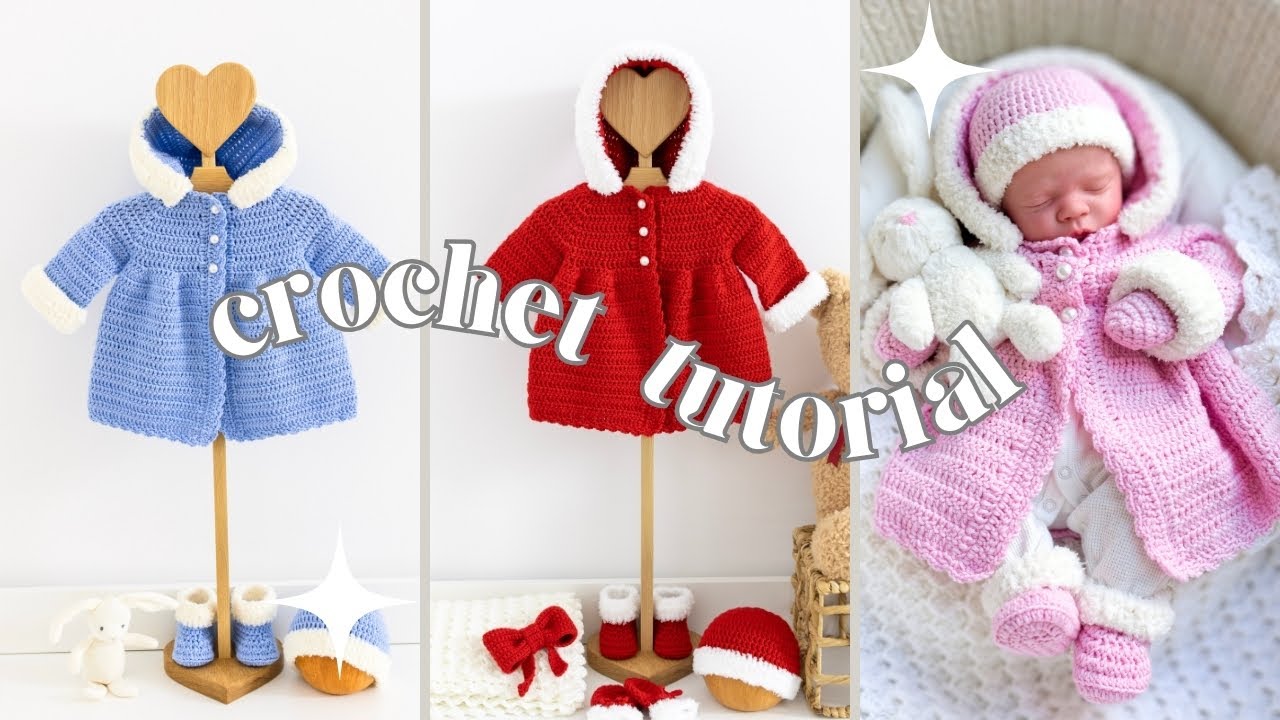
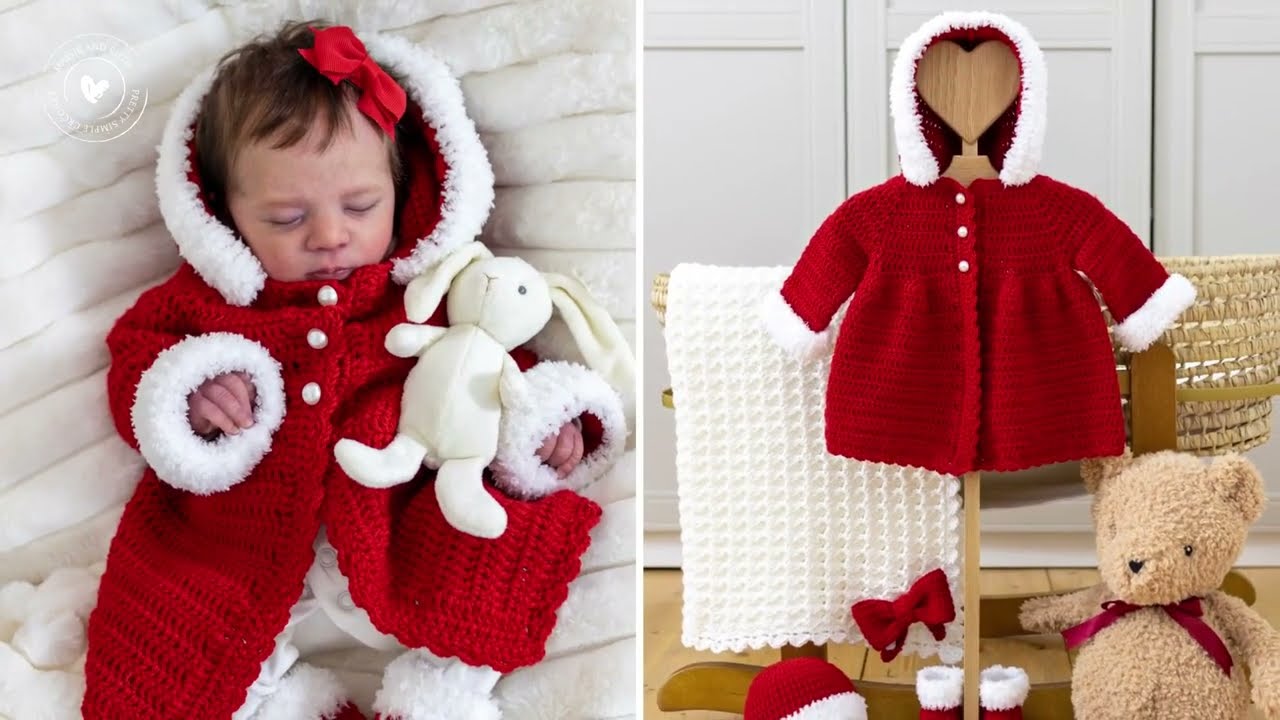
by A crochet baby coat with a hood is a precious handmade gift that’s both cozy and adorable. Whether you’re preparing for a baby shower, dressing your little one for cooler weather, or just want to create a special keepsake, this easy project is perfect for beginners or intermediate crocheters.
Materials Needed
Before you begin, gather the following materials:
Yarn
-
Worsted weight yarn (Category 4)
-
Soft, machine-washable yarn is ideal (e.g., acrylic or cotton blends)
-
Approx. 400–600 yards, depending on size
-
Choose 1–2 colors (e.g., one for the body and one for edging)
-
Tools
-
Crochet hook: Size H/8 (5.0 mm) or size recommended on yarn label
-
Yarn needle: For weaving in ends
-
Scissors
-
Measuring tape
-
Buttons (optional): 3–5 buttons for front closure (1/2″ to 3/4″)
Size Options (Estimates)
| Size | Chest Circumference | Yarn Needed |
|---|---|---|
| 0–3 months | 16–17 in (40–43 cm) | 400 yds |
| 3–6 months | 18–19 in (45–48 cm) | 450 yds |
| 6–12 months | 20–21 in (50–53 cm) | 500 yds |
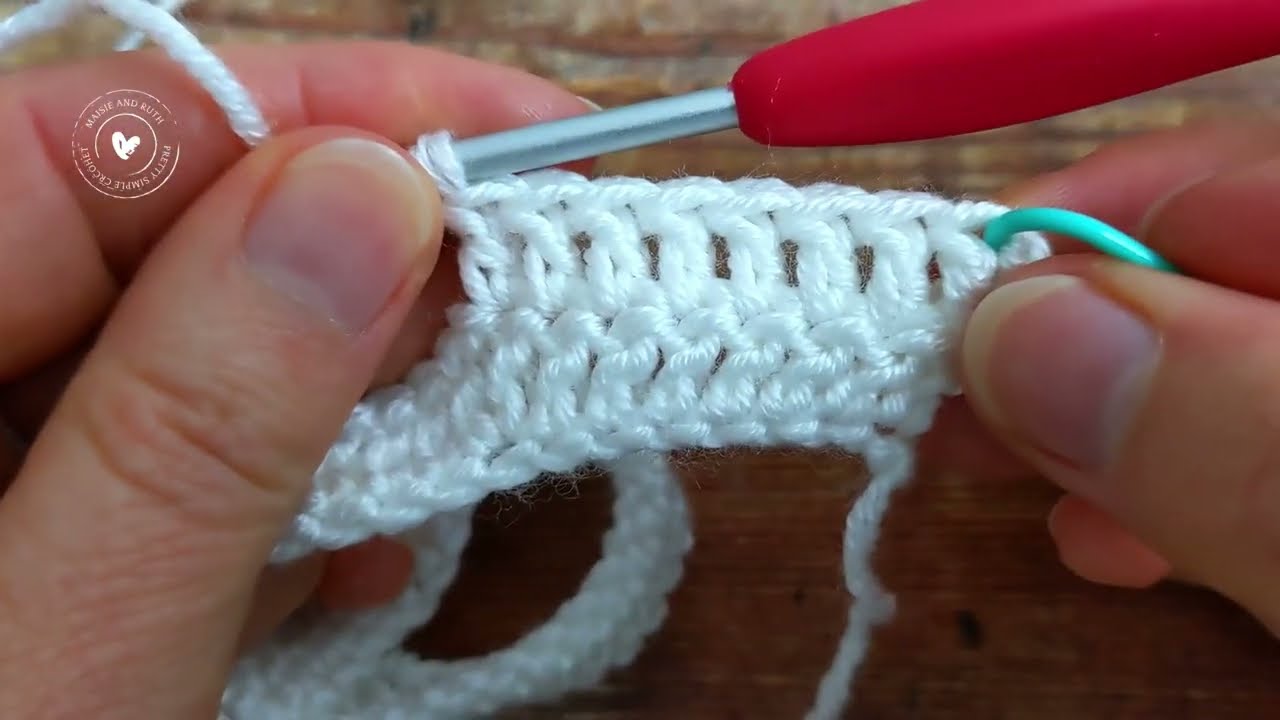
Stitches & Abbreviations (US Terms)
-
ch – chain
-
sl st – slip stitch
-
sc – single crochet
-
hdc – half double crochet
-
dc – double crochet
-
inc – increase (2 stitches in same stitch)
-
dec – decrease (crochet 2 stitches together)
PART 1: Crochet the Baby Coat Body
We’ll start by working top-down, from the neckline to the hem, using a raglan style yoke.
Step 1: Yoke Foundation
-
Ch 46 (0–3 months)
(Add more chains in multiples of 4 for larger sizes.) -
Row 1:
Dc in 4th ch from hook and each ch across. (44 dc)
Turn. -
Row 2 (Raglan Increase):
Ch 2 (counts as dc), dc in next st, dc-inc in next st, repeat to end. Place stitch markers at raglan corners (i.e., where increases are made).
Turn. -
Rows 3–8:
Continue increasing in the raglan style until armhole depth is about:-
4″ for 0–3 months
-
4.5″ for 3–6 months
-
5″ for 6–12 months
-
Step 2: Divide for Body and Sleeves
-
Separate the body from the sleeves by skipping the sleeve stitches and connecting the front, back, and opposite front.
-
Continue working dc rows evenly until the body is desired length (approx. 7–9″).
Optional:
-
Add a border of sc or shell stitch at the bottom hem.
PART 2: Crochet the Sleeves
-
Rejoin yarn at the armhole.
-
Work hdc or dc rounds around the sleeve opening.
-
Decrease slightly toward the wrist if desired.
-
Continue until sleeve length is:
-
5″ for 0–3 months
-
6″ for 3–6 months
-
7″ for 6–12 months
-
-
Finish with a border round.
Repeat for the second sleeve.
PART 3: Crochet the Hood
-
Count and mark the center 20–24 stitches at the back neck.
-
Join yarn at one marker.
-
Work dc or hdc rows back and forth across the neckline, building upward.
-
Continue rows until the hood height reaches:
-
6″ for 0–3 months
-
6.5″ for 3–6 months
-
7″ for 6–12 months
-
-
Fold the hood top in half and sl st or seam across to close.
PART 4: Add Edging & Buttons
-
Edging:
Work a row of sc or shell stitch around the entire coat edge, including hood and front panels. -
Buttonholes:
On one front panel, skip 2 sts where you want a buttonhole, then ch 2 and continue. On the opposite panel, sew buttons to match. -
Optional Additions:
-
Pom-poms or tassels for hood ties
-
Appliqués or embroidery
-
Contrast color edging
-
Tips & Tricks
-
Use stitch markers to track increases and armholes.
-
Make a matching hat or booties for a gift set.
-
Test yarn against baby’s skin for softness.
-
Wash and block finished coat before gifting.
Simple Pattern Summary (0–3 Months)
This is a simplified pattern version to get you started quickly.
-
Ch 46, dc across.
-
Increase rows (raglan): Add 4 increases each row at raglan corners.
-
Separate body and sleeves.
-
Continue body in dc until 7” long.
-
Sleeves: Work in rounds for 5”, tapering slightly.
-
Hood: Work rows from neckline until 6” tall, then fold and seam.
-
Edging and buttons.
Final Thoughts
Crocheting a baby coat with a hood is a satisfying and heartwarming project. With just a few basic stitches and a bit of patience, you can create something timeless and useful that will be cherished by parents and babies alike.
Don’t worry about perfection — babies don’t mind a missed stitch here or there. What matters most is the love you put into every loop.
Video Tutorial: