by
by Introduction
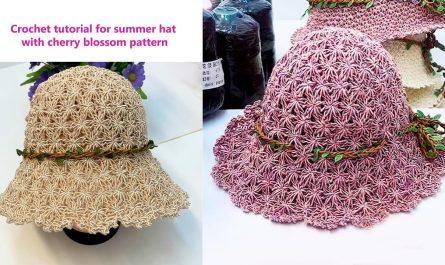
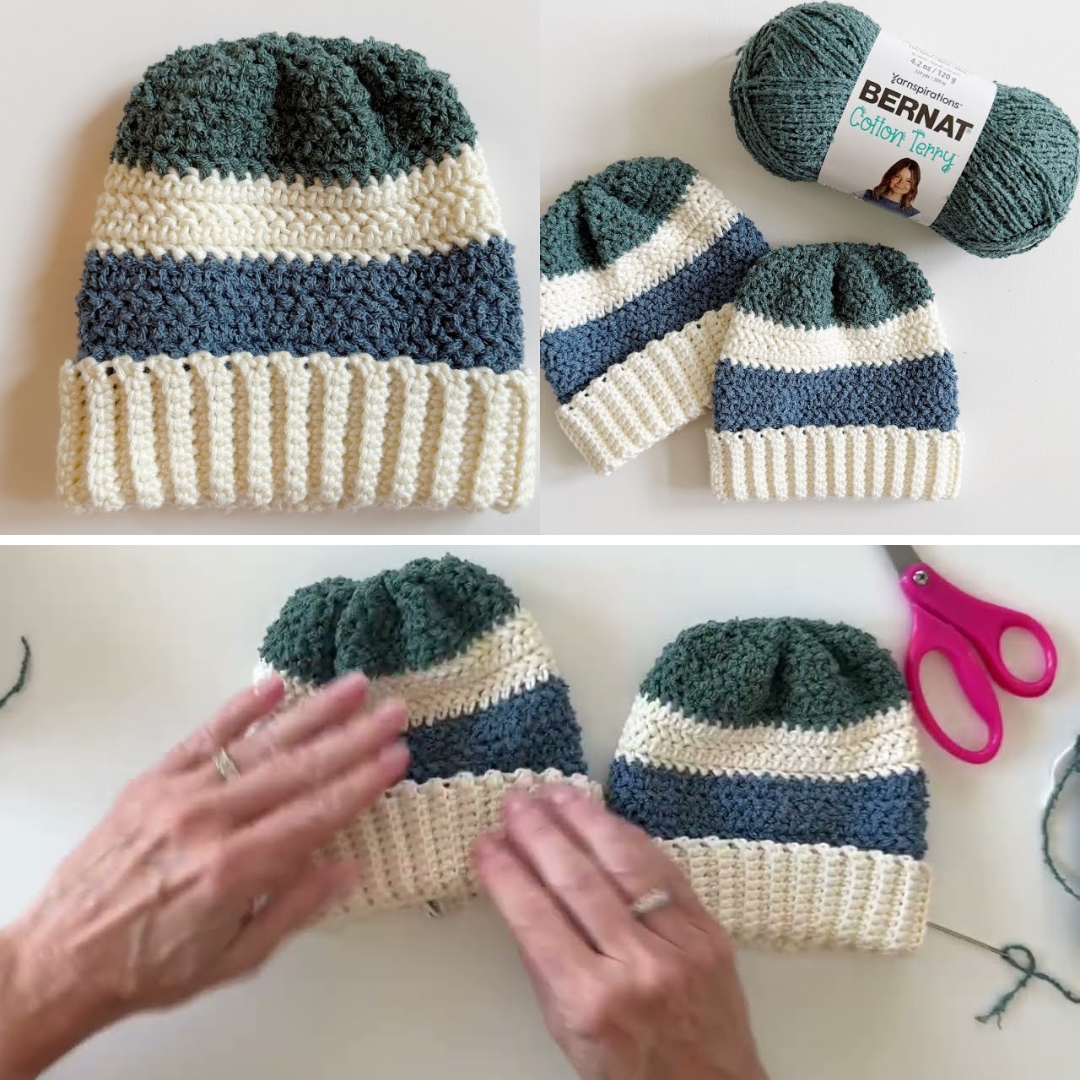
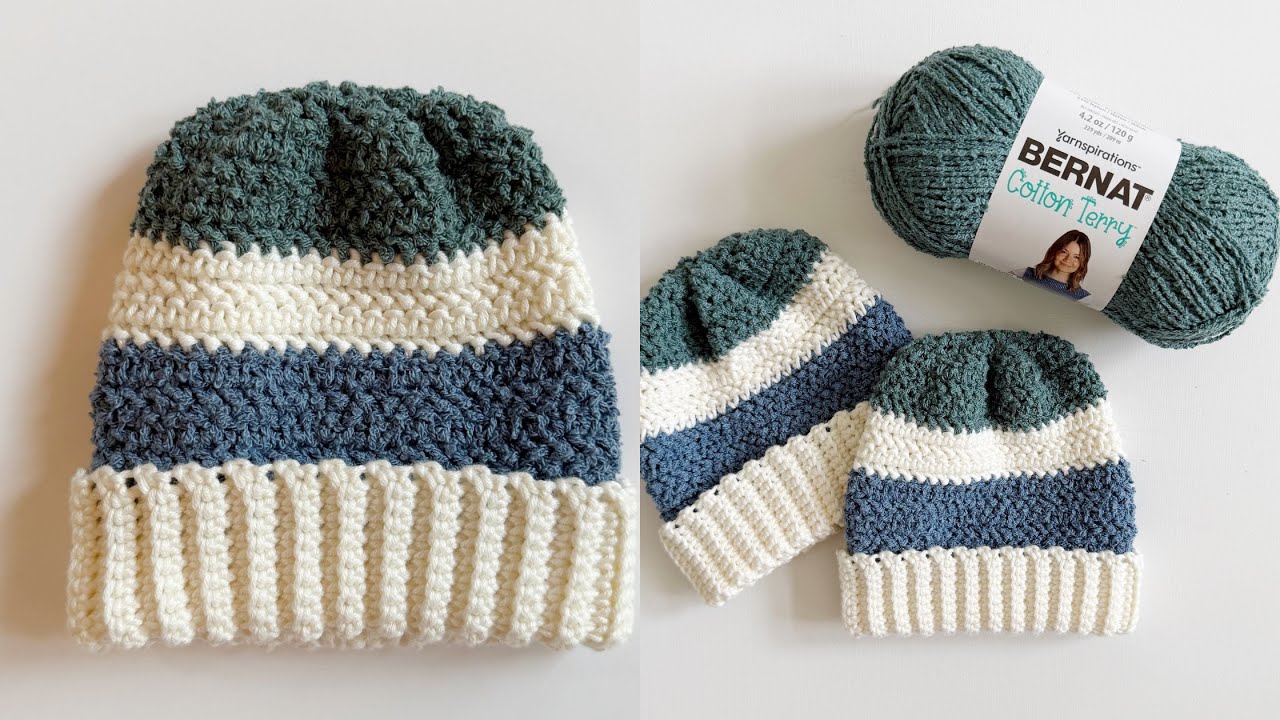
The Coastal Pines Baby Hat is a soft, warm, and stylish crochet hat perfect for babies during chilly seasons. This design evokes the textured look of pine needles and rustic coastal forests, combining earthy colors and tactile stitches to create a charming hat that’s both functional and adorable.
Ideal for newborns to toddlers, this hat uses a combination of basic crochet stitches and textured stitch patterns to mimic the look of pine branches. Plus, it’s an excellent beginner-to-intermediate project, perfect for those who want to add a nature-inspired piece to their baby’s wardrobe.
Materials Needed
| Item | Description |
|---|---|
| Yarn | Worsted weight (medium #4) soft baby yarn in 2 colors: – Main Color (e.g., forest green, pine green) – Accent Color (e.g., soft beige, sandy tone) |
| Crochet Hook | Size G (4.0 mm) or H (5.0 mm), depending on yarn and tension |
| Stitch Markers | Optional, to mark rounds or stitches |
| Tapestry Needle | For weaving in ends |
| Scissors | For cutting yarn |
| Optional Embellishments | Pom-poms, wooden buttons, leather tags for finishing touches |
Crochet Stitches & Techniques Used
Before you start, make sure you know or are comfortable with these stitches:
-
Chain (ch)
-
Slip Stitch (sl st)
-
Single Crochet (sc)
-
Half Double Crochet (hdc)
-
Double Crochet (dc)
-
Bobble Stitch (used to create the pine-needle texture)
-
Working in the round
-
Magic ring (to start the crown)
Step 1: Understanding the Structure
The hat is worked from the top down, starting with a magic ring that forms the crown. You’ll increase evenly to form a rounded top, then switch to a bobble stitch pattern to create the textured “pine” look. Finally, the hat is finished with a neat brim or edge.
Step 2: Making the Crown
-
Start with a magic ring:
Create a magic ring and work 6 half double crochets (hdc) into it. Join with a slip stitch. (6 sts) -
Round 2:
Chain 1. Work 2 hdc in each stitch around. Join. (12 sts) -
Round 3:
Chain 1. Hdc in first stitch, 2 hdc in next stitch. Repeat around. Join. (18 sts) -
Round 4:
Chain 1. Hdc in each of the next 2 stitches, 2 hdc in next stitch. Repeat around. Join. (24 sts) -
Round 5:
Chain 1. Hdc in each of the next 3 stitches, 2 hdc in next stitch. Repeat around. Join. (30 sts) -
Round 6:
Chain 1. Hdc in each of the next 4 stitches, 2 hdc in next stitch. Repeat around. Join. (36 sts)
Continue increasing if you need a larger size by increasing the number of hdc stitches between increases.
Step 3: Creating the Pine Needle Texture
Switch to your accent color to start the textured band that mimics pine needles.
-
Round 7: Chain 1. Hdc in 2 stitches, bobble stitch in next stitch. Repeat around. Join. (36 sts)
-
Round 8: Chain 1. Work hdc in each stitch around. Join.
-
Round 9: Repeat Round 7 (bobble round).
-
Round 10: Chain 1. Work hdc in each stitch around. Join.
You can add more textured bobble rounds alternating with plain hdc rounds if you want a taller textured section.
Step 4: Working the Body of the Hat
After the pine needle texture, continue working in main color:
-
Work plain rounds of hdc (or sc if you want a tighter fabric) until the hat measures about 5 to 6 inches from the crown for newborn to 6-month size.
-
Optionally, add a couple of rounds in your accent or a third neutral color for a nice stripe effect near the brim.
Step 5: Finishing the Brim
For the brim, choose one of these finishing styles:
-
Simple Fold-Up Brim:
Work 2 rounds of single crochet (sc) or ribbing (front post/back post hdc) so the edge can be folded up for a cozy fit. -
Decorative Edge:
Work a round of reverse single crochet (crab stitch) for a neat, slightly textured finish. -
Add Pom-Pom or Button:
Attach a pom-pom in accent color to the top of the hat or sew on a small wooden button or leather tag on the brim for a rustic look.
Optional: Adding Earflaps
For extra warmth, you can add earflaps:
-
Identify stitch positions on the sides of the hat where you want earflaps.
-
Attach yarn and chain 15–20 stitches (or desired length).
-
Work back down the chain with hdc or sc.
-
Repeat on the other side.
-
Add braided ties if desired.
Tips for Success
-
Gauge: Check your gauge before starting to ensure the hat will fit properly. About 4 hdc per inch is a good target.
-
Yarn Choice: Use soft, baby-safe yarn to avoid irritation.
-
Color Changes: To avoid holes at color changes, twist yarns together and carry yarn along the inside when switching colors.
-
Weaving Ends: Weave in all yarn ends securely on the inside to prevent unraveling.
Final Thoughts
The Coastal Pines Baby Hat is a perfect blend of texture, comfort, and nature-inspired beauty. The bobble stitch adds a tactile, woodland feel reminiscent of pine needles, while the color palette brings the coast’s serene, forested vibes.
This hat makes a thoughtful handmade gift for baby showers or seasonal wear and is easy to customize for various sizes and colors.
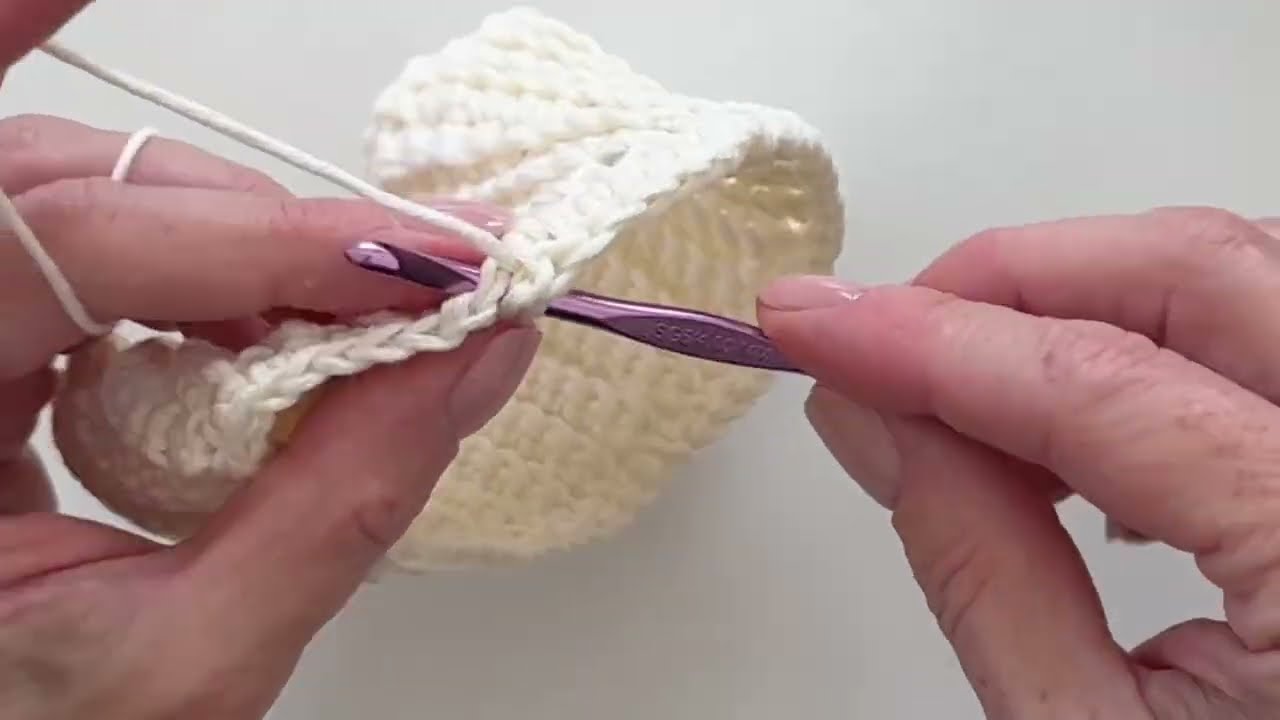
Video Tutorial: