by
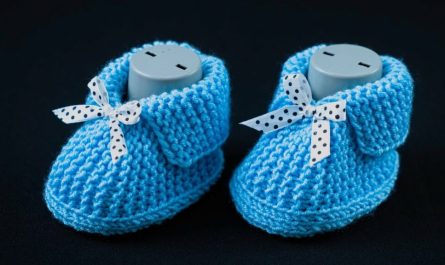
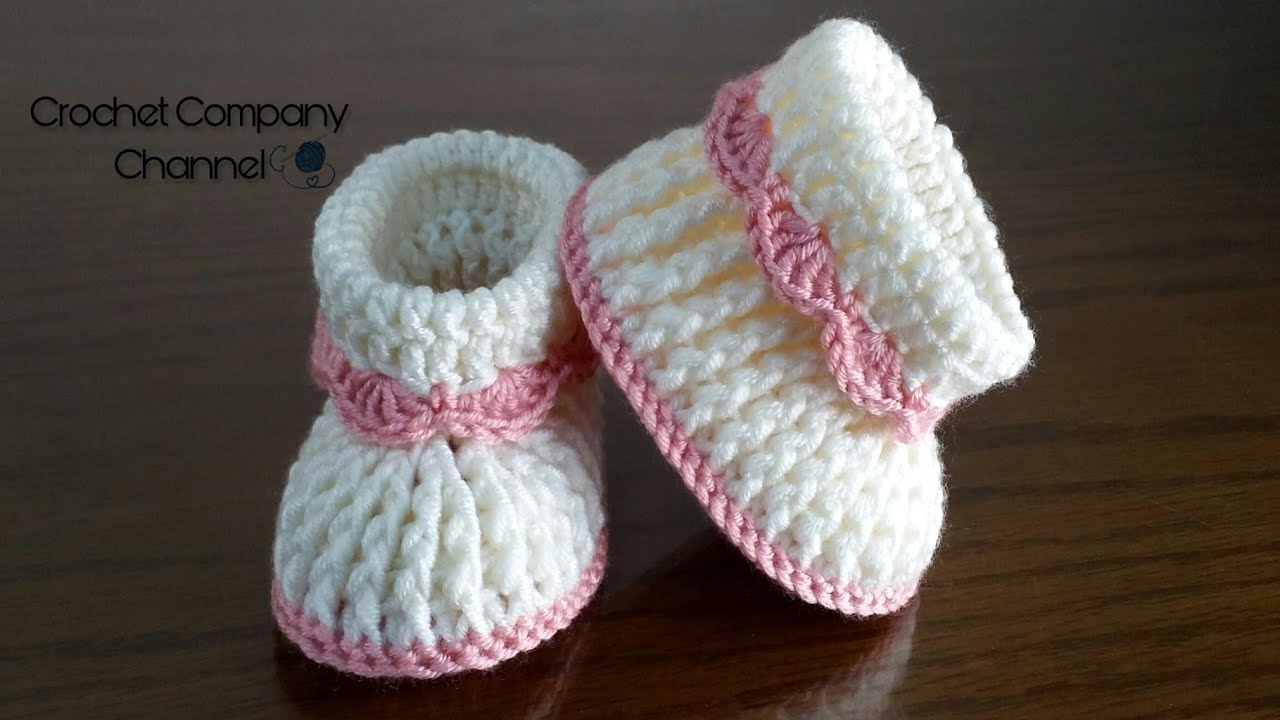
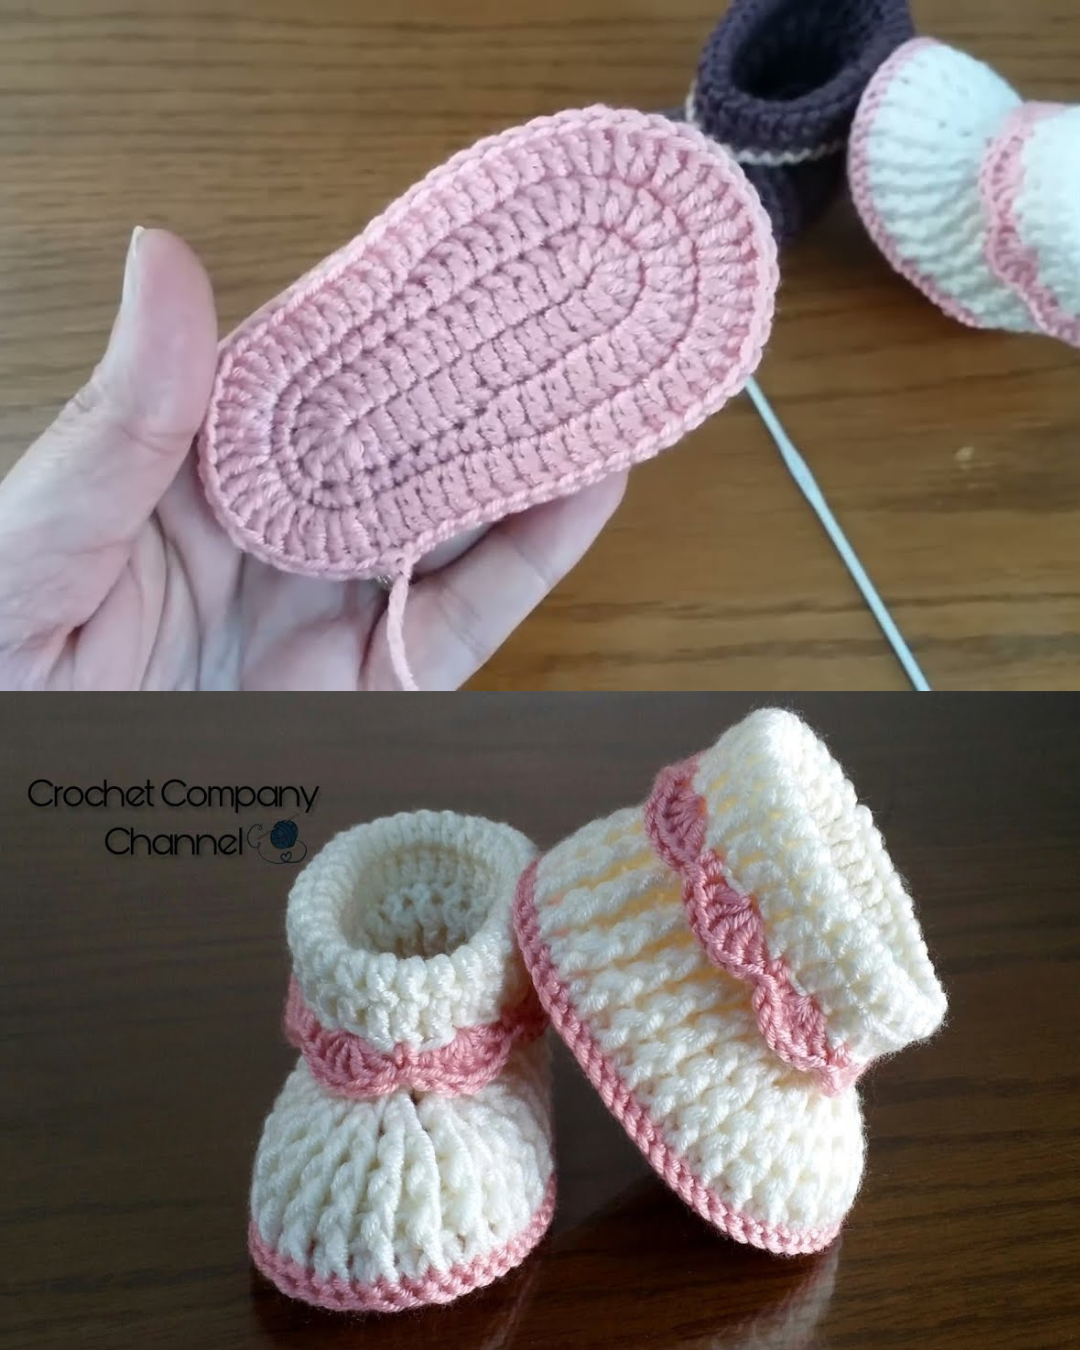
by Welcome, fellow crafters! This pattern is inspired by a beautifully structured design, combining a firm sole with a cozy, ribbed upper and a perfectly shaped toe. These booties are wonderfully versatile and make a cherished gift for any new baby. We’ll cover options for both a sweet ruffled edge (for a girl) and a clean, durable border (for a boy).
Project Details
| Detail | Specification |
| Finished Size | Approximately 10.5 cm long x 5.5 cm wide (for age 3 months to 1 year, adjustable due to stretch). |
| Hook Size | 3.0 mm (US C/2 or D/3) or 3.5 mm (US E/4) |
| Yarn | Medium-thickness yarn (DK or Sport weight), approximately 50g in two colors (Color A for sole/cuff, Color B for ribbed body). The video recommends using a slightly smaller hook than usual for your yarn weight to ensure the booties are firm and hold their shape. |
| Skill Level | Intermediate (Requires knowledge of Post Stitches and Decreases) |
Notes & Sizing
- Tension is Key: Use a snug tension, especially for the sole, so the final bootie is durable and keeps its form.
- Sizing Adjustment: The pattern is designed for an average foot from 3 months to about 18 months due to the stitch’s natural stretch. For a larger size, start with a longer foundation chain. For example, Chain 16 instead of Chain 12 and adjust the initial DC count accordingly.
- Stitch Counts: Stitch counts are provided in brackets
[ ]at the end of each round.
Special Stitches & Abbreviations
| Abbreviation | Stitch Name | How to Work |
| ch | Chain | |
| sl st | Slip Stitch | |
| sc | Single Crochet | |
| hdc | Half Double Crochet | |
| dc | Double Crochet | |
| BPDC | Back Post Double Crochet | Yo, insert hook from back to front around the post of the specified st, yo, pull up a loop, [yo, pull through 2 loops] twice. |
| FPDC | Front Post Double Crochet | Yo, insert hook from front to back around the post of the specified st, yo, pull up a loop, [yo, pull through 2 loops] twice. |
| FPDC-dec | Front Post Double Crochet Decrease | Yo, insert hook around post of 1st st, pull up a loop, yo, pull through 2 loops (2 loops on hook), skip next BPDC, yo, insert hook around post of 2nd FPDC, pull up a loop, yo, pull through 2 loops (3 loops on hook), yo, pull through all 3 loops. |
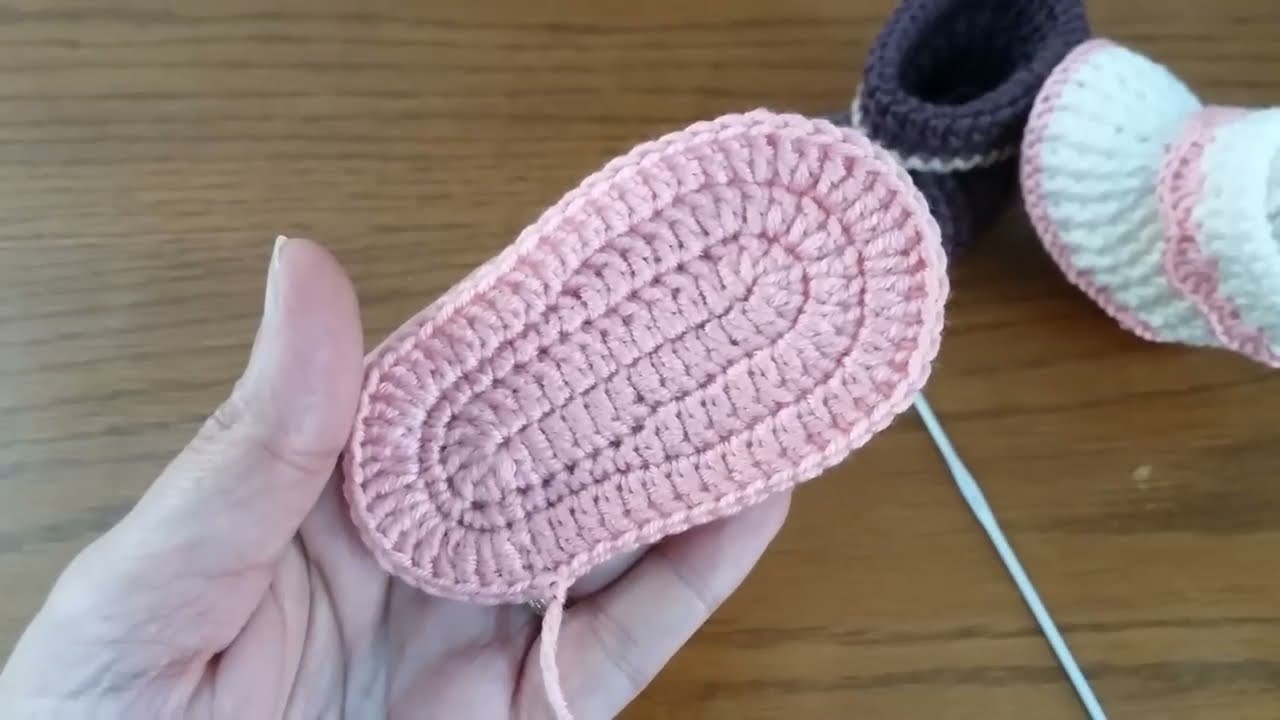
Part 1: The Sole (Color A)
The foundation is worked in an oval, increasing at the heel and toe to create the flat sole.
Foundation: Chain 12.
Round 1: (Double Crochet Base)
- Ch 2 (does not count as a stitch).
- Dc in the 3rd ch from the hook and in the next 9 ch (10 DC total).
- In the last ch (the toe end), work 6 DC.
- Working down the opposite side of the foundation ch, dc in the next 10 ch.
- In the first ch (the heel end, where the first DC was placed), work 5 DC.
- Sl st to the top of the first DC to join.
- You should have 10 DC (side) + 6 DC (toe) + 10 DC (side) + 5 DC (heel) = 31 stitches.
Round 2: (Mixed Stitches & Increases)
- Ch 1 (does not count as a stitch).
- Sc in the same stitch and in the next 4 sts (5 SC total).
- Hdc in the next 5 sts (5 HDC total).
- Toe Increases: [2 DC in next st] 6 times (12 DC total).
- Hdc in the next 5 sts (5 HDC total).
- Sc in the next 5 sts (5 SC total).
- Heel Increases: [2 SC in next st] 5 times (10 SC total).
- Sl st to the top of the first SC to join.
- Stitch Count: 5 SC + 5 HDC + 12 DC + 5 HDC + 10 SC = 42 stitches.
Round 3: (DC Increases)
- Ch 2 (does not count as a stitch).
- Dc in the same stitch and in the next 11 sts (12 DC total).
- Toe Increases: [2 DC in next st] 8 times (16 DC total).
- Dc in the next 12 sts (12 DC total).
- Heel Increases: [2 DC in next st] 8 times (16 DC total).
- Sl st to the top of the first DC to join.
- Stitch Count: 12 DC + 16 DC + 12 DC + 16 DC = 56 stitches.
Fasten off Color A. Cut the yarn and weave in the tail. Join Color B at the seam for the next round.
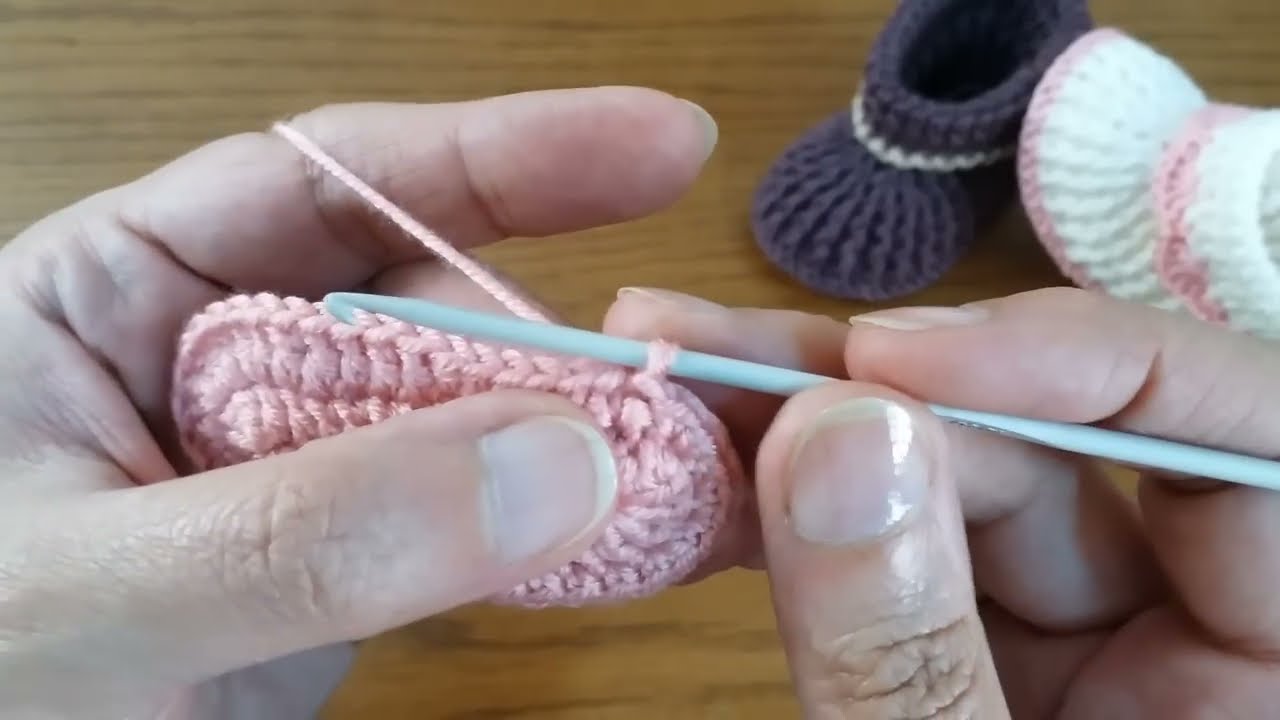
Part 2: The Bootie Body & Toe Shaping (Color B)
This section is worked in Post Stitches to create the bootie’s structure.
Round 4: (Setting up the Ribbed Wall)
- Ch 3 (counts as the first BPDC).
- Work BPDC around the post of every stitch from the previous round. This pushes the sole’s edge down and forces the bootie wall to stand up.
- Sl st to the top of the starting Ch 3 to join.
- Stitch Count: 56 BPDC.
Round 5 & 6: (Ribbing)
- Ch 3 (counts as the first FPDC).
- Ribbing Pattern: [BPDC around next st, FPDC around next st] repeat around.
- Sl st to the top of the starting Ch 3 to join.
- Stitch Count: 56 sts (28 FPDC and 28 BPDC).
- Tip: Before starting Round 7, use stitch markers to mark the decrease area: Count 14 FPDC posts from the center heel seam toward the toe. Mark the 15th FPDC post. Then count 12 FPDC posts across the toe (the decrease area). Mark the FPDC post immediately after the 12th one. The decreases will be worked across the 12 FPDC posts between the markers.
Round 7: (First Decrease Round – Front Toe)
- Ch 3 (counts as FPDC). Work in ribbing (FPDC, BPDC) until you reach the first marker.
- Decrease Sequence (across the 12 FPDC posts):
- [FPDC-dec over the next 2 FPDC, skipping the BPDC in between] repeat 6 times.
- Continue ribbing (FPDC, BPDC) around the rest of the bootie.
- Sl st to the top of the starting Ch 3 to join.
- Stitch Count: 50 sts (6 decreases performed).
Round 8: (Second Decrease Round – Front Toe)
- Ch 3 (counts as FPDC). Work in ribbing (FPDC, BPDC) until the stitch immediately before the first reduced FPDC group from the previous round.
- Decrease Sequence:
- FPDC-dec over the next two adjacent FPDC posts (this includes the last non-reduced FPDC and the first reduced group).
- [FPDC-dec over the next two adjacent FPDC posts] repeat 2 times (to reduce the central 6 reduced stitches down to 3).
- FPDC-dec over the next two adjacent FPDC posts (this includes the last reduced group and the first non-reduced FPDC).
- Continue ribbing (FPDC, BPDC) around the rest of the bootie.
- Sl st to the top of the starting Ch 3 to join.
- Stitch Count: 46 sts (4 decreases performed).
Round 9: (Stabilizing Round)
- Ch 3 (counts as FPDC). Work in ribbing (FPDC, BPDC) around the entire bootie.
- Treat all decreased stitches from the previous round as a single FPDC post.
- Sl st to the top of the starting Ch 3 to join.
- Stitch Count: 46 sts.
Part 3: The Cuff (Color A)
The cuff is worked in simple Double Crochet for a clean finish.
Fasten off Color B and join Color A at the seam.
Round 10 – 13: (Double Crochet Cuff)
- Ch 3 (counts as DC).
- Dc in every stitch around.
- Sl st to the top of the starting Ch 3 to join.
- Repeat this for a total of 4 rounds.
- Stitch Count: 46 DC.
Sl st to join on the final round. Fasten off and weave in the end.
✨ Part 4: Edging & Finishing
Choose an edging based on your desired look:
Option A: Ruffled Edge (Girl)
Join a coordinating color (or Color A) with an SC at the center heel seam.
- Ch 1, SC in the same st.
- Ruffle Pattern: [Skip 1 st, work 5 DC (shell stitch) in the next st, skip 1 st, SC in the next st] repeat around.
- Sl st to the top of the first SC to join.
- Fasten off and weave in ends.
Option B: Reverse Single Crochet (Boy)
Join a coordinating color (or Color A) with an SC at the center heel seam.
- Ch 1, SC in the same st.
- Working backward (to the right), work a Reverse Single Crochet (also known as the Crab Stitch) in every stitch around the cuff edge.
- Sl st to the base of the first Reverse SC to join.
- Fasten off and weave in ends.
Your Ribbed Keepsake Baby Booties are complete!
Video tutorial: