by
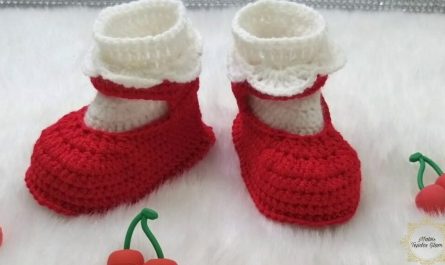
by Welcome to the ultimate knitting project for coziness! Whether you’re a beginner looking for a rewarding first slipper pattern or an experienced knitter wanting a fast, satisfying make, the “Cloud Nine” Slipper is your answer.
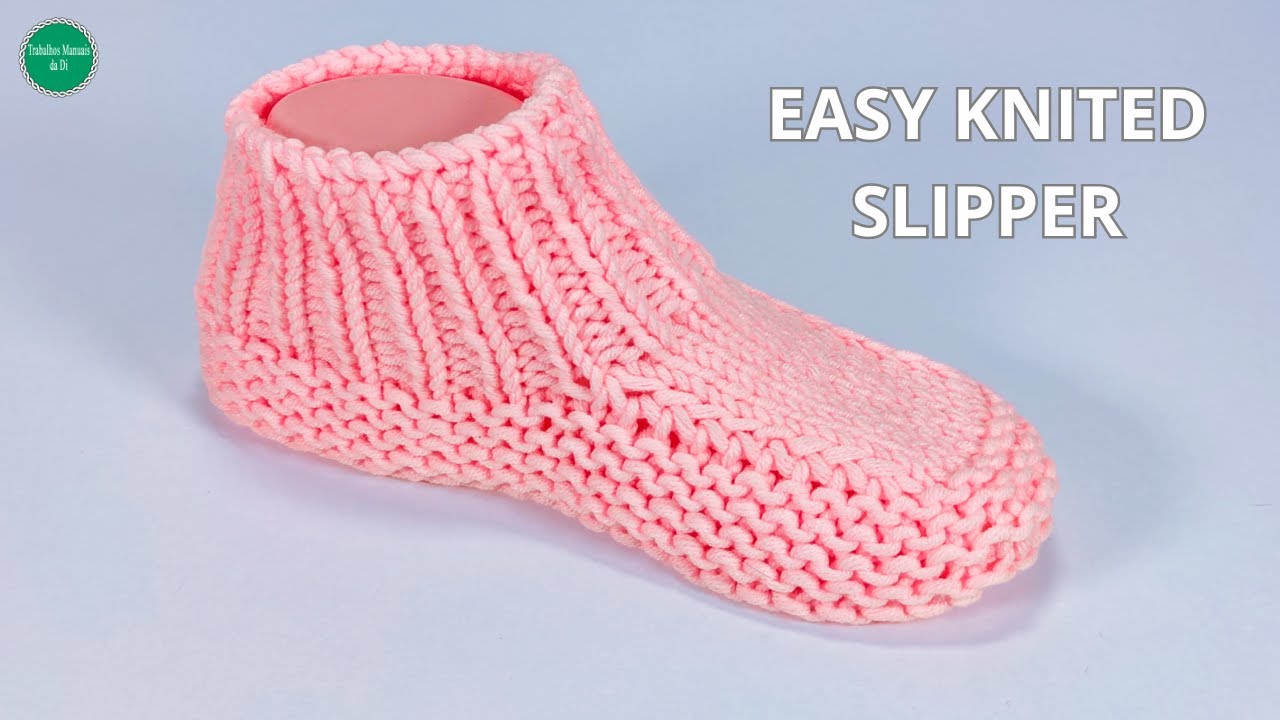
Inspired by a genius, no-fuss construction method, these slippers are essentially a simple knitted rectangle that transforms into a perfectly shaped, soft cocoon for your feet through strategic short-row shaping. Forget complex shaping and turns—this is seamless comfort, knitted flat and seamed up at the end.
Project Overview
| Detail | Specification |
| Finished Size | Adult Medium (US Women’s 7-9 / EU 38-40) |
| Needle Size | 4.0 mm (US 6) or 4.5 mm (US 7) circular or straight needles (use the size that gives you a dense, cozy fabric). |
| Yarn | Worsted Weight / Aran (Category 4/5) yarn. Approximately 100-150g (200-250 yards). A wool blend or acrylic is recommended for warmth and washability. |
| Gauge | 20 stitches and 36 rows = 4 inches (10 cm) in Garter Stitch. Gauge is not critical but will affect final size. |
| Techniques Used | Knit, K2tog, 1×1 Ribbing, Mattress Stitch Seaming. |
| Skill Level | Advanced Beginner |
Sizing Guide
- Adult Small (US 5-6): Cast On 50 sts.
- Adult Medium (US 7-9, as written): Cast On 54 sts.
- Adult Large (US 10+): Cast On 58 sts.
- Adjustment: For every size up or down, adjust the initial Cast-On by 4 stitches (2 per side).
Stitch & Technique Abbreviations
| Abbreviation | Meaning |
| K | Knit |
| P | Purl |
| CO | Cast On |
| BO | Bind Off |
| st(s) | Stitch(es) |
| K2tog | Knit Two Together (right-leaning decrease) |
| RS | Right Side (Garter Ridge Side) |
| WS | Wrong Side (Garter Valley Side) |
| sl1 | Slip one stitch purlwise (unless instructed otherwise) |
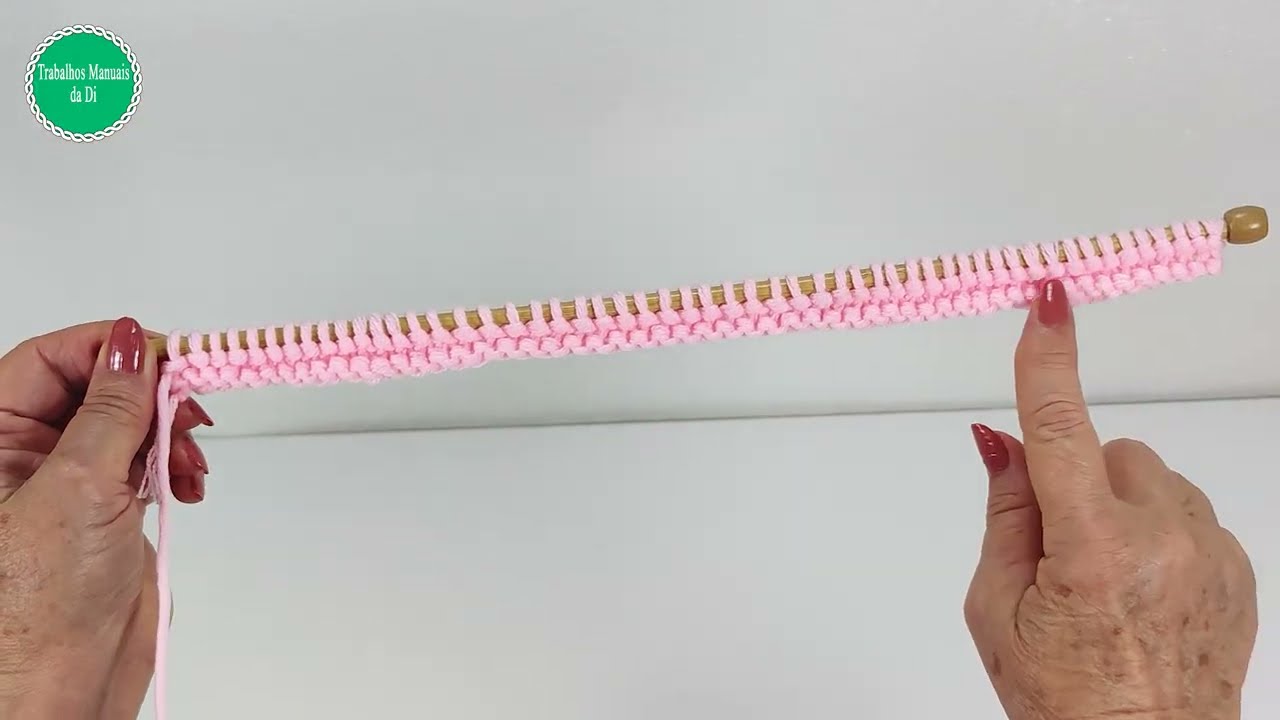
Part 1: The Sole & Lower Body (Garter Stitch)
This section creates the sole and the lower portion of the foot, setting the stage for the toe shaping. It is worked entirely in Garter Stitch, which means you knit every row.
CO: Cast on 54 stitches using your preferred stretchy method (e.g., Long Tail Cast On).
Rows 1 – 16 (or until 6 cm):
- Row 1 (RS): Knit all stitches.
- Row 2 (WS): Knit all stitches.
- Repeat Rows 1-2 until you have completed 8 Garter Ridges (16 rows total), or your piece measures approximately 6 cm (2.5 inches) in height.
Do not bind off. We will now begin shaping the toe.
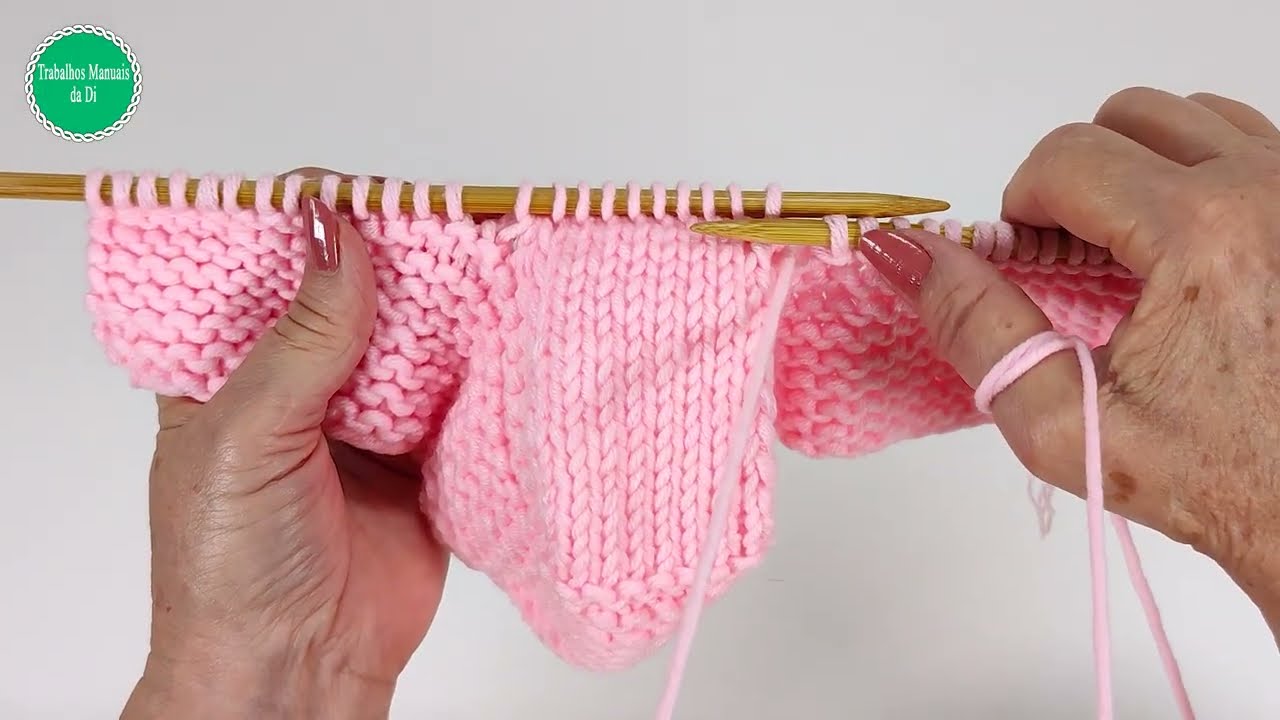
Part 2: Short-Row Toe Shaping (Instep)
This is the clever part of the pattern! We will knit only the central 10 stitches, joining them to the side panels at the end of each row to create the gently rounded toe and instep.
Setup for Short Rows
Your 54 stitches are now divided into three sections:
- Side Panel 1 (Right): 22 sts
- Center Panel (Instep/Toe): 10 sts
- Side Panel 2 (Left): 22 sts
Short-Row Sequence
Starting on a RS row (after completing a WS Garter row):
Row 1 (RS – Joining Row):
- K 21 (Side Panel 1).
- K 9 (Center Panel).
- Join: K the 10th Center st together with the 1st st from Side Panel 2 (K2tog).
- You now have 1 st on your right needle from Side Panel 2 that has been joined.
- Turn the work. (Leave the remaining 21 stitches from Side Panel 2 unworked on the left needle).
Row 2 (WS – Joining Row):
- Sl1 purlwise (This helps reduce the appearance of holes from the turn).
- K 9 (Center Panel).
- Join: K the 10th Center st together with the 1st st from Side Panel 1 (K2tog).
- Turn the work. (Leave the remaining Side Panel 1 stitches unworked).
Repeat Rows 1 and 2 until you have decreased the Side Panels down to 13 stitches each.
- You will perform 9 decreases on each side.
- The central 10 stitches will remain constant, giving you a total of 13 (Side) + 10 (Center) + 13 (Side) = 36 stitches remaining on your needle.
You should end on a Row 2 (WS) repeat, ready to begin working across all stitches again.
Part 3: The Cuff (1×1 Ribbing)
The final 36 stitches will now be worked in 1×1 ribbing for a snug, comfortable fit around the ankle.
Row 1 (RS):
- Knit the remaining 13 stitches from Side Panel 1.
- [K1, P1] across the 10 Center stitches.
- Knit the remaining 13 stitches from Side Panel 2.
- Total stitches: 36.
Row 2 (WS – Setting up the Rib):
- Knit the 13 stitches from Side Panel 2.
- [P1, K1] across the 10 Center stitches.
- Knit the 13 stitches from Side Panel 1.
Rows 3 – 14 (or until 7 cm):
- Work in 1×1 Ribbing across all 36 stitches.
- Note: Since the side stitches are still in Garter (Knit every row), this means you will be alternating between [K1, P1] and [P1, K1] in the center 10 stitches, and continuing to Knit the side stitches.
- Repeat this pattern until the cuff measures approximately 7 cm (2.75 inches) in height from the toe shaping, or you have completed 14 rows total.
Bind Off:
- Bind off all 36 stitches loosely in the 1×1 rib pattern.
- Leave a long tail (at least 20 inches/50 cm) for seaming.

Part 4: Finishing & Seaming
Now we transform the flat piece into a 3D slipper!
1. Back Seam
- Fold the piece in half lengthwise with the Wrong Side facing you.
- Using the long tail and a yarn needle, seam the two short edges of the ribbed cuff and the Garter Body together.
- Use the Mattress Stitch for an invisible, flat seam. This forms the back heel seam. Stop when you reach the start of the toe shaping.
2. Sole and Toe Seam
- Still with the Wrong Side facing out, you will now seam the bottom raw edges (the Garter section that formed the sole).
- Starting from the toe area (the center of the short rows), use the tail yarn and needle to seam the bottom edges together using the Mattress Stitch.
- Continue seaming along the entire length of the sole until you reach the heel seam you just created.
- Secure the yarn and weave in the end.
3. Final Touches
- Turn the slipper Right Side out.
- Gently stretch and block the slipper to help the shape settle.
- Repeat all steps to knit the second “Cloud Nine” Slipper!
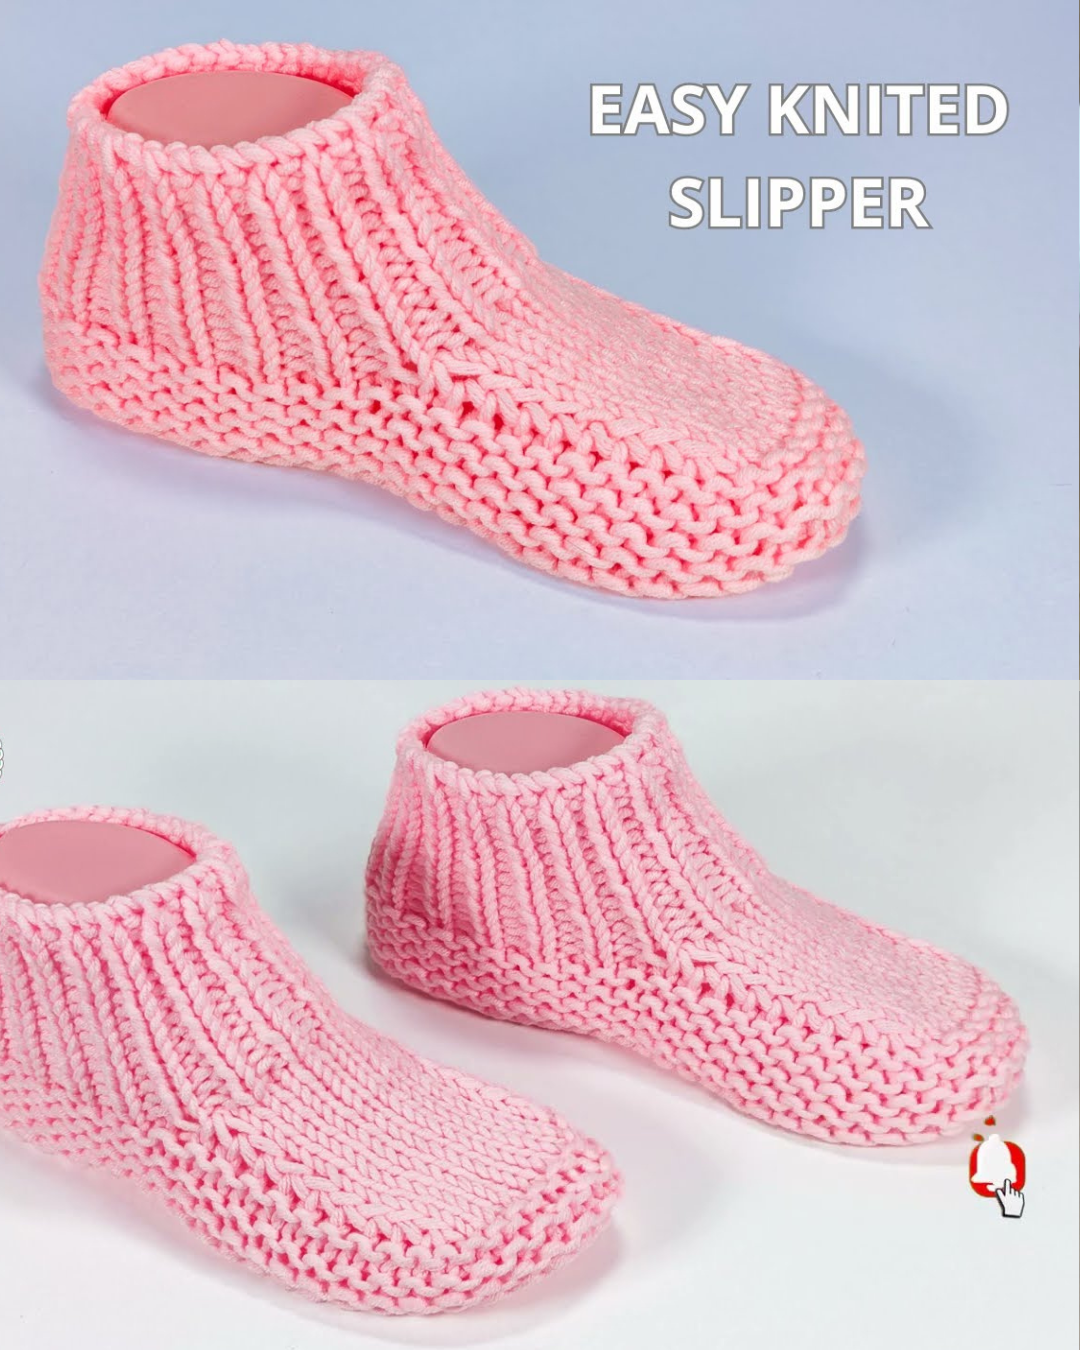
Enjoy your new favorite pair of quick-knit comfort slippers! Don’t forget to share your finished pair in the comments and let us know what color you chose!
Video tutorial: