by
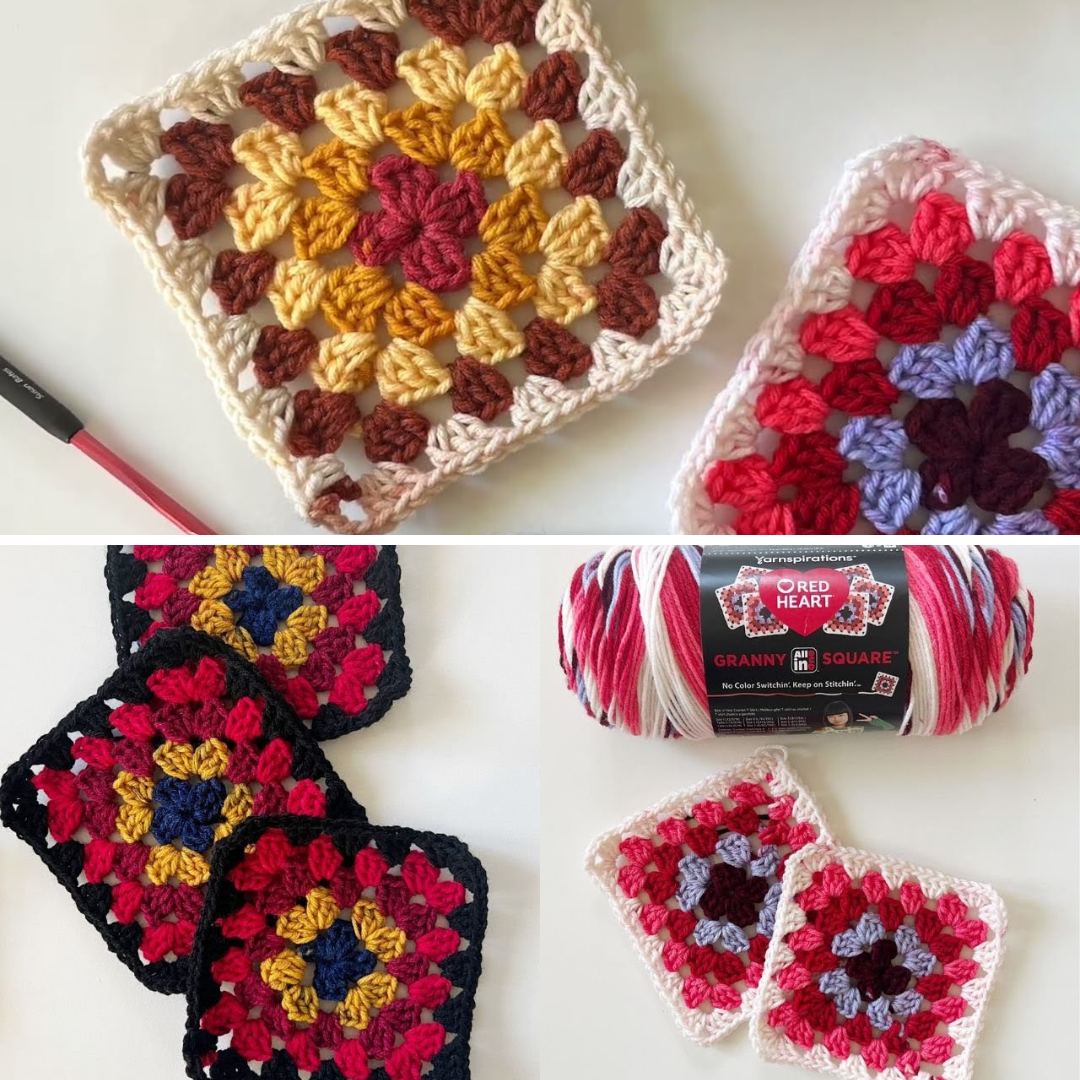
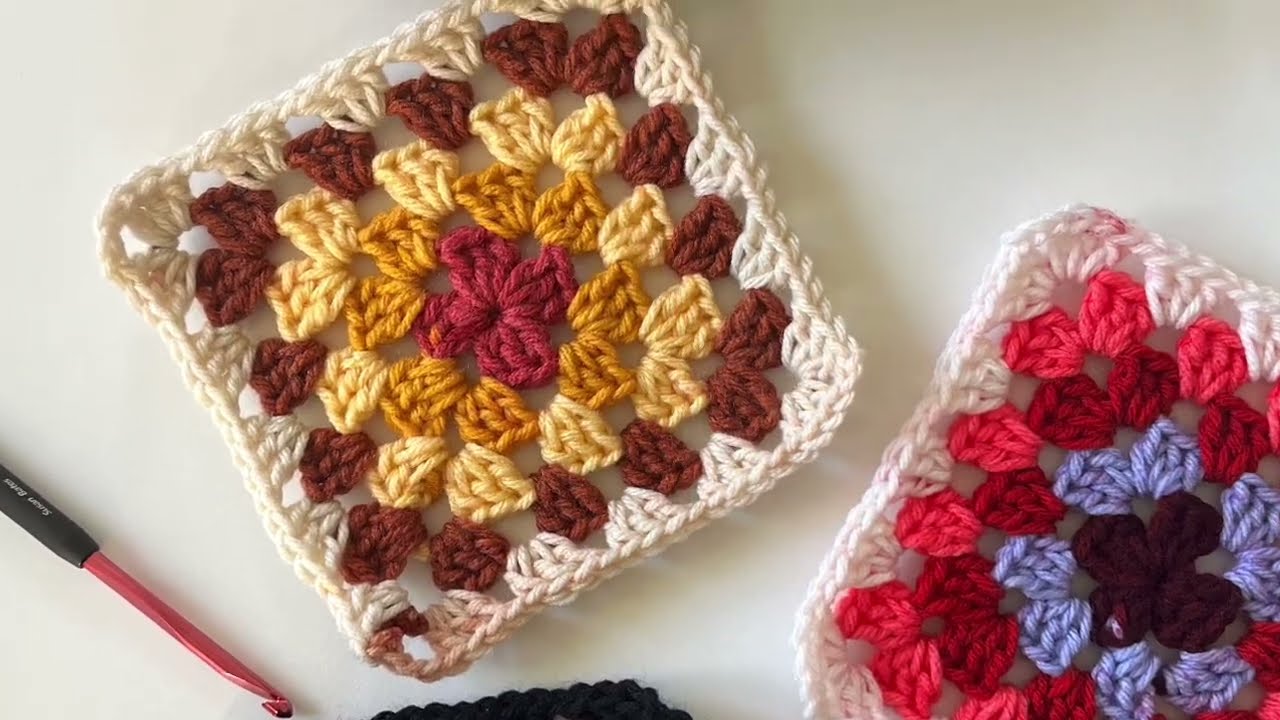
by The Red Heart Granny All-in-One Square yarn is a revolutionary product from Yarnspirations designed to eliminate the need for constant color changes and weaving in endless tails. Each skein is engineered to change colors exactly as you finish a round, allowing you to “keep on stitching” through a five-round granny square.
In this guide, based on Tiffany’s tutorial from Daisy Farm Crafts, we will walk through the pattern and essential “fudging” techniques to ensure your colors line up perfectly.
1. Materials and Specifications
-
Yarn: Red Heart Granny All-in-One Square.
-
Hooks: * Size H (5.0 mm) — Recommended for most of the square.
-
Size I (5.5 mm) — Keep this handy if your tension is too tight .
-
-
Square Dimensions: The yarn is designed to create a standard 5-round granny square.
2. Getting Started: Round 1
-
Preparation: Leave a 4-inch tail at the start to ensure you have enough to weave in later .
-
The Center: Chain 4 and join with a slip stitch to the first chain to form a ring.
-
Round 1:
-
Chain 6 (This counts as 1 double crochet and 1 corner chain-3).
-
Work 3 double crochets (DC) into the center of the ring, followed by Chain 3 .
-
Repeat (3 DC, Chain 3) two more times.
-
Work 2 DC into the center of the ring. Join to the 3rd chain of the starting chain-6.
-
-
The Color Check: You should hit the color change right as you finish the last DC. If you have too much yarn left, your tension is too tight; if you run out of color, your tension is too loose .
3. The Standard Granny Pattern (Rounds 2-5)
For each subsequent round, you will follow the classic granny square structure:
-
Corners: (3 DC, Chain 3, 3 DC) in each corner space.
-
Sides: (3 DC) in each chain-1 space, separated by a Chain 1 .
-
Starting each round: Tiffany recommends chaining 6 (counts as DC + corner) to start the new color round .
4. Tips for Perfect Color Transitions (“Fudging”)
Because everyone’s crochet tension is different, the yarn may not always change colors at the exact corner. Use these “Daisy Farm” tricks to fix it:
If you have too much yarn left of the current color:
-
Add an extra stitch: Work 4 DC instead of 3 in a section. This is rarely noticeable but consumes that extra inch of yarn .
-
Extra slip stitches: Slip stitch once or twice into the corner chains to take up extra length before starting the next round
-
Loosen your tension: Simply pull your loops a bit taller as you work.

If you run out of color before finishing the round:
-
Tighten your tension: Frog a few stitches and rework them more tightly.
-
Remove a chain: Skip a “Chain 1” on a side to save yarn
-
Downsize your hook: Switch to the 5.0 mm hook if you started with the 5.5 mm.
5. Finishing the Square
The goal is to complete the 5th round (the border color) with a 4-inch tail remaining
-
End of Round 5: Slip stitch to join, cut the yarn, and weave in your two tails (one from the center, one from the edge).
-
Consistency: Once you find the hook size and tension that works for your specific style, you will be able to churn out squares rapidly without looking at the yarn].
Video Tutorial: