by
by Looking for a fun, stylish, and practical project to show off your crochet skills? A Cute Sling Crochet Bag is the perfect blend of fashion and functionality — and it’s totally beginner-friendly! With a crossbody design, lightweight feel, and charming handmade look, this sling bag is great for everyday use, festivals, farmers markets, or a thoughtful DIY gift.
In this guide, we’ll walk you through how to crochet your very own sling bag from scratch, with options to customize along the way. Let’s get started!
Why Crochet a Sling Bag?
-
✅ Lightweight and hands-free
-
✅ Great for all seasons
-
✅ Customizable with colors, textures, and appliqués
-
✅ Perfect stash-busting project
-
✅ Beginner-friendly construction
Materials You’ll Need
Here’s what you’ll need to get started:
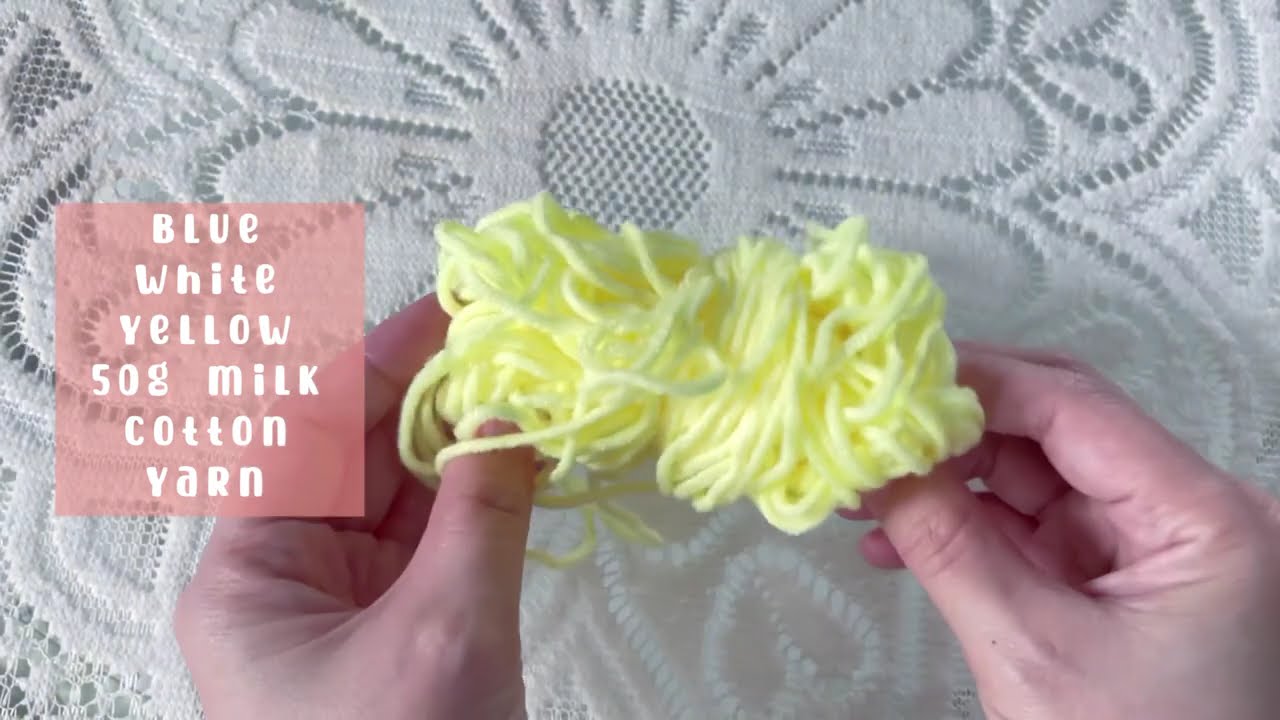
Yarn:
-
Worsted weight yarn (Category 4) – cotton or acrylic
-
Main color (for the body)
-
Accent color (for straps or decoration)
Tools:
-
Crochet hook – 4mm or 4.5mm (G or 7)
-
Tapestry needle – for weaving in ends
-
Scissors
-
Measuring tape
-
Stitch marker (optional)
Stitches & Abbreviations (US Terms)
-
ch – chain
-
sc – single crochet
-
hdc – half double crochet
-
dc – double crochet
-
sl st – slip stitch
-
inc – increase (2 sts in one stitch)
-
dec – decrease (combine 2 sts into one)
-
st(s) – stitch(es)
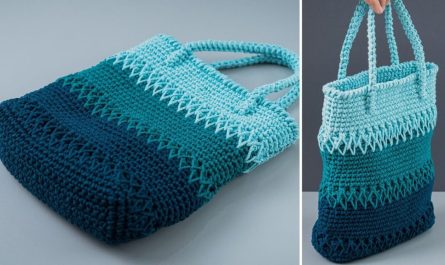
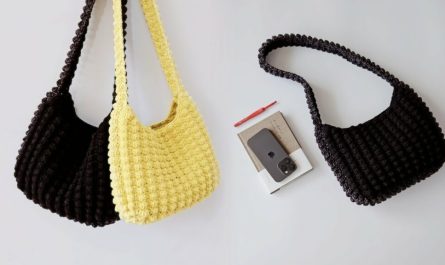
Bag Construction Overview
This sling bag is crocheted in three main parts:
-
The Body – worked in the round or as a flat rectangle
-
The Strap – a long, sturdy crochet strap
-
The Closure / Embellishments – button flap, zipper, flower appliqué, or tassels
Step 1: Crochet the Bag Body
Option A: Flat Rectangle (Beginner-Friendly)
Step 1: Chain 31 (or adjust to your desired width)
Row 1: hdc in 2nd ch from hook and in each ch across (30 hdc)
Row 2–20: ch 1, turn. hdc in each st across
(Adjust length by adding rows)
Fold the rectangle in half to create a pouch. Seam up both sides using slip stitches or whip stitch.

Option B: Worked in the Round (No Side Seams)
Rnd 1: Chain 31, hdc in 2nd ch from hook to end. Continue working on the opposite side of the foundation chain, hdc back to the start to form an oval base. (60 sts total)
Rnd 2–20: hdc around in a continuous spiral. Use a stitch marker if needed.
This method creates a seamless pouch shape — perfect for a sling!
Step 2: Add a Strap
Crochet a strap that’s comfortable to wear across the body. You can make it as thick or as thin as you like.
Simple Strap Pattern:
Ch 90–110 (depending on desired length)
Row 1: sc in 2nd ch from hook and across
Optional Rows: Add 1–2 more rows for a thicker strap.
Attach each end to the inside of the pouch using a tapestry needle. Reinforce with extra stitching for durability.
Step 3: Add a Closure (Optional)
You can add one of the following:
Flap + Button:
-
At the back edge of the bag, join yarn and crochet a small rectangle flap.
-
Add a buttonhole (chain gap) and stitch a cute wooden or colorful button.
Zipper:
-
Sew in a zipper using a needle and thread or fabric glue. Optional: add a fabric lining before attaching.
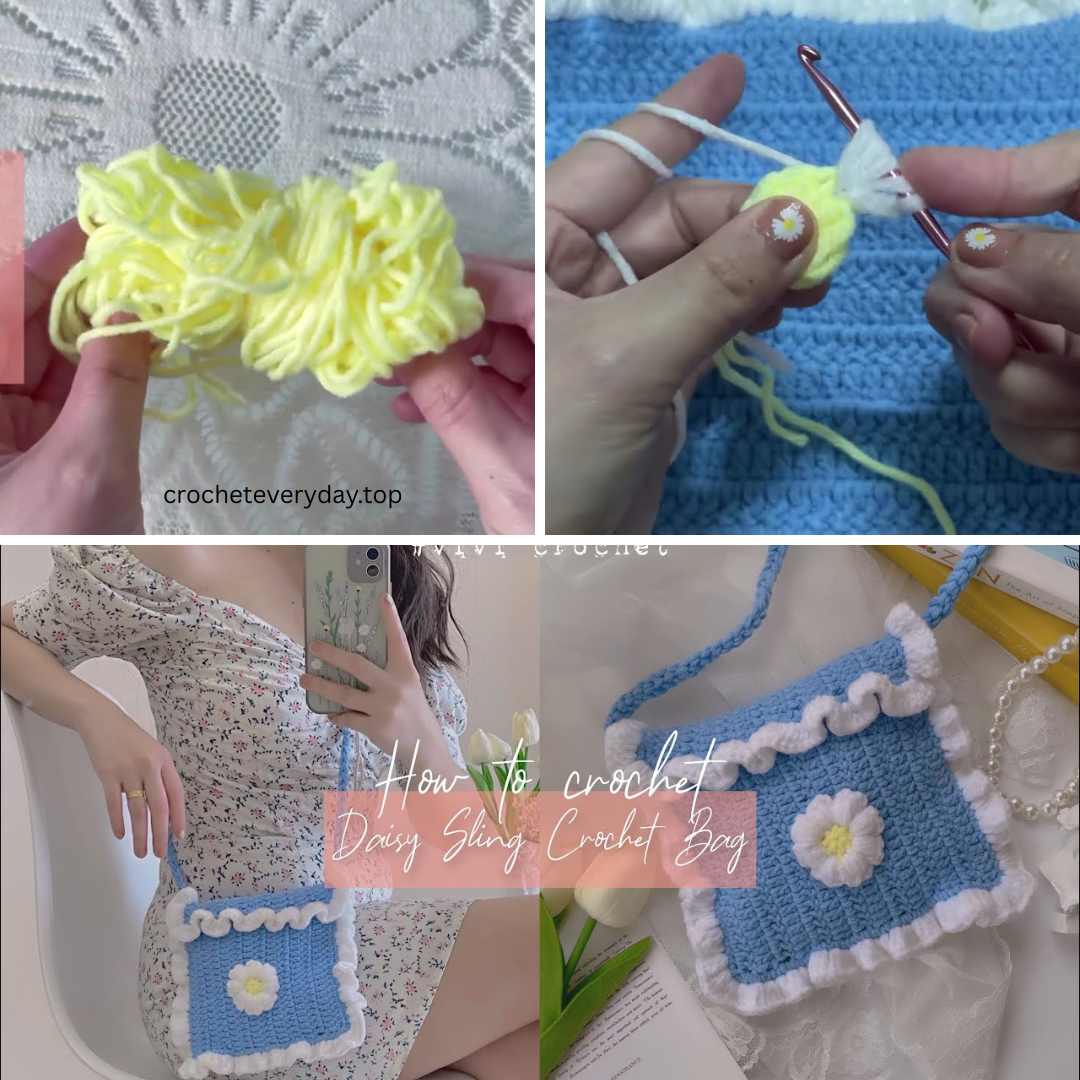
Step 4: Embellishments (Make It Cute!)
Time to decorate your sling bag and make it uniquely yours!
Ideas:
-
Crochet daisies or strawberries and sew them on
-
Add tassels or pom-poms to the sides or zipper pull
-
Surface embroidery with contrast yarn
-
Use variegated or ombre yarn for colorful flair
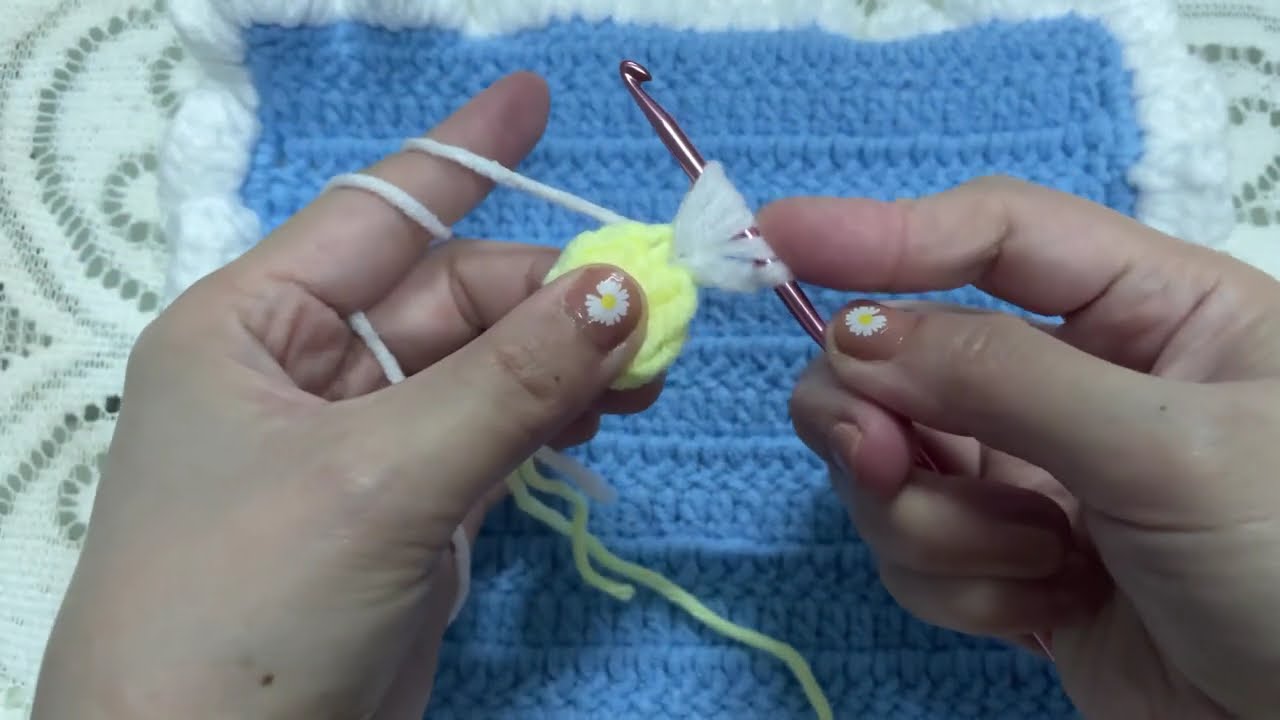
Mini Flower Appliqué Pattern ():
Round 1: Magic ring, 6 sc into ring, join with sl st (6)
Round 2: (ch 2, 2 dc, ch 2, sl st) in each st around to form petals
Sew onto the bag wherever you’d like a little pop of floral fun!
Care Instructions
If you use cotton yarn:
-
Hand wash or gentle machine wash
-
Air dry flat to maintain shape
If you add lining, be sure to pre-wash fabric to avoid shrinkage.
✨ You’re Done! Time to Show It Off
Your Cute Sling Crochet Bag is complete! Whether you’re wearing it to a picnic, gifting it to a friend, or using it as a summer accessory, this handmade project is sure to turn heads and spark joy.
Video Tutorial :