by
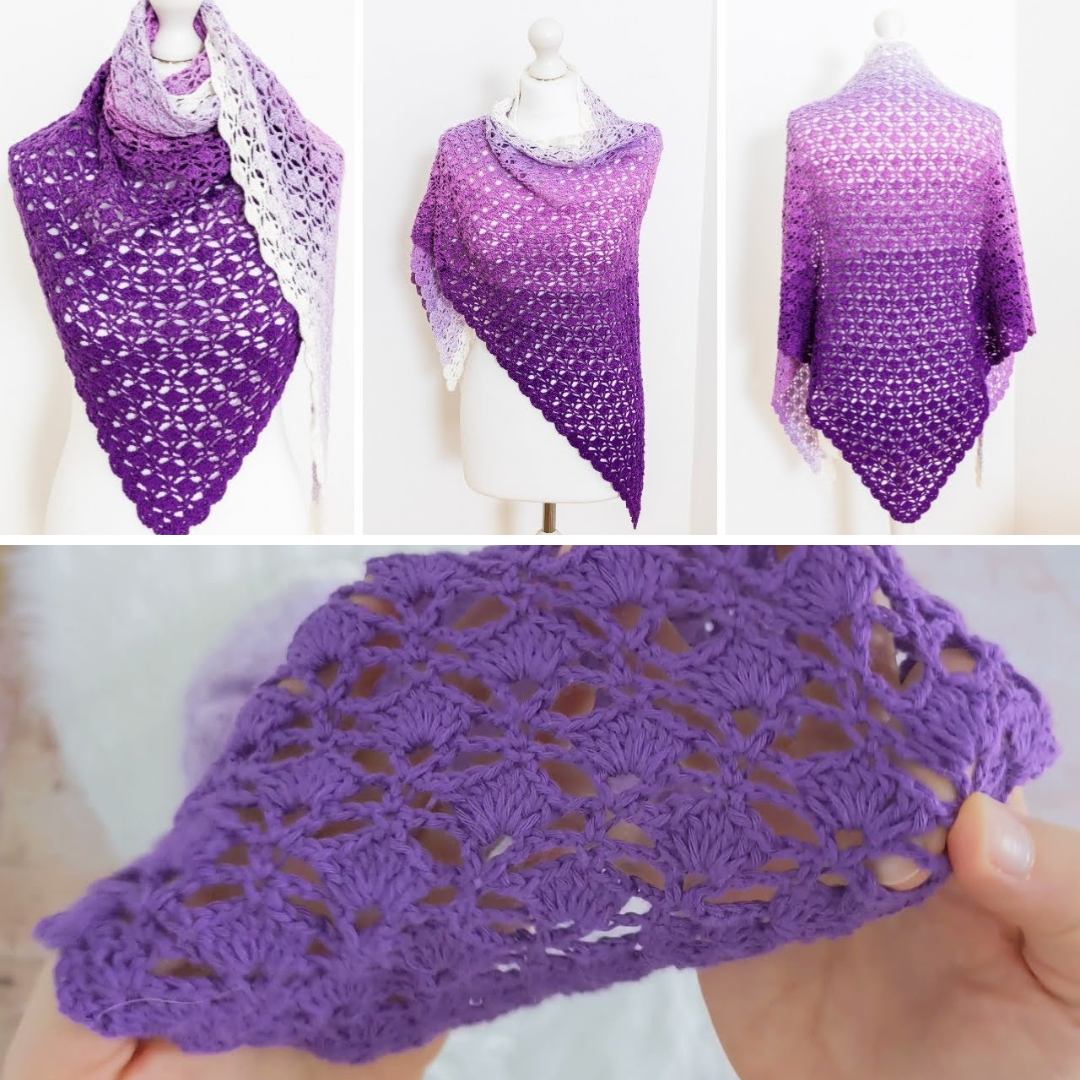
by A crochet shawl is a timeless accessory — elegant, cozy, and incredibly versatile. Whether you wear it draped over your shoulders on a cool evening or wrapped around your neck like a scarf, a handmade shawl is always a beautiful statement piece. And the best part? You can make a stylish crochet shawl even as a beginner!
This tutorial will walk you through how to crochet a simple yet stunning shawl, with clear instructions, tips, and customization ideas.
Materials You’ll Need
Before you begin, gather these supplies:
Yarn:
-
Type: Any yarn will work, but for beginners, choose:
-
Worsted weight (Category 4) or DK yarn (Category 3)
-
-
Amount: 500–800 yards depending on size and stitch used
-
Fiber: Acrylic, wool blend, or cotton (your choice!)
Tools:
-
Crochet Hook: 5.0 mm (H/8) or size recommended by yarn label
-
Scissors
-
Tapestry needle (for weaving in ends)
-
Stitch markers (optional)
Basic Crochet Stitches You’ll Use
This pattern uses basic stitches, ideal for beginners:
-
ch – chain
-
dc – double crochet
-
sl st – slip stitch
-
sk – skip stitch
-
V-stitch – (dc, ch 1, dc) in the same stitch
If you’re new to these, try practicing them with a small swatch before starting your shawl.
Choosing a Shawl Shape
This tutorial focuses on the most beginner-friendly and popular shape:
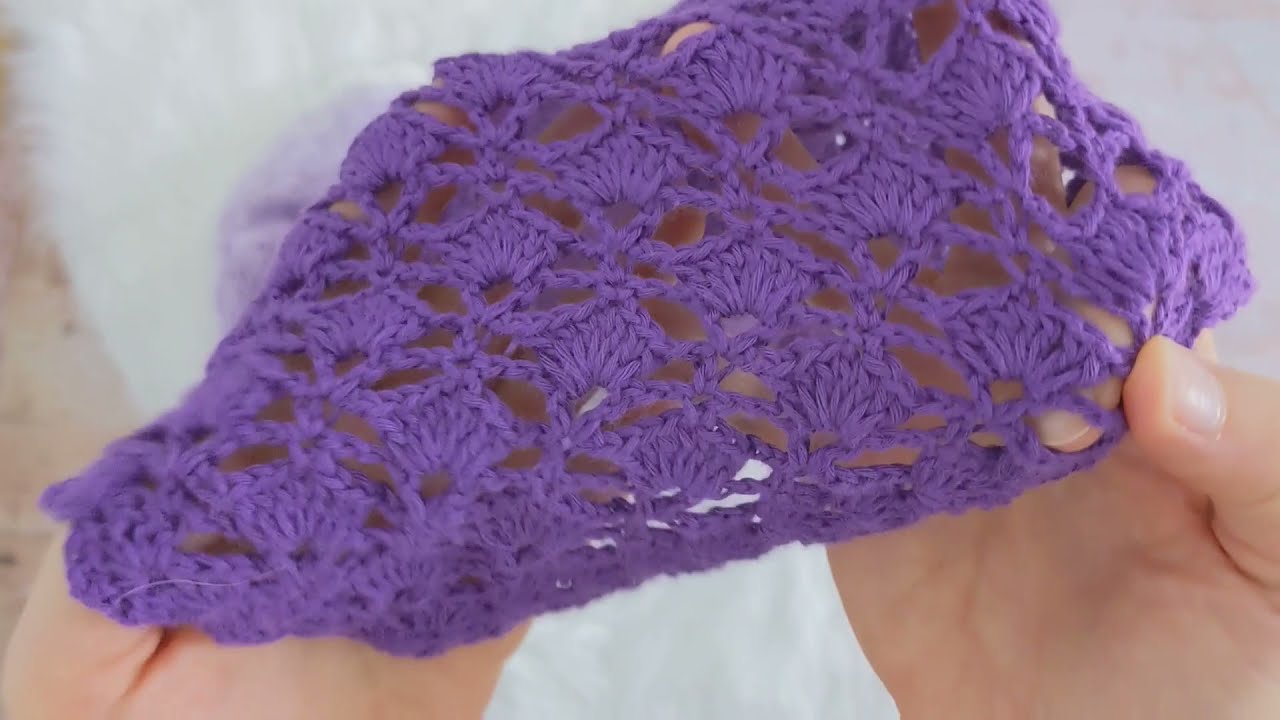
Triangle Shawl (Top-Down Method)
It starts at the top center and grows outward to form a triangle — perfect for wrapping around the shoulders or neck.
Easy Triangle Crochet Shawl Pattern (V-Stitch Style)
✅ Step 1: Foundation Chain
-
Start with a slip knot, then:
-
Ch 4
-
In the 4th chain from the hook, make 2 dc
-
Ch 3 and turn
(You now have the first row of your triangle)
-
✅ Step 2: Build the Triangle with V-Stitches
-
Row 2:
-
In the first stitch (top of turning chain), make (dc, ch 1, dc)
-
In the last stitch (the last dc of the previous row), make another (dc, ch 1, dc)
-
Ch 3, turn
-
-
Row 3:
-
Dc into first dc
-
In the ch-1 space from previous row, make (dc, ch 1, dc) (this is your V-stitch)
-
Dc into the last dc
-
Ch 3, turn
-
Step 3: Repeat the Pattern
-
Continue working V-stitches into each ch-1 space from the previous row.
-
At the beginning and end of every row, place 1 dc (these make the straight edges).
-
Your triangle will grow wider and deeper with each row.
Tip: By row 10, you should have a visible triangle forming. The more rows you add, the larger the shawl becomes.
Target Size
You can stop when the shawl is:
-
About 60–70 inches wide across the top (standard adult size)
-
Or shorter, if you prefer a small shoulder wrap or scarf-style shawl
✨ Optional: Edging for a Polished Finish
Once you’ve reached the desired size, you can add an easy decorative edge.

Simple Shell Edge:
-
Ch 1, turn
-
Sc in next st, skip 1, 5 dc in next st, skip 1 — repeat across
-
End with a sc in the last stitch
This creates a soft scalloped finish that looks beautiful.
Customization Ideas
Once you’ve mastered the basics, try some of these enhancements:
Color:
-
Use gradient or ombré yarn for a color-shifting effect
-
Crochet with stripes by changing color every few rows
Texture:
-
Alternate between rows of dc and hdc for subtle texture
-
Use puff or bobble stitches for decorative rows
Embellishments:
-
Add fringe or tassels to the ends
-
Attach a crocheted flower or brooch as a shawl pin
Care Instructions
-
Wash gently in cold water
-
Lay flat to dry (especially if made with wool)
-
Always check your yarn label for specific instructions
Sharing Your Work
Once your shawl is finished:
-
Take a photo and share your project on social media!
-
Use hashtags like:
-
#CrochetShawl
-
#HandmadeStyle
-
#CrochetForBeginners
-
Final Thoughts
Crocheting a shawl is not only relaxing — it’s practical and rewarding. You’ll be surprised how quickly a few rows of simple stitches can turn into a stunning, wearable work of art.
Even if this is your first-ever crochet project, this pattern will guide you from a single chain to a finished shawl you’ll be proud to wear or gift.
VIDEO TUTORIAL: