by
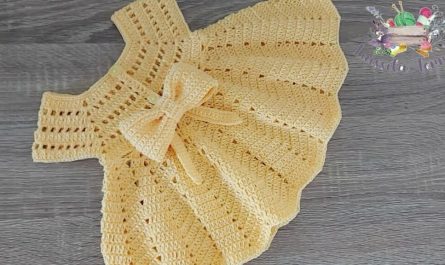
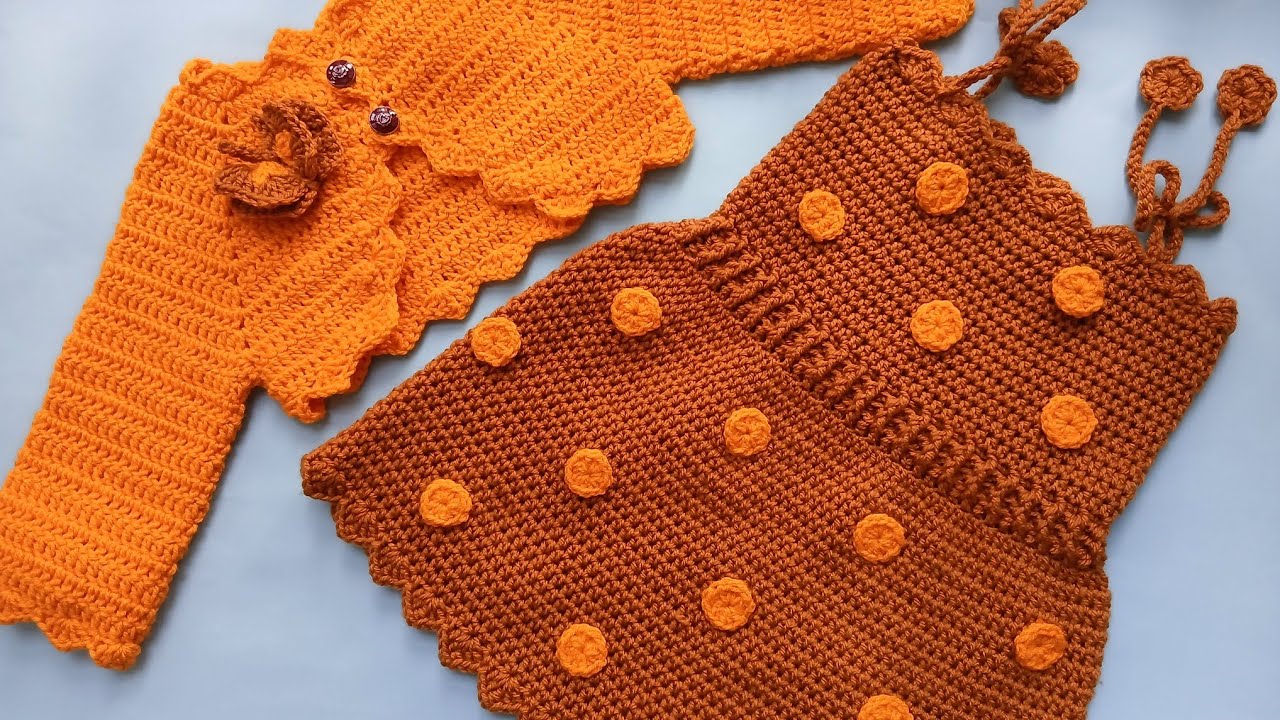
by There’s nothing more adorable than a tiny baby girl in a handmade crochet dress—and pairing it with a matching bolero makes it even more special. This crochet set is ideal for birthdays, holidays, christenings, or simply everyday cuteness. Even if you’re a beginner, you can follow this easy crochet baby dress with bolero tutorial and create a beautiful outfit for ages 0–6 months.
Materials You’ll Need
Here’s what you need to make the dress and bolero:
| Item | Details |
|---|---|
| Yarn | Soft baby yarn – DK weight (Light Worsted, Category 3) |
| Hook Size | 4.0 mm (G-6) crochet hook |
| Buttons | 2–3 small (for bolero and back closure) |
| Yarn Needle | For weaving in ends |
| Scissors | Basic cutting tool |
| Measuring Tape | To check sizing |
| Stitch Markers | Optional, helpful for armholes and shaping |
Size Guide (0–6 Months)
| Part | Measurement |
|---|---|
| Chest Circumference | 16–17 in (40–43 cm) |
| Dress Length | 12–14 in (30–35 cm) |
| Bolero Width | Fits across shoulders (~16 in) |
| Sleeve Opening | 3.5–4 in (9–10 cm) |
Stitches You’ll Use
All stitches are beginner-friendly:
-
ch – chain
-
sl st – slip stitch
-
sc – single crochet
-
dc – double crochet
-
hdc – half double crochet
-
Shell stitch – 5 dc in one stitch (used for skirt flare and edging)
Crochet Baby Dress – Step-by-Step Tutorial
We’ll begin with the dress, worked from the top down.
Step 1: Make the Yoke (Top of Dress)
Foundation:
-
Ch 52
-
Join with sl st to form a ring (ensure it’s not twisted)
-
Ch 2 (counts as first dc)
Round 1:
-
Dc in each stitch (52 dc)
-
Join with sl st
Rounds 2–5:
-
Increase at 4 points (for shoulders) by adding 2 dc in one stitch
-
For example: dc 12, inc, dc 13, inc, dc 12, inc, dc 13, inc = 60+ dc
After Round 5, your yoke should have ~76–80 stitches.
Step 2: Separate Armholes
Round 6:
-
Dc in first 18 stitches (front)
-
Ch 6–8 (armhole gap)
-
Skip 16–18 stitches (sleeve)
-
Dc in next 20 (back)
-
Ch 6–8
-
Skip 16–18
-
Dc in remaining stitches
-
Join with sl st
Now your yoke becomes the base for the skirt.
Step 3: Work the Skirt (Shell Pattern)
Round 7:
-
Ch 3 (counts as dc), skip 2 sts, 5 dc in next stitch (shell), skip 2 sts, sc in next st
-
Repeat around
-
Join with sl st
Rounds 8–20:
-
Continue shell pattern in the same format
-
Repeat until the dress reaches desired length (around 12–14 inches from neckline)
Last Round (Optional Edging):
-
Add picot stitch or shell border for a decorative hem
Step 4: Finishing the Dress
-
Weave in all ends
-
Steam or lightly block to open up the shell pattern
-
Add button or ribbon closure at the back if you left a small opening in the yoke
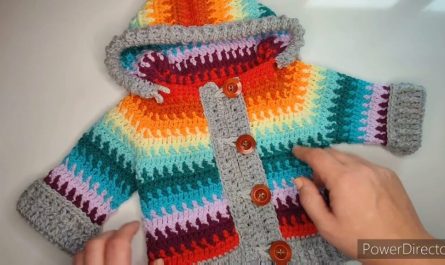
How to Crochet the Short Bolero Jacket
The bolero is worked flat as a rectangle and folded to form sleeves—very beginner-friendly!
Step 1: Make the Bolero Rectangle
Foundation Chain:
-
Ch 52 (this will be the width from wrist to wrist)
Rows 1–18:
-
Row 1: Hdc in 2nd ch from hook and across (51 hdc)
-
Ch 1, turn
-
Rows 2–18: Hdc in each stitch, ch 1, turn
➡️ Adjust rows for longer or shorter sleeves.
You now have a rectangle approx. 16–17 inches wide and 6–7 inches tall.
Step 2: Form the Sleeves
-
Fold the rectangle in half lengthwise (like a hot dog bun).
-
Sew or sl st the sides together, leaving a 5-inch opening in the center for the body.
-
The sewn sides become sleeves; the center opening is the back.
Step 3: Add Edging & Closure
-
Work 1–2 rounds of sc or shell stitch around the sleeve cuffs, neck, and bottom edges.
-
Optional: Add picot or lace edging for a delicate look.
-
Add 1–2 buttons or a ribbon tie at the front.
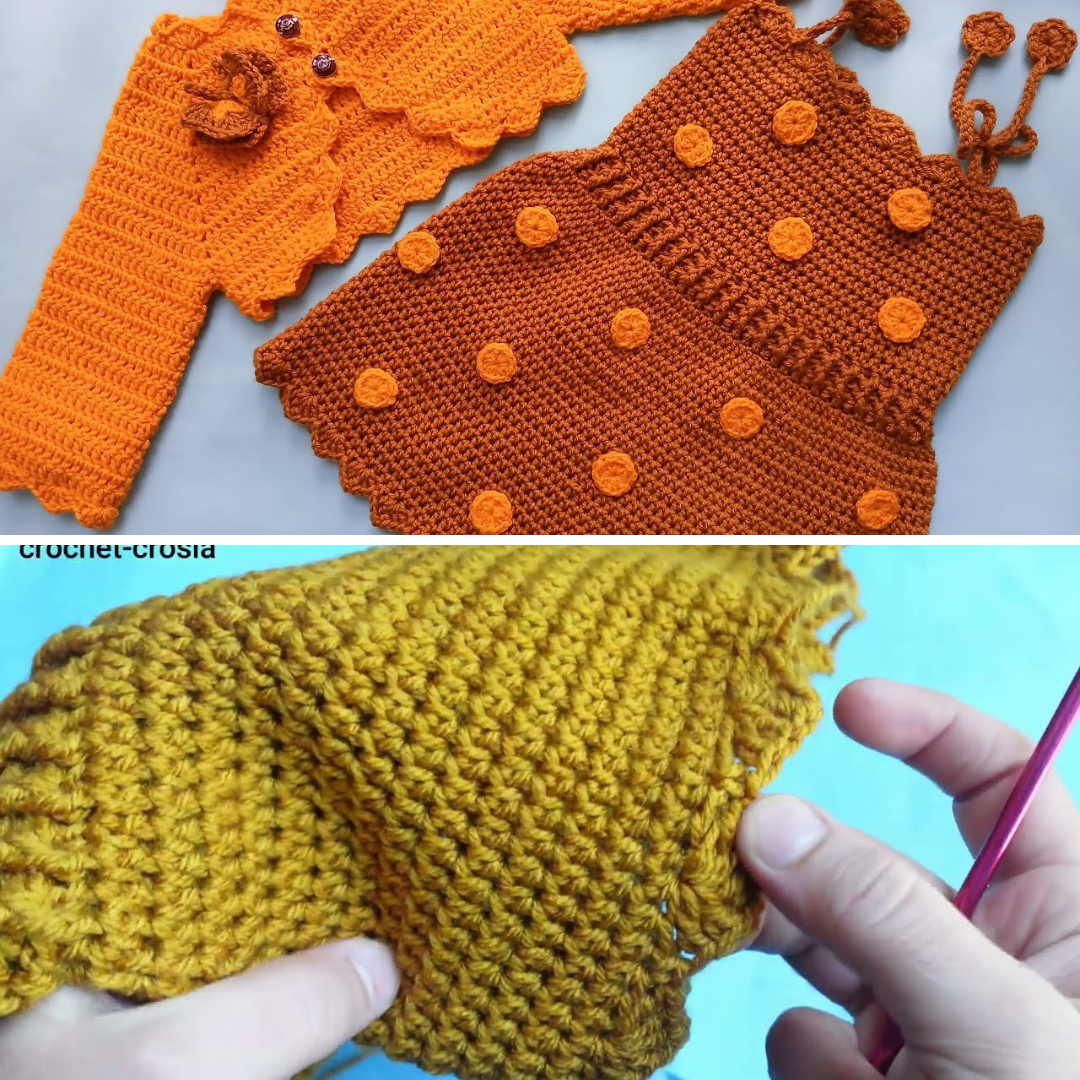
Optional Embellishments
-
Ribbon Bow: Add a satin bow at the waistline or bolero collar
-
Flower Appliqué: Crochet a small flower and attach it to the dress front or bolero
-
Color Play: Use a contrasting color for the bolero or hem edges
-
Matching Headband: Use leftover yarn to make a headband with a flower or bow
Tips for Beginners
-
Use soft yarn that’s gentle on baby skin (cotton or baby acrylic blends)
-
Measure as you go to ensure good fit
-
Don’t crochet too tightly—relaxed tension is best for baby garments
-
Stitch markers help track rows and shaping
-
Block your finished pieces to enhance the shape and drape
Perfect For:
-
Baby Showers
-
First Photos
-
Church Events or Dedications
-
Birthday Outfits
-
Everyday Princess Looks!
Final Thoughts
Creating a crochet baby girl’s dress with a matching short bolero is a fun and satisfying project. This simple set looks elegant yet is entirely beginner-friendly. You’ll love the compliments, and the baby will love the comfort!
Whether you’re crafting for your child or making a gift, this is one project that’s sure to become a treasured keepsake.
Video Tutorial: