 by
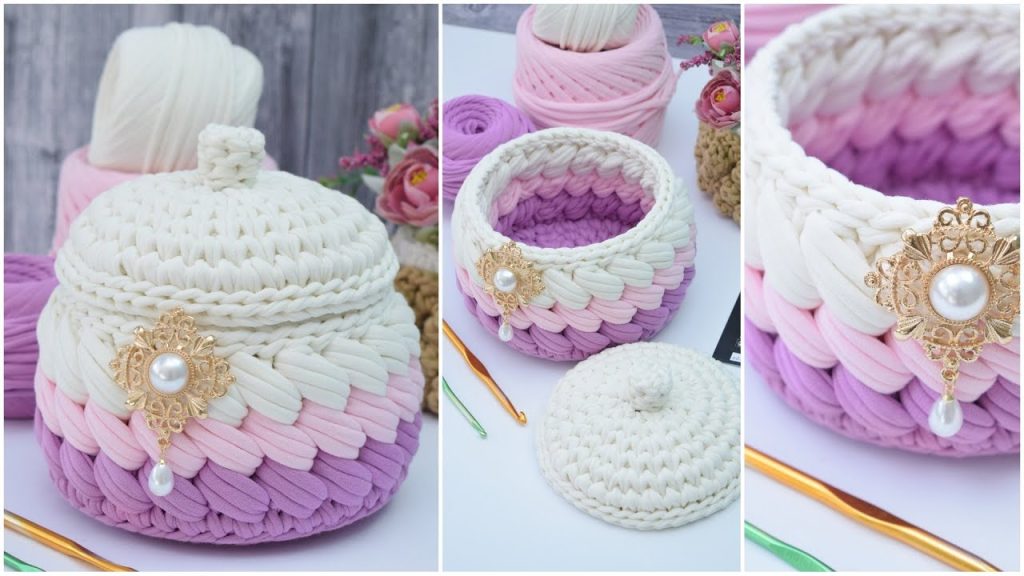
by Absolutely!  Let’s go step-by-step through how to make a Crochet Marshmallow Basket — a soft, chunky, and beginner-friendly project that’s both fun and practical. This cozy basket looks like a marshmallow puff — perfect for holding yarn, toiletries, toys, or just adding charm to your room.
 Crochet Marshmallow Basket Tutorial (Beginner-Friendly)
 What You’ll Learn
- How to crochet a basket using thick, squishy yarn
- How to work in the round
- How to create structure and shape in crochet
- A simple pattern that helps you master basic stitches
 Materials You’ll Need
| Item | Description |
|---|---|
 Yarn Yarn |
Super bulky or chunky yarn (e.g. T-shirt yarn, chenille yarn, or polyester tube yarn) — approx. 150–200g depending on size |
 Hook Hook |
8mm–10mm crochet hook (check yarn label for guidance) |
 Scissors Scissors |
For cutting yarn |
 Yarn needle Yarn needle |
For weaving in ends |
 Stitch marker Stitch marker |
Optional, for marking rounds |
 Crochet Stitches & Techniques Used
- Magic ring (or chain 2 and work into 2nd chain)
- Single crochet (sc)
- Slip stitch (sl st)
- Increase (2 sc in one stitch)
- Working in rounds
If you’re brand new, practice single crochet for a few minutes first — that’s the main stitch we’ll use!
 Step-by-Step Instructions
 Base of the Basket
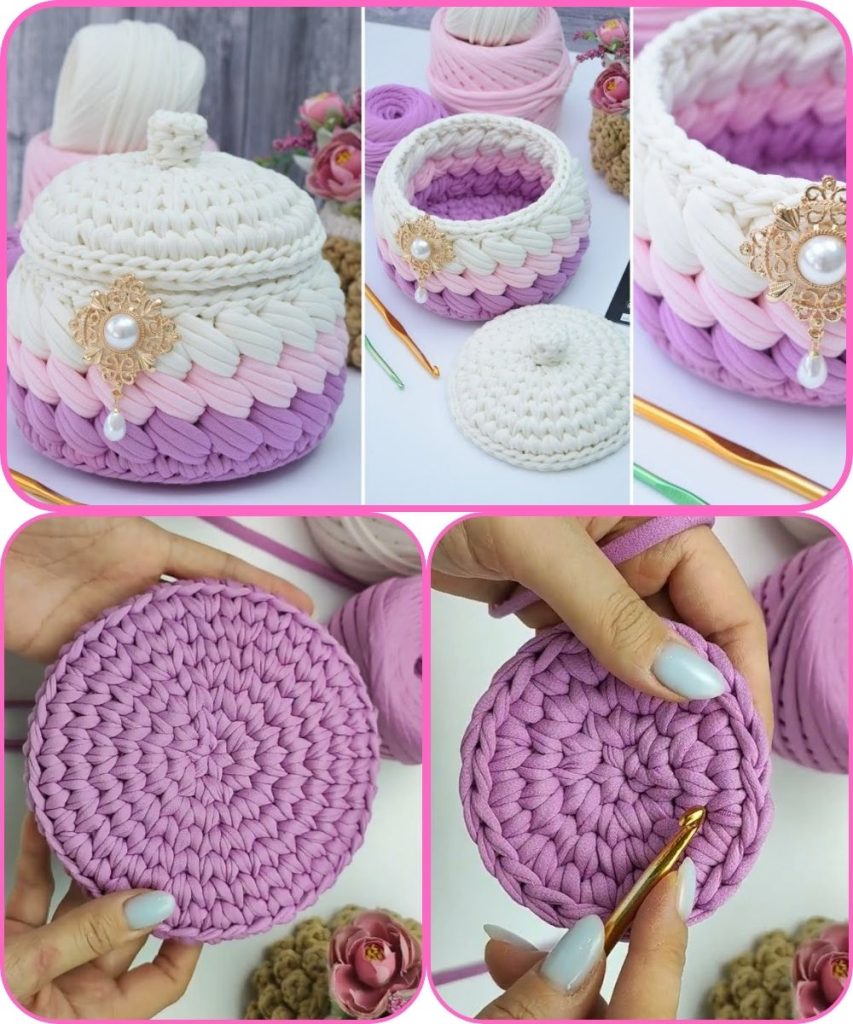
We’ll start with a flat circle.
Round 1:
- Make a magic ring, chain 1, and crochet 6 single crochets (sc) into the ring.
- Pull tight to close.
→ [6 stitches total]
Round 2:
- Do 2 sc in each stitch around.
→ [12 stitches total]
Round 3:
- (1 sc, 2 sc in next stitch) repeat all around.
→ [18 stitches total]
Round 4 (optional for larger base):
- (2 sc, 2 sc in next stitch) repeat all around.
→ [24 stitches total]
Your base should now look like a flat, round pancake — like a marshmallow squish!

 Forming the Basket Walls
Now, we’ll build the sides.
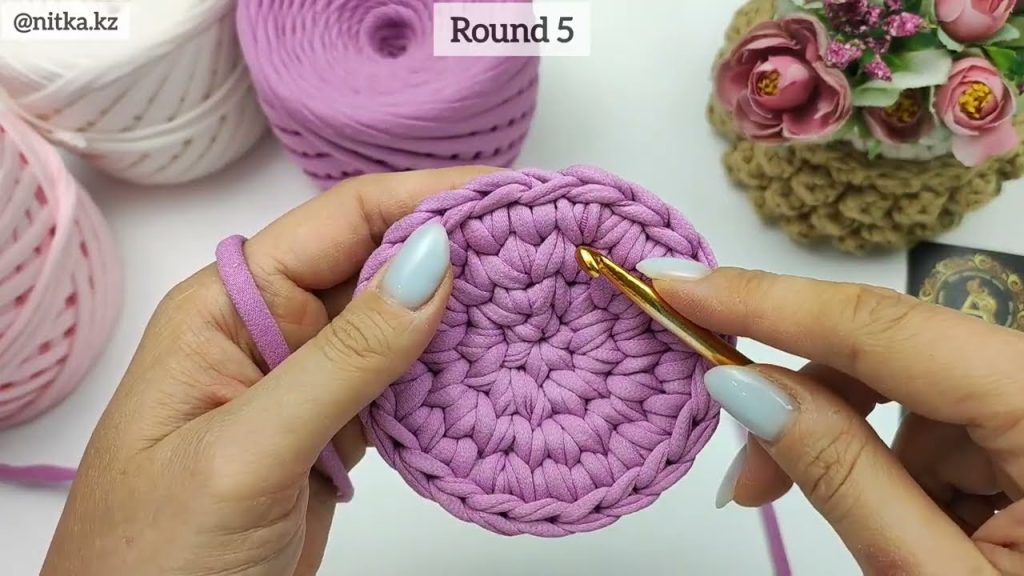
Round 5:
- Work 1 sc in the back loops only (BLO) of each stitch around.
This makes the edge fold up nicely!
→ [24 stitches]
Round 6–10 (or until desired height):
- Work 1 sc in each stitch around, through both loops as usual.
- No increases — this keeps the walls straight.
Tip: You can make it taller or shorter by adding or removing rounds.
 Finishing the Edge
To give a smooth top:
Last Round:
- Work slip stitches all the way around the top edge (not too tight).
Fasten off and weave in the yarn end neatly with your yarn needle.
 Optional Add-ons
You can make it extra adorable:
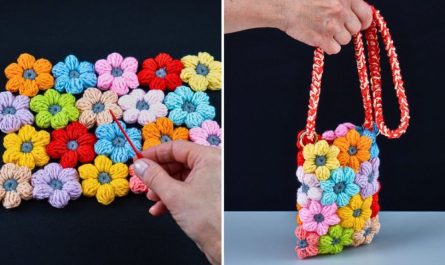
- Add a ribbon or bow around the rim
 Use pastel colors to get a marshmallow swirl effect
- Crochet a small handle by chaining 10–12, then attaching both ends
- Line with fabric if you want a more structured interior
 Tips for Beginners
- Keep your tension loose — chunky yarn can be hard to pull through tight stitches.
- Don’t worry if the first few rounds look uneven — it evens out as you go.
- Use stitch markers to mark the start of each round.
- Try color changes to make a layered “marshmallow” look (white, pink, cream).
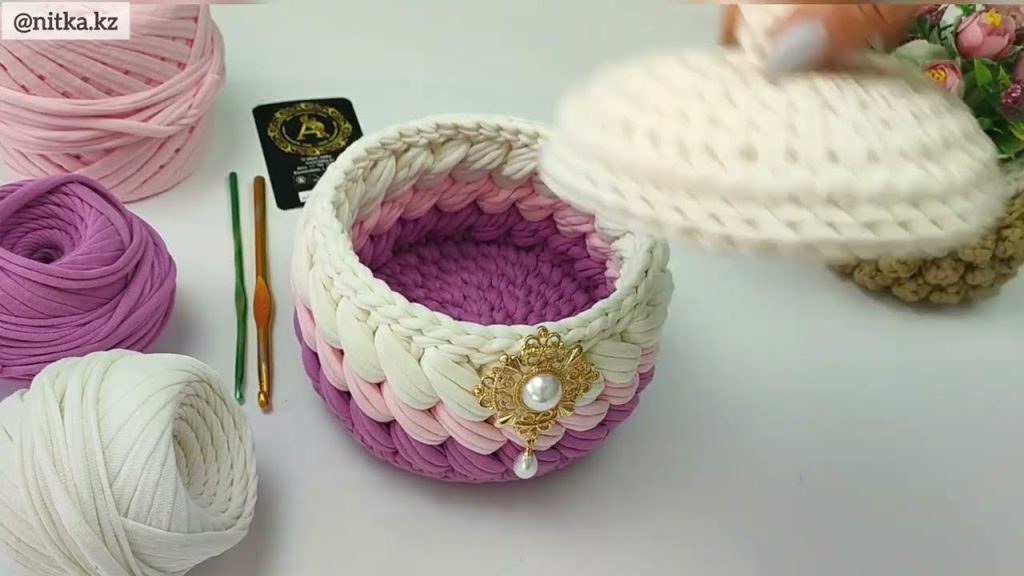
 Your Finished Basket!
You now have a soft, cozy Crochet Marshmallow Basket — perfect for holding:
- Cotton pads and skincare
- Yarn balls
- Stationery or keys
- Easter eggs or candy
This project usually takes 1–2 hours for beginners and gives you an amazing sense of accomplishment!
Watch tutorial: