 by
by Absolutely! Here’s a step-by-step, exciting guide titled just the way you asked:
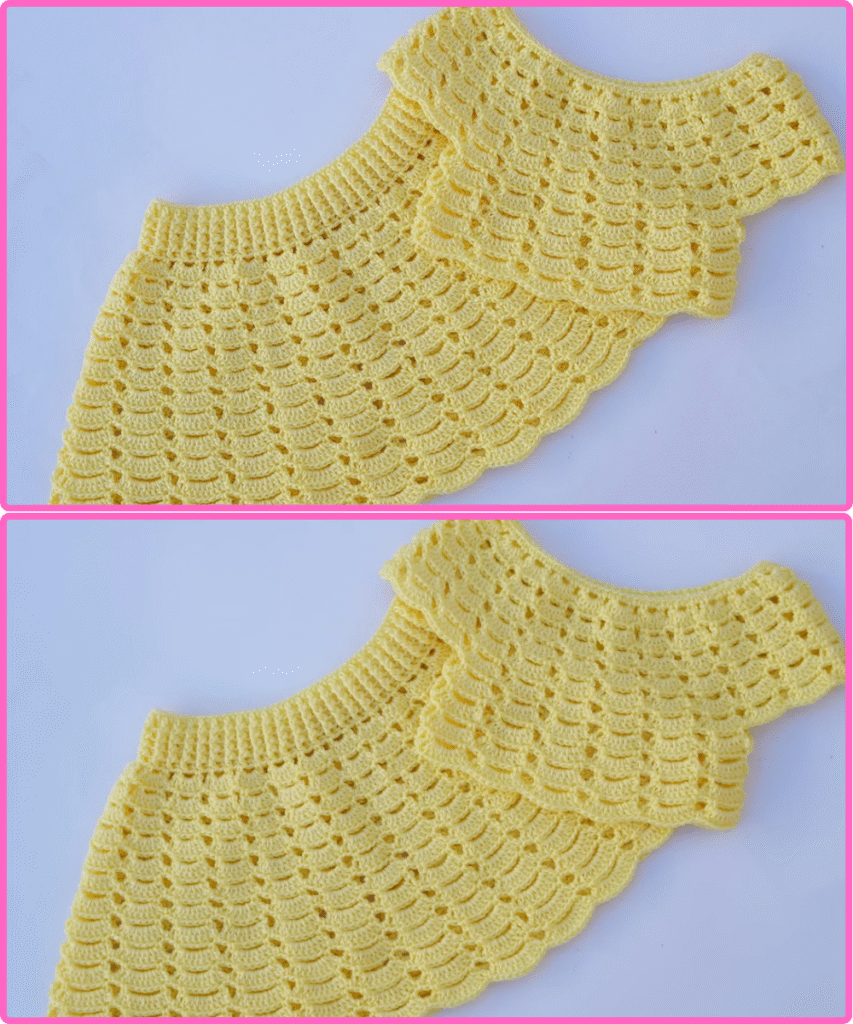

 “INCREDIBLE! WITH YOUR EYES CLOSED YOU WILL MAKE THIS SKIRT AND SELL IT TO HUNDREDS!”
(Yes — it’s that easy, stylish, and profitable!)
Want to start a small fashion business or just make something fabulous in under 30 minutes? This DIY skirt is so simple, once you’ve made one, you can make a dozen with your eyes closed — and they sell like hotcakes at markets, online shops, or even Instagram!
 What Makes This Skirt So Incredible?
 No zipper, no button, no fuss
One straight stitch and you’re nearly done
Flattering on all body types
One-size-fits-most (adjustable waist)
Looks boutique-level, feels homemade
Perfect for selling – low cost, high style
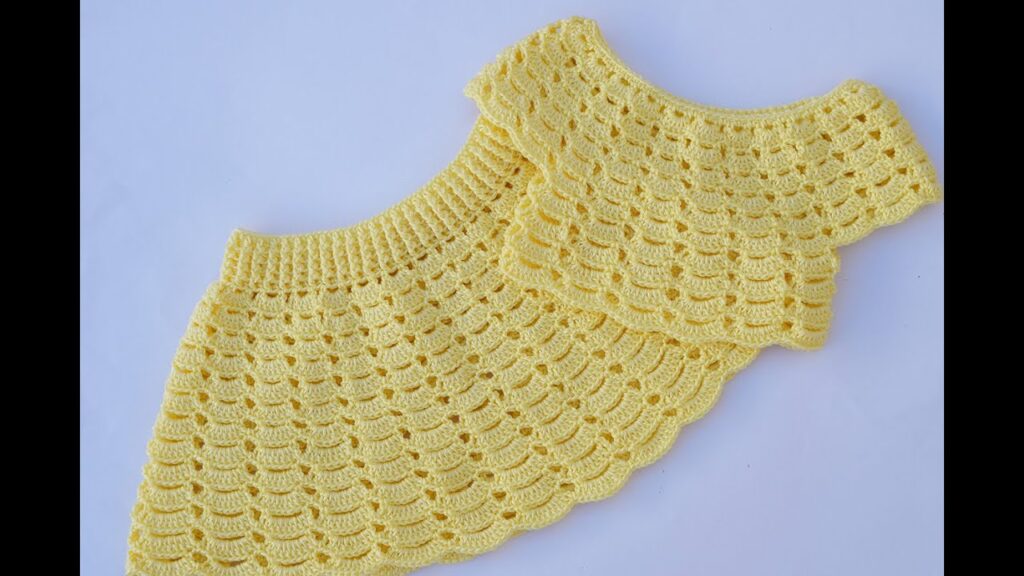
 Materials Needed (For One Skirt):
| Item | Details |
|---|---|
| Fabric | 2 meters of cotton, rayon, viscose, jersey, or Ankara (anything light & flowy) |
| Elastic | 1 inch wide, your waist length + 2 cm |
| Thread | Matching color |
| Safety pin | For threading the elastic |
| Sewing machine or hand needle | Straight stitch only needed! |
| Iron (optional but neat) |
 Measuring & Cutting:
You only need to cut one large rectangle:
- Length (across waist): Your waist × 2 (for fullness)
(e.g. if waist = 80 cm → 80 × 2 = 160 cm) - Height (from waist to hem): Desired skirt length + 5 cm (for waistband + hem)
 Example for a midi skirt: 160 cm × 70 cm
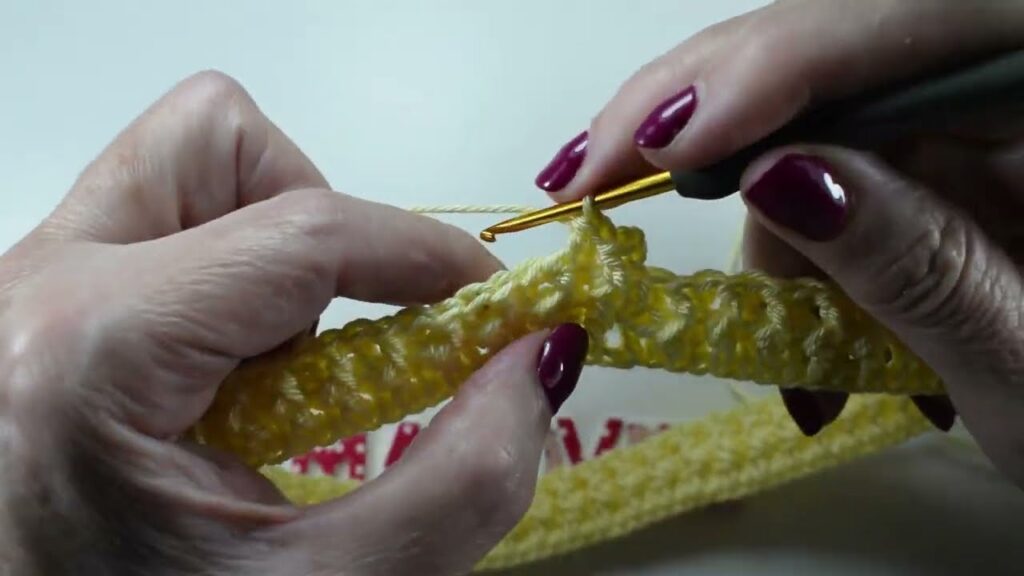
Step-by-Step Instructions:
Step 1: Sew the Side Seam
Fold the rectangle right sides together (so it becomes a tube).
Sew one straight vertical line to close the side.
That’s it. You now have the body of the skirt.
Step 2: Make the Waistband Casing
- Fold the top edge down by 1.5 cm, press.
- Fold again by 3 cm, press and pin.
- Sew along the lower edge of the fold, leaving a 2-inch gap to insert elastic.
 Hack: No iron? Use clips or pins — press with your fingers!
Step 3: Insert Elastic
- Attach the safety pin to one end of the elastic.
- Thread it through the waistband casing.
- Overlap ends of the elastic and sew securely.
- Pull elastic fully inside and sew the gap closed.
Now your skirt will cinch perfectly at the waist — stretchy, comfy, and flattering!
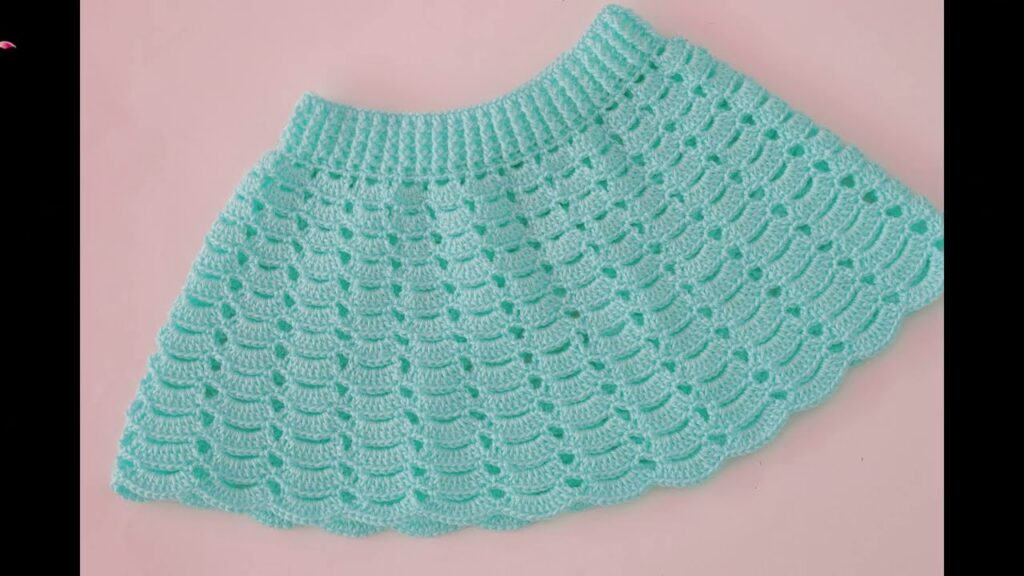
Step 4: Hem the Bottom
- Fold up the bottom edge 1 cm, then again 2 cm.
- Sew along the edge for a clean finish.
 BOOM! You’re done.
 Custom Ideas for Selling:
| Variation | Description |
|---|---|
| Tiered version | Add 1–2 gathered panels for a flowing boho look |
| Ruffle hem | Add a flared strip at the bottom |
| Color block | Use 2 or 3 fabrics for contrast |
| Pockets | Everyone loves a skirt with pockets! |
| Matching scrunchie or headband | Sell as a set – more value! |
 Tips to Start Selling:
- Batch produce: Cut 5 at a time — you’ll save hours.
- Offer sizes or styles: mini, midi, maxi.
- Brand it: Use cute labels or wrap in tissue.
- Photograph well: Natural light, model or mannequin.
- Price point: Keep materials under $5–8, and sell for $25–40 depending on design and market.
 Final Words:
Once you try this, you’ll realize how EASY it is.
This skirt is a game changer — make it for yourself, your friends, and your shop. The best part? It looks boutique, but it’s made with love and simplicity.
Watch video: