by
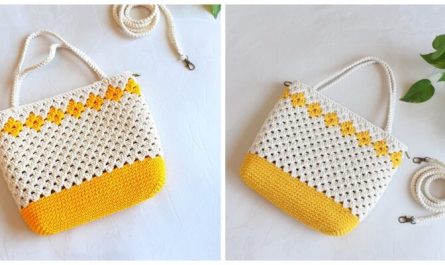
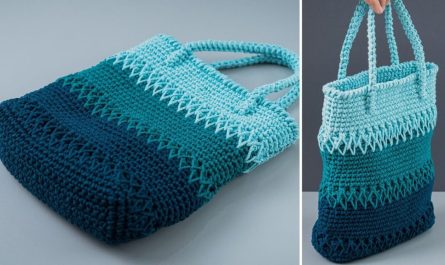
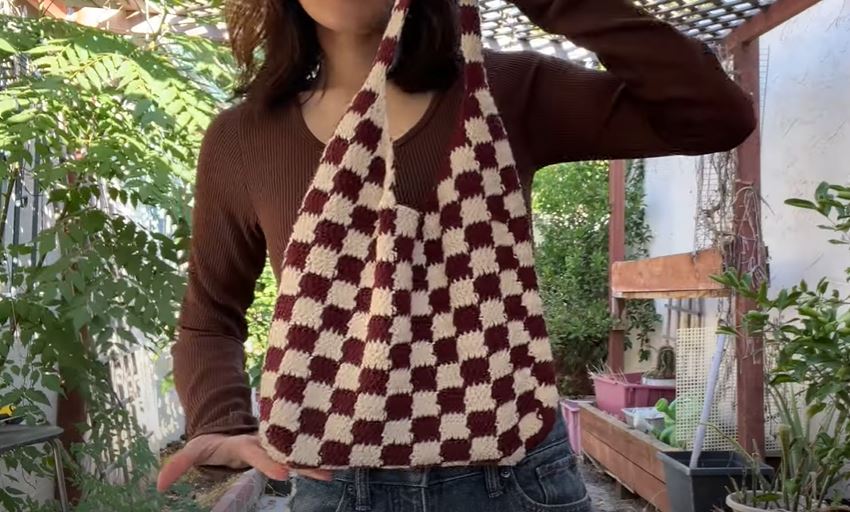
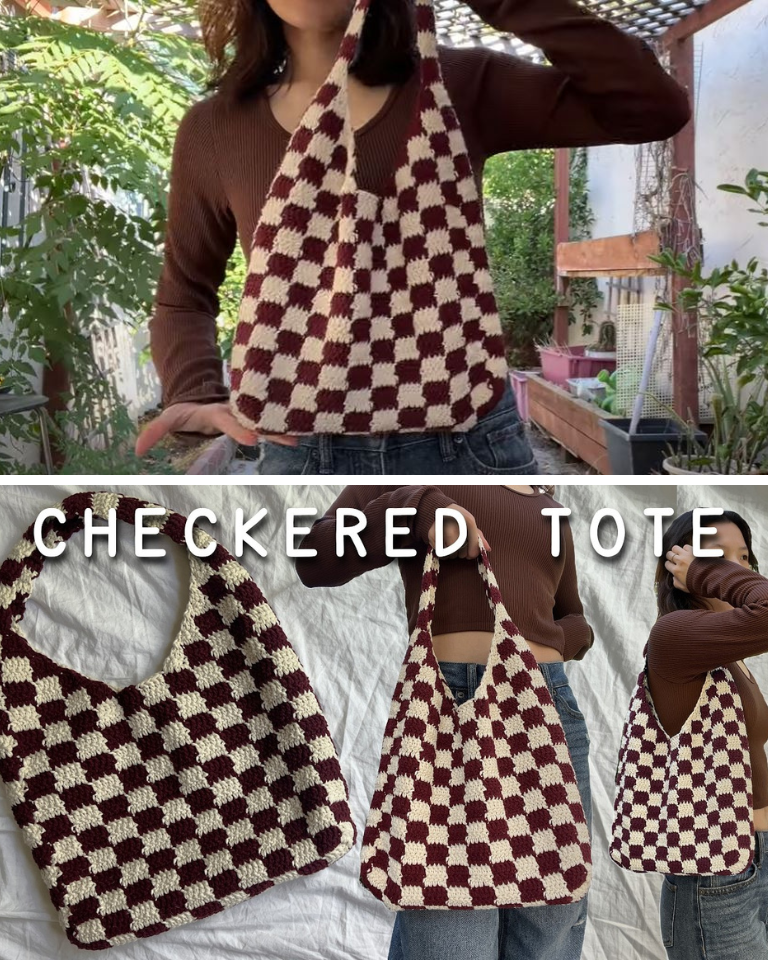
by Crocheting is a timeless craft that combines creativity, practicality, and mindfulness. One of the most stylish and functional projects you can undertake is a checkered crochet tote bag. These bags are trendy, sturdy, and perfect for everyday use—from trips to the market to carrying your favorite books or crochet supplies. In this comprehensive tutorial, we’ll walk you through creating your own crochet checkered tote bag, suitable for beginners but detailed enough to inspire seasoned crocheters.
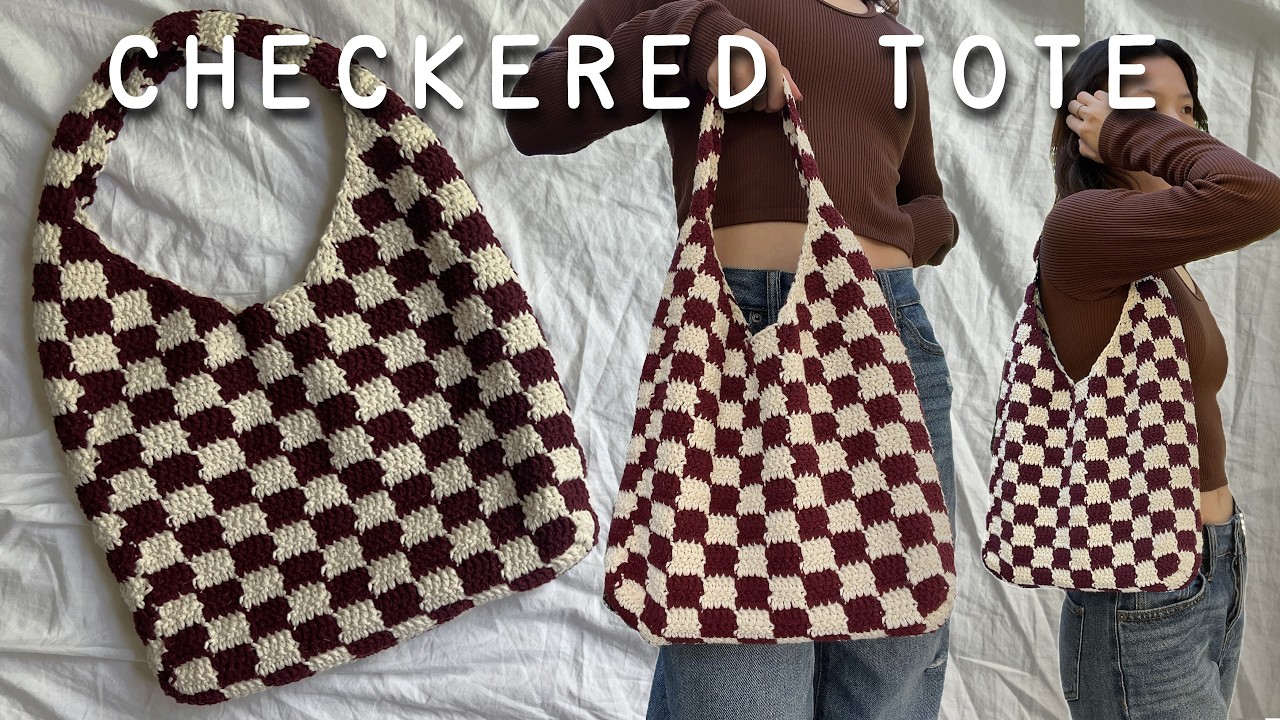
What is a Checkered Crochet Tote Bag?
A checkered crochet tote bag features a repeating grid pattern, typically made using two or more contrasting colors of yarn. The “checkered” or “checkerboard” design creates a visually appealing and structured look, adding sophistication to an otherwise casual accessory. With the right yarn and stitches, you can make a tote bag that is both fashionable and durable.
Materials You’ll Need
Before starting, make sure you have all your supplies ready:
Yarn:
-
Worsted weight (Category 4) yarn in two contrasting colors (Color A and Color B)
-
Cotton yarn is recommended for sturdiness and shape retention
Crochet Hook:
-
5.0 mm (H-8) crochet hook
Tools:
-
Yarn needle (for weaving in ends)
-
Scissors
-
Stitch markers (optional but helpful)
-
Measuring tape
Stitches and Techniques Used
-
Chain (ch)
-
Single Crochet (sc)
-
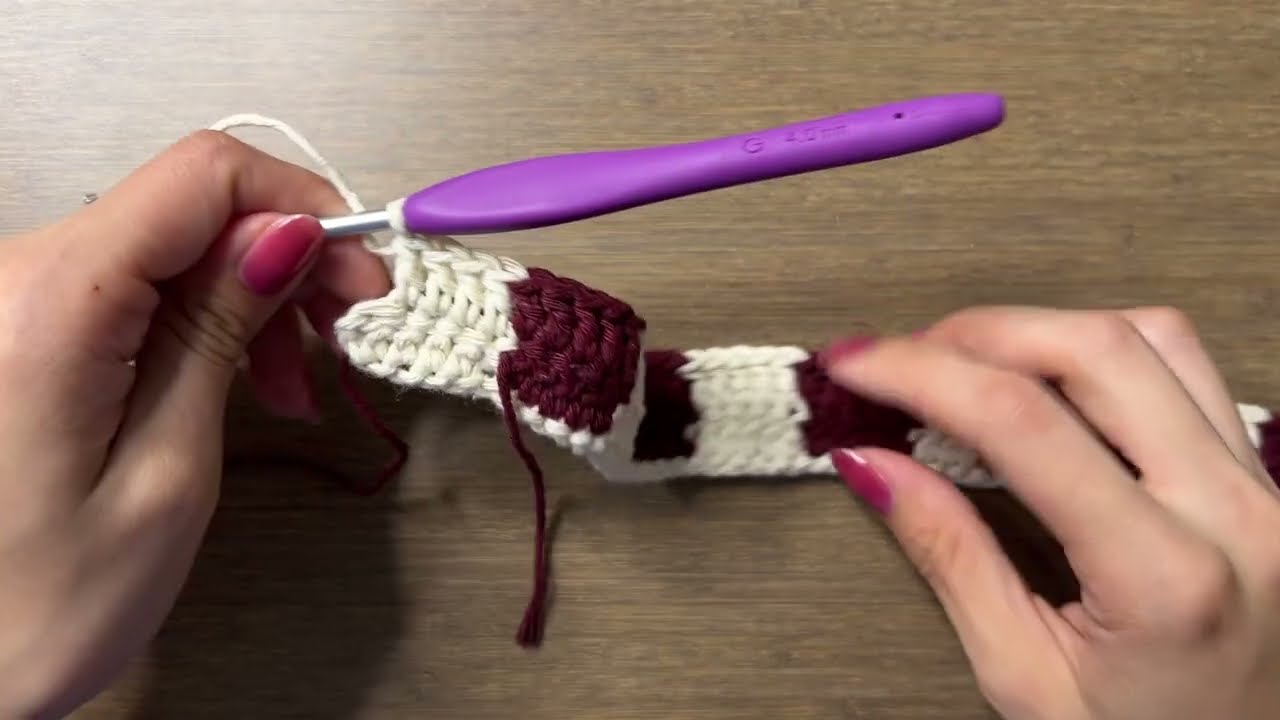
Color Changing (tapestry technique)
-
Slip Stitch (sl st)
-
Working in Rows and in the Round
-
Carrying Yarn
If you’re unfamiliar with carrying yarn or color changes, don’t worry—this guide includes beginner-friendly instructions.

Finished Dimensions
-
Approximately 14 inches wide x 12 inches tall x 4 inches deep
-
Handles: Around 18 inches long
Checkered Pattern Explained
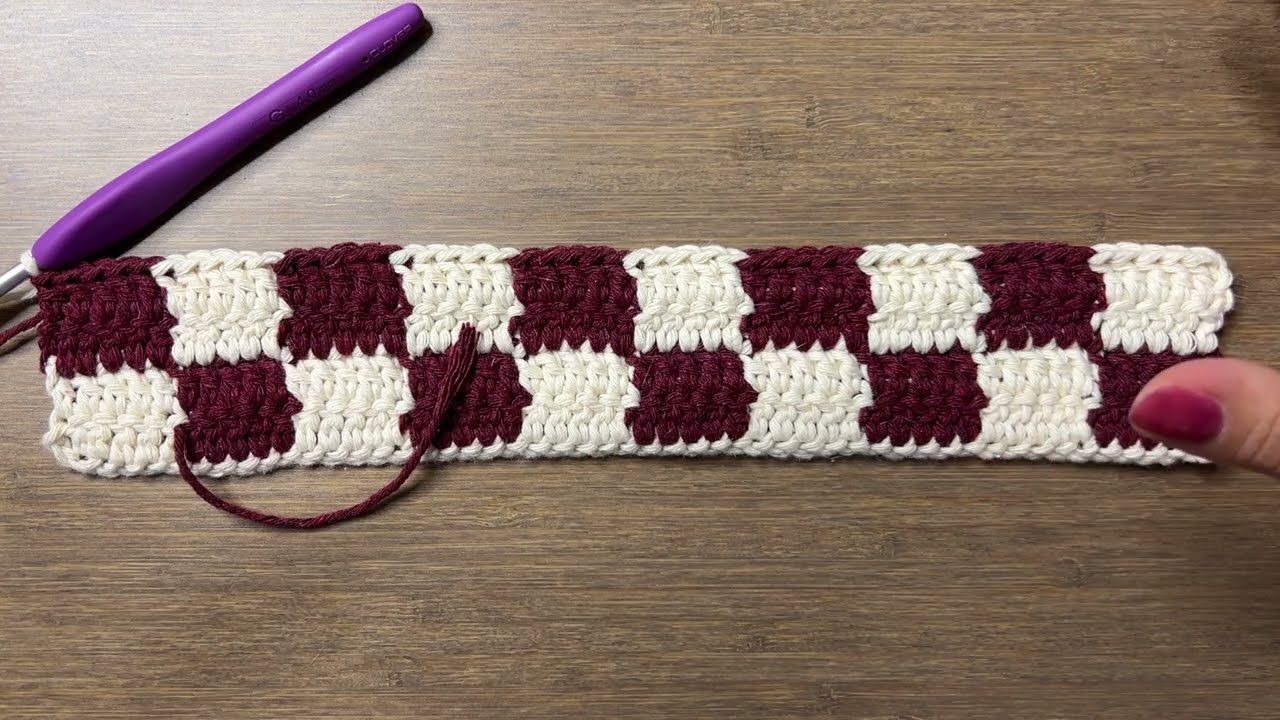
The classic checkered pattern alternates colors every few stitches and rows. For this tutorial, we’ll use a 4×4 checkered grid, which means:
-
4 stitches per square
-
4 rows per color block
This creates an even, clean checkerboard look that’s visually balanced and easy to follow.
Pattern Instructions
Step 1: Crochet a Checkered Panel (Make 2)
We’ll begin by crocheting two rectangular panels—one for the front and one for the back of the bag.
Foundation Chain:
-
With Color A, ch 61 (adjust to a multiple of 4 + 1 if you want to change the size)
Row 1 (Right Side):
-
Sc in 2nd ch from hook and across (60 sc total)
-
Ch 1, turn
Rows 2–4:
-
Change colors every 4 stitches (e.g., 4 sc in Color A, 4 sc in Color B, repeat across)
-
Carry unused yarn along the row and crochet over it
-
Ch 1 and turn at the end of each row
Rows 5–8:
-
Continue the same color alternation, but shift the colors:
-
If the previous square was Color A, now make it Color B
-
This creates the checkered effect
-
Continue alternating colors every 4 rows to maintain the checkerboard pattern. Repeat this sequence until your panel measures about 12 inches tall.
Fasten off and weave in ends.
Step 2: Create the Side and Bottom Panel
This panel connects the front and back of the tote and forms the depth.
Foundation Chain:
-
Ch 13 (this creates about a 4-inch depth)
Row 1:
-
Sc in 2nd ch from hook and across (12 sc), ch 1, turn
Continue:
-
Work sc rows until the panel is as long as the width + height + width of your bag (approximately 40 inches for a 14” wide by 12” tall bag)
-
Keep the yarn in one color or add subtle stripes if desired
Step 3: Assemble the Bag
Attach Front Panel:
-
Align one short edge of the side panel to the bottom of the front panel
-
Using sc or sl st, attach the bottom and sides (up both sides of the front panel)
-
Repeat with the back panel
Ensure your corners are aligned and stitches are tight for structure.
Step 4: Add Handles
You can crochet simple straps or use leather/fabric handles for a modern touch.
For Crochet Straps:
Make 2 Straps:
-
Ch 90 (or desired length)
-
Sc in each ch, ch 1, turn
-
Work 4–6 rows of sc for thickness
-
Sew onto inside of bag 3–4 inches from each side
Step 5: Optional Lining
For added durability and a clean finish, line your bag with fabric.
-
Cut a piece of fabric slightly larger than your bag panels
-
Sew it to the inside with a needle and thread or sewing machine
-
Attach a magnetic snap or zipper for closure
Tips for Success
-
Use tight stitches to prevent the bag from stretching out
-
Block your panels before assembly to help even out tension and shape
-
Use stitch markers to help keep your seams aligned during assembly
-
If using non-cotton yarn, consider reinforcing with fabric lining to prevent stretching
Customization Ideas
-
Use pastel shades for a soft look or bold neons for a pop of color
-
Vary square sizes: 2×2 or 6×6 for different effects
-
Add tassels, pompoms, or appliqué for extra flair
-
Embroider over the squares for a personalized touch
Care Instructions
If using cotton yarn:
-
Hand wash or machine wash on delicate in cold water
-
Lay flat to dry to maintain shape
Great as a Handmade Gift
A checkered crochet tote bag makes a thoughtful and stylish gift. You can personalize it with initials, favorite colors, or even a matching coin purse or keychain.
Conclusion
Creating your own crochet checkered tote bag is a satisfying project that results in a functional, fashionable accessory. Whether you’re crafting one for yourself or as a gift, the process teaches important crochet techniques like color changes and shaping, all while allowing room for creativity.
With this step-by-step tutorial, you’re well-equipped to start your tote bag journey. Happy crocheting!
Video tutorial: