by
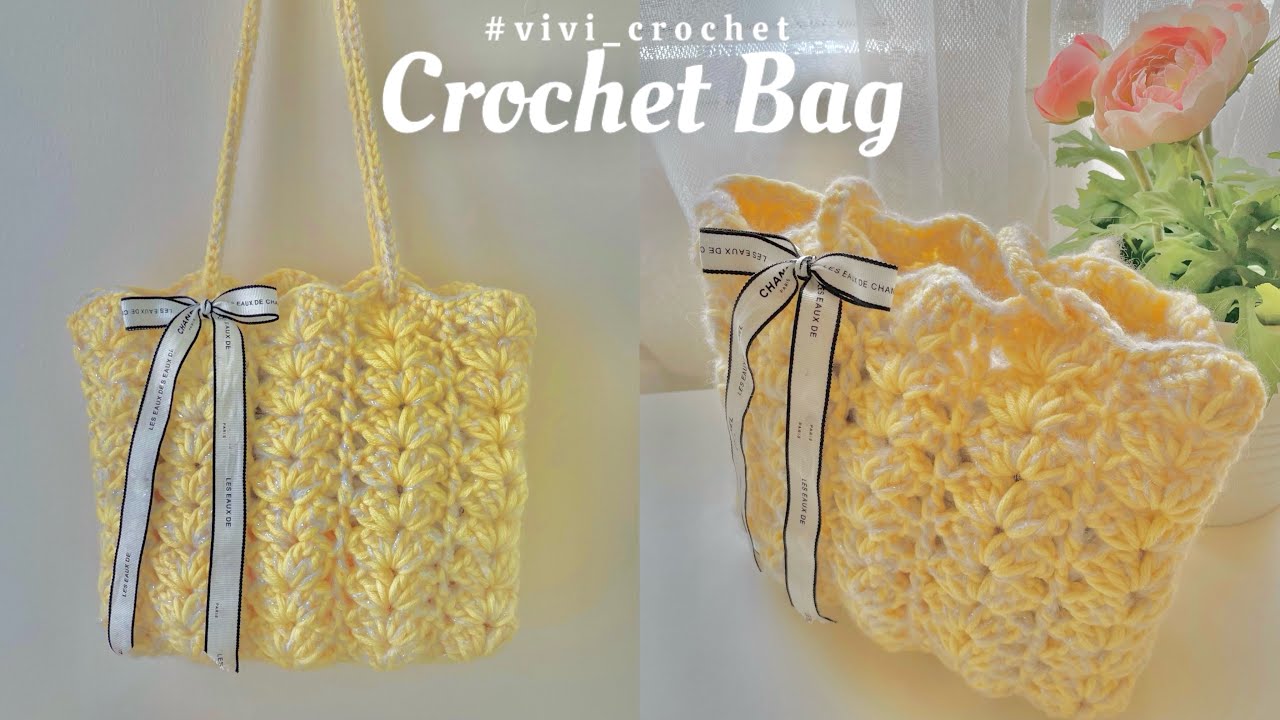
by Crochet is a timeless craft that blends creativity and functionality. One of the most practical and stylish projects you can make with crochet is a bag. Whether you’re a beginner eager to try your first project or an experienced crocheter looking to experiment with patterns and textures, making a crochet bag is a rewarding experience.
In this article, we’ll walk you through everything you need to know about how to crochet a bag—from choosing your materials to stitching your final seam.
Why Crochet a Bag?
Crochet bags are not just fashionable; they are also incredibly functional. Here’s why they’re worth the effort:
-
Eco-friendly: Reusable and often made from natural fibers.
-
Customizable: Choose your own size, color, and pattern.
-
Unique: No two handmade bags are exactly alike.
-
Beginner-friendly: A simple bag can be made with just one or two basic stitches.
Materials You’ll Need
Before you get started, gather the following supplies:
✂️ Basic Supplies:
-
Yarn: Cotton or a cotton blend is ideal because it’s sturdy and holds shape well.
-
Crochet hook: The size will depend on your yarn, but common sizes are 4mm to 6mm.
-
Scissors
-
Tapestry needle (for weaving in ends)
-
Stitch markers (optional but helpful)
Optional Add-ons:
-
Lining fabric (for durability)
-
Magnetic snaps or zippers
-
Straps: Leather, crocheted, or recycled.
-
Beads, buttons, or tassels for decoration
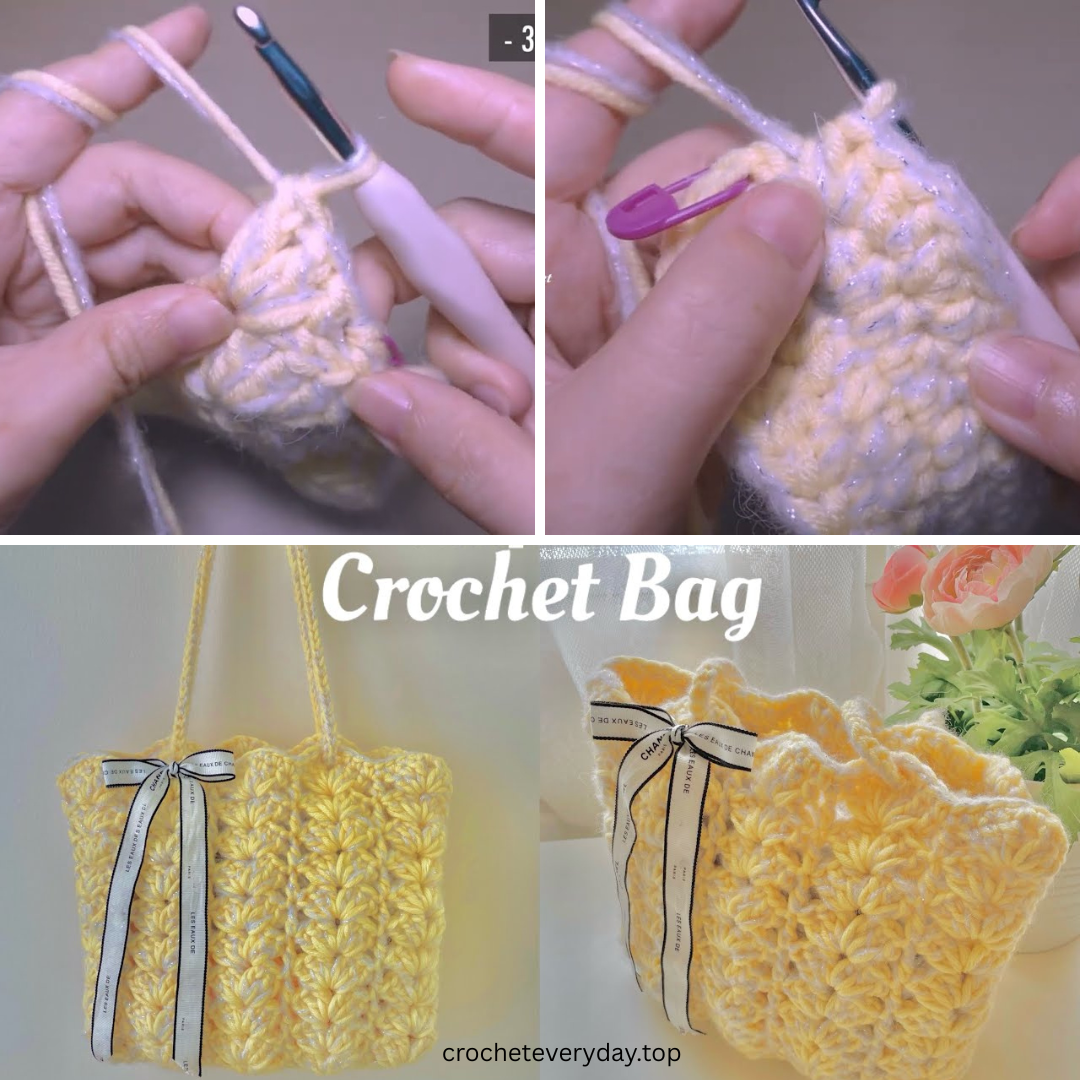
Understanding Basic Crochet Stitches
If you’re new to crochet, here are the key stitches you’ll need for a basic bag:
-
Chain (ch) – The foundation of most projects.
-
Single crochet (sc) – A tight stitch that makes a sturdy fabric.
-
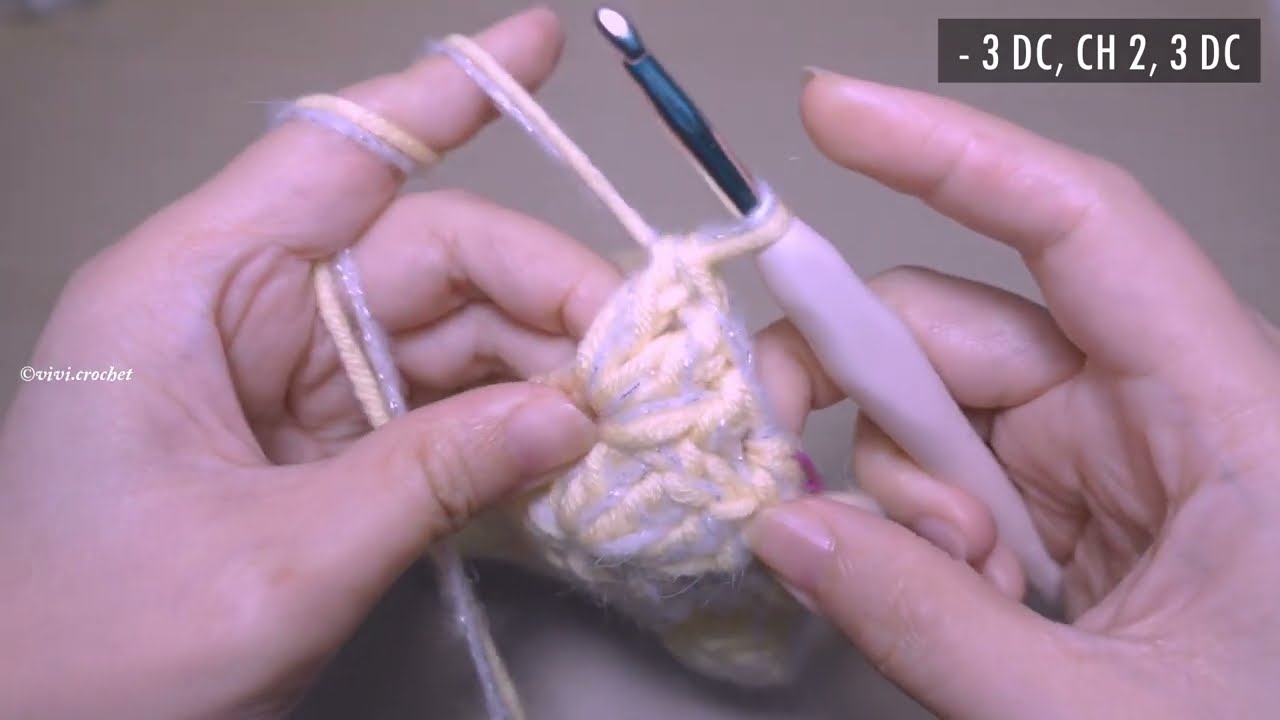
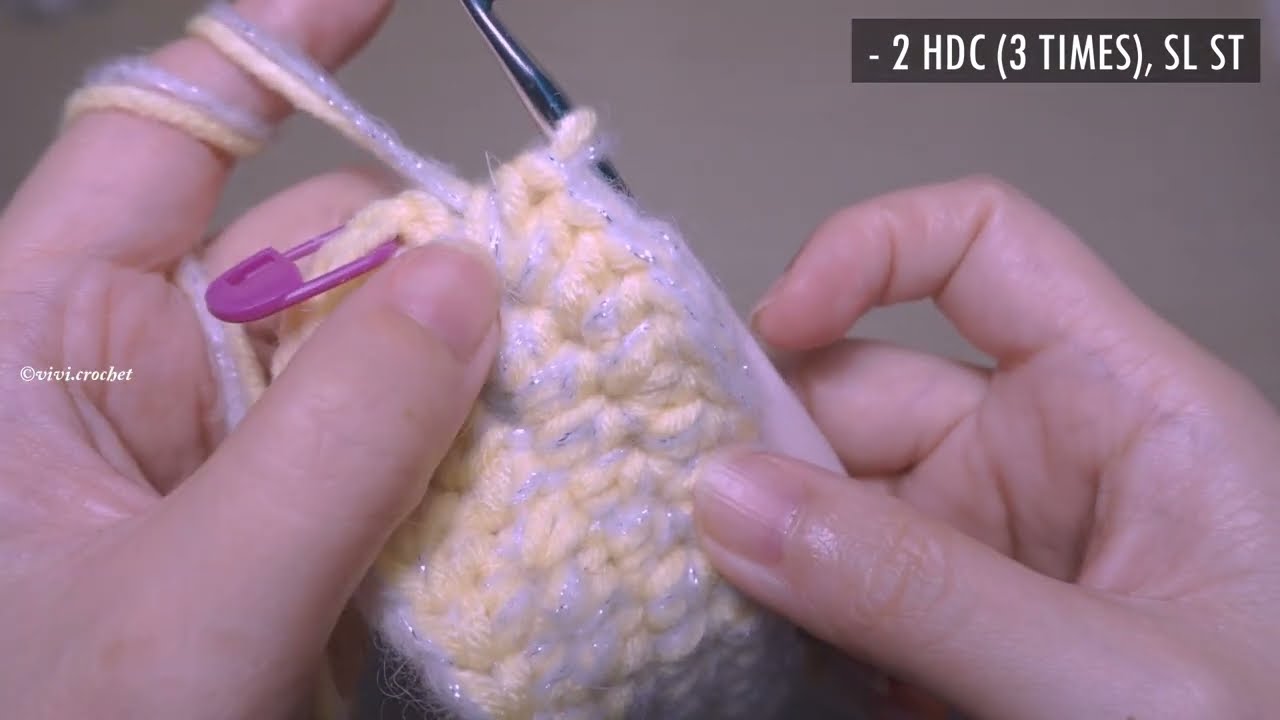
Half double crochet (hdc) – A bit taller and faster to work than single crochet.
-
Double crochet (dc) – A taller stitch that creates an airier texture.
-
Slip stitch (sl st) – Used for joining and edging.
Once you’re comfortable with these, you can move on to more advanced stitches like granny squares, shells, or cables.
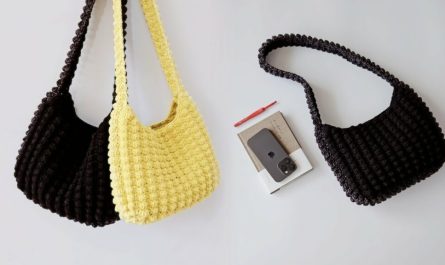
Step-by-Step Guide: Crochet a Simple Tote Bag
Here’s how to make a classic rectangular tote—perfect for books, groceries, or a casual day out.
Step 1: Create the Base
Start with a foundation chain that matches the desired width of your bag.
-
Row 1: Single crochet into the second chain from the hook and in each chain across.
-
Rows 2–5: Continue single crocheting back and forth to form a solid base.
You now have a flat rectangle that will become the bottom of your bag.
Step 2: Build the Sides
You will now work in the round around the base.
-
Round 1: Single crochet evenly around all four sides of the rectangle, placing 3 sc in each corner to help turn smoothly.
-
Rounds 2–20: Continue working in single crochet around the entire piece to build up the sides. Adjust the number of rounds depending on how tall you want your bag.
You can switch colors or use stripes here for visual interest!
Step 3: Add Handles
When your bag is the desired height, it’s time to add handles:
-
Chain 30–40 stitches (depending on the desired handle length), then skip 10–15 stitches on the bag and attach with a slip stitch.
-
Repeat on the other side for the second handle.
-
Work 1–2 rows of single crochet around the top edge of the bag and handles for reinforcement.
Step 4: Finishing Touches
-
Weave in all yarn ends with a tapestry needle.
-
Optional: Sew in a fabric lining to add structure and prevent stretching.
-
Add buttons, a zipper, or a snap closure for extra security.
Customize Your Crochet Bag
Once you’ve mastered the basic tote, try out these fun variations:
1. Granny Square Bag
-
Make several granny squares and join them to form a patchwork-style bag.
-
Great for using up scrap yarn!
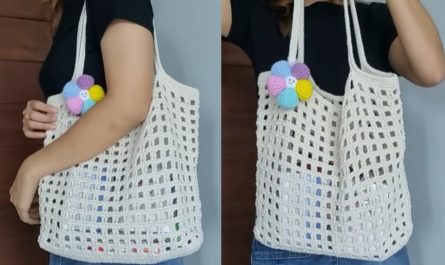
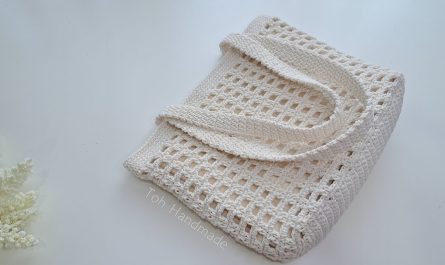
2. Market Mesh Bag
-
Use chain stitches and double crochets to make an open, netted bag for shopping.
3. Bucket or Round Bag
-
Start with a circular base and build up the sides in a spiral.
4. Backpack Style
-
Add two straps and a drawstring closure for a casual crochet backpack.
♀️ Pro Tips for Success
-
Gauge matters: Check your gauge to ensure your bag turns out the correct size.
-
Use a tight stitch: Loose stitches can make the bag floppy.
-
Reinforce your handles: Double crochet or add a lining for strength.
-
Wash before use: Especially if using cotton, pre-wash yarn or finished bags to avoid shrinking later.
Conclusion
Crocheting a bag is a wonderful way to blend creativity with practicality. Whether you’re making a small pouch, a stylish clutch, or a big beach tote, the skills you use in bag-making can be applied to many other crochet projects. Plus, it’s deeply satisfying to carry something you’ve made with your own two hands.
So grab your yarn and hook, and get started on your first (or next) crochet bag today! ✨
VIDEO TUTORIAL: