by
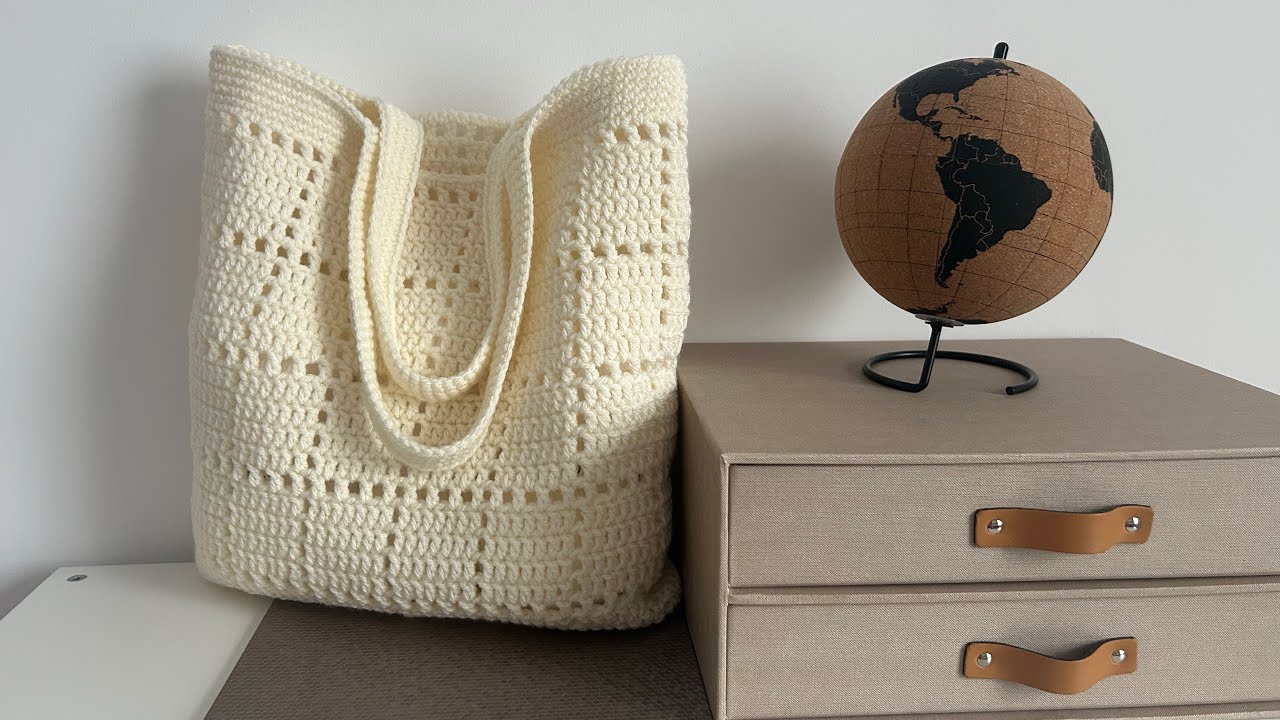
by Crocheting is a versatile and accessible craft that allows makers of all levels to create functional and stylish items. One of the most beginner-friendly and trendy projects is the perforated crochet bag. This airy, breathable tote is not only ideal for warm-weather outings but also perfect for everyday use, shopping, or even as a beach bag.
In this comprehensive tutorial, we’ll guide you step-by-step through crafting your own easy perforated crochet bag. With simple stitches, minimal shaping, and lots of creative potential, this pattern is perfect for new crocheters looking to expand their skills with a rewarding and fashionable project.
What is a Perforated Crochet Bag?
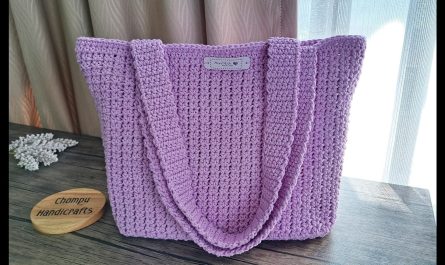
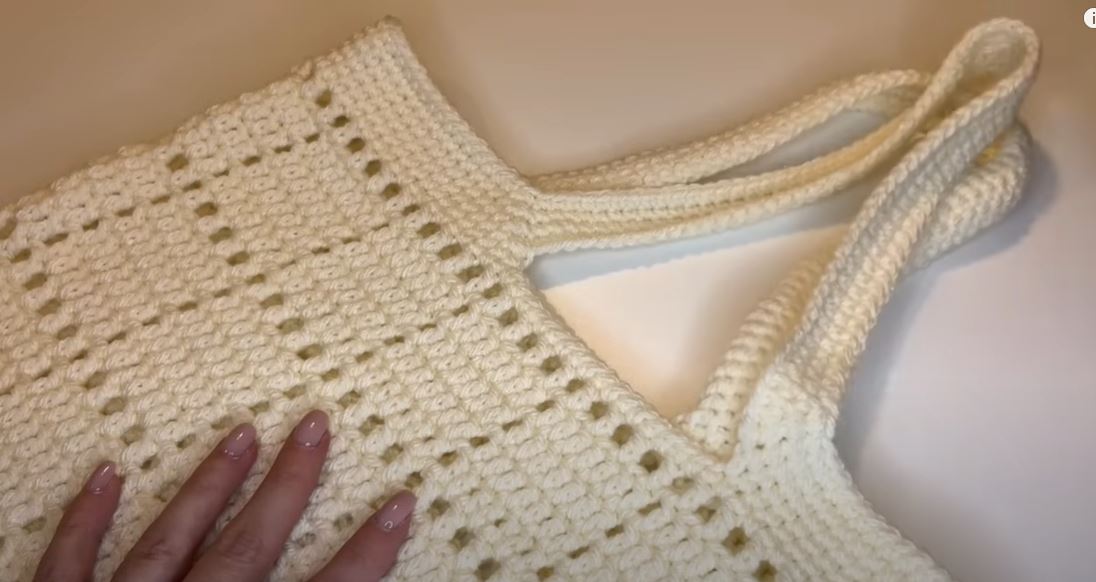
A perforated crochet bag is a type of tote bag that features an open, breathable structure. It often incorporates mesh or eyelet-like stitch patterns that leave small holes in the fabric—hence “perforated.” These bags are lightweight, stylish, and perfect for warmer seasons when breathability and texture are both practical and desirable.
The airy structure also means faster progress and less yarn, making it a quick and satisfying project.
Materials You’ll Need
Before you start crocheting, gather the following materials:
Yarn:
-
Worsted weight (Category 4) cotton yarn
-
Cotton is ideal for durability and shape retention
-
Approx. 200–250g depending on the size
-
Hook:
-
5.0 mm (H-8) crochet hook
Tools:
-
Yarn needle (for weaving in ends)
-
Scissors
-
Stitch markers (optional)
-
Measuring tape
Stitches & Techniques Used
This pattern uses only basic crochet stitches, making it approachable for beginners:
-
Chain (ch)
-
Slip Stitch (sl st)
-
Single Crochet (sc)
-
Double Crochet (dc)
Finished Size
-
Width: 13–14 inches
-
Height: 12 inches
-
Strap Length: 18–20 inches
This can be adjusted by adding more rows or chains, which we’ll cover later.
✨ Easy Perforated Crochet Bag Pattern
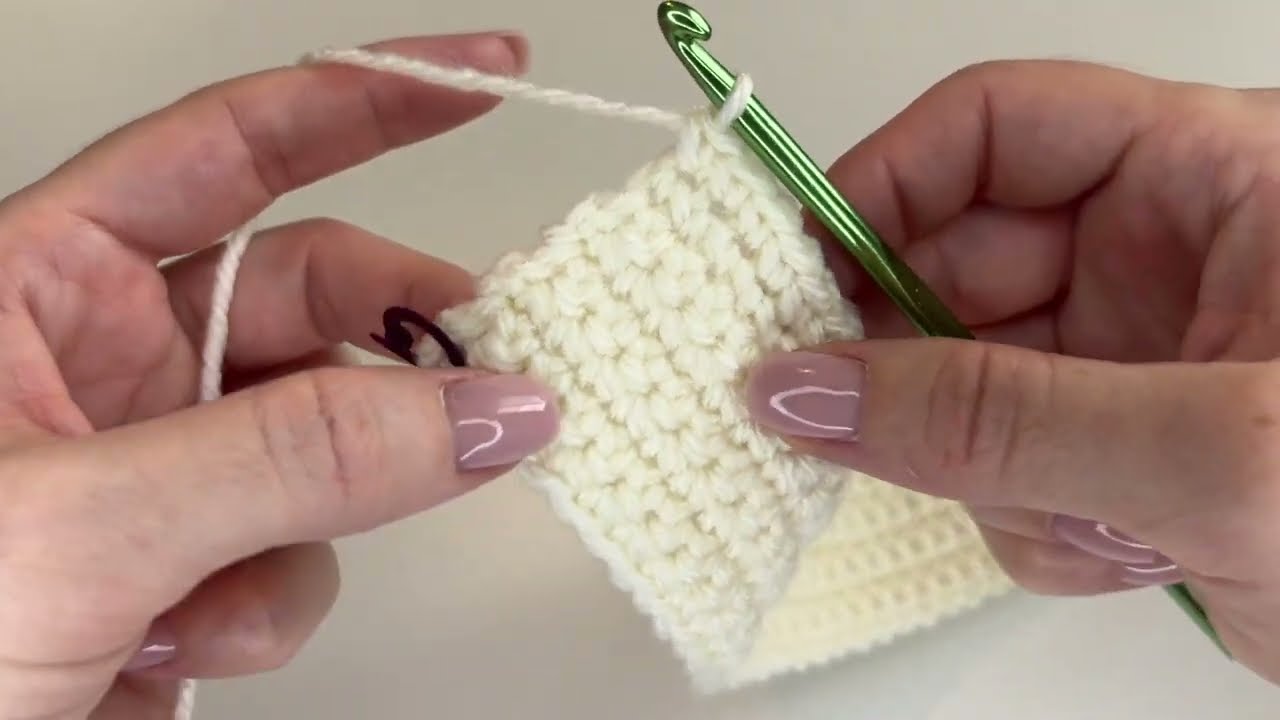
Part 1: The Base
Let’s begin with a sturdy rectangular base.
Step 1: Foundation Chain
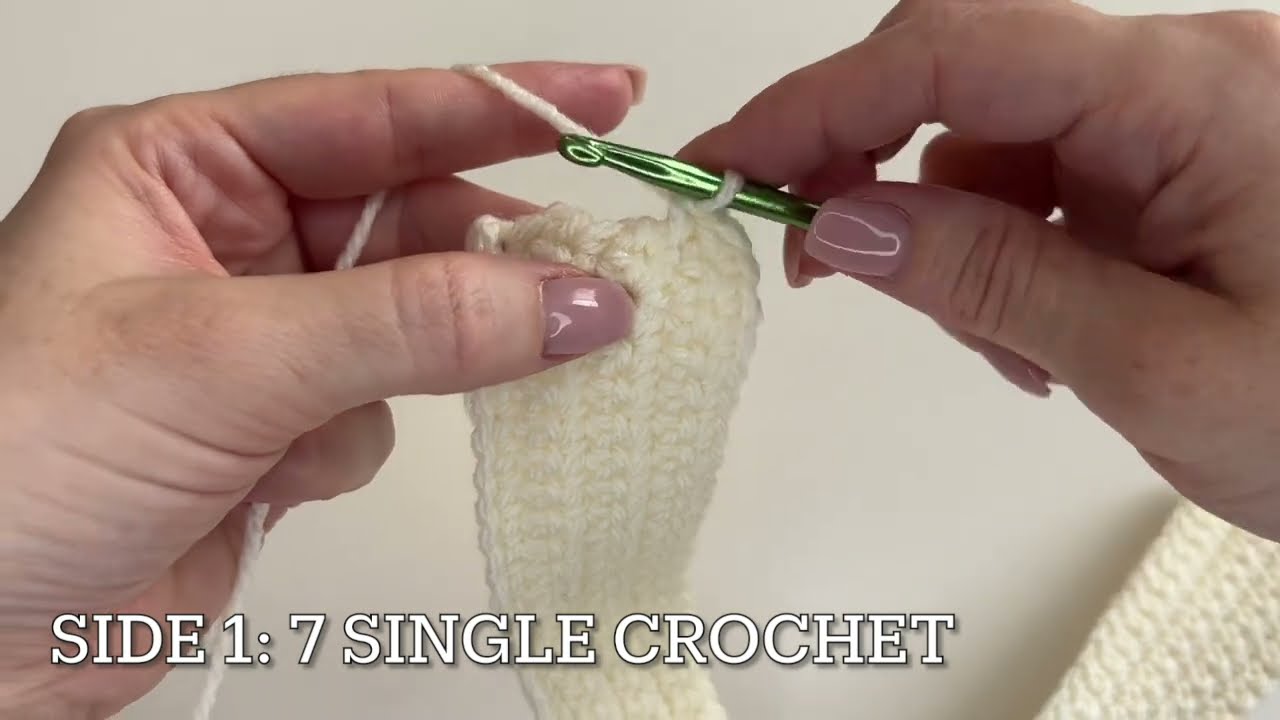
Step 2: Row 1
Step 3: Rows 2–6
✅ Tip: You can make the base wider by chaining more at the start or taller by adding more rows.
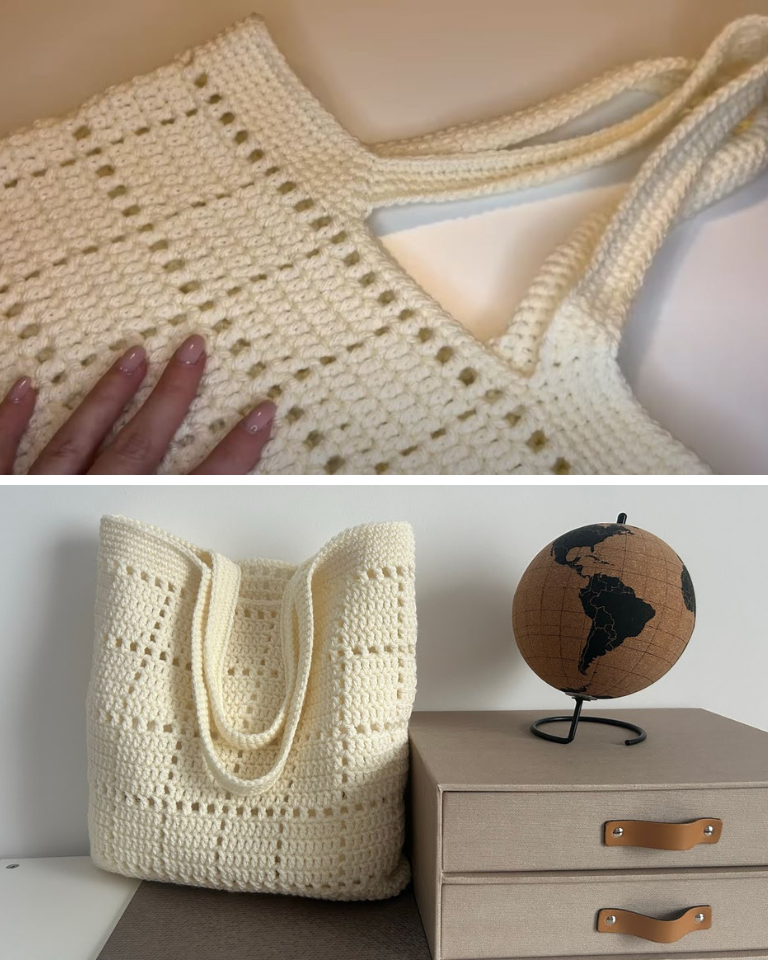
Part 2: Perforated Body
Now we’ll start building the openwork pattern.
Step 1: Row 7 (Start Mesh Pattern)
Step 2: Repeat Mesh Rows
Continue the mesh pattern using:
Customization Tip: Want a tighter mesh? Replace dc with sc and ch 1 in the mesh rows.
Part 3: Finishing the Top Edge
Once the body is complete, we’ll clean up the top and prepare for straps.
Last 2 Rows:
Part 4: Creating the Straps
You can either crochet straps directly onto the bag or make them separately and sew them on.
Option 1: Simple Attached Straps
-
Count 8 stitches from the side seam and attach yarn
-
Ch 60 (or desired strap length)
-
Attach with sl st on opposite side, 8 stitches from seam
-
Turn and sc back across the chain
-
Repeat to make the second strap on the other side
Option 2: Make and Sew Separate Straps
-
Ch 60
-
Work 3–5 rows of sc for thickness
-
Sew each end securely to the inside of the bag using a yarn needle
Strap Tip: Try the bag on before sewing the second strap to ensure a comfortable fit.
Care Instructions
-
Hand wash or machine wash in cold water (gentle cycle)
-
Lay flat to dry to maintain shape
-
Do not bleach or tumble dry
Customizing Your Bag
The beauty of this bag lies in its adaptability. Here are some ways to make your perforated bag unique:
Yarn Choice:
-
Try variegated yarns for a colorful look
-
Use jute or raffia for a beach-ready tote
️ Stitch Variations:
-
Use V-stitch, granny stitch, or shell stitch instead of basic mesh
-
Mix in rows of solid stitches for more structure
Embellishments:
-
Add tassels, buttons, or a crochet flower
-
Attach a fabric lining for a polished interior
Utility Add-ons:
-
Add a snap button or magnetic clasp
-
Sew in small interior pockets if lining
Beginner Tips for Success
-
Count your stitches often. Mesh patterns can be easy to drift off count.
-
Keep your tension consistent. Uneven tension can warp the mesh.
-
Use stitch markers to mark the beginning of rows or strap placement.
-
Don’t be afraid to frog (unravel) a row if needed. Practice makes progress!
A Great Handmade Gift
Perforated crochet bags are thoughtful, practical gifts that can be made in just a few hours. Personalize the color, strap length, or size to suit the recipient’s lifestyle—perfect for birthdays, baby showers, or holidays.
Conclusion
Creating a perforated crochet bag is a satisfying and stylish project, especially for beginners. With simple stitches and minimal shaping, you can complete a breathable, functional tote that’s as fashionable as it is practical. Whether you’re heading to the market, the beach, or just looking for a lightweight everyday bag, this design is a perfect entry point into the world of crochet accessories.
Video tutorial: