by
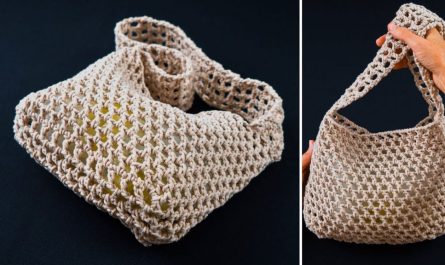
by Crocheting a water bottle holder is a fun, quick, and practical project—perfect for staying hydrated hands-free while walking, hiking, or running errands. Whether you’re new to crochet or looking for a weekend DIY, this tutorial will guide you through creating a functional and stylish bottle holder.

Materials You’ll Need:
-
Yarn: 100% cotton yarn is highly recommended for durability and absorbency (e.g., Lily Sugar’n Cream or Paintbox Cotton Aran).
-
Crochet hook: Size H/8 (5.0 mm) is standard, but check your yarn’s label.
-
Scissors
-
Yarn needle (for weaving in ends)
-
Stitch marker (optional)
-
Measuring tape
-
Your water bottle (to measure for fit)
Sizing the Holder
Measure your bottle’s:
-
Circumference (around the base)
-
Height (from base to neck or where you want the holder to stop)
This tutorial fits a standard 16–24 oz bottle, but can easily be adjusted.
Basic Crochet Stitches Used:
-
Ch – Chain
-
Sl st – Slip Stitch
-
Sc – Single Crochet
-
Dc – Double Crochet
-
Inc – Increase (2 stitches in one stitch)
Step-by-Step Pattern
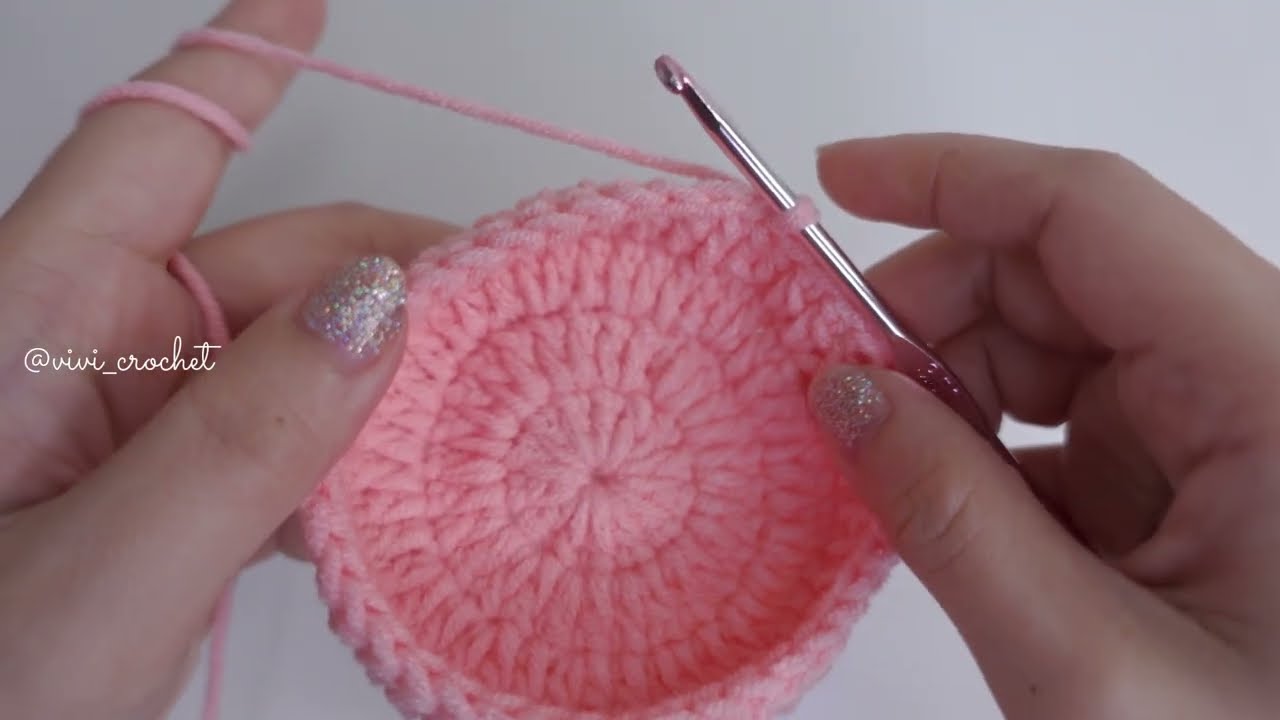
1. Crochet the Base (Worked in the Round)
Optional: Add another increase round for larger bottles.
2. Build the Body
We’ll switch to mesh or solid stitches based on your preference.
Option A: Mesh Style (breathable, stretchier)
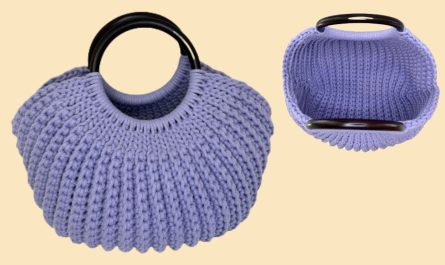
Option B: Solid Style (sturdier)
Round 4: Ch 2, dc in each st around. Sl st to join.

Rounds 5–12: Repeat Round 4 until desired height.
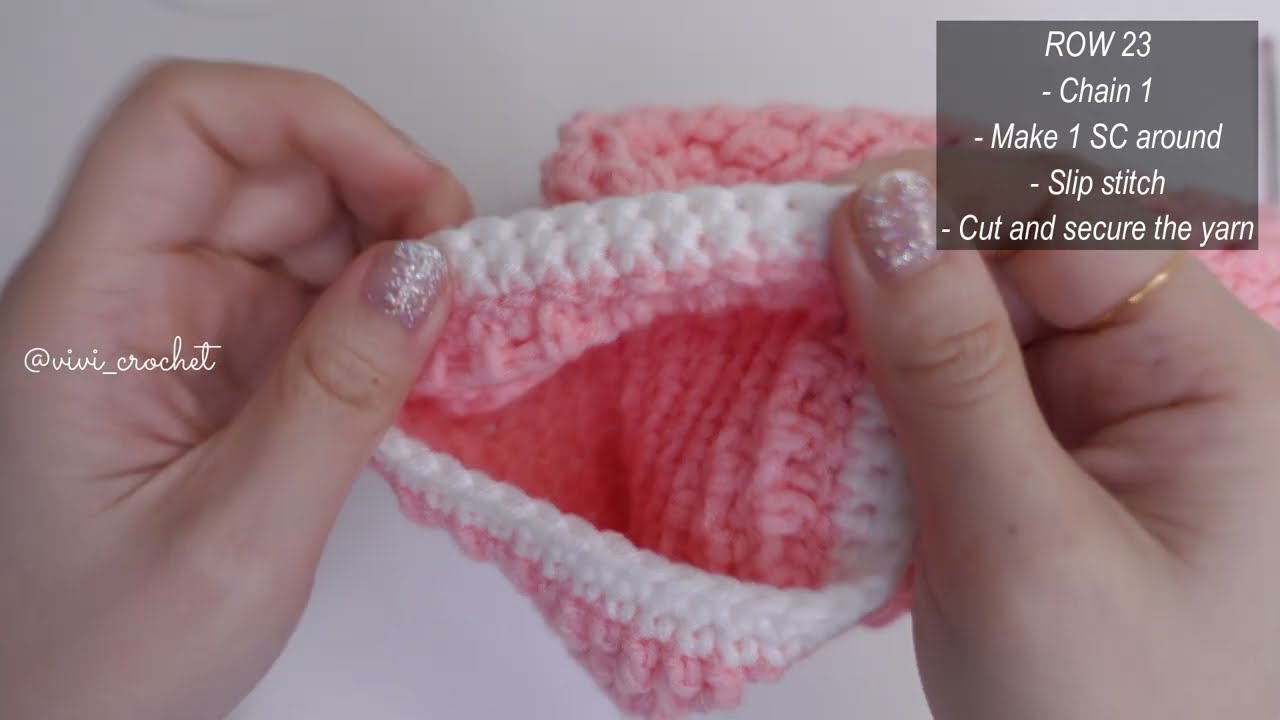
3. Add the Top Rim
To secure the bottle:
4. Crochet the Strap
You can customize length for a shoulder or crossbody style.
Attach Strap: Sew each end of the strap to opposite sides of the holder’s top. Reinforce with extra stitching.
Optional Customizations
-
Color Changes: Use stripes or variegated yarn for fun effects.
-
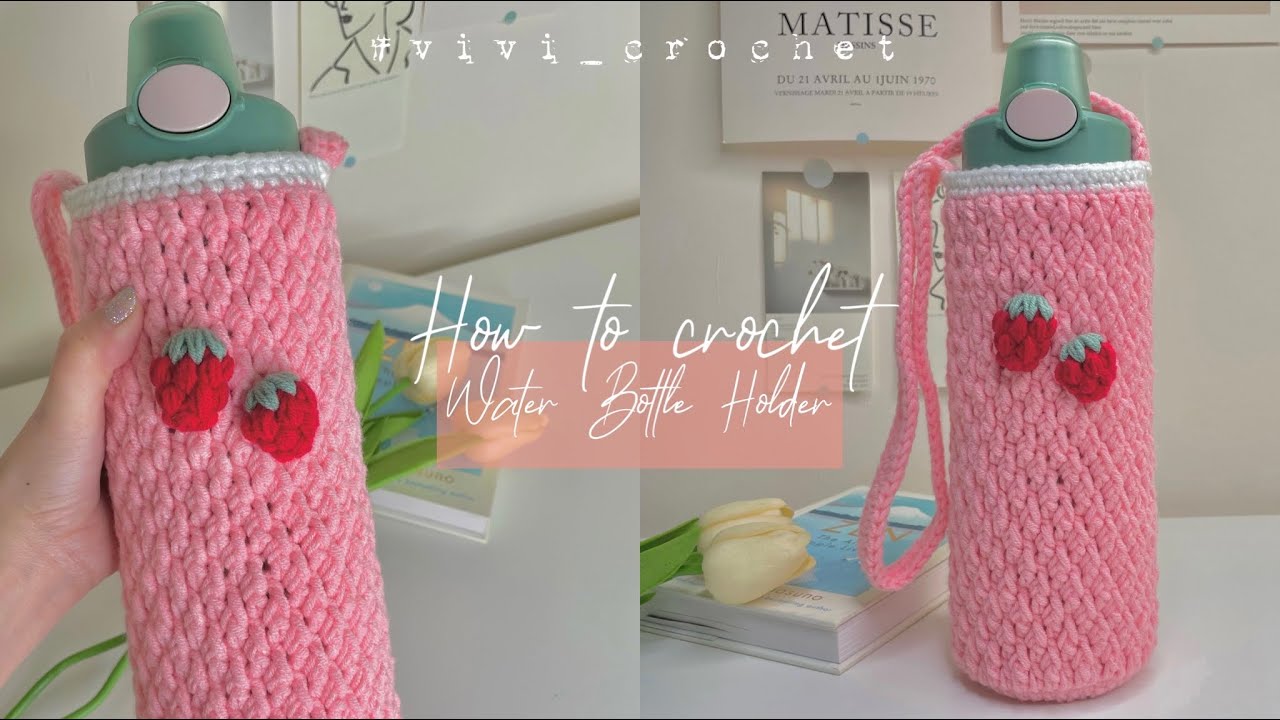
Embellishments: Add appliqués like flowers, hearts, or initials.
-
Carabiner Loop: Add a small loop to clip onto a backpack.
-
Drawstring Top: Add a chain round to cinch the top if needed.
Care Instructions
Since it’s likely to get wet or dirty, wash it occasionally:
-
Hand wash or gentle cycle with cold water
-
Lay flat to dry to maintain shape
Tips & Tricks
-
Cotton yarn won’t stretch too much—ideal for supporting a full bottle.
-
Test fit your bottle as you go to adjust size or tension.
-
Mesh patterns dry faster if the holder gets wet.
Final Thoughts
Crocheting your own water bottle holder is not only practical, but it’s also a great eco-friendly accessory. With just a few basic stitches and some creativity, you can make a stylish carrier that reflects your personality—and keeps you hydrated on the go.
So grab your hook, pick your favorite yarn color ( strawberry red, anyone?), and get started!
Video Tutorial:
https://youtu.be/vSymH6AfDSo