by
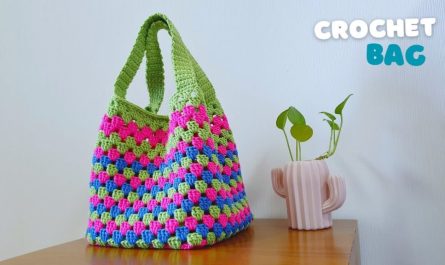
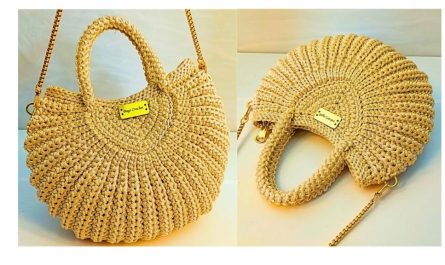
by Crochet bags are an evergreen accessory in the world of handmade fashion. Among the most elegant and beginner-friendly designs is the crochet shell bag, which combines classic stitch techniques with modern utility. Whether you’re heading to the beach, a brunch, or just want a compact tote for your essentials, the shell bag offers both function and flair.
In this comprehensive guide, we’ll dive into what makes the crochet shell stitch special, how to craft your very own shell bag from start to finish, what materials you’ll need, tips for customizing it, and care instructions to keep it looking beautiful for years.

What is a Shell Stitch?
The shell stitch is a fundamental crochet pattern that creates a beautiful, scalloped texture resembling seashells. It’s made by placing multiple stitches—typically double crochets—into a single stitch or space, forming a “fan” or “shell” shape.
Why Use Shell Stitch in a Bag?
-
Textured design: Adds dimension and visual interest.
-
Stretch & structure: Offers a bit of give while maintaining form.
-
Easy repetition: Once you master the pattern, it becomes soothingly repetitive.
Materials Needed
To create an easy crochet shell bag, you’ll need the following materials:
Yarn:
-
Medium-weight (worsted/Category 4) yarn
-
Cotton is recommended for durability, breathability, and structure.
-
Amount: 300–400 yards depending on bag size.
Crochet Hook:
-
Recommended size: 5.0 mm (H-8) or size suitable for your yarn.
-
Use a smaller hook if you prefer a tighter, more structured bag.
Other Tools:
-
Yarn needle (for weaving in ends)
-
Scissors
-
Stitch markers (optional)
-
Button, magnetic snap, or zipper (optional for closure)
-
Fabric lining (optional for interior reinforcement)
Pattern: Easy Crochet Shell Bag
Here’s a step-by-step guide to making a simple shell stitch bag. This pattern creates a medium-sized bag with a classic shell texture and a flat bottom.
✨ Step 1: Base/Foundation
Start with a chain that determines the width of your bag.
Row 1:
In the second chain from the hook, make 1 single crochet (SC).
SC in each stitch across.
(30 SC)
Row 2:
Chain 1, turn. SC in each stitch across.
Repeat for 4–5 more rows to make a flat base. This gives structure to the bottom of your bag.
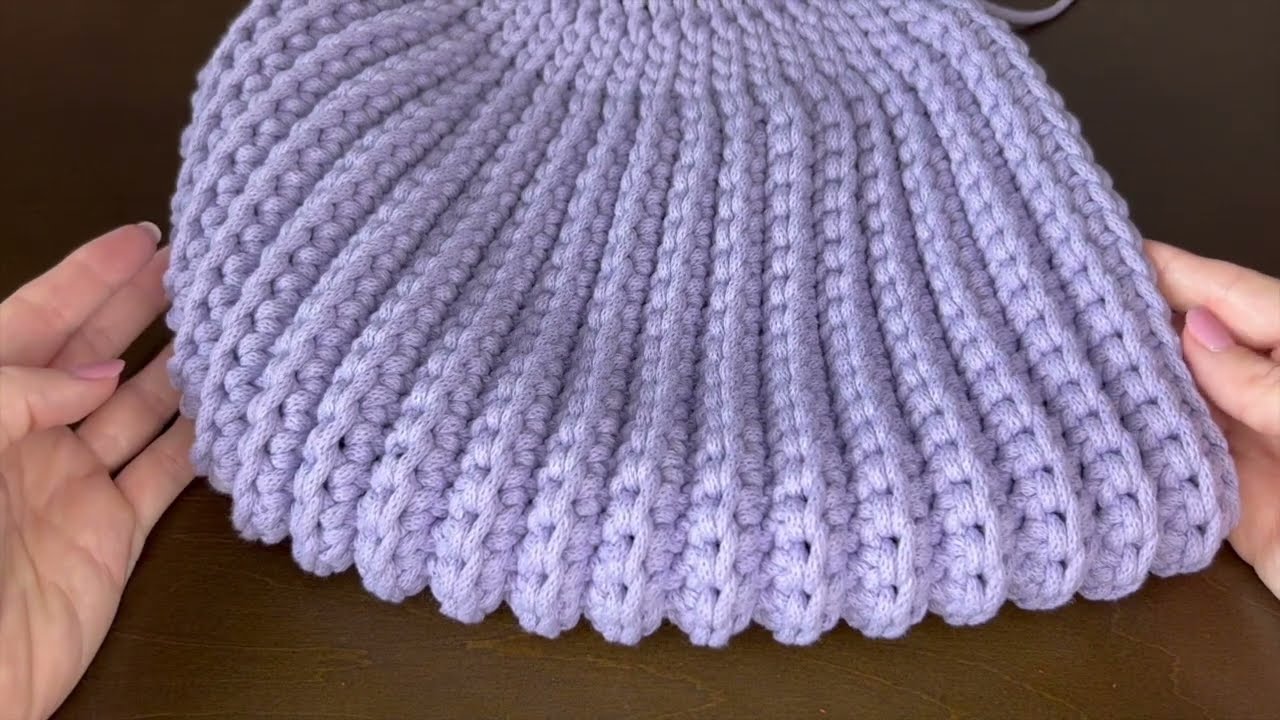
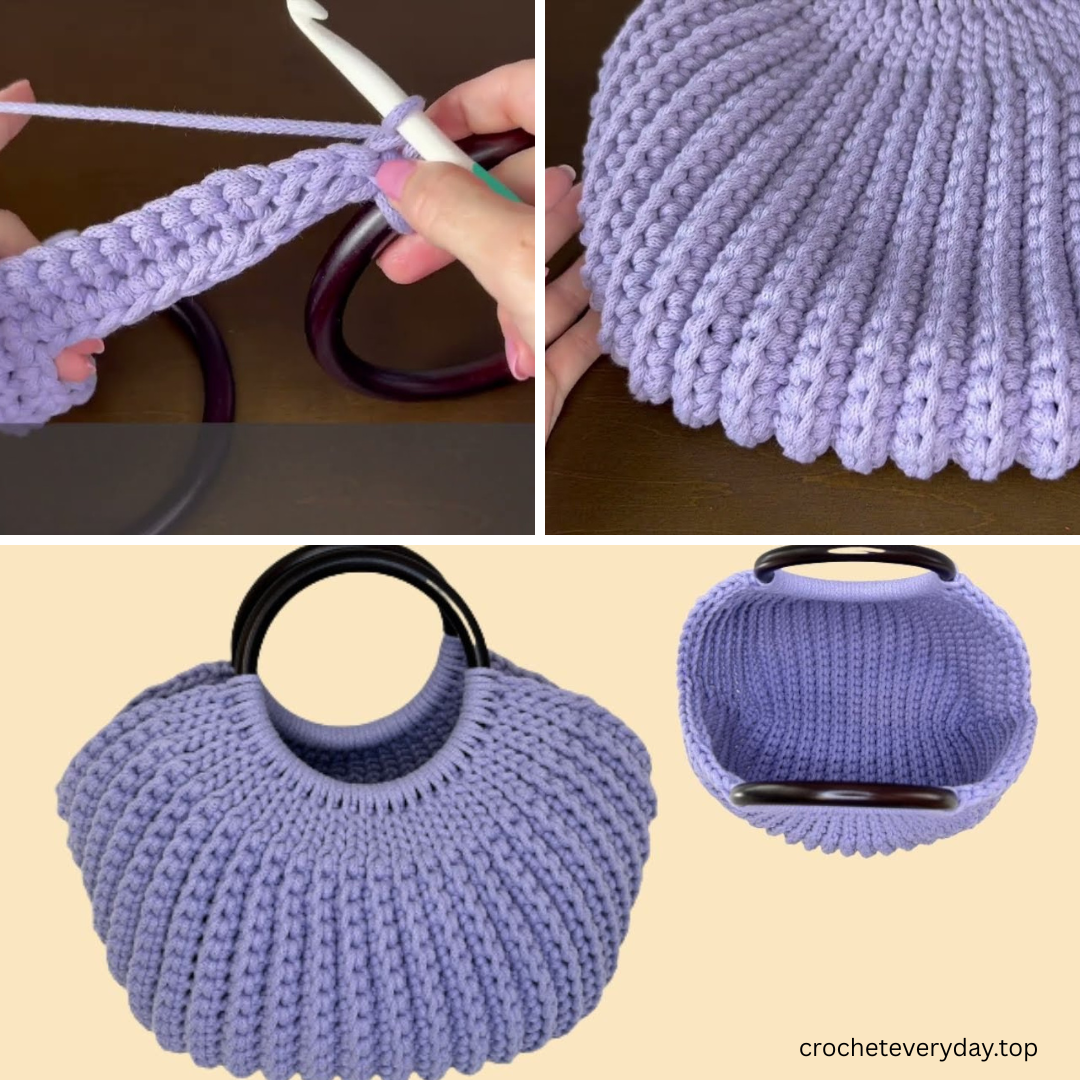
Step 2: Shell Stitch Body
Now, you’ll begin the shell pattern.
Row 1 (Setup for Shells):
Chain 3 (counts as DC), turn.
Skip 2 stitches, 5 DC in the next stitch (shell made), skip 2 stitches, 1 DC in next.
Repeat from * to end.
You should end with a DC in the last stitch.
Row 2 (Offset Shells):
Chain 3, turn.
2 DC in same stitch (half shell), skip 2, 1 DC in next stitch (between shell), skip 2, 5 DC in next (shell).
Repeat across. End with 3 DC (half shell) in final DC.
Continue repeating Row 1 and Row 2 until your bag reaches the desired height (typically 8–10 inches).
Step 3: Finishing the Bag Body
Once your bag body is complete:
-
Fasten off your yarn and leave a long tail.
-
Fold the piece in half horizontally, lining up shell rows.
-
Use a whip stitch or slip stitch to seam the sides together.
-
Turn the bag right side out.
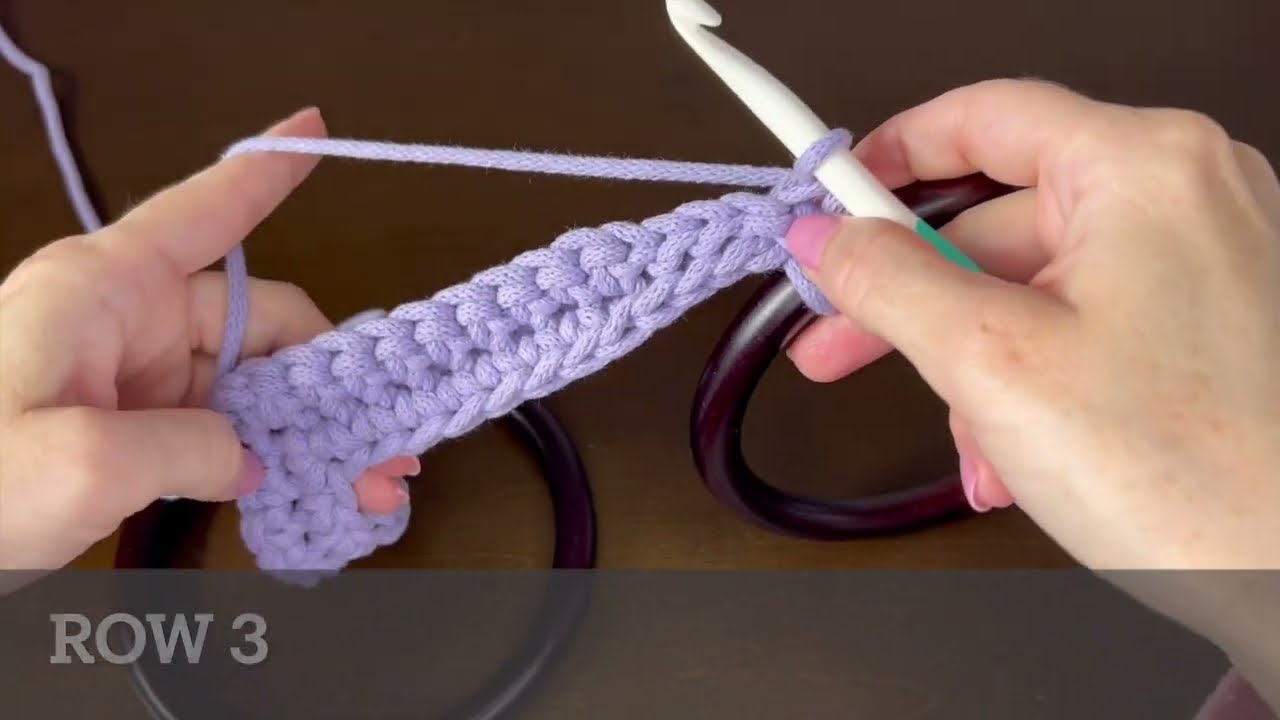
️ Step 4: Add Handles
You can crochet your own handles or attach leather/rope handles for a more professional look.
Crocheted Strap Option:
-
Chain 60–70 (depending on desired length)
-
SC in each chain across.
-
Make 2 straps and sew them onto the top edges of the bag.
Optional: Add Lining & Closure
For extra durability, you can:
-
Sew a fabric lining inside your bag using a simple rectangle of cotton fabric.
-
Add a button and loop, magnetic snap, or zipper to keep items secure.
️ Design Variations
Here are a few ways to make your shell bag truly yours:
Color Choices:
-
Use ombre yarn for a gradient effect.
-
Alternate colors every few rows for stripes.
-
Try neutral tones for a boho vibe or bright hues for summer flair.
✨ Embellishments:
-
Add fringe, tassels, or beads to the strap ends.
-
Crochet a flower or heart and attach as a cute charm.
-
Sew on a patch or small leather label.
Care Instructions
To keep your crochet shell bag looking its best:
-
Hand wash in cold water with mild detergent.
-
Gently reshape and lay flat to dry.
-
Avoid wringing or machine drying, especially with cotton yarns.
Tips for Beginners
-
Practice shell stitch swatches before starting the full bag.
-
Mark the first and last stitches of your rows to avoid miscounts.
-
Use tight, even tension to help the bag hold its shape.
Perfect for Gifting
Crochet shell bags make wonderful handmade gifts for birthdays, holidays, or just because. Personalize them with your recipient’s favorite colors or a monogrammed lining.
Conclusion
An Easy Crochet Shell Bag is more than just a fun DIY project—it’s a statement piece that combines fashion with craftsmanship. With a relatively simple stitch pattern and endless customization options, it’s an ideal choice for beginners ready to move beyond basic scarves and into the world of accessories.
So grab your yarn and hook, and start stitching your way to your next favorite bag. Whether you’re keeping it or gifting it, this shell bag is sure to be a conversation starter.
video tutorial: