by
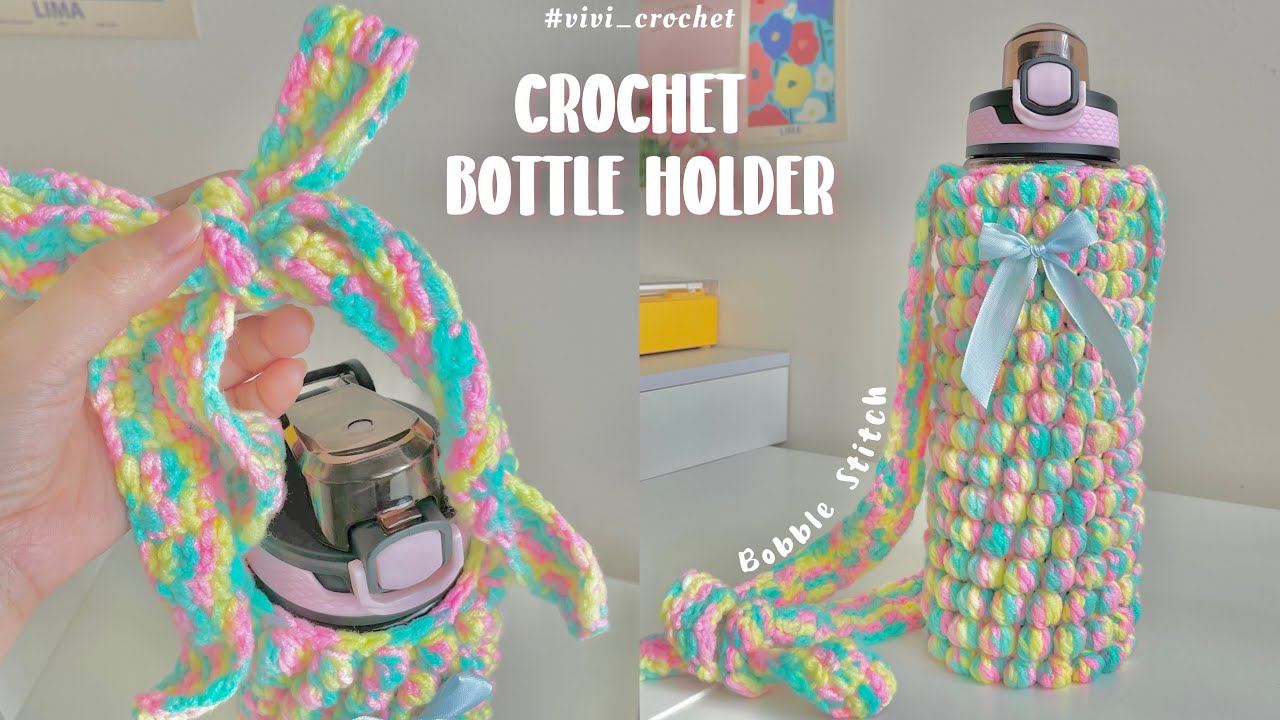
by Crocheting isn’t just for scarves and blankets—it’s a creative way to make everyday items more beautiful and functional. One perfect example is a crochet water bottle holder. Whether you’re hiking, heading to a yoga class, or walking your dog, a handmade bottle holder is a stylish and eco-friendly solution to carry your hydration with ease.
This article will guide you step-by-step through the process of making your own crochet water bottle holder—from materials and stitches to finishing touches. It’s beginner-friendly, but also includes tips for advanced crocheters who want to level up their designs. Let’s dive in!
Why Crochet a Water Bottle Holder?
Here’s why a crochet bottle holder is worth your time:
-
Hands-Free Convenience: Carry your water on walks or errands without needing a bag.
-
Eco-Conscious: Encourages reusable water bottles and sustainable materials.
-
Customizable: Tailor to fit any bottle size, style, or color.
-
Great Gift Idea: Functional and personal—a win-win gift for any occasion.
-
Quick Project: Most holders can be finished in just a few hours!
Materials You’ll Need
To get started, gather the following items:
Essentials:
-
Yarn: 100% cotton is ideal—durable, washable, and absorbs moisture well. Choose worsted weight (category 4).
-
Crochet hook: Size H/8 (5 mm) or I/9 (5.5 mm), depending on your tension.
-
Tapestry needle: For weaving in ends.
-
Scissors
-
Measuring tape: To size for your water bottle.
Optional Extras:
-
Stitch markers: Helpful when working in the round.
-
Adjustable strap hardware (clips or rings)
-
Button or cord lock: For closures or adjustable straps.

Understanding the Pattern Basics
Crochet Techniques You’ll Use:
-
Magic ring (or chain circle) – to start the base
-
Single crochet (sc)
-
Half double crochet (hdc)
-
Chain (ch)
-
Slip stitch (sl st)
-
Working in the round – seamless construction
Step-by-Step Pattern: Simple Crochet Water Bottle Holder
This pattern fits a standard 16–24 oz water bottle. You can easily adjust for different sizes by adding or subtracting stitches.
Step 1: Crochet the Base
The base is a small circle that sits under your bottle.
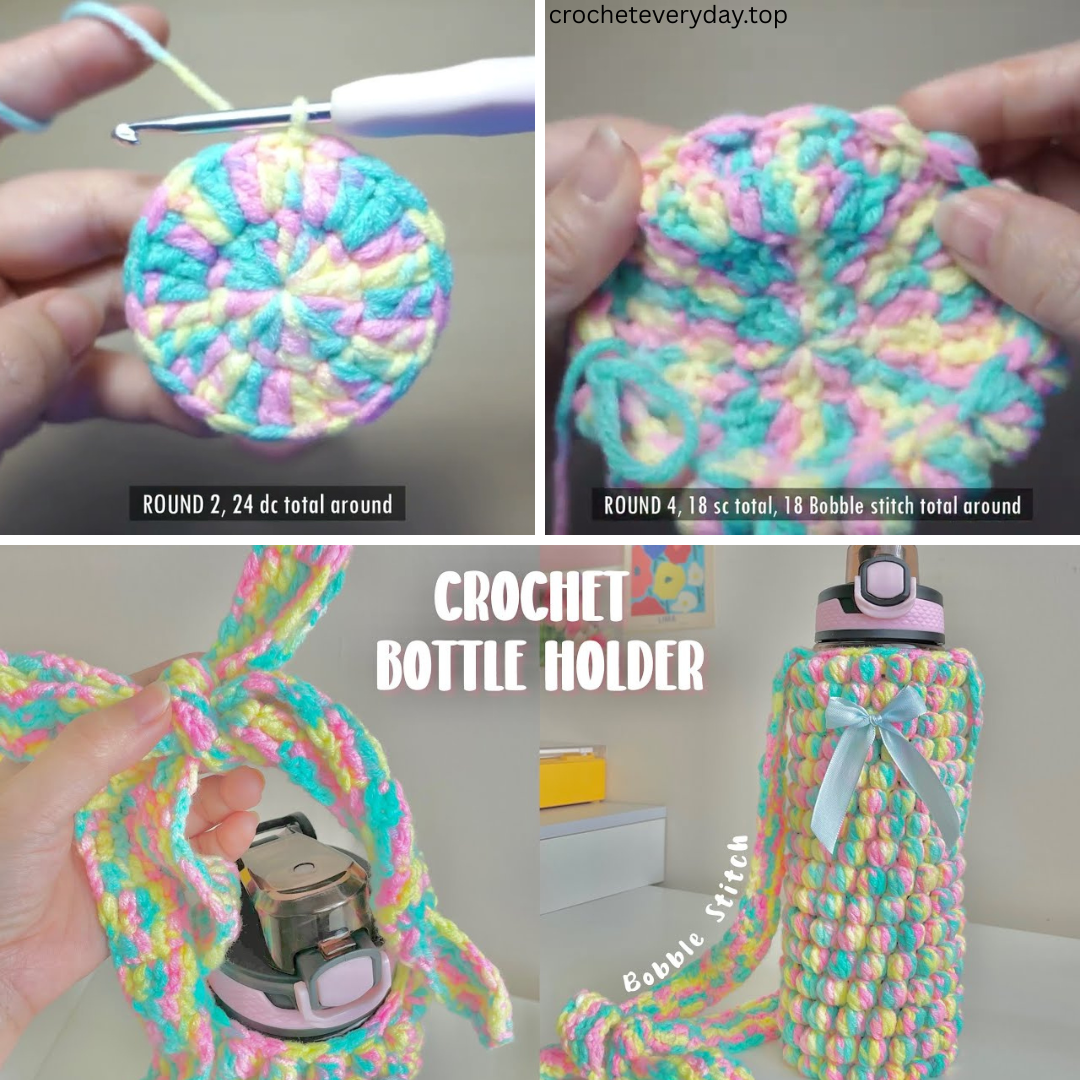
Round 1:
Make a magic ring (or chain 4 and join to form a ring).
Ch 2 (counts as hdc), make 11 hdc into the ring.
Join with sl st to top of ch-2. (12 stitches)
Round 2:
Ch 2, 2 hdc in each stitch around.
Join with sl st. (24 stitches)
Round 3:
Ch 2, 1 hdc in next stitch, 2 hdc in next stitch, repeat around.
Join. (36 stitches)
This size should be large enough for most bottles. If your bottle is wider, add another round with an increase pattern (e.g., 2 hdc in every third stitch).
Step 2: Build the Body
Now we work up the sides of the holder.
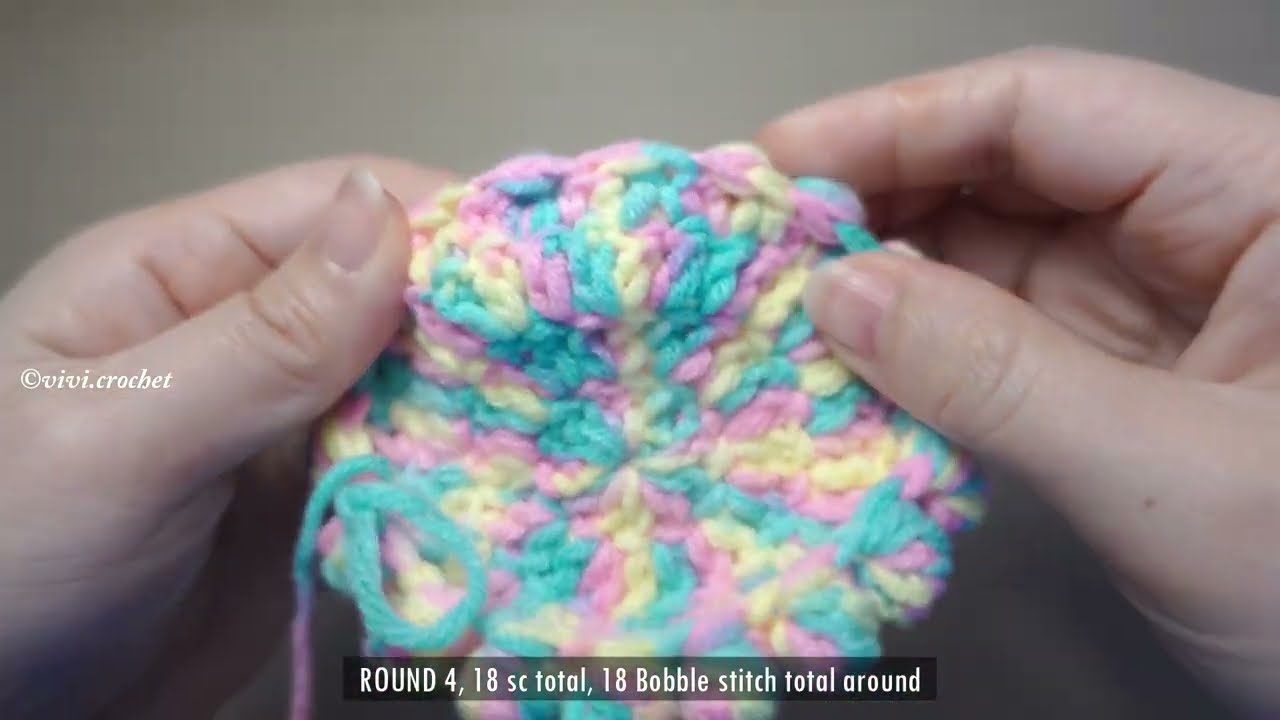
Round 4:
Ch 1. Working in the back loops only, sc in each stitch around.
Join with sl st. (Creates a ridge for the base)
Round 5–20 (or desired height):
Ch 2. Work one hdc in each stitch around. Join.
Pro Tip: You can alternate rounds of hdc and chain spaces for a mesh look:
-
Mesh pattern: Ch 1, skip next stitch, hdc in next stitch, repeat around.
Continue until the body is tall enough to nearly cover your bottle.
Step 3: Add the Strap
You can either crochet a long strap or make one using cord, fabric, or leather.
Option A: Crocheted Strap
-
Find a side stitch near the top of your holder.
-
Attach yarn, ch 100–120 (or desired strap length).
-
Sl st to the stitch on the opposite side.
-
Turn and sc in each chain across for thickness. Fasten off and weave in ends.
Option B: Adjustable Strap
-
Attach metal rings to opposite sides of the holder.
-
Use a clip-on or adjustable strap (like a camera or purse strap).
-
Great for a modern, practical look.
Optional Step: Add a Closure
To keep your bottle secure, you can add a top loop or drawstring.
Simple Drawstring:
-
Ch a long cord (about 70–80 ch).
-
Weave through the top row of stitches.
-
Add a toggle, knot, or button to secure.
Customize Your Crochet Water Bottle Holder
Here are a few creative variations you can try:
1. Boho Vibes
-
Use variegated yarn or colorful stripes.
-
Add fringe or tassels to the base or strap.
2. Lacy Look
-
Use chain mesh stitch for an airy, open feel.
-
Great for showing off cool bottle designs.
3. Solid & Structured
-
Stick with tight single crochets and cotton yarn.
-
Add a lining for more durability.
4. Pocket Feature
-
Crochet a small rectangle separately and sew it on the outside for keys or cards.
Care Instructions
-
Hand wash or machine wash in cold water (especially with cotton yarn).
-
Lay flat to dry to preserve shape.
-
Avoid bleach or fabric softeners.
Final Thoughts
Crocheting a water bottle holder is a small but powerful way to combine craftsmanship, sustainability, and style. It’s a fast project that makes a great gift and adds a personal touch to your everyday carry.
Whether you’re aiming for functional and minimal or colorful and boho, this little accessory packs a lot of creativity in a compact design.
VIDEO TUTORIAL :