by
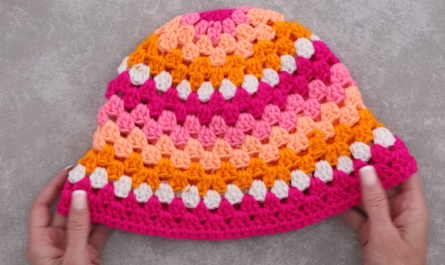
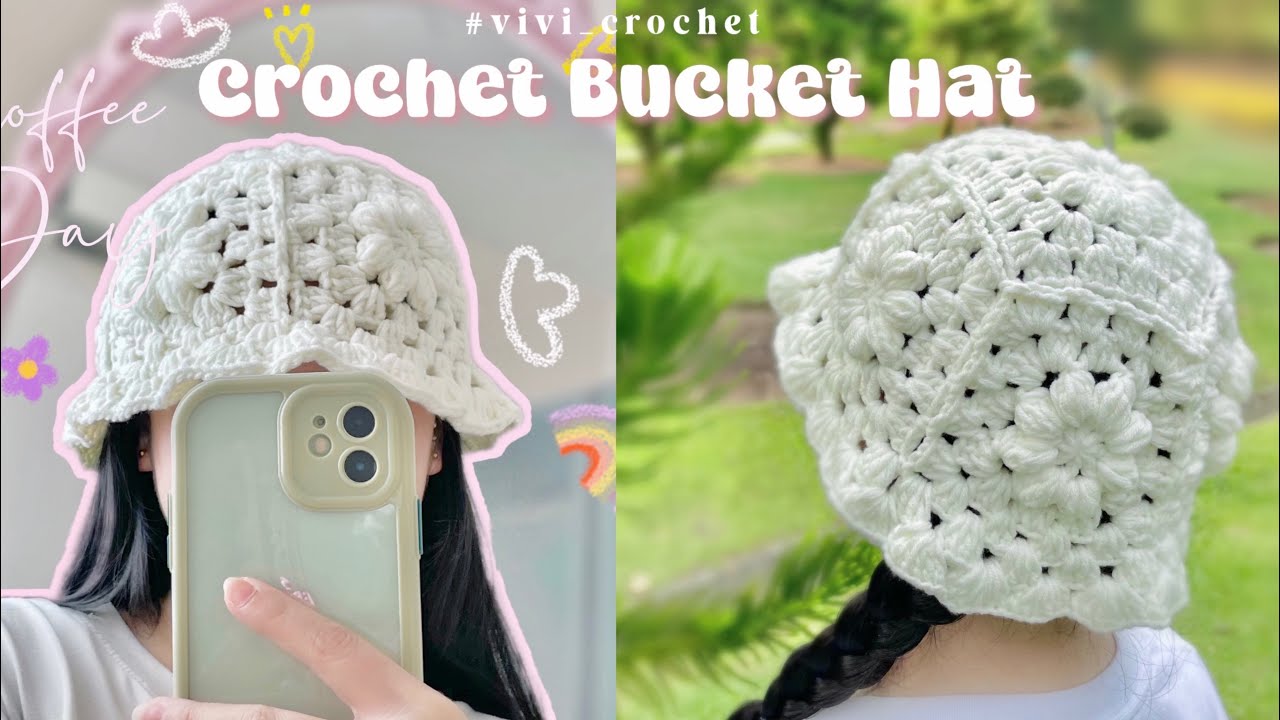
by Bucket hats are back in fashion — and what better way to jump on the trend than to make your own? Whether you’re new to crochet or looking to take on a fun and functional project, a crochet bucket hat is the perfect accessory to keep the sun at bay while adding a stylish handmade touch to your wardrobe.
This guide will walk you through how to crochet a bucket hat, including materials, step-by-step instructions, and tips to personalize your creation.
Materials You’ll Need
Before you begin, gather these essential materials:
-
Worsted weight cotton yarn (Size 4) — Cotton works best as it’s breathable and keeps its shape.
-
Approx. 100–150g (about 180–220 yards)
-
-
Crochet hook — Size H/8 (5.0 mm) is commonly used with worsted yarn.
-
Scissors
-
Yarn needle (for weaving in ends)
-
Stitch marker (optional, but helpful)
Basic Bucket Hat Construction
A classic bucket hat consists of three main parts:
-
Crown (top of the head)
-
Body/Sides (down the head to ear level)
-
Brim (the flared part that provides shade)
We’ll crochet the hat in the round starting from the top (crown) and working downward.
Step-by-Step Instructions
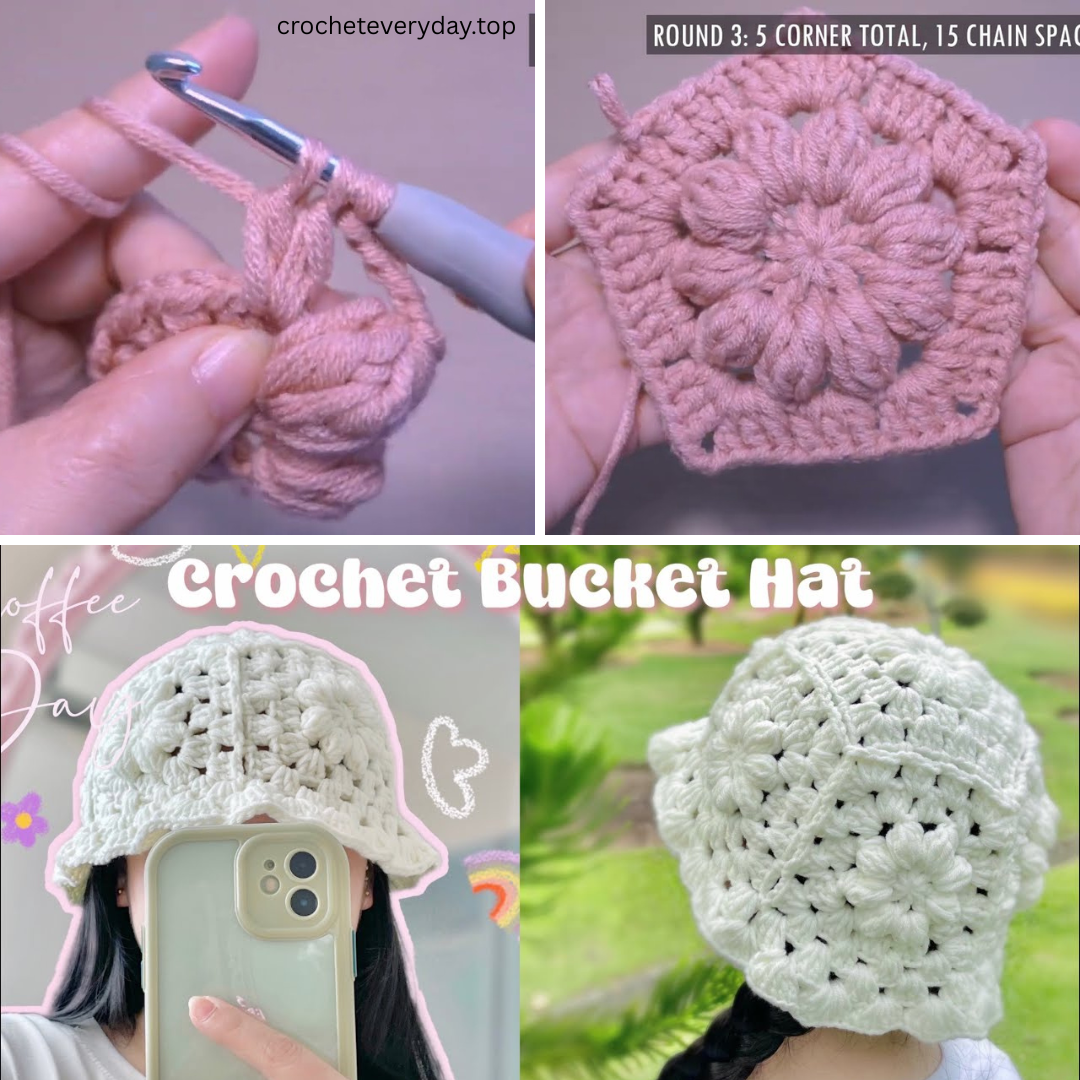
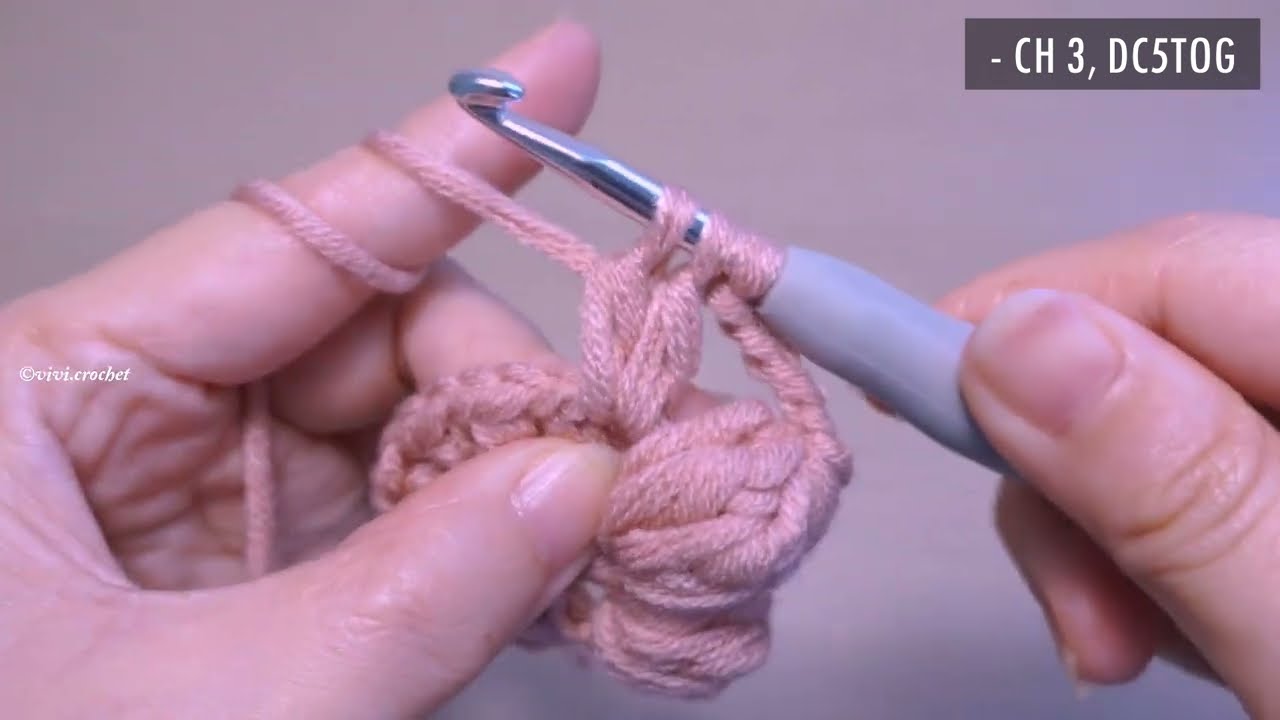
Part 1: The Crown (Top Circle)
This is where the magic begins!
-
Make a magic ring (or ch 4 and join with sl st to form a ring)
-
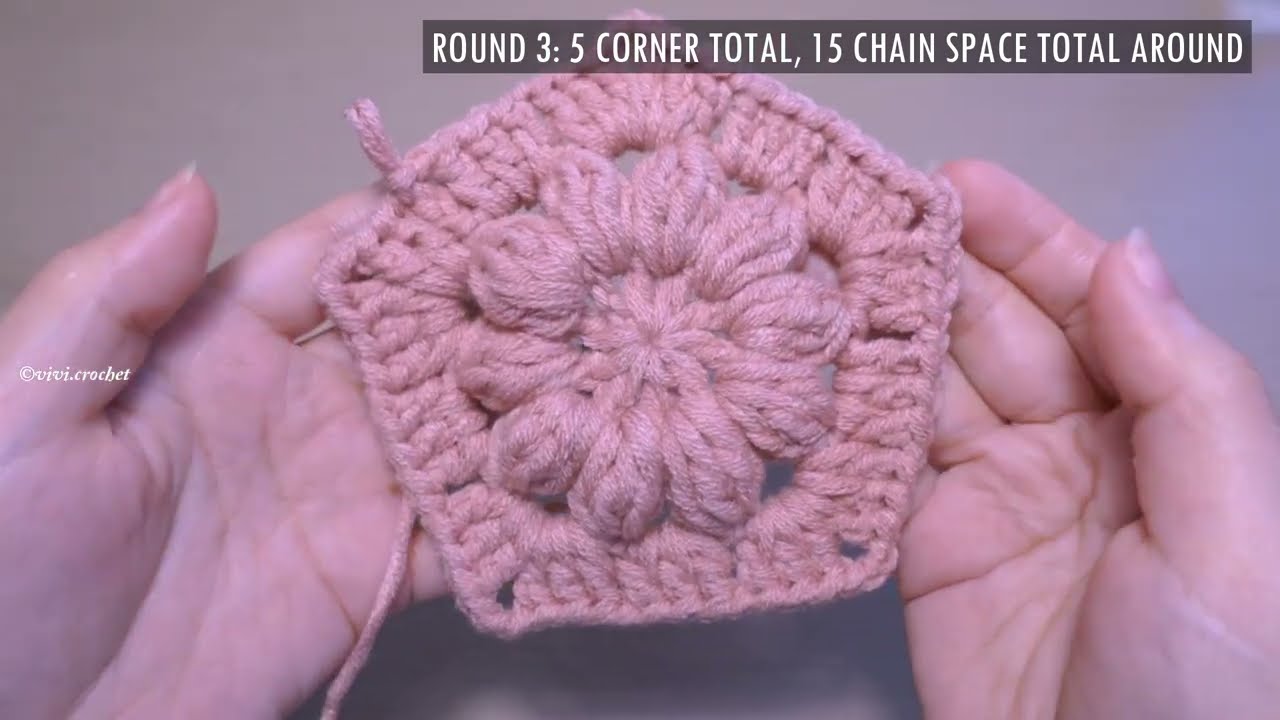
Round 1: Ch 2 (counts as 1st dc), work 11 dc into ring. Join with sl st to top of ch 2. (12 dc total)
-
Round 2: Ch 2, 2 dc in each stitch around. Join. (24 dc)
-
Round 3: Ch 2, (1 dc in next st, 2 dc in next) repeat around. Join. (36 dc)
-
Round 4: Ch 2, (1 dc in next 2 sts, 2 dc in next) repeat around. Join. (48 dc)
Continue increasing each round by spacing the 2 dc further apart until your circle measures about 6.5 inches (16.5 cm) in diameter. This fits an average adult head.
Part 2: The Body (Hat Walls)
Now we’ll build the sides of the hat without increasing.
-
Next Round: Ch 2, dc in each stitch around, join.
-
Repeat this round until the body measures about 3.5–4 inches (9–10 cm) from the edge of the crown.
This part shapes the hat to fit snugly around your head.
Part 3: The Brim
Time to flare out!
-
Brim Round 1: Ch 2, (2 dc in next st, 1 dc in next 3 sts) repeat around. Join.
-
Round 2: Ch 2, (2 dc in next st, 1 dc in next 4 sts) repeat. Join.
-
Round 3: Ch 2, dc in each stitch around. Join.
-
Repeat increasing every few stitches (5, 6, etc.) to widen the brim as you like. Most brims are about 2–3 inches (5–7.5 cm) wide.
Tip: If the brim ruffles too much, you may be increasing too fast. If it curls up, increase more frequently.
Optional Customizations
Want to make your bucket hat truly yours? Try these ideas:
-
Color blocking: Use multiple colors for stripes or patterns.
-
Embellishments: Add crocheted flowers, smiley faces, or embroidered designs.
-
Brim variation: Make a floppy sun hat or a stiffer short brim.
Washing & Care Tips
-
Hand wash in cool water with mild soap.
-
Lay flat to dry to maintain shape.
-
Avoid hanging when wet — it could stretch.
Final Thoughts
Crocheting your own bucket hat is a satisfying, beginner-friendly project that combines fashion with function. With just basic stitches like double crochet and simple increases, you’ll have a trendy, lightweight hat you can wear all season long.
So grab your yarn, find your favorite sunny spot, and start stitching — your perfect handmade bucket hat awaits!
Video Tutorial :