by
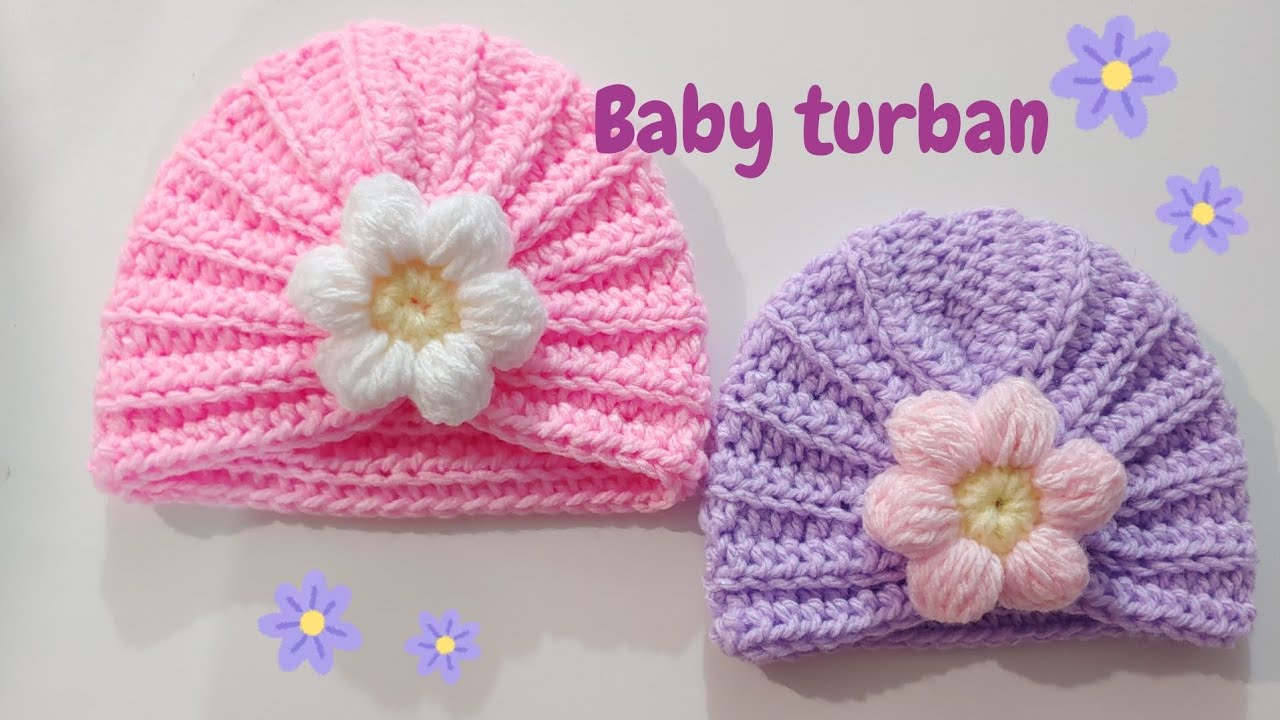
by Crocheting baby items is not only rewarding but also a creative way to show love and care. Among the most charming and practical accessories for babies is the crochet baby turban—stylish, soft, and perfect for keeping your little one warm. Add a puff flower embellishment, and you’ve got a beautifully handcrafted item that’s perfect for photos, gifts, or everyday wear.
In this guide, we’ll walk you through everything you need to crochet a baby turban and puff flower, even if you’re a beginner.
Materials You’ll Need
Before getting started, gather the following materials:
For the Baby Turban:
-
Yarn: Worsted weight (medium #4) yarn – choose soft, baby-friendly yarn like acrylic or a cotton blend.
-
Hook: 5.0 mm (H-8) crochet hook (or size needed to meet gauge)
-
Tapestry needle: For sewing ends
-
Scissors
-
Measuring tape
For the Puff Flower:
-
Small amounts of contrasting yarn (worsted weight or lighter)
-
Crochet hook (same as above or slightly smaller for tighter stitches)
Gauge & Sizing
To ensure a good fit, check your gauge before starting. For a 0–6 month baby turban, aim for:
-
Head circumference: 13–15 inches (33–38 cm)
-
Hat height: 6–6.5 inches (15–16.5 cm)
Crochet Techniques You’ll Use
This pattern uses basic and intermediate stitches. Here’s a quick list:
-
Ch – chain
-
Sl st – slip stitch
-
Sc – single crochet
-
Hdc – half double crochet
-
Dc – double crochet
-
Fpdc – front post double crochet (for ribbing look)
-
Puff stitch – explained below
If you’re unfamiliar with any of these, you may want to practice them first.
Part 1: Crocheting the Baby Turban
We’ll make the turban from the crown down, working in rounds and then adding a band.
Step 1: Create a Magic Ring
Make a magic ring and ch 2 (does not count as a stitch).
Step 2: Increase Rounds
Use half double crochets (hdc) to create a flat circle:
Round 1: 10 hdc into the ring. Join with sl st. (10 sts)
Round 2: Ch 2, 2 hdc in each st around. Join. (20 sts)
Round 3: Ch 2, 1 hdc in first st, 2 hdc in next, repeat around. Join. (30 sts)
Round 4: Ch 2, 1 hdc in next 2 sts, 2 hdc in next, repeat. Join. (40 sts)
Round 5: Ch 2, 1 hdc in next 3 sts, 2 hdc in next, repeat. Join. (50 sts)
You can stop increasing when the flat circle reaches 4.5″ (11.5 cm) in diameter for a 0–6 month size.

Step 3: Work Even
Now, just hdc in each st around without increasing:
Rounds 6–12: Ch 2, hdc in each st around. Join each round with sl st. (50 sts)
This creates the body of the turban. Adjust the number of rounds for desired height.
Step 4: Create the Band
We’ll switch to front post double crochet (fpdc) and back post double crochet (bpdc) for a stretchy ribbed effect.
Round 13: Fpdc around first st, bpdc around next, repeat around. Join. (50 sts)
Rounds 14–15: Repeat Round 13 for a thicker band.
Fasten off and weave in ends.
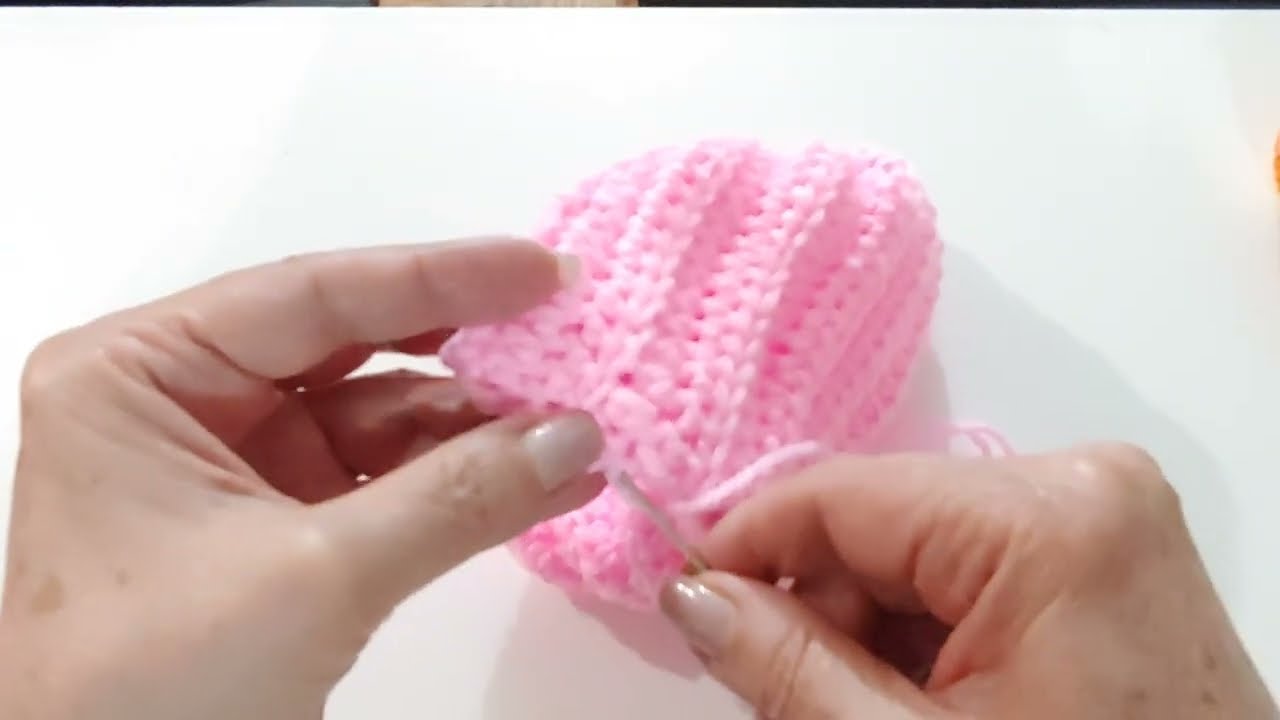
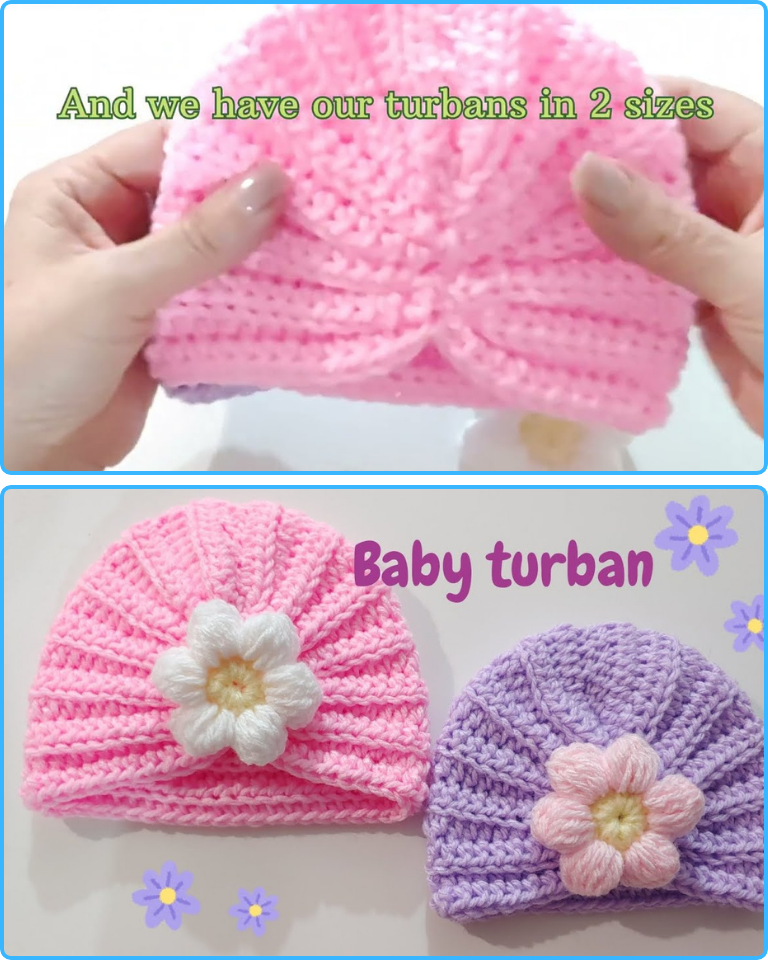
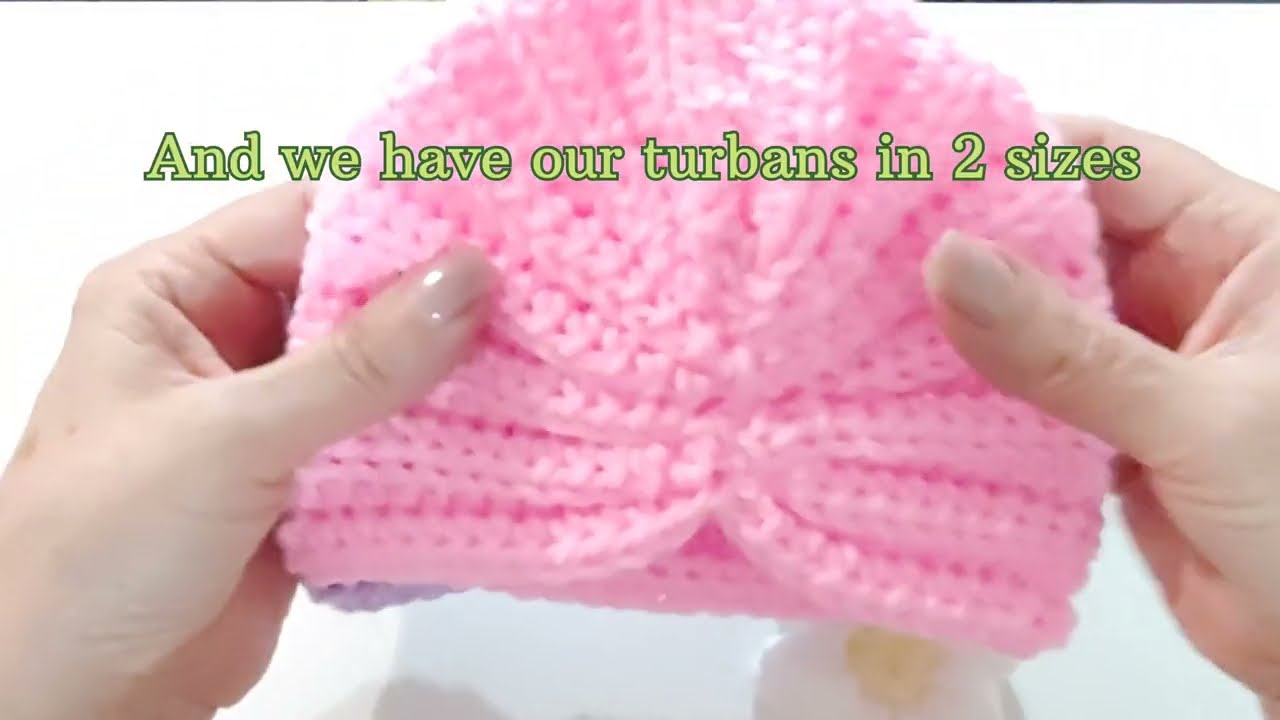
Part 2: Adding the Turban Twist Detail
The turban’s iconic look comes from its gathered front.
Option A: Simple Sewn Cinch
-
Thread a tapestry needle with yarn.
-
Pinch the center front of the hat and sew tightly around it in a few figure-8 loops to create a gathered look.
-
Tie off and weave in ends.
Option B: Crochet Strip Bow (More Structure)
-
Ch 10, work hdc in each ch across (9 sts). Turn.
-
Rows 2–10: Hdc in each st across. Fasten off, leaving a long tail.
-
Wrap this strip around the front center of the hat and sew the ends together securely.
This method creates a more defined knot/bow at the center of the turban.
Part 3: Crocheting a Puff Flower
Now let’s make the adorable puff flower embellishment.
Puff Stitch Basics
Yarn over, insert hook into stitch, yarn over, pull through (3 loops on hook), repeat 3 more times (you’ll have 9 loops), yarn over, pull through all loops, ch 1 to secure.
Step-by-Step Puff Flower
Round 1:
-
Make a magic ring.
-
Ch 2, puff stitch into ring, ch 2, repeat 5 times (6 puff petals).
-
Join with sl st to top of first puff.
Round 2:
-
In each ch-2 space: puff stitch, ch 2, puff stitch. (You’ll double the petals.)
-
Join and fasten off, leaving a long tail for sewing.
Part 4: Attaching the Flower to the Turban
-
Decide where you want the flower—typically right at the gathered center.
-
Use the tail from the flower to sew it securely to the hat.
-
Weave in any remaining ends.
Tips for Success
-
Choose soft, washable yarn: Babies have delicate skin.
-
Check size often: Babies’ head sizes vary, so measure if possible.
-
Use a stitch marker to track your rounds.
-
Make multiple flowers in different colors and styles to swap out.
-
Optional Add-ons: Buttons, pearls, or small leaves can elevate your puff flower.
Customizations & Variations
-
Change yarn colors: Use variegated or two-tone yarn for a unique look.
-
Make it a headband: Stop after a few rounds and add an elastic back.
-
Add ear flaps or ties: For winter wear, add earflaps and chin straps.
Care Instructions
-
Hand wash gently or machine wash on delicate cycle (if yarn is machine-safe)
-
Lay flat to dry to keep shape
Conclusion
Crocheting a baby turban with a puff flower is a heartwarming project that results in a practical and adorable accessory. Whether you’re making it for your baby, a friend’s baby shower, or as a donation, this handcrafted piece is sure to be cherished. Once you’ve mastered this pattern, you can play around with different embellishments, textures, and sizes to suit any baby or occasion.
Happy crocheting!
Video tutorial: