by
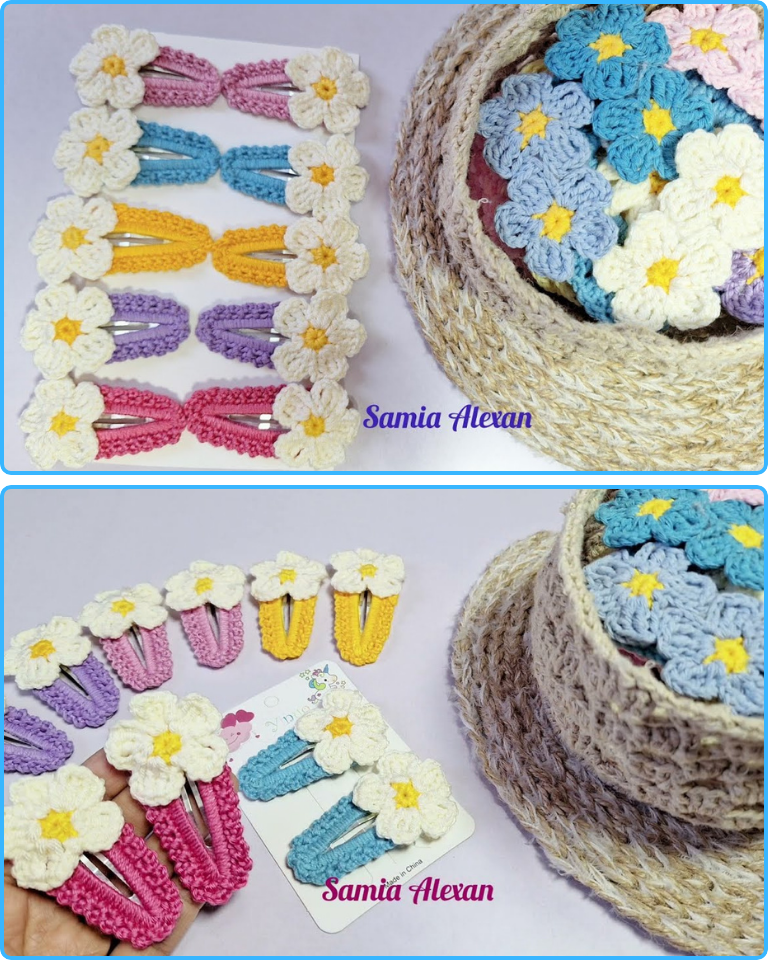
by Crocheting flower hair clips is a joyful, rewarding, and practical way to blend creativity with fashion. These charming accessories are perfect for girls of all ages, offering a handmade touch that’s both stylish and heartfelt. Whether you’re a beginner looking to start a small project or an experienced crocheter searching for creative ideas, crocheted flower hair clips are a fantastic way to bring beauty, color, and joy into everyday hairstyles.
In this guide, we’ll explore everything you need to know about making your own crochet flower hair clips—from materials and patterns to techniques and styling ideas.
Why Crochet Flower Hair Clips?
Crochet flower hair clips are more than just decorative items. They represent a return to handmade elegance, attention to detail, and personal expression. Here are just a few reasons why these accessories are so beloved:
-
Great for Beginners: Most flower patterns are small and quick to complete, making them perfect for practicing new stitches and techniques.
-
Perfect Gifts: These clips make ideal birthday presents, party favors, or stocking stuffers.
-
Customizable: You can mix and match colors, shapes, and sizes to suit any occasion or outfit.
-
Eco-Friendly: Crocheting with natural or recycled yarns makes for a sustainable alternative to plastic accessories.
-
Adorable & Practical: They stay securely in the hair while adding a pop of style and whimsy.
Materials You’ll Need
Before you start crocheting, you’ll want to gather your tools and materials. For a standard crochet flower hair clip, you’ll need:
1. Yarn
-
Type: Lightweight (Sport, DK, or Cotton)
-
Fiber: 100% cotton is best for sharp stitch definition and durability.
-
Colors: Choose colors for petals, centers, and leaves (e.g., pink, yellow, green, white).
2. Crochet Hook
-
Use a size 2.5 mm to 3.5 mm hook for fine, tight stitches that hold their shape.
3. Hair Clip Base
-
Options include:
-
Alligator clips
-
Snap clips
-
French barrettes
-
-
Choose based on the child’s hair type and your design.
4. Glue or Needle and Thread
-
For attaching the flower to the clip. Hot glue works well, but sewing is more secure and long-lasting.
5. Scissors, Tapestry Needle, and Stitch Markers
Basic Flower Pattern for Hair Clips
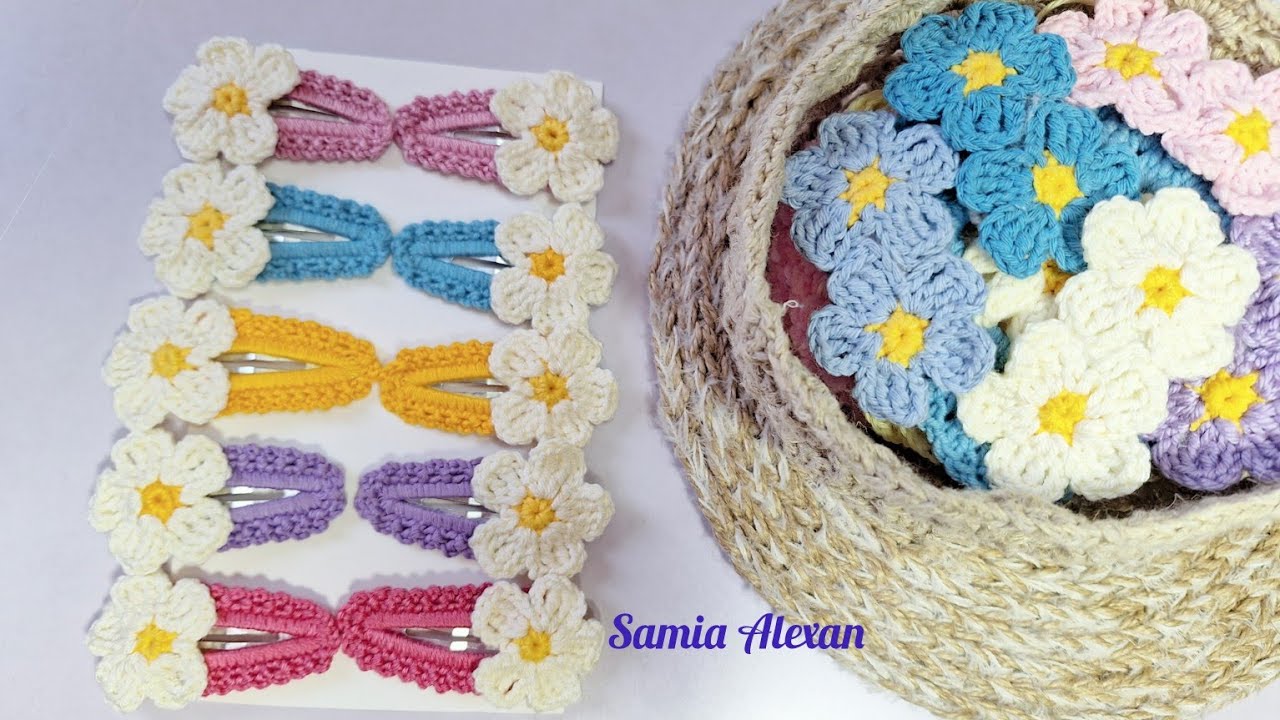
Let’s walk through a simple 5-petal flower design that’s great for beginners. This basic motif can be the foundation for countless clip designs.
Simple 5-Petal Flower Pattern
Step 1: Make a Magic Ring
-
Wrap yarn into a loop and secure with a chain.
Step 2: Petal Round
-
Chain 2 (counts as first double crochet).
-
Work 1 double crochet, chain 1, then slip stitch into the ring.
-
Repeat 4 more times for a total of 5 petals.
-
Slip stitch to the base to join.
-
Fasten off and weave in the ends.
You now have a charming little flower!

Optional: Add a Center
-
Use a contrasting yarn and sew or crochet a small circle (e.g., 6 single crochets in a magic ring) and sew it into the center.
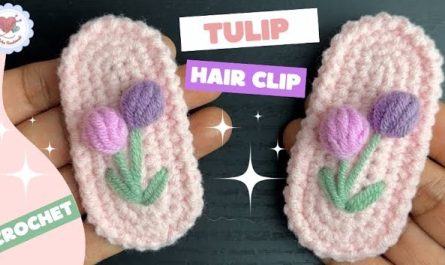
Optional: Add Leaves
-
Chain 8, slip stitch in 2nd chain from hook, then single crochet, half double crochet, double crochet, half double crochet, single crochet, slip stitch (for a leaf shape).
-
Make one or two and attach behind the flower.
How to Attach to a Hair Clip
There are two main ways to attach your flower:
1. Sewing
-
Use a needle and thread to tightly secure the flower to the clip.
-
This method is most durable and washable.
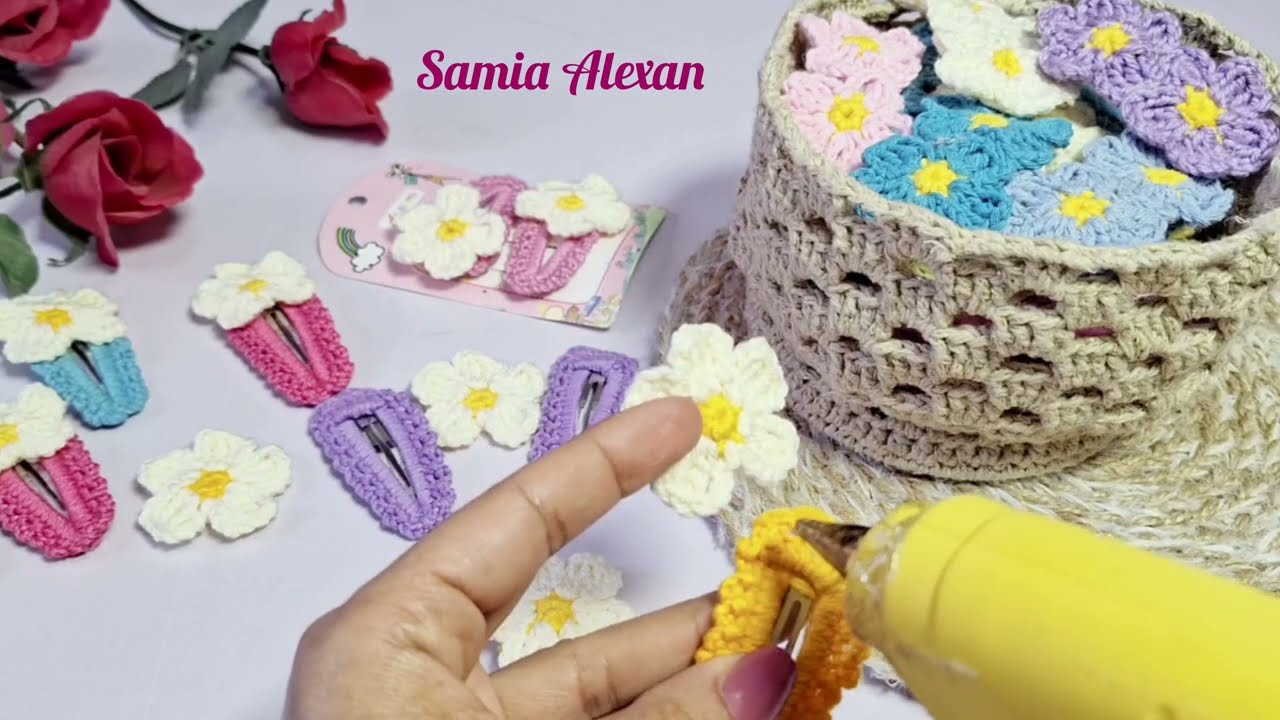
2. Hot Glue
-
Apply glue to the base of the flower.
-
Press firmly onto the clip and let dry.
-
Works well for decorative-only clips (not recommended for very young children who may put items in their mouths).
Tip: For a cleaner finish, cut a felt circle and glue it to the back of the flower before attaching to the clip.
Styling Ideas for Girls
Crochet flower clips can be styled in dozens of ways. Here are a few fun and fashionable ideas:
-
Classic Side Clip: Place the flower clip above one ear for a sweet, vintage-inspired look.
-
Braided Accent: Clip a small flower at the end or beginning of a braid.
-
Ponytail Embellishment: Use larger clips to decorate ponytails or buns.
-
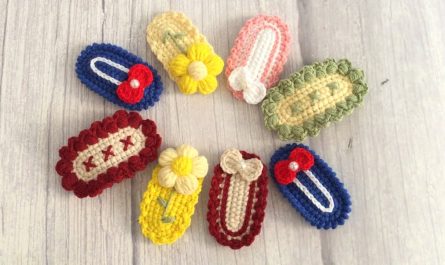
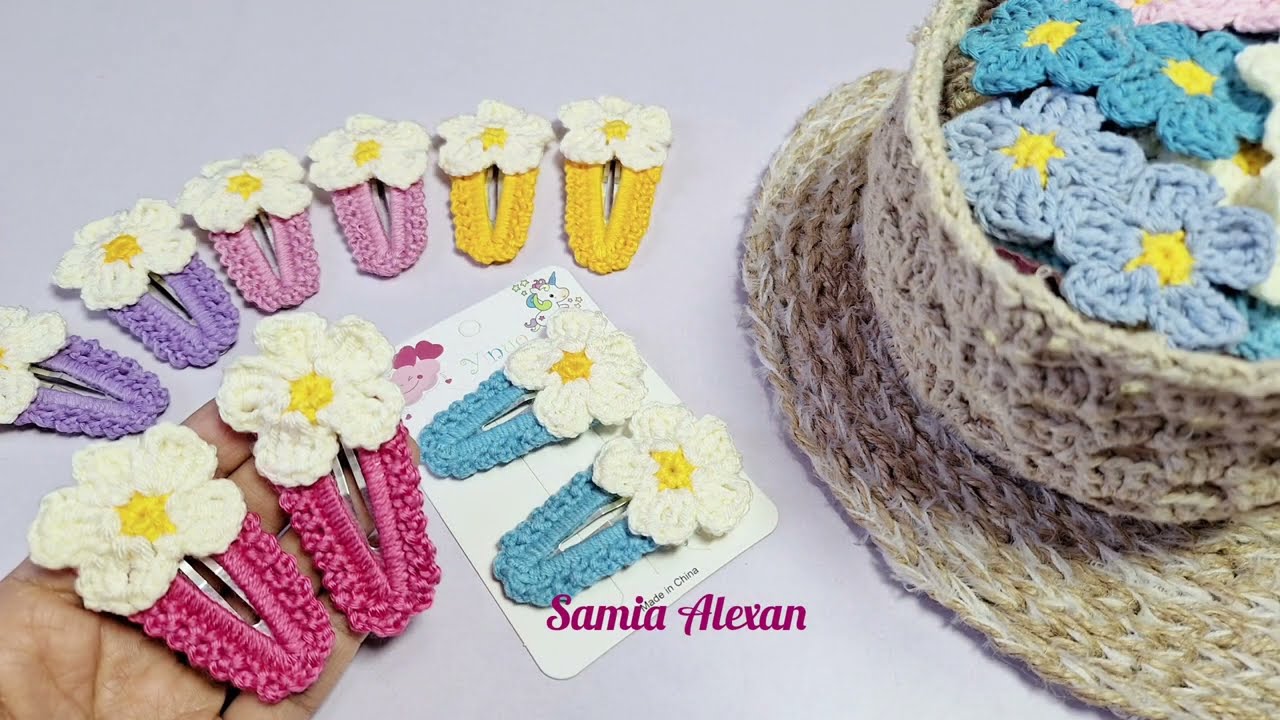
Matching Sets: Create pairs in matching colors for pigtails.
-
Rainbow Pack: Make a full set in different colors—perfect for mixing and matching outfits.
Advanced Variations
Once you’ve mastered the basic flower, try experimenting with more advanced techniques:
1. Layered Flowers
-
Make two or three flowers of different sizes.
-
Stack and sew them together to create 3D depth.
2. Multicolor Petals
-
Use color changes mid-pattern for striped petals.
3. Crochet Rosettes
-
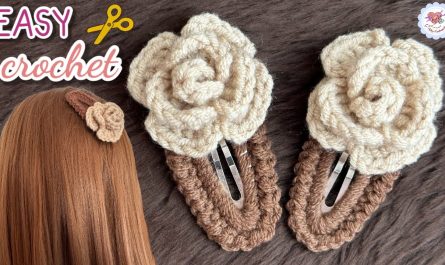
These spiral flowers are made by crocheting a long scalloped strip, then coiling and sewing it into a rose.
4. Tulle or Ribbon Accents
-
Add lace, tulle, or ribbon tails for extra flair—great for formal events or photo shoots.
Care Tips
-
Cleaning: Hand wash gently with mild soap and lay flat to dry.
-
Storage: Keep in a box or drawer to avoid crushing the flowers.
-
Repair: If the flower detaches from the clip, simply resew or re-glue.
Selling & Gifting Ideas
Crochet flower hair clips are popular items at craft fairs, Etsy shops, and boutique stores. To make yours stand out:
-
Branding: Use custom tags, labels, or packaging.
-
Personalization: Offer name tags or initials embroidered in the center.
-
Gift Sets: Package 3-5 flowers in themed sets (e.g., “Spring Garden”, “Princess Pack”).
-
Seasonal Collections: Design holiday-themed flowers (e.g., red and green for Christmas, pastels for Easter).
Conclusion
Crocheting flower hair clips for girls is a delightful project that combines beauty, function, and creativity. Whether you’re making them for a loved one, starting a handmade business, or simply crafting for fun, these lovely little clips add a special handmade touch to any hairstyle. With just a bit of yarn and imagination, you can create wearable blooms that brighten up anyone’s day—one petal at a time.