by
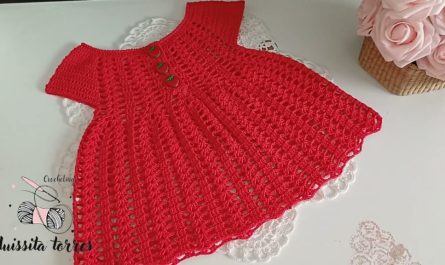
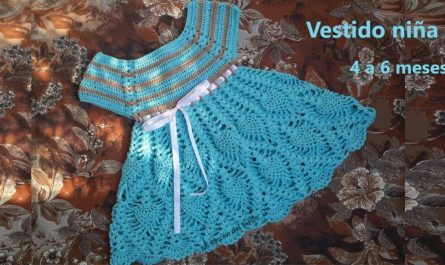
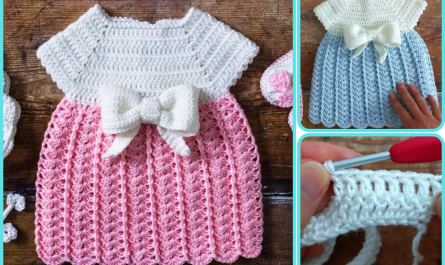
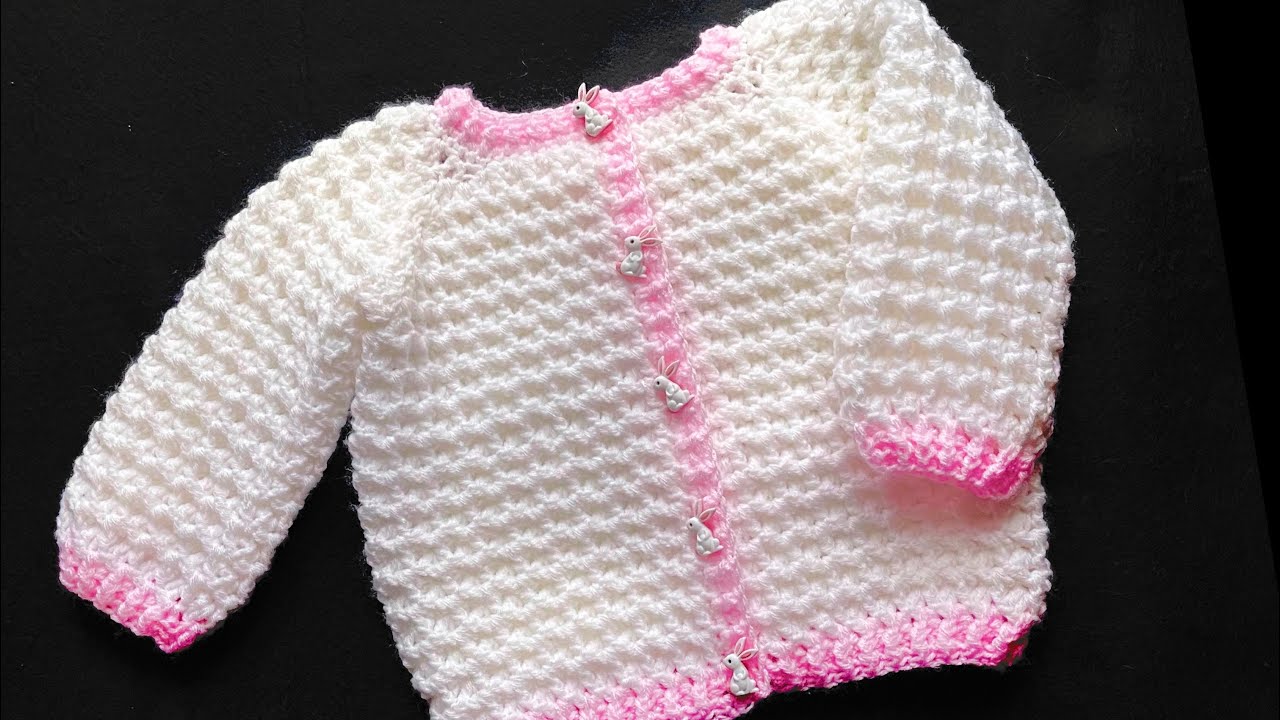
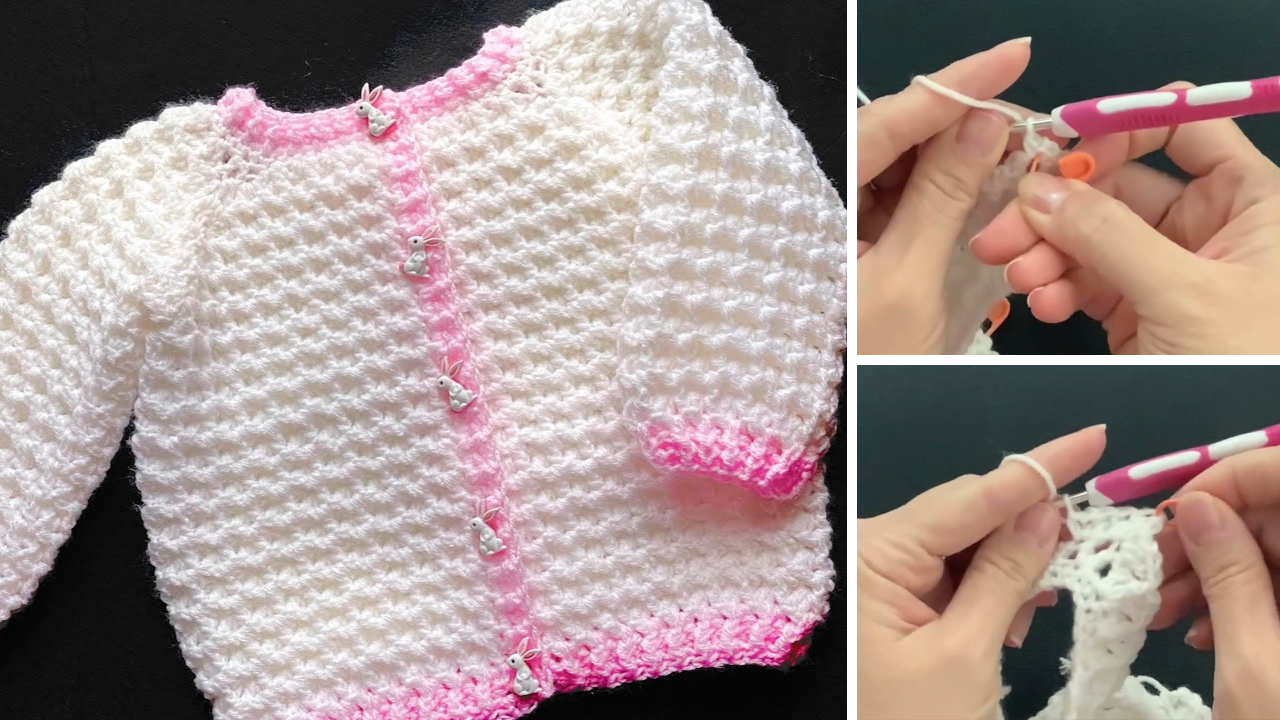
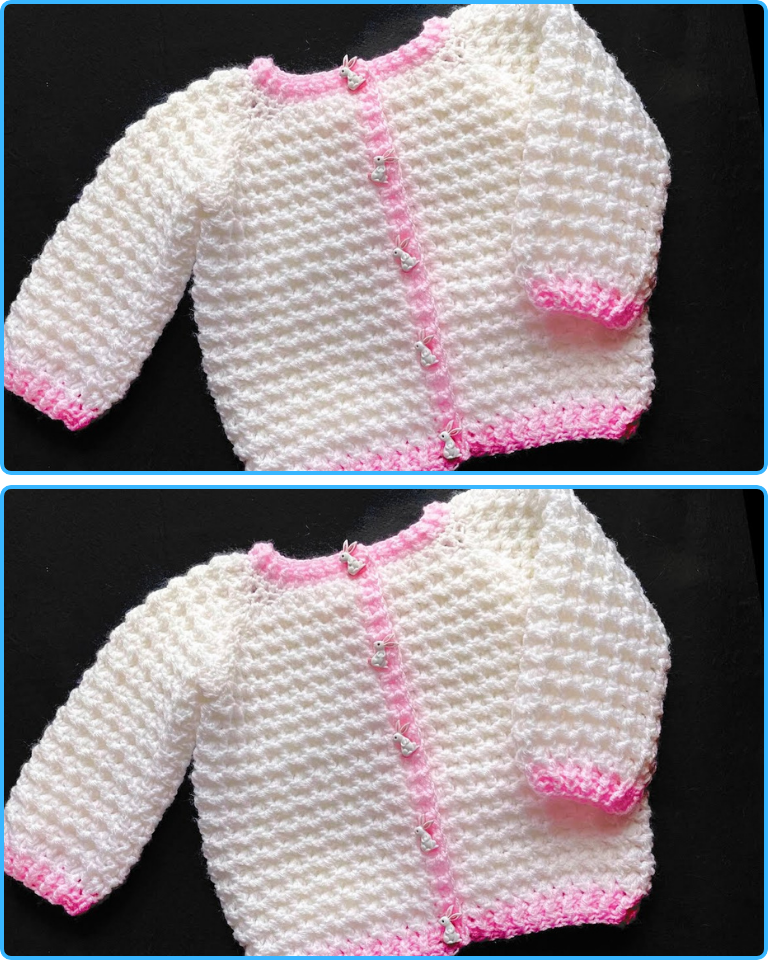
by Handmade baby clothes hold a special kind of charm. There’s something incredibly satisfying about creating a soft, cozy cardigan for a newborn or infant with your own two hands. If you’re looking for a project that’s both beginner-friendly and beautifully textured, the Snowdrop Stitch Baby Cardigan is the perfect choice.
In this article, we’ll walk you through how to make an easy crochet baby cardigan using the snowdrop stitch pattern. With its delicate, slightly puffy texture that mimics falling snowdrops, this stitch is ideal for baby items—gentle, warm, and visually appealing.
What Is the Snowdrop Stitch?
The Snowdrop Stitch is a textured crochet stitch that creates a beautiful pattern of small, slightly raised “drops” within a field of regular stitches. It typically involves a combination of single crochet (sc) and puff stitches, arranged to mimic the look of snowdrops falling or blooming.
It’s a one-row repeat stitch pattern that is:
-
Easy to memorize
-
Has a nice squishy texture
-
Looks good in solid or pastel yarns
-
Great for baby garments, blankets, and accessories
Why Make a Baby Cardigan with the Snowdrop Stitch?
-
Soft and gentle: Perfect for a baby’s delicate skin
-
Gender-neutral: Works well for both boys and girls
-
Elegant texture: Adds visual interest without being overly complicated
-
Warm but breathable: Ideal for layering
-
Beginner-friendly structure: Built using rectangles and minimal shaping
Materials Needed
To make an easy baby cardigan using the snowdrop stitch, you’ll need:
Yarn
-
Yarn weight: Light worsted (#3 DK) or sport weight yarn
-
Fiber: Soft cotton, bamboo, or baby-safe acrylic
-
Yardage: Approx. 300–400 yards for 0–6 months size, increasing by 50–100 yards for each size up
Crochet Hook
-
Size 4.0 mm (G) or 4.5 mm (7), depending on your yarn
-
Adjust to obtain the correct gauge
Other Tools
-
Scissors
-
Yarn needle
-
Stitch markers
-
2–4 small buttons (½ inch or smaller)
-
Measuring tape
Sizes Available
This cardigan can easily be adjusted for multiple baby sizes:
| Size | Chest (in) | Length (in) | Sleeve (in) |
|---|---|---|---|
| 0–3 months | 16–17 | 8–9 | 6 |
| 3–6 months | 18–19 | 9–10 | 6.5 |
| 6–12 months | 20–21 | 10–11 | 7 |
| 12–18 months | 22–23 | 11–12 | 8 |
Use a basic rectangle construction for the body and add sleeves separately—easy to scale for all sizes.
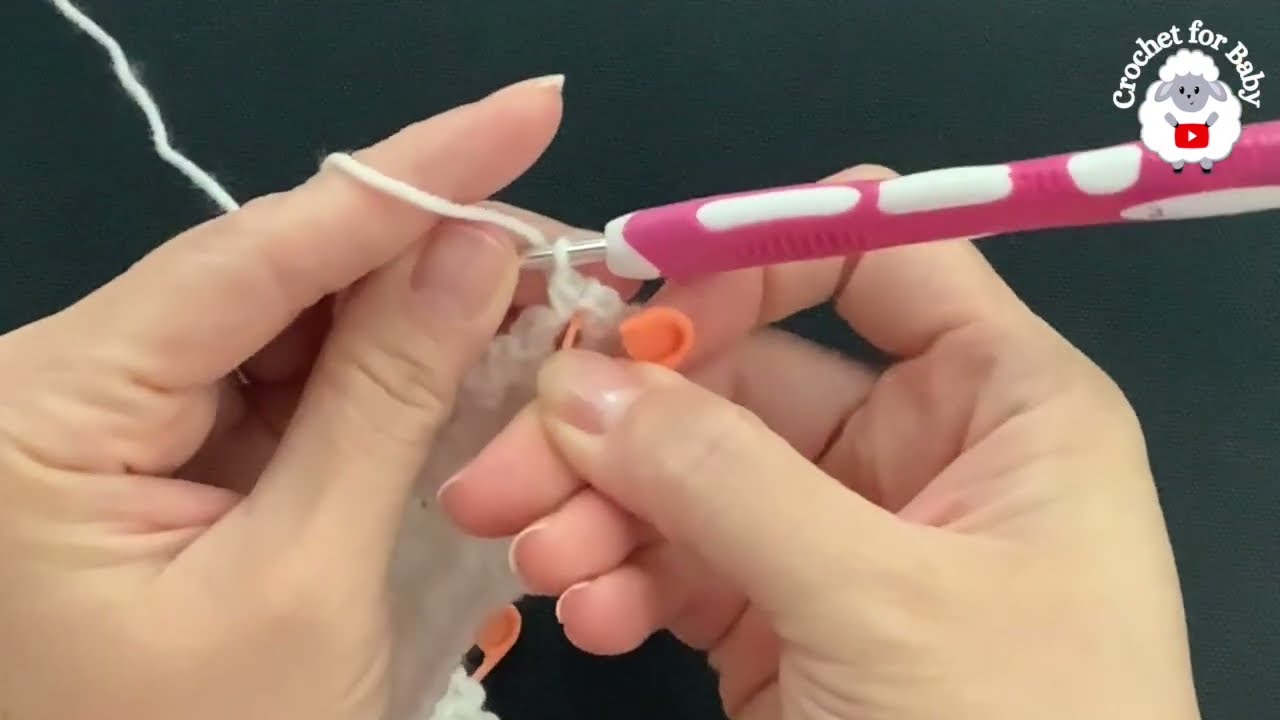
Snowdrop Stitch Pattern Tutorial
Pattern Stitch (Multiple of 2 + 1)
Row 1 (RS): Ch an odd number. Sc in second ch from hook and in each across. Ch 1, turn.
Row 2 (Snowdrop row):
-
Sc in first st.
-
Insert hook into next st, yarn over and pull up a loop, ch 2, yarn over and pull through both loops on hook (modified puff stitch).
-
Repeat from * to last st.
-
Sc in last st. Ch 1, turn.
Row 3:
-
Sc across the row, placing 1 sc in each st and in each ch-2 space from previous row. Ch 1, turn.
Repeat Rows 2–3 to create the snowdrop pattern.

Construction Overview
This baby cardigan is made from 5 pieces:
-
Back panel (rectangle)
-
Two front panels (smaller rectangles)
-
Two sleeves (rectangles or tapered)
-
Seam everything together, then add button band and edging
Instructions: Baby Cardigan (0–3 Months Size)
Step 1: Back Panel
-
Chain 43 (adjust for larger sizes).
-
Work Row 1 of snowdrop stitch.
-
Continue pattern for 36 rows or until desired length (approx. 9”).
-
Fasten off and weave in ends.
Step 2: Front Panels (Make 2)
-
Chain 21.
-
Follow snowdrop pattern for 36 rows.
-
Fasten off.
Step 3: Seam Shoulders
-
Place front panels on top of the back panel.
-
Use whip stitch or slip stitch to seam 3–4 inches at each shoulder.
-
Leave center open for the neckline.
Step 4: Side Seams and Armholes
-
Fold like a vest.
-
Seam sides, leaving 4–5 inches for armholes.
Sleeves (Make 2)
-
Chain 25 (adjust for larger sizes).
-
Work snowdrop stitch pattern for 18–20 rows.
-
Fold each sleeve and sew the side to form a tube.
-
Attach sleeves to armholes, sewing evenly around.
Optional:
-
To taper the sleeve, decrease 1 stitch at both ends every 4 rows.
Finishing Touches
Edging:
-
Attach yarn to the bottom right front corner.
-
Sc evenly up the side, around the neck, and down the other side.
-
You can add a row of reverse single crochet (crab stitch) for a polished edge.
Buttonholes:
-
On the right or left front edge, space 3–4 buttonholes evenly by chaining 2 and skipping 2 stitches.
-
On the opposite side, sew matching buttons.
Customization Tips
-
Color choices: Use soft pastels for a classic baby look, or bold primaries for a modern feel.
-
Striped panels: Alternate yarn colors every 4–6 rows for a striped cardigan.
-
Hooded version: Add a rectangle hood by chaining 40 and working 30 rows in snowdrop stitch, then fold and attach to neckline.
-
Embroidery: Add simple flower or heart embroidery on one panel for extra charm.
Care Instructions
Because this is for a baby, always:
-
Use washable, baby-safe yarn.
-
Hand wash or machine wash on delicate.
-
Lay flat to dry to avoid stretching.
Tips for Beginners
-
Practice the snowdrop stitch on a swatch before starting the cardigan.
-
Use stitch markers at the edges of panels to maintain straight rows.
-
Don’t worry about perfection—babies won’t mind slightly uneven stitches!
-
Crochet loosely for a soft drape.
Perfect for Gifting
This snowdrop stitch baby cardigan makes a thoughtful gift for:
-
Baby showers
-
Newborn photoshoots
-
First birthdays
-
Handmade holiday presents
Add a matching hat, booties, or blanket for a complete baby set.
Conclusion
The Easy Crochet Baby Cardigan using the Snowdrop Stitch is a beautiful, beginner-friendly project that produces a timeless and functional garment. Its gentle texture and simple construction make it perfect for those new to garment-making, and its visual appeal ensures it will be loved by both the baby and the parents.
With just a few rectangles, basic seaming, and soft yarn, you can create something that’s not only practical but also heartwarming—a true handmade treasure.
Video tutorial: