by
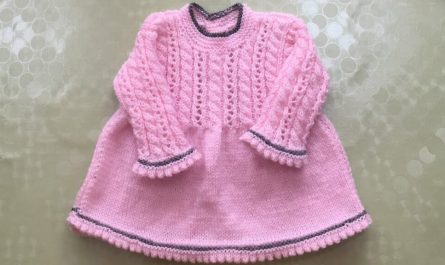
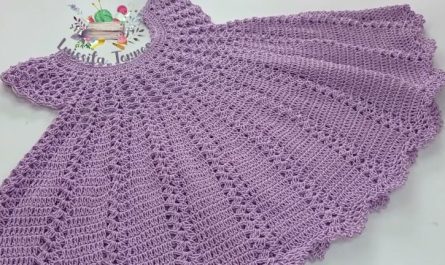
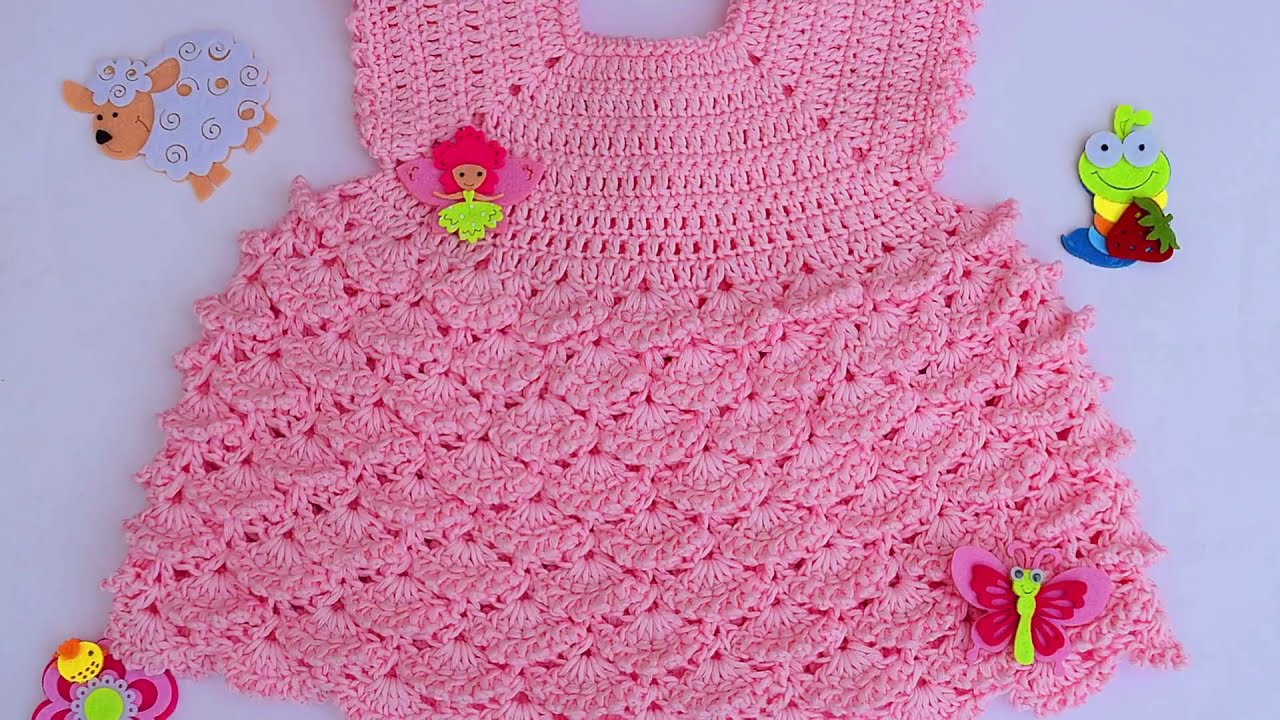
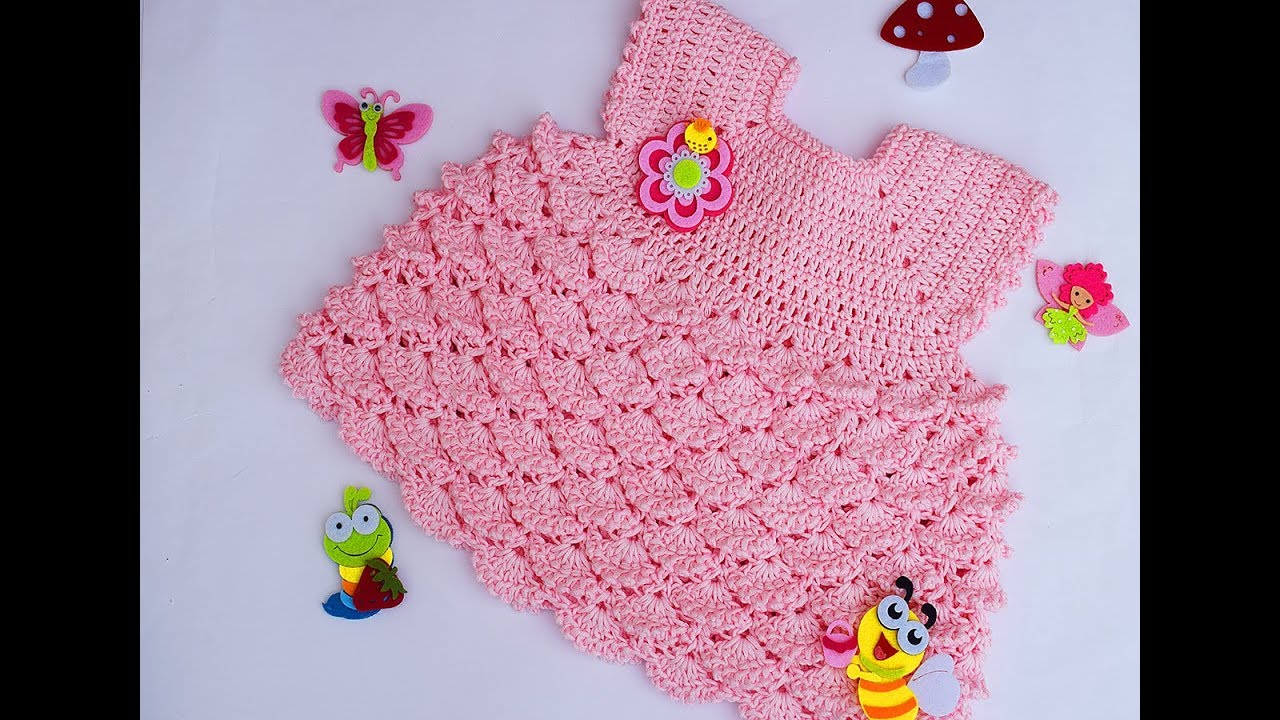
by Embossed or relief crochet adds a rich, textured surface to your projects, making even the simplest dress look elegant and luxurious. In this tutorial, you’ll learn how to crochet a dress featuring embossed patterns — perfect for a child or adult, depending on your sizing needs. We’ll focus on a baby or toddler-size version (6–12 months) for clarity, but the technique easily scales up.
What Is an Embossed Crochet Dress?
An embossed crochet dress is created using front post stitches and textured patterns (like raised leaves, flowers, cables, or shells). These stitches stand out from the fabric, giving a 3D, sculpted look. They’re ideal for:
-
Special occasion wear (weddings, birthdays, christenings)
-
Elegant seasonal dresses
-
Statement baby clothes
Materials Needed
-
Yarn: DK or light worsted weight (Category 3–4). Soft cotton or acrylic blend works best. ~300–350g for baby size.
-
Hook: 4.0 mm (G-6) or size needed to meet gauge
-
Stitch markers
-
Scissors
-
Tapestry needle
-
Buttons or ribbon (optional)
Stitches & Abbreviations Used
Make sure you’re comfortable with these:
-
ch – chain
-
sc – single crochet
-
dc – double crochet
-
sl st – slip stitch
-
fpdc – front post double crochet (for embossing)
-
bpdc – back post double crochet (optional, for ribbing)
-
dc-cluster – group of dc stitches worked together (used in embossed leaves/flowers)
Sizing (Baby 6–12 Months)
-
Chest circumference: 17–18 inches (43–46 cm)
-
Dress length: ~15 inches (38 cm)
-
Gauge: 16 dc x 8 rows = 4″ square
Embossed Crochet Dress Pattern (Baby Size)
We’ll create a top-down yoke dress with a skirt featuring an embossed leaf motif.
STEP 1: Yoke (Top Part)
Foundation:
Ch 60. Join to work in round (or work in rows with button flap at back).
Round 1:
Ch 2, dc in each stitch around. Join with sl st. (60 dc)
Round 2:
Begin raglan increase:
dc in next 14, (dc, ch 1, dc) in next (corner) — repeat to complete 4 corners (front, back, sleeves)
Continue for 5–6 rounds, increasing at each corner.
You should now have:
-
Front/Back: 20–24 sts
-
Sleeves: 14–16 sts
-
Underarm chains: 4–5 chains under each sleeve to join bodice
STEP 2: Split for Armholes
-
Work across front stitches
-
Ch 4 (underarm), skip sleeve stitches
-
Work across back
-
Ch 4, skip second sleeve
-
Join to form body
STEP 3: Embossed Skirt Section
Start with basic dc rows:
Row 1–2: Dc in each stitch around. (Count ~60–70 sts total)
Embossed Leaf Motif (Repeat Pattern)
This is worked in vertical columns down the skirt.
Basic Embossed Leaf (6-row repeat):
Start leaf on base of dc row using fpdc and dc-clusters:
Row A (setup):
-
[fpdc around dc from previous row, dc in next 2] – repeat around
-
Mark fpdc stitches (they form leaf spine)
Row B:
-
fpdc in fpdc, 2 dc in next st, skip 1, dc in next (forms side bulge of leaf)
Row C:
-
fpdc in fpdc, dc3tog over 3 dc (top of leaf), dc in next
Row D:
-
fpdc in fpdc, 2 dc in same st to start next leaf base, continue
Repeat Rows A–D, spacing leaves every 4–6 stitches across the row.
STEP 4: Continue Skirt to Desired Length
Repeat leaf motif every few rounds to extend downward. You can add:
-
Flare by increasing every 6th round
-
Alternate motifs like embossed flowers or diamonds
Continue until skirt measures ~15 inches from shoulder to hem.
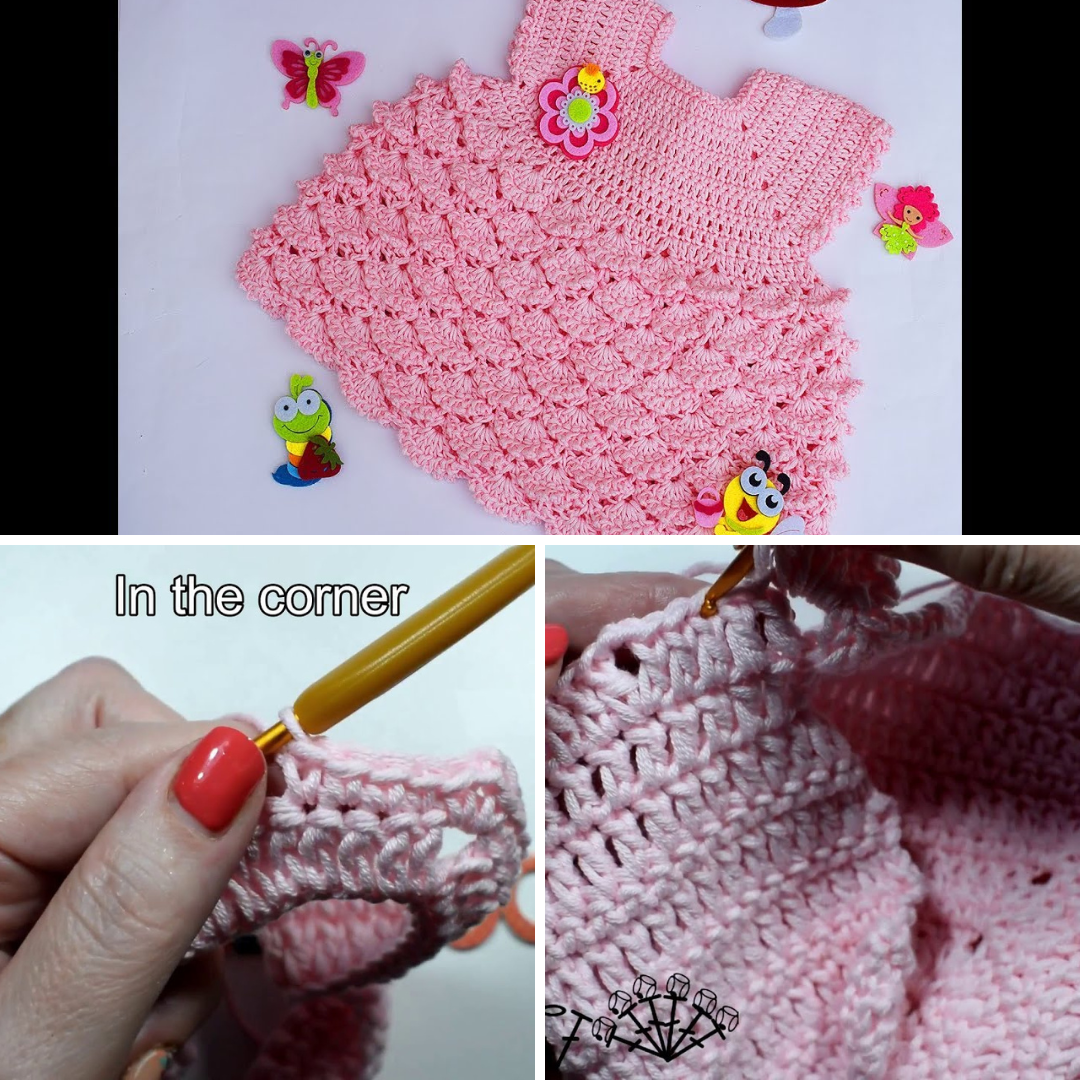
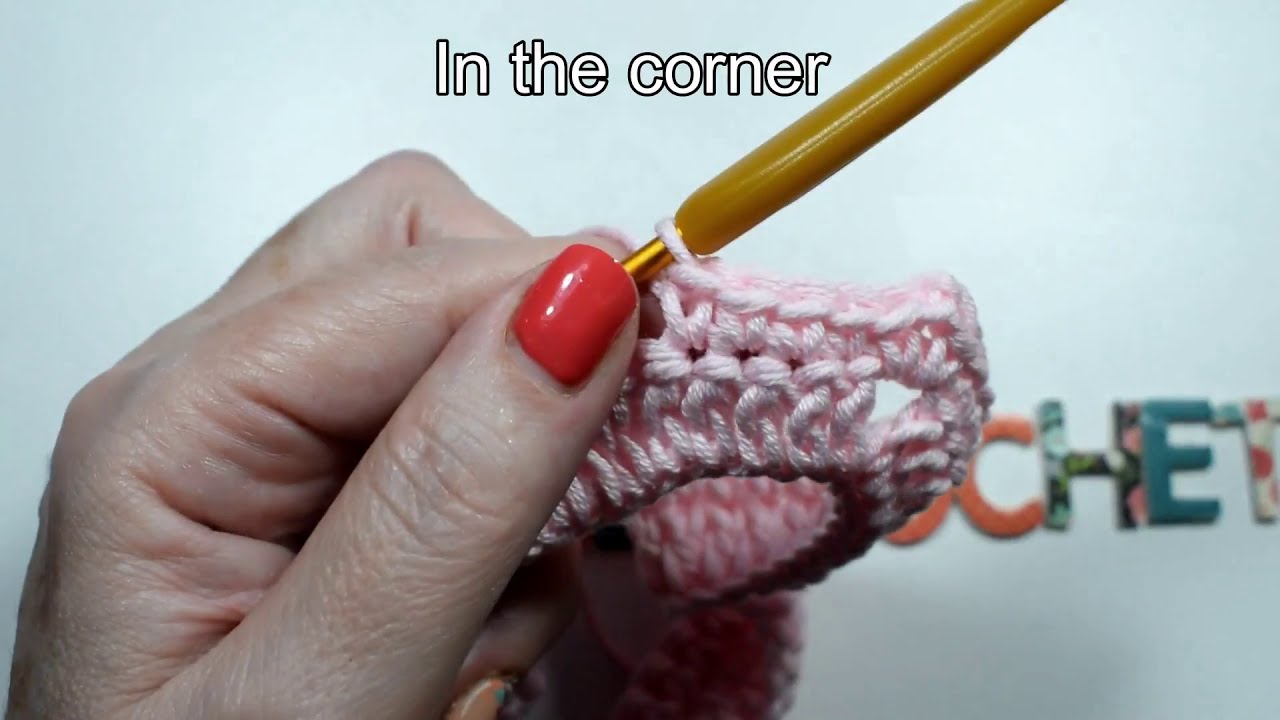
STEP 5: Edging & Finishing
Hem Edging:
-
Add a shell border: (sc, skip 1, 5 dc in next st, skip 1, sc) — repeat
Neckline/Sleeves:
-
Add sc or hdc border
-
Optional: Add buttonholes at back opening (work in rows instead of joining)
Optional:
-
Thread ribbon through waist or chest
-
Add crocheted flowers or bows
Care Instructions
-
Use gentle, machine-washable yarn
-
Wash in cold water, lay flat to dry
-
Steam block lightly to preserve texture
Variations and Custom Ideas
-
Embossed Flowers: Try puff-stitch petals worked in clusters
-
Vertical Panels: Create “vines” of leaves spaced around skirt
-
Colorwork: Use a contrasting color for the embossed part
-
Adult version: Use same construction, just adjust measurements
✅ Tips for Success
-
Practice fpdc on swatches before starting
-
Use stitch markers to track corners or motif start points
-
Keep tension even for best texture
-
Block lightly to enhance definition of embossed patterns
Video Tutorial ;
Final Thoughts
Crocheting a dress with embossed stitching adds depth, elegance, and a handcrafted touch that makes your project stand out. Whether you’re dressing a baby for a special day or crafting a custom adult piece, embossed crochet turns simple stitches into beautiful designs.
With patience and creativity, you’ll turn yarn into a work of art!