by
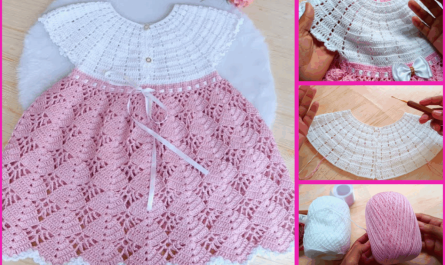
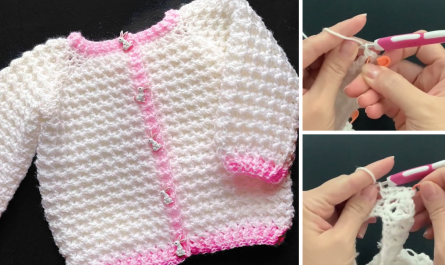
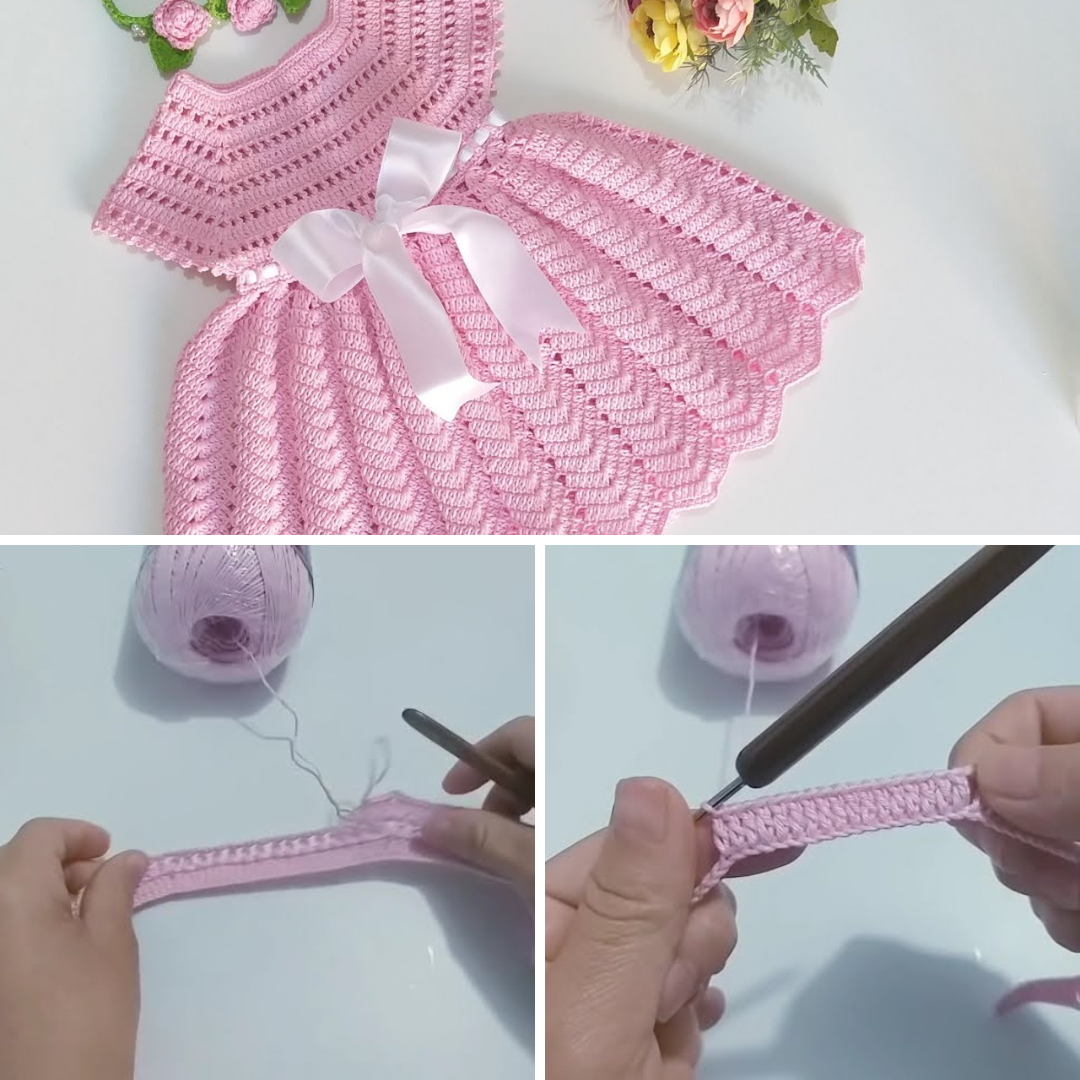
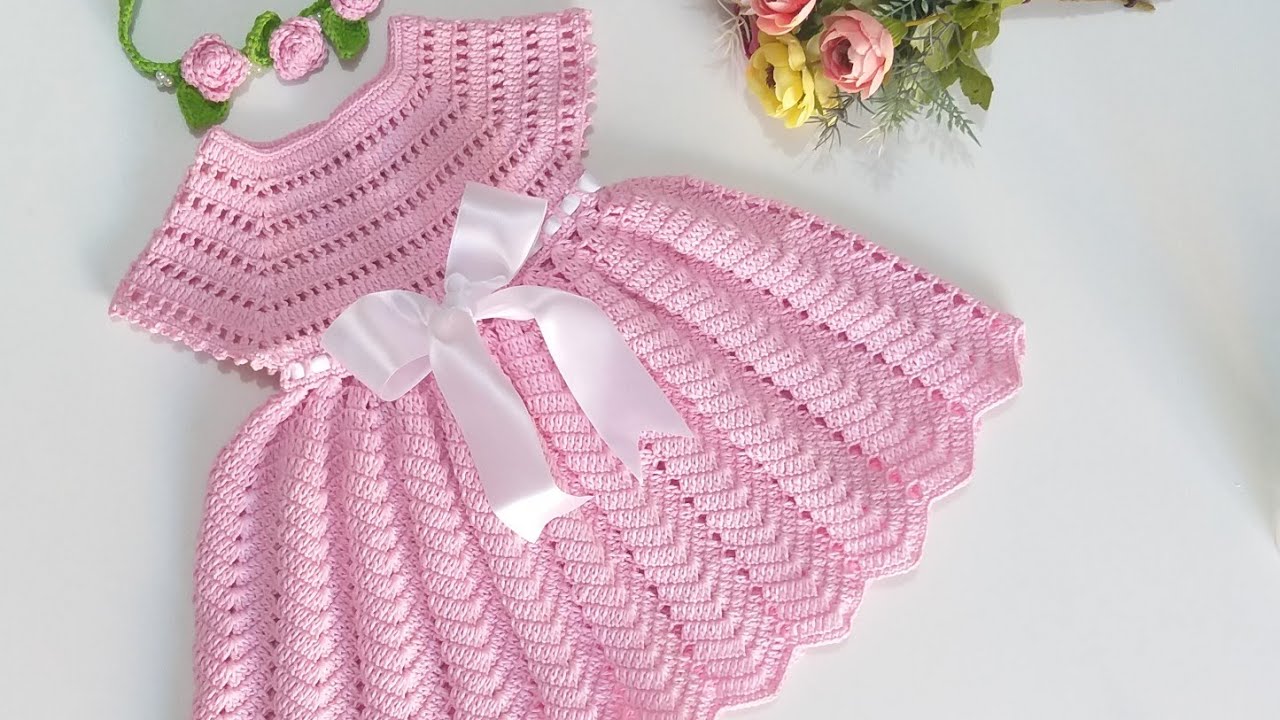
by Crocheting a baby dress is a delightful project for beginners and experienced crafters alike. Whether you’re making a gift or preparing a special outfit for your own little one, this step-by-step guide will walk you through making an adorable crochet baby dress sized for 6 to 9 months.
Materials Needed
-
Yarn: Medium-weight (Worsted/Category 4) cotton or soft acrylic yarn. (Approx. 300–350 yards)
-
Hook: 4.0 mm (G-6) or 4.5 mm (7) crochet hook (check gauge)
-
Tapestry needle (for weaving in ends)
-
Scissors
-
Buttons (optional): For back closure or decoration
-
Measuring tape
Size and Measurements
Typical size for 6–9 months:
-
Chest circumference: 17–18 inches (43–46 cm)
-
Dress length: ~14–15 inches (35–38 cm)
-
Armhole depth: ~4 inches (10 cm)
Note: Always check your gauge and adjust hook size if necessary. Gauge for this project:
4” x 4” = 16 double crochet stitches x 8 rows
Skill Level
Beginner to Intermediate
You should know how to:
-
Chain (ch)
-
Slip stitch (sl st)
-
Single crochet (sc)
-
Half double crochet (hdc)
-
Double crochet (dc)
-
Work in the round
-
Increase/decrease
Pattern Overview
The dress is worked top-down in one piece. You begin with a yoke, split for armholes, then work the body and skirt. You can customize length and add embellishments (ribbons, lace edges, etc.)
Crochet Baby Dress Pattern (6–9 Months)
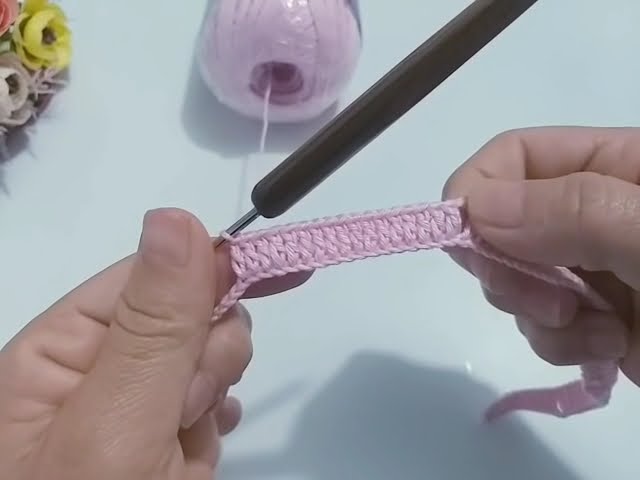
STEP 1: The Yoke (Bodice)
Foundation Row:
Ch 58 (loosely)
Row 1 (Setup):
Dc in 4th ch from hook and in next 7 ch, (dc, ch 1, dc) in next ch (corner made), dc in next 10 ch, (dc, ch 1, dc) in next ch, dc in next 14 ch, (dc, ch 1, dc) in next ch, dc in next 10 ch, (dc, ch 1, dc) in next ch, dc in last 8 ch. Turn.
→ You should have 4 corner increases with 10–14–10–8 dc sections between them.
Row 2–7: (Yoke growth)
Ch 3 (counts as dc), dc in each dc across, and (dc, ch 1, dc) in each ch-1 space from previous row (i.e., at corners). Turn.
After row 7, your stitch count should look like this:
Front: 20 sts | Backs: 14 sts each | Sleeves: 22 sts each
STEP 2: Split for Armholes
Row 8 (Dividing for sleeves):
-
Dc across back section (14), ch 4 (armhole), skip sleeve section (22 sts),
-
dc across front (20), ch 4 (other armhole), skip second sleeve section (22 sts),
-
dc across remaining back section (14). Turn.
You now have a basic bodice shape with armholes.
STEP 3: Dress Body
Row 9:
Dc in each dc and each ch from the underarm chain spaces (4), across the whole round.
Total dc count:
14 (back) + 4 (underarm) + 20 (front) + 4 (underarm) + 14 (back) = 56 dc
Rows 10–12 (Straight rows):
Continue dc across to stabilize the bodice. You can add texture here (e.g., hdc or shells), but keep it flat if you’re a beginner.
STEP 4: Skirt (Begin Flare)
Now start increasing to create a flowing skirt.
Row 13 (Increase round):
Shell pattern: (2 dc in next st, skip 1) around
This will double the stitch count gradually.
Row 14–25: (Skirt rows)
Work in any of the following styles (or alternate):
-
Double crochet rows
-
Shell stitch pattern: [2 dc, ch 1, 2 dc] in one stitch, skip 2–3 sts, repeat
-
V-stitch: (dc, ch 1, dc) in same st
Adjust length by adding or removing rows.
STEP 5: Finishing Touches
Edging:
-
Add a picot or scallop edge to the bottom hem for cuteness.
-
Optional: Edge sleeves or neckline with sc or hdc border.
Buttons (optional):
-
Add a button flap at the back. Leave a slit in the top 2–3 rows and sew buttons on one side, use chain loops for buttonholes.
Weaving in Ends:
-
Use tapestry needle to weave in all yarn ends securely.
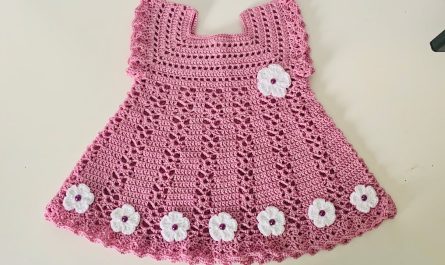
Customization Ideas
-
Color Blocking: Change yarn color at bodice/skirt transition.
-
Add Ribbons: Thread satin ribbon through a row near the waist.
-
Appliqués: Crochet small flowers, hearts, or bows to attach.
-
Tulle underskirt: For a fancy party look.
✅ Care Tips
Use baby-friendly, machine-washable yarn. Most baby yarns are soft acrylic or cotton blends. Wash in cold water on gentle cycle, and lay flat to dry.
Final Thoughts
Creating a handmade crochet baby dress is both satisfying and heartwarming. With just a few hours of work and some yarn, you can make a beautiful and functional piece that becomes a cherished keepsake. Whether it’s for everyday wear or a special occasion, this dress is sure to turn heads.
Video Tutorial :