 by
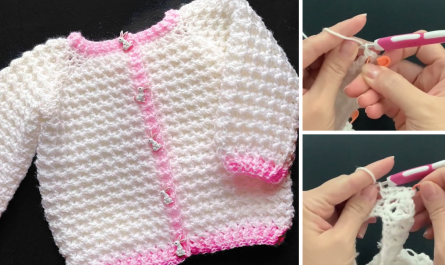
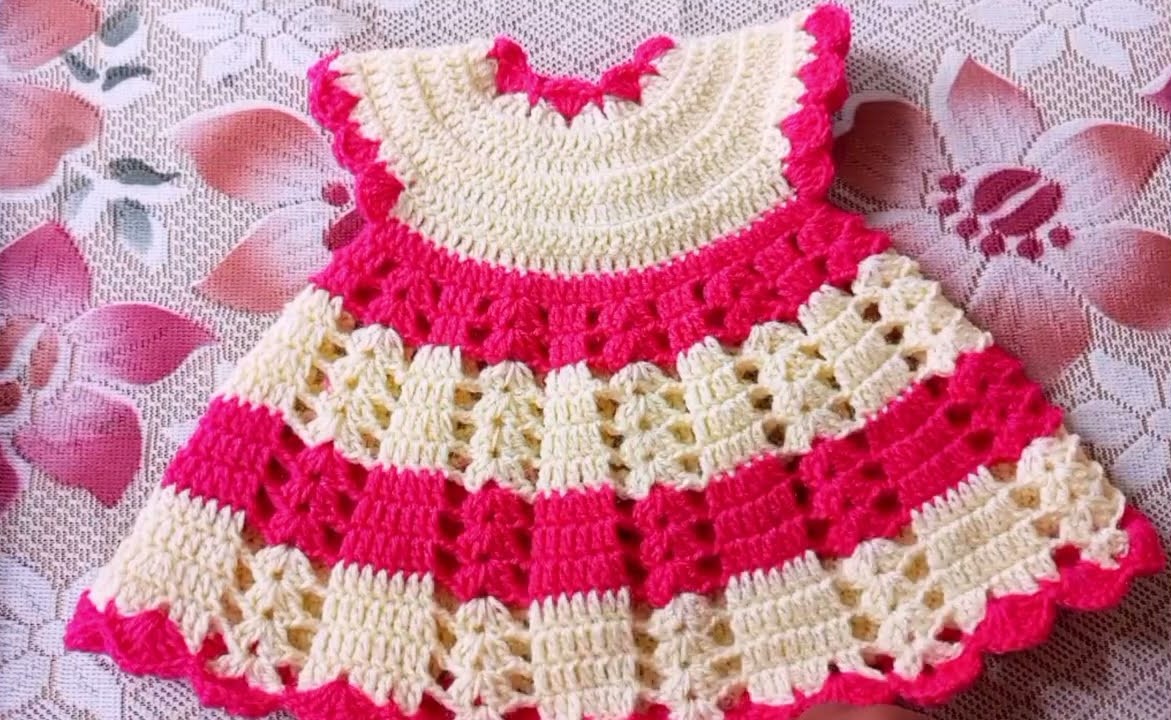
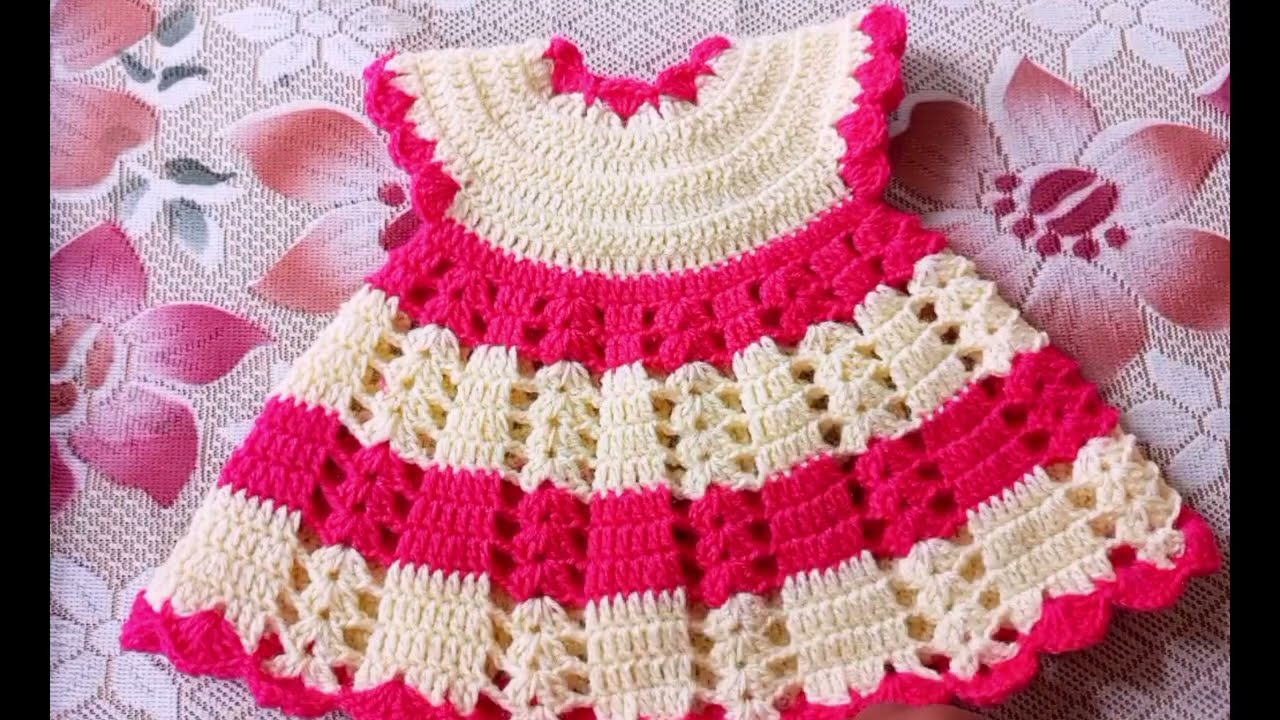
by Hello, fellow makers! Are you looking to create a beautiful and unique dress for a special little girl? I’m excited to share this detailed pattern for the Sunset Petal Dress, a charming frock that features a simple double crochet yoke and a beautiful flared skirt with a unique “cluster” stitch pattern. This dress is perfect for a baby shower gift, a first birthday party, or just for adding a touch of handmade elegance to a baby’s wardrobe.
The pattern is designed to be a great project for all skill levels. We’ll start with a classic top-down yoke, separate the armholes, and then build the skirt with an increasing pattern that creates a lovely drape and flow. The final decorative borders on the hem, neckline, and sleeves give it a polished, professional look. Let’s grab our hooks and yarn and get ready to create something beautiful!
Why You’ll Love Crocheting This Dress:
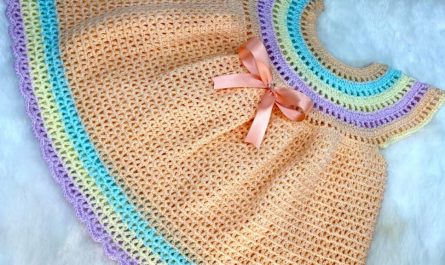
- Stunning Design: The combination of the simple yoke and the textured, flared skirt creates a beautiful, elegant look.
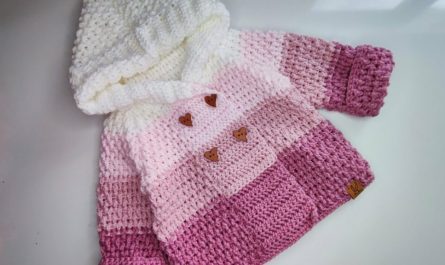
- Versatile: You can use a single color for a classic look or use multiple colors for a vibrant, modern dress.
- Skill-Building: You’ll practice a variety of stitches, including basic double crochets, clusters, and a decorative border.
- Perfect for Gifting: A handmade baby dress is a thoughtful and cherished gift that will be treasured for years to come.
What You’ll Need:
- Yarn: Baby wool in two different colors.
- Crochet Hook: A 3.00mm crochet hook.
- Yarn Needle (Tapestry Needle): For weaving in all those ends.
- Scissors:
Essential Crochet Abbreviations:
- ch: chain
- sl st: slip stitch
- dc: double crochet
- st(s): stitch(es)
- inc: increase (2 stitches in the same space)
- FO: fasten off
The Pattern: The Sunset Petal Dress
This dress is worked from the top down, starting with the yoke.
Part 1: The Yoke
- Foundation Chain:
Ch 50, thench 2more. - Row 1: Sk the first 3 chains,
dcin the 4thchfrom the hook and in eachchacross. - Row 2:
Ch 2, turn.1 dcin each of the first 2 sts, thenincin the nextst. Repeat(1 dc in next 2 sts, inc)across the row. - Row 3:
Ch 2, turn.1 dcin each of the first 3 sts, thenincin the nextst. Repeat(1 dc in next 3 sts, inc)across the row. - Row 4:
Ch 2, turn.1 dcin each of the first 4 sts, thenincin the nextst. Repeat(1 dc in next 4 sts, inc)across the row. - Row 5:
Ch 2, turn.1 dcin each of the first 5 sts, thenincin the nextst. Repeat(1 dc in next 5 sts, inc)across the row. - Row 6:
Ch 2, turn.1 dcin eachstacross the row. (This row has no increases).
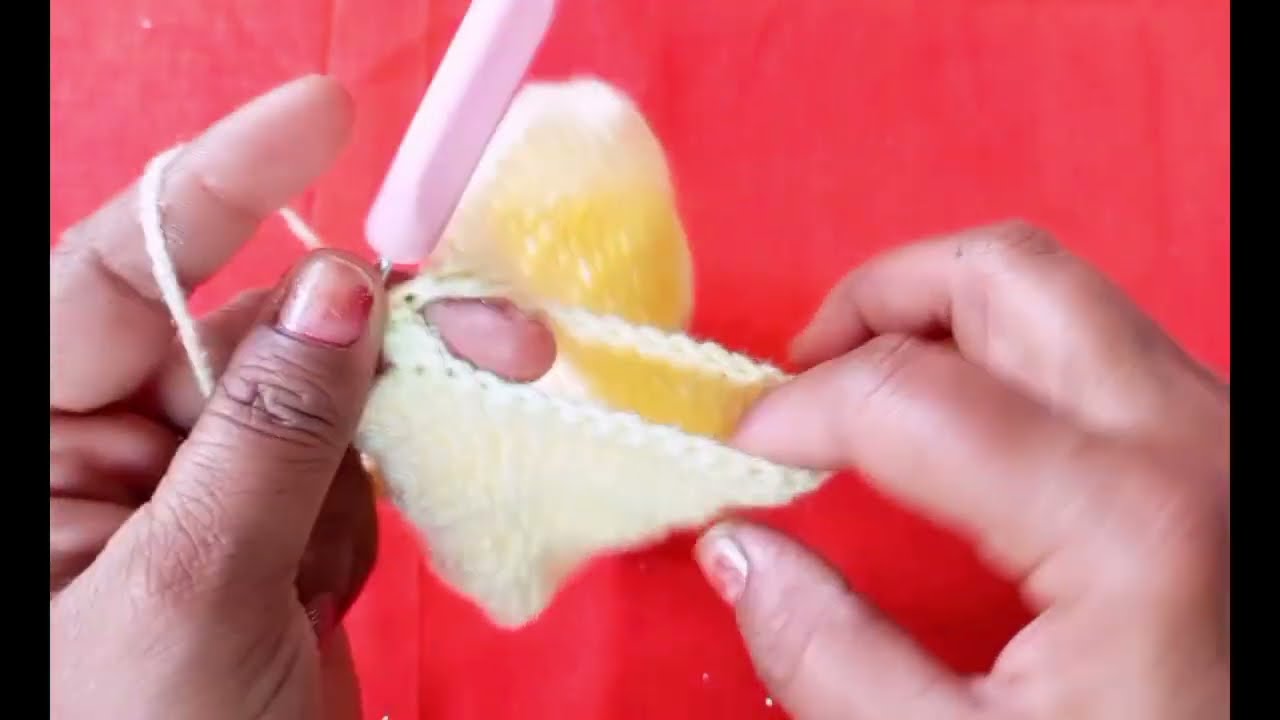
Part 2: Separating for Armholes
- You should now have a total of 109 stitches.
- Row 7:
Ch 2, turn.1 dcin each of the first 16 sts (front panel). Sk the next 22 sts for the first armhole.1 dcin each of the next 32 sts (back panel). Sk the next 22 sts for the second armhole.1 dcin each of the last 16 sts (second front panel). Join with asl stto form a round.
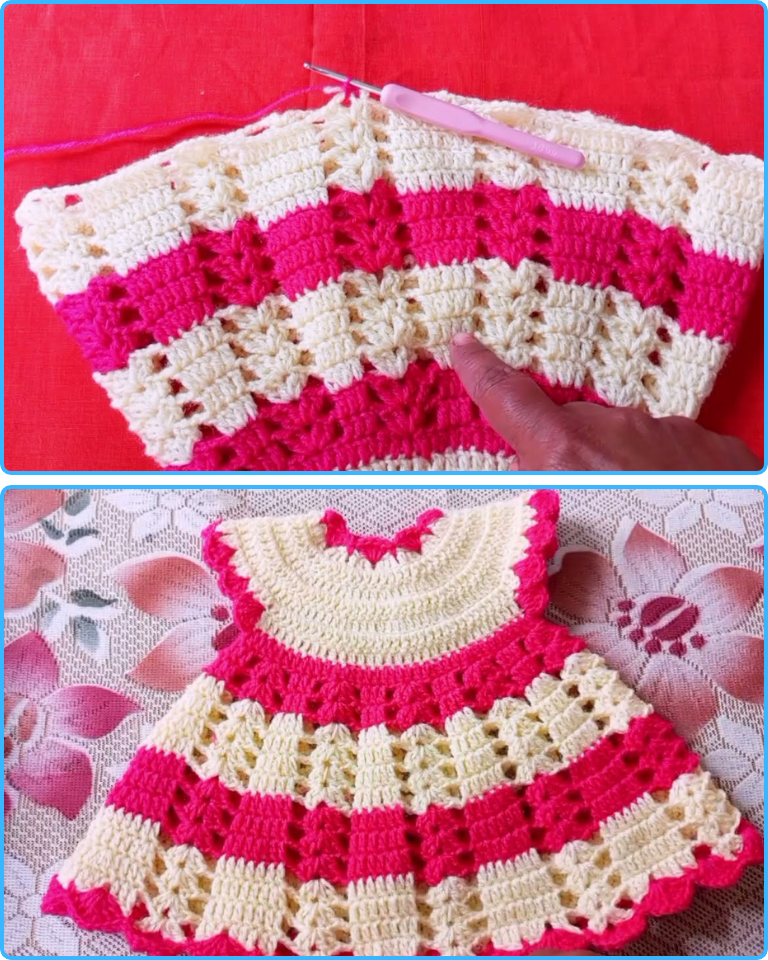
Part 3: The Skirt
- Change Color: Attach your second color.
- Skirt Row 1:
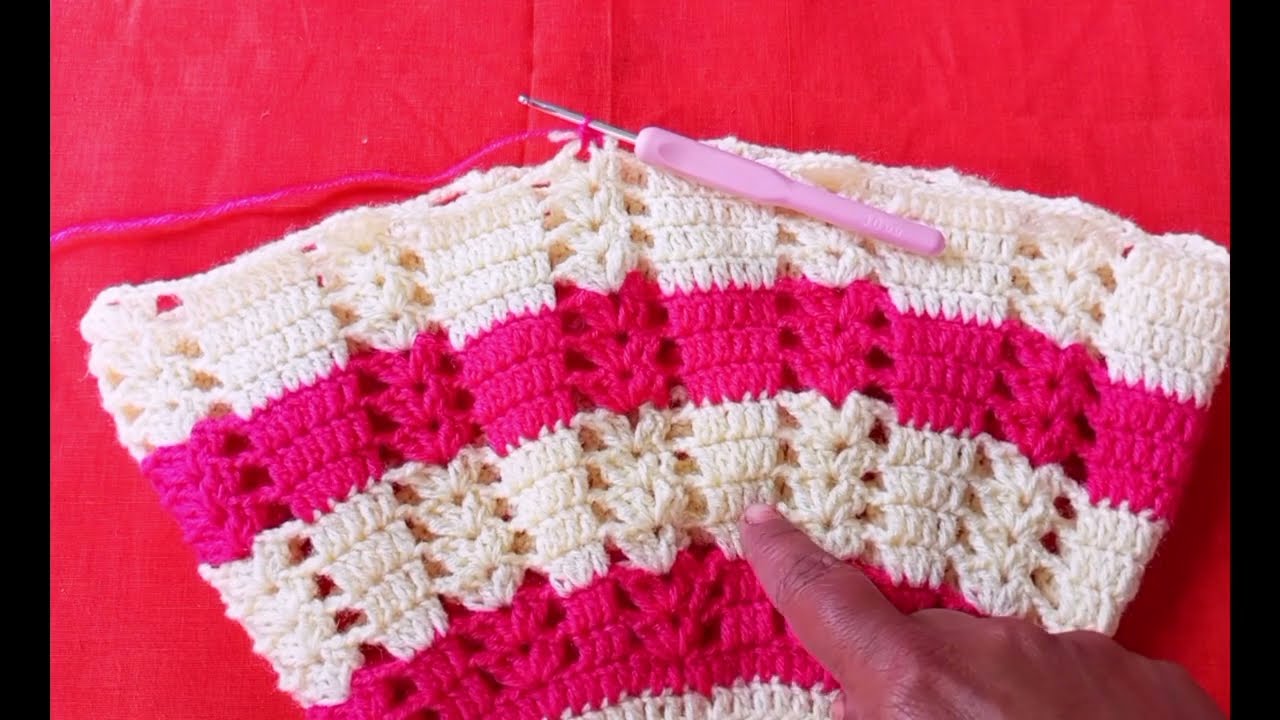
Ch 2.1 dcin each of the first 3 sts, thenincin the nextst. Repeat this pattern around the entire skirt. - Skirt Row 2 (Clusters): The skirt pattern is a repeating sequence of two different clusters.
- In the first st, make
(2 dc, ch 2, 2 dc). Sk 3 sts, andscinto the next st. - In the next st, make a cluster of
(3 dc). - Repeat these two clusters around the skirt, adjusting the stitch count as you go. The “petals” of the flower cluster are made with
(2 dc, ch 2, 2 dc)in one stitch, and the other cluster is a simple(3 dc).
- In the first st, make
- Increasing the Skirt: Continue working the cluster pattern for 14 rows, increasing the number of double crochets in the
(3 dc)clusters by one every two rows to create a gradual flare.
Part 4: Final Edging
- Bottom Edge: Change to a new color. Create a border of
(3 dc, ch 2, 3 dc)in a single stitch. Sk 3 sts and join with asc. Repeat this pattern around the entire bottom edge. - Neckline: The neckline is trimmed with a border of
(4 dc), skipping 3 stitches between each set. - Sleeves: The sleeves are finished with the same border as the neckline.
- Weave in All Ends: Use your yarn needle to weave in all loose ends securely.
Congratulations, you’ve created a beautiful and unique Sunset Petal Dress! This will be a special and cherished piece for any little girl. Happy hooking!
Video tutorial: