by
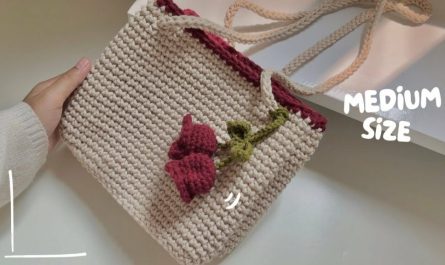
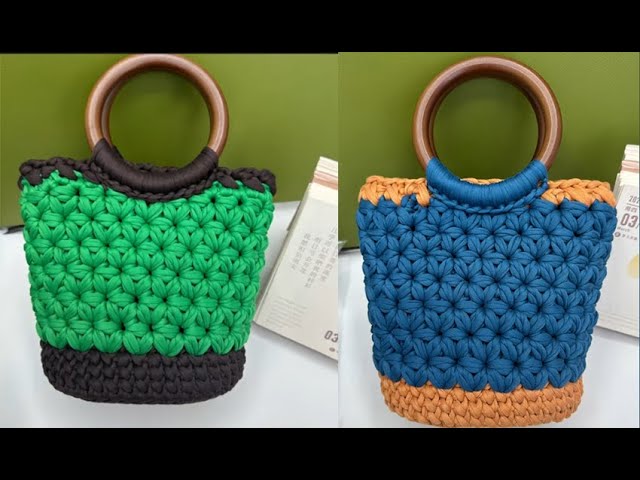
by Crochet bags are timeless, stylish, and surprisingly easy to make. Whether you’re heading to the market, the beach, or just want a casual everyday accessory, a handmade crochet bag adds a personal and fashionable touch. In this tutorial, we’ll walk you through how to create a beautiful crochet pattern bag from scratch — complete with tips, materials, and pattern instructions.
Materials You’ll Need
Before we begin, gather the following supplies:
-
Yarn: Medium weight (Category 4) cotton yarn is best for durability. Choose your favorite color or go with multiple shades for a patterned look.
-
Crochet hook: 4.0 mm to 5.0 mm (check your yarn label for recommended size)
-
Scissors
-
Tapestry needle: For weaving in ends
-
Stitch markers (optional): Helps keep track of rounds
-
Bag lining fabric (optional): For a more finished interior
-
Magnetic clasp or zipper (optional): For closure
Skills You’ll Use
-
Chain stitch (ch)
-
Slip stitch (sl st)
-
Single crochet (sc)
-
Half double crochet (hdc)
-
Double crochet (dc)
-
Magic ring (for bottom of the bag)
-
Working in the round
Step-by-Step Instructions
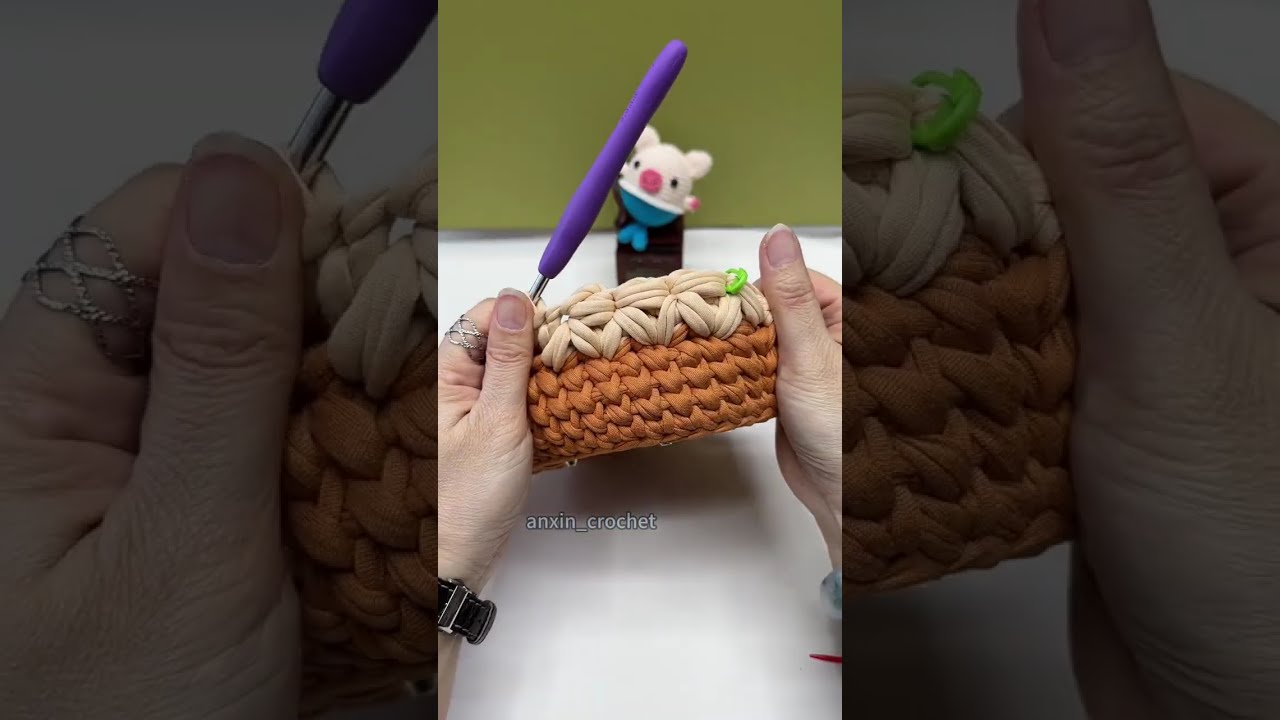
Step 1: Create the Base of the Bag
We’ll start with a flat circular base using the magic ring method.
➡️ Continue increasing rounds until your base reaches about 8-10 inches in diameter (depending on how large you want the bag).
Step 2: Build the Body of the Bag
Once the base is done, stop increasing and start working even rounds to form the sides.
Optional Texture Pattern:
You can alternate between stitch types to create texture:
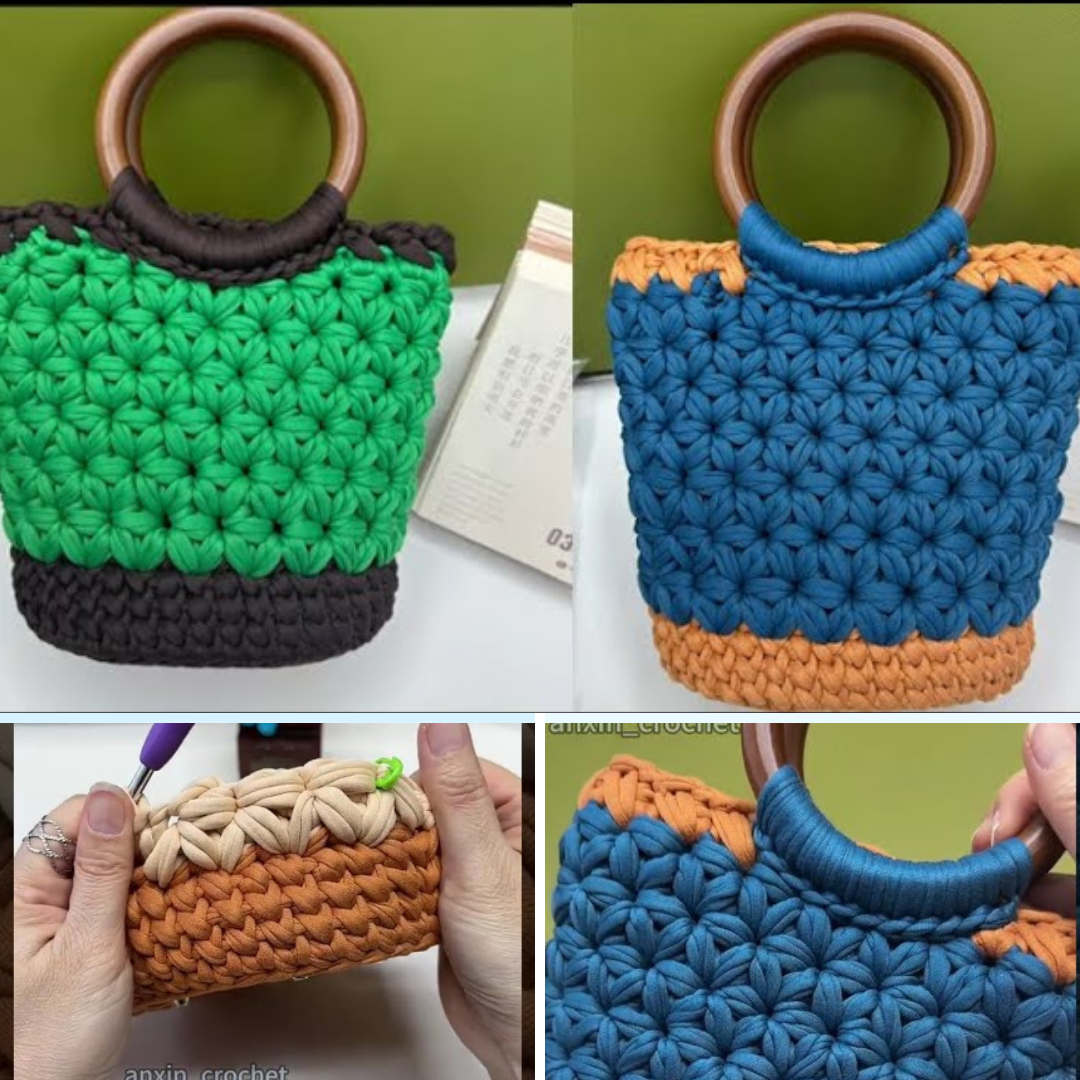
Step 3: Add Handles
You can either crochet the handles or attach pre-made ones.
Crocheted Handles:
Mark where you want the handles on opposite sides of the bag (about 4 inches wide each). Use single crochet to create straps.
Pro tip: Double the strap length and fold it in half before sewing to make it sturdier.
Step 4: Add a Lining (Optional)
Adding a fabric lining gives your bag structure and prevents stretching.
-
Cut fabric to match the shape and size of your bag.
-
Sew the fabric into a pouch shape.
-
Hand-stitch or machine-sew the lining to the inside of the bag.
Step 5: Closure (Optional)
You can close your bag with a magnetic clasp, button, or zipper.
-
Magnetic clasp: Easily sewn or glued inside the top edge.
-
Button & loop: Crochet a loop on one side, and attach a button to the other.
-
Zipper: Sew in by hand or machine — make sure to match the zipper length to your bag opening.
✨ Customization Ideas
-
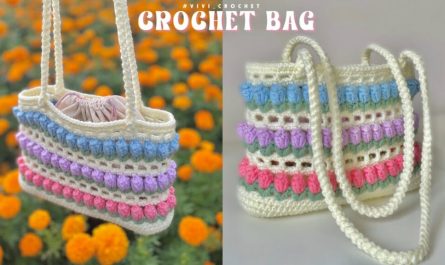
Use multicolored yarn for a rainbow effect.
-
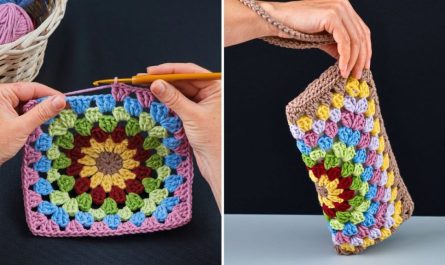
Try granny square panels instead of working in the round.
-
Add fringes, beads, or appliqué for decoration.
-
Use jute or raffia yarn for a rustic or beachy look.
Care Instructions
To keep your crochet bag looking great:
-
Hand wash in cold water
-
Lay flat to dry
-
Avoid wringing or machine drying
Video Tutorial;
So grab your hook, pick your yarn, and start crocheting today — your perfect handmade bag is just a few stitches away!