by
by Absolutely! Here’s a detailed guide on “How to Crochet a Bag with a  New Design
  — Simple and Wonderful”. This tutorial is great for beginners and intermediate crocheters looking to create something stylish yet easy.
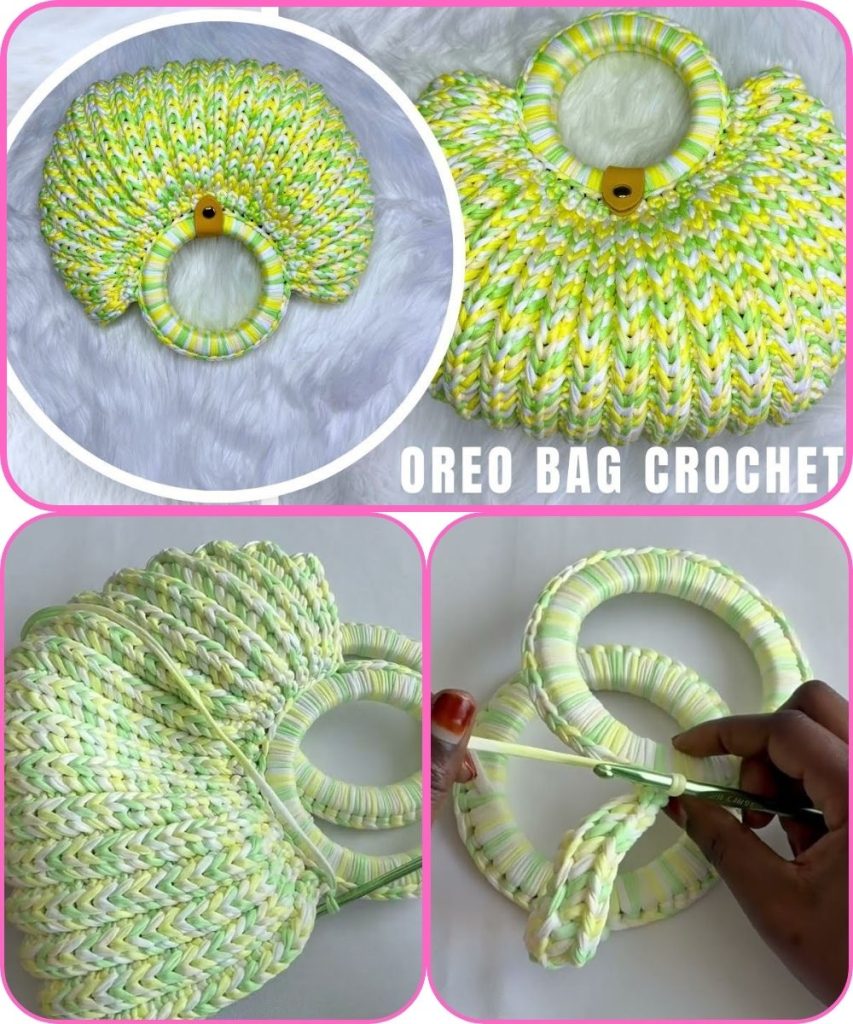
 How to Crochet a Bag with New Design
Simple, Stylish, and Wonderful – Step-by-Step Guide
 Overview
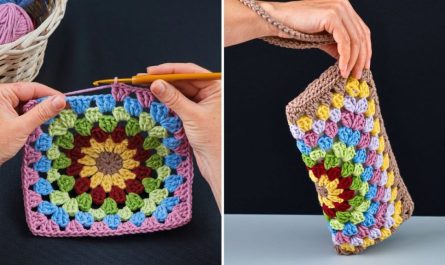
This crochet bag is perfect for everyday use or as a thoughtful handmade gift. With a modern twist on a classic shape, we’ll use basic stitches and easy construction techniques to create a structured and fashionable bag.
 Materials Needed:
| Item | Details |
|---|---|
| Yarn | Worsted weight cotton or acrylic yarn (2-3 skeins) |
| Hook | 4.5 mm or 5 mm crochet hook |
| Scissors | Yarn scissors |
| Tapestry Needle | For sewing in ends |
| Stitch Markers | Optional, for marking rounds |
| Bag Handles | Optional: wooden, bamboo, or crocheted |
| Lining Fabric | Optional: cotton or canvas |
| Magnetic Snap | Optional: for closure |
 Abbreviations (US Terms):
- ch – chain
- sc – single crochet
- hdc – half double crochet
- dc – double crochet
- sl st – slip stitch
- st(s) – stitch(es)
- rnd – round
- inc – increase (2 sc in one stitch)
 Step-by-Step Instructions:
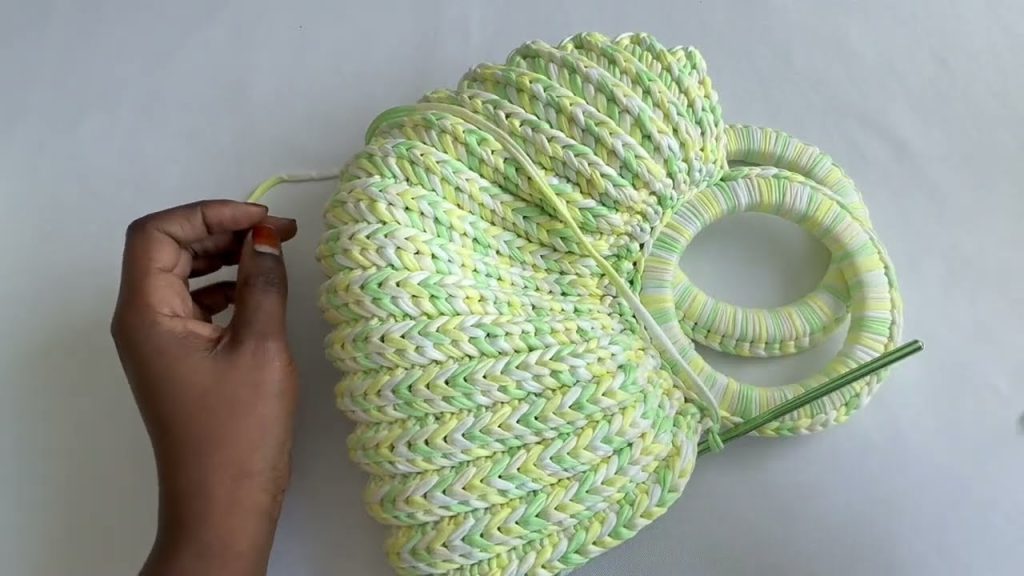
 STEP 1: Crochet the Base
Option: Oval or Rectangle
Oval Base:
- Ch 25 (or desired width of the bag base)
- Rnd 1: Sc in 2nd ch from hook and across (24 sc), 3 sc in last st. Now rotate to work on the opposite side of chain, sc across, 2 sc in the last st. (54 sts)
- Rnd 2–4: Continue working in sc in the round, increasing at the corners to keep the shape even. You should end with an even oval or rectangle that’s about 10–12 inches long.
STEP 2: Build the Body of the Bag
Now that the base is done, we’ll build upward without increasing:
- Rnd 5–20:
- Option 1 (Simple Texture): Work in hdc in the round.
- Option 2 (New Design Stitch): Alternate 1 row of sc, 1 row of dc, creating a subtle stripe and texture.
- Optional Twist: Try a grit stitch (alternating sc and dc in same stitch) for a modern look.
TIP: Add color changes every few rows for a trendy stripe design 
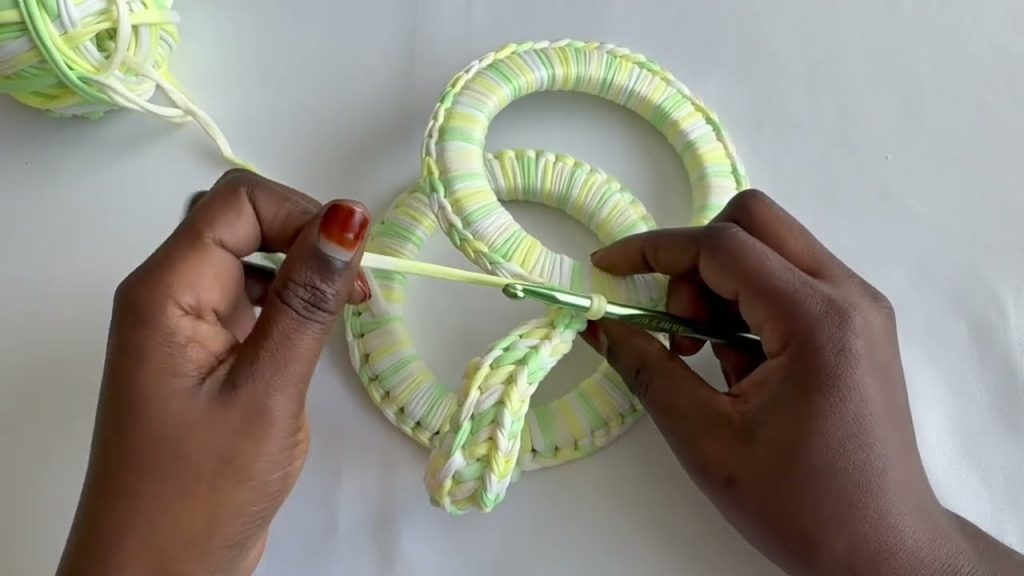
STEP 3: Add Bag Handles
Option 1: Crocheted Handles
- Ch 60 (or desired length), sl st to attach to opposite side.
- Sc across chain to reinforce.
- Attach to each side of the bag.
Option 2: Wooden/Bamboo Handles
- Finish top of the bag with a row of sc.
- Use yarn and a tapestry needle to sew handles onto each side.
STEP 4: Optional Lining (For Durability)
- Cut fabric to match bag dimensions.
- Sew edges of fabric to create a pouch.
- Hand-stitch or hot glue the lining into the inside of the bag.
- Add a magnetic snap or zipper if desired.
 Customization Ideas
- Add Tassels or Pom-Poms

- Embroider initials or flowers

- Attach a leather or faux leather label

- Use gradient or ombré yarn for a stunning visual effect.

 Care Instructions:
- Hand wash with cold water.
- Lay flat to dry.
- Avoid machine drying to preserve shape.
 Final Tips:
- Use stitch markers to keep track of rounds.
- If you’re a beginner, stick to cotton yarn—it holds shape well.
- Watch your tension; consistent stitches make the bag look clean and professional.
- Don’t rush! A polished bag takes time and love

 Share Your Work!
Once you’ve made your bag, show it off! Tag it on social media with:
#CrochetBagDesign
#HandmadeWithLove
#SimpleAndWonderfulBag
Watch video:
https://youtu.be/9i5QoJyZh9M