by
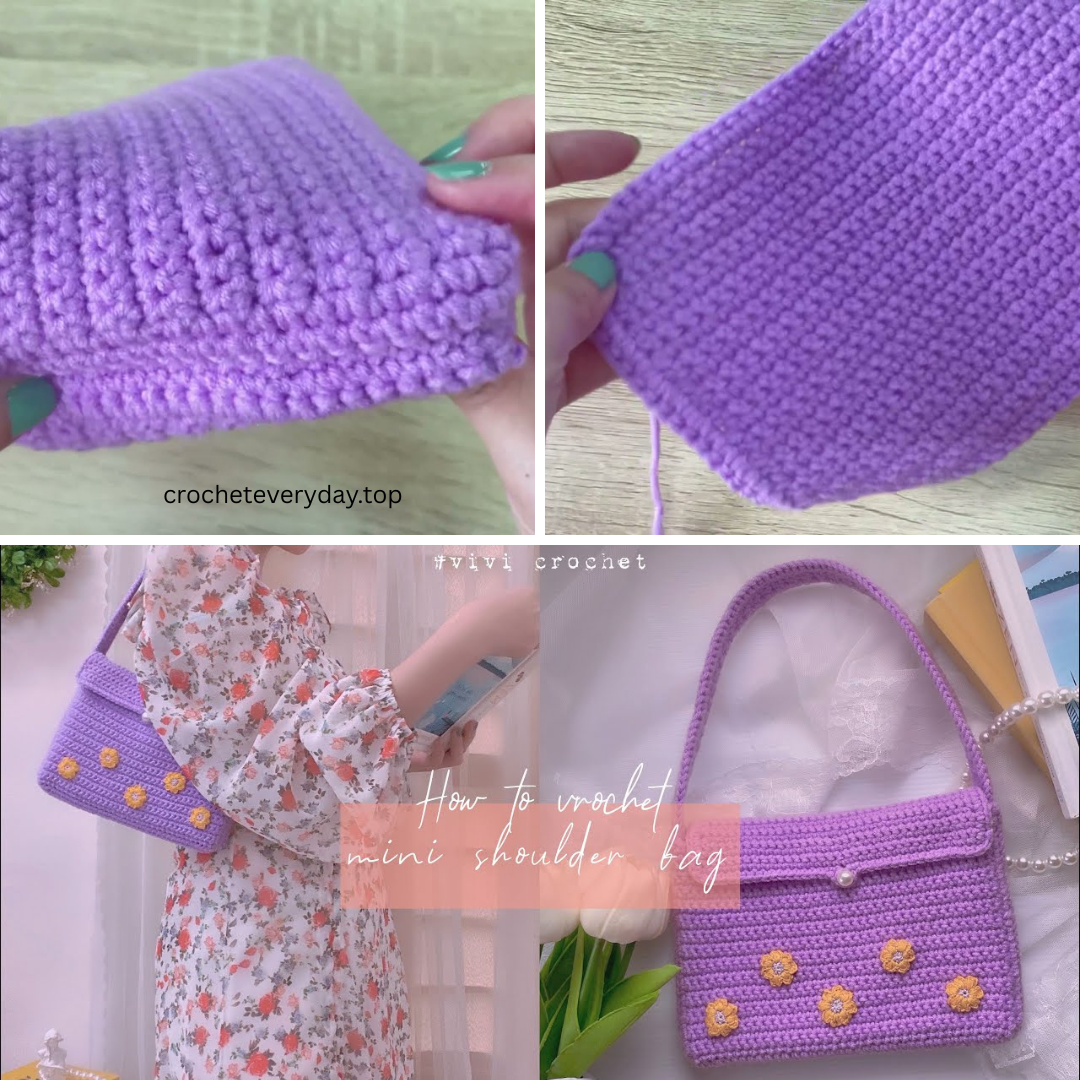
by Looking for a quick, cute, and functional crochet project? A Mini Shoulder Bag is the perfect accessory to complement any outfit while giving you just enough space for your essentials. Whether you’re heading out for a coffee date, festival, or just running errands, this stylish mini bag is a trendy and handmade solution.
This guide will walk you step-by-step through creating your own crochet mini shoulder bag, complete with customization tips and beginner-friendly techniques. Let’s get started!
Why You’ll Love This Mini Shoulder Bag
-
Quick and easy to make (great weekend project!)
-
Beginner-friendly stitches and techniques
-
Customizable size, colors, and textures
-
Lightweight and fashionable
-
Great as gifts or craft fair items
Materials Needed
Before you begin, gather these crochet essentials:
Yarn:
-
Worsted weight yarn (category 4) – cotton or acrylic
-
Choose one solid color or combine multiple for stripes or contrast
Tools:
-
Crochet hook: 4.0 mm (G/6) or hook size that matches your yarn
-
Tapestry needle – for sewing and weaving in ends
-
Scissors
-
Stitch marker (optional)
-
Button, magnetic snap, or zipper – for closure (optional)
-
Fabric (optional) – if you want to line the bag

Crochet Terms (US Terminology)
-
ch – chain
-
sc – single crochet
-
hdc – half double crochet
-
dc – double crochet
-
sl st – slip stitch
-
inc – increase
-
dec – decrease
-
st(s) – stitch(es)
Construction Overview
This Mini Shoulder Bag is made in 3 simple parts:
-
Bag Body – a rectangle folded and stitched
-
Shoulder Strap – long crochet strap
-
Closure + Embellishments – optional flap, button, or décor
Step-by-Step Instructions
Step 1: Crochet the Bag Body
We’ll crochet a flat rectangle that we’ll later fold to form a pouch.
Step 1:
Ch 31 (adjust width of your bag)
Row 1:
hdc in 2nd ch from hook and in each ch across (30 sts)
Rows 2–24:
Ch 1, turn. hdc in each stitch across (30 sts)
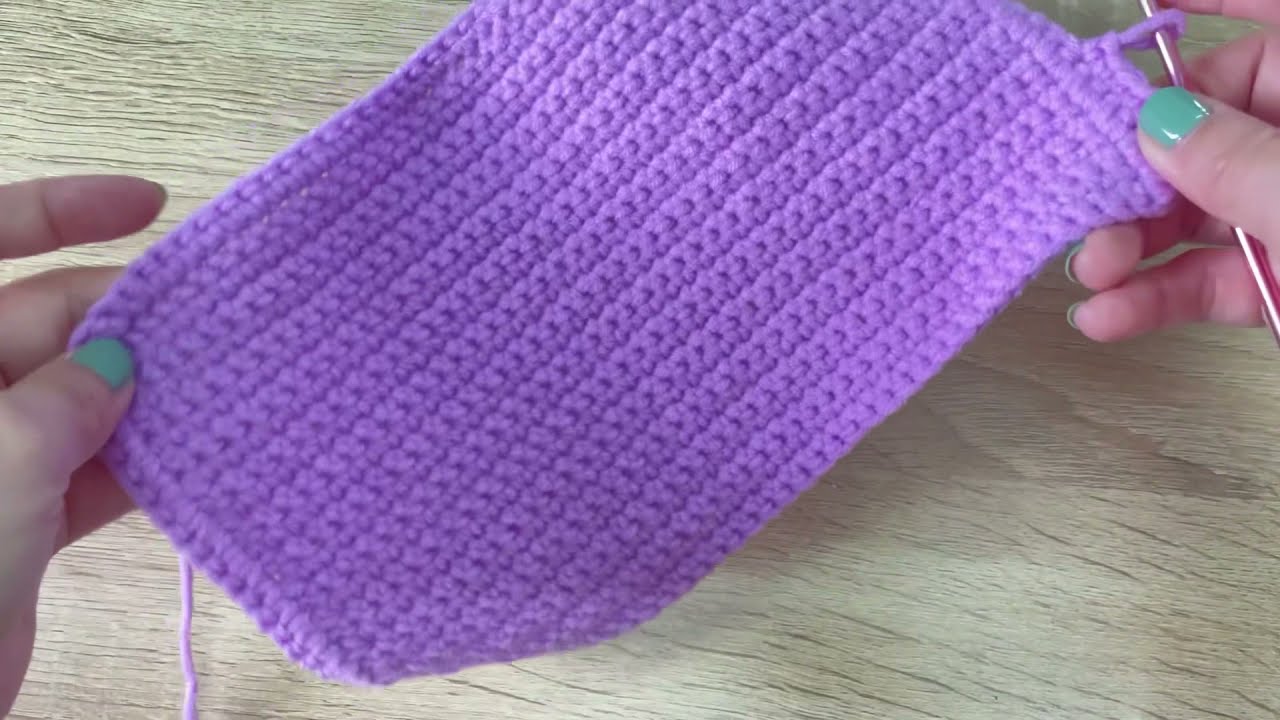
Fasten off and weave in ends.
✂️ Step 2: Fold and Seam
-
Fold the rectangle in half, leaving about 5–6 rows at the top to form a flap (optional).
-
Seam the left and right sides using a whip stitch or slip stitch.
-
Leave the top open — this is your pouch opening!
Step 3: Crochet the Shoulder Strap
You can make the strap any length you like (typically 36–48 inches depending on age/height).
Option A: Simple Strap
-
Ch 90–110 (depending on desired length)
-
Sc in 2nd ch from hook and across
-
For added strength, work another row of sc on top.
Option B: Thicker Strap
-
Ch 7
-
Row 1: Sc in 2nd ch from hook and across (6 sts)
-
Row 2–desired length: Ch 1, turn, sc in each st across
-
Fasten off.
Attach the strap to each side of the bag using a tapestry needle. Reinforce with extra stitching so the strap is secure.

Step 4: Add a Closure (Optional)
Choose one of these options for your bag’s closure:
-
Button & Loop: Crochet a chain loop and sew a cute button onto the front of the pouch.
-
Magnetic Snap: Sew into the top flap and inner body.
-
Zipper: Sew or glue in with a lining.
-
Drawstring Tie: Add eyelets to the top row and thread a chain through.
✨ Step 5: Customize & Decorate
Here’s where you can really make the mini bag your own!
Decoration Ideas:
-
Crochet appliqués like daisies, strawberries, or hearts
-
Add tassels or fringe to the bottom edge
-
Surface crochet designs or initials
-
Use variegated yarn for a colorful, self-striping effect
-
Attach a charm or keyring to the strap
Mini Flower Appliqué (Optional)
Round 1: Magic ring, 6 sc in ring, sl st to join
Round 2: (Ch 2, 2 dc, ch 2, sl st in next st) around
Sew the flower to the front flap for a springtime vibe!
Care Tips
If made with cotton yarn:
-
Hand wash or gentle cycle
-
Air dry flat
If using acrylic yarn:
-
Machine wash cold is generally safe
-
Avoid high heat to maintain shape
Pro Tips
-
Add a fabric lining if you want the bag to hold heavier items
-
Reinforce the strap attachments for durability
-
Use invisible thread to attach zippers or snaps if you want a clean look
-
Crochet multiple sizes for kids, teens, or adult wear
You Did It! Show Off Your New Bag
You’ve just completed a handmade mini shoulder bag — how amazing is that? Whether you wear it to brunch, a picnic, or give it as a gift, this cute bag is a functional, stylish, and totally unique accessory.
Video Tutorial :