by
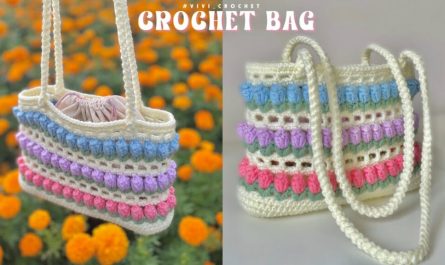
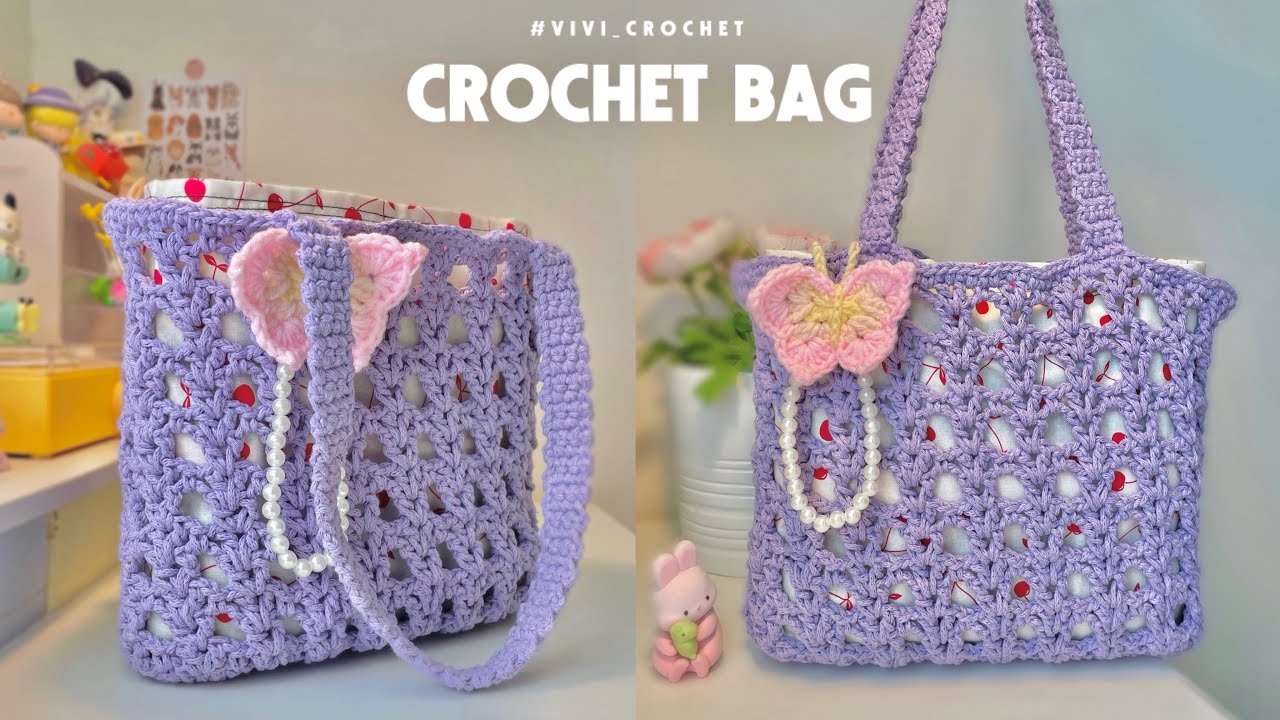
by Crocheting your own bag is a rewarding and creative project that combines functionality with personal style. Whether you’re new to the world of crochet or looking for your next DIY challenge, a handmade bag is a versatile and satisfying project that you can customize in endless ways—from size and shape to color and texture.
In this guide, we’ll walk you through how to crochet a bag from start to finish, including materials, stitches, popular styles, step-by-step instructions, and optional finishing touches like linings, straps, and closures.
Why Crochet Your Own Bag?
Crocheted bags offer:
-
Personalization: Make it exactly how you want—colors, size, texture
-
Sustainability: Reusable and eco-friendly alternative to plastic
-
Fashion & Functionality: From beach totes to clutches to market bags
-
Skill Building: Great for learning new stitches and shaping techniques
✨ Materials You’ll Need
Before you begin, gather the following:
Yarn
-
Fiber Type:
-
Cotton – sturdy and washable (ideal for totes and market bags)
-
Acrylic – lightweight and affordable
-
Jute or Raffia – structured and earthy
-
-
Yarn Weight:
-
Worsted (Medium #4) – for general-purpose bags
-
Bulky (#5–6) – for thick, statement bags
-
Sport/DK (#3) – for delicate, lightweight bags
-
Tools & Notions
-
Crochet Hook: 4.0 mm – 6.0 mm (adjust to match your yarn)
-
Tapestry Needle: For weaving in ends
-
Scissors
-
Stitch Markers (optional but helpful)
-
Measuring Tape
-
Magnetic Snap / Zipper / Button (optional closures)
-
Bag Handles or Rings (leather, wooden, crochet)
Crochet Stitches & Techniques
Most bags use simple stitches, but can also include decorative ones.
Basic Stitches:
-
Chain (ch)
-
Slip Stitch (sl st)
-
Single Crochet (sc)
-
Half Double Crochet (hdc)
-
Double Crochet (dc)
Optional Techniques:
-
Magic Ring – for working in the round
-
Increasing and Decreasing – for shaping
-
Working in the Round or Rows
-
Seaming – for assembling panels
Step-by-Step: How To Crochet a Basic Tote Bag
This simple rectangle tote is great for beginners. It’s made from a flat base, worked up in the round, and includes straps at the top.
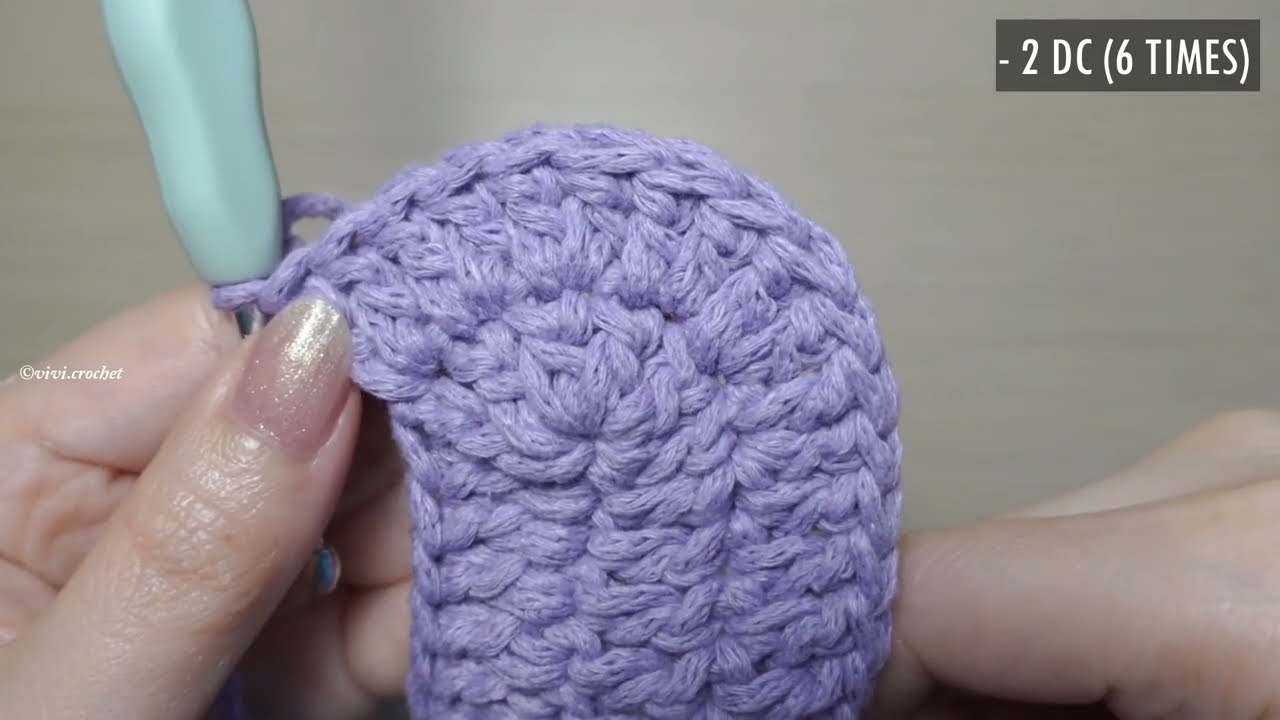
STEP 1: Create the Base
We’ll make a flat oval base using single crochet.
Foundation Chain:
Ch 31 (or desired width)
Round 1:
-
Sc in second ch from hook, and in each chain across (30 sc)
-
In last chain, make 3 sc to turn the corner
-
Continue working along the bottom of the chain
-
Sc in each stitch (30 sc), and 2 sc in the last st
-
Join with sl st to first sc (66 sts total)
Rounds 2–4:
-
Sc in each stitch around, placing 2 sc in each corner st to keep the oval shape.
-
Continue until base is about 2.5″–3″ wide.
STEP 2: Build the Body
Round 5 and onward:
-
Work sc (or hdc/dc for taller stitches) in each stitch around without increasing.
-
Continue in rounds until the bag is your desired height (e.g. 10–12 inches)
Optional: Change yarn colors every few rows for stripes.
STEP 3: Add the Handles
Option A: Crochet Handles
Handle 1:
-
Count 10–12 sts in from one side.
-
Attach yarn, ch 40–60 (desired handle length), skip 10–15 sts, sl st to next point on the bag.
-
Turn and sc across the chain to thicken.
-
Repeat for second row if needed.
-
Fasten off.
Repeat on opposite side for second handle.
Option B: Add Store-Bought Handles
-
Sew leather or rope handles using D-rings or tabs
-
Use buttons or grommets for reinforcement
STEP 4: Finishing Touches
✔️ Weave in Ends:
Use a tapestry needle to tuck in yarn tails securely.
✔️ Optional Border:
Add a round of sl st or reverse sc (crab stitch) around the top edge to reinforce and neaten.
✔️ Closure (Optional):
-
Add a magnetic snap
-
Crochet a button loop with a button
-
Sew in a zipper (requires some basic sewing skills)
✔️ Optional Lining:
Line your bag with fabric for extra strength and a professional finish.
-
Cut fabric slightly larger than bag dimensions
-
Sew sides and bottom into a pouch
-
Hand sew or machine stitch inside the bag along the top edge
Popular Crochet Bag Styles to Try
Once you’ve mastered the basics, explore these styles:
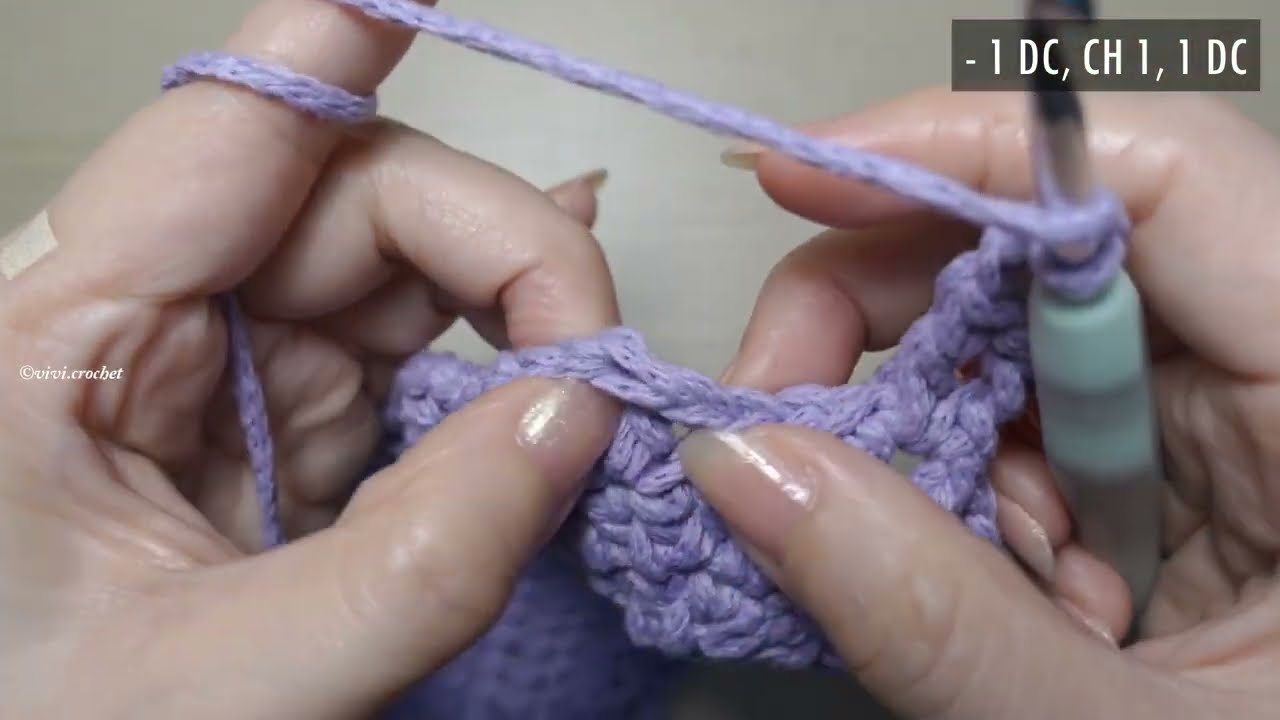
1. Market Bag / Mesh Bag
-
Lightweight and stretchable
-
Great for groceries or beach days
-
Uses mesh stitches (dc + ch 1 or filet stitch)
2. Granny Square Bag
-
Made by joining classic granny squares
-
Can be colorful and retro
3. Bucket Bag
-
Cylindrical body with drawstring closure
-
Great for boho or casual styles
4. Crossbody / Sling Bag
-
Narrow and compact
-
Use sc for dense texture and security
5. Clutch or Wristlet
-
Small and chic
-
Can include zippers and lining
Care Instructions
-
Hand wash with cold water and mild detergent
-
Reshape and air dry flat
-
Avoid wringing or machine washing
-
Do not iron
Tips for Success
-
Use tight tension for a sturdier fabric, especially on the bottom
-
Try a lining for bags that will carry heavy items
-
Test stitch gauge if following a specific pattern
-
Keep it simple at first—focus on shape, not perfection
-
Use stitch markers to avoid losing your place in rounds
Customize Your Bag
Make it your own by adding:
-
Pom-poms or tassels
-
Embroidery or patches
-
Decorative buttons or charms
-
Colorful yarns or ombré gradients
Free Basic Pattern: Mini Crochet Tote
Here’s a beginner-friendly pattern:
Yarn: Worsted weight cotton
Hook: 4.5 mm
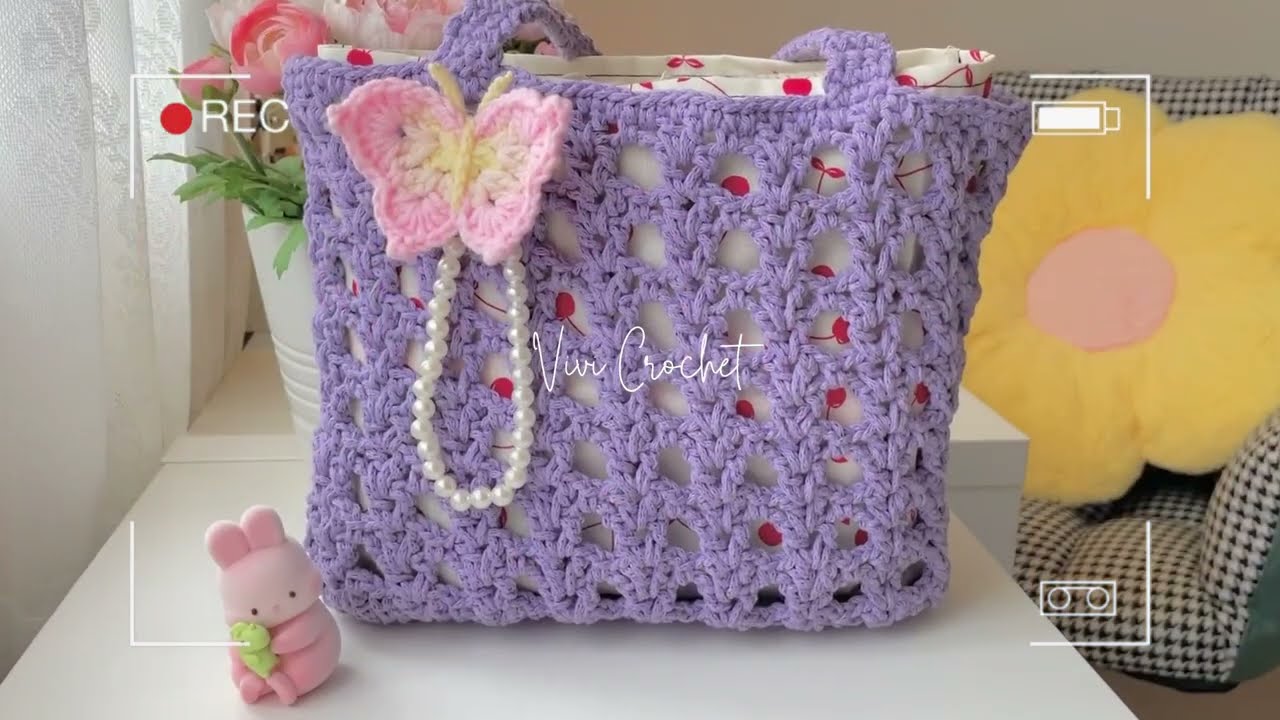
Final Thoughts
Crocheting a bag is more than just a craft—it’s a way to express creativity, reduce waste, and create something beautiful and functional. Whether you’re making a simple tote, a stylish clutch, or a colorful market bag, this is a project you’ll love from the first chain to the final stitch.
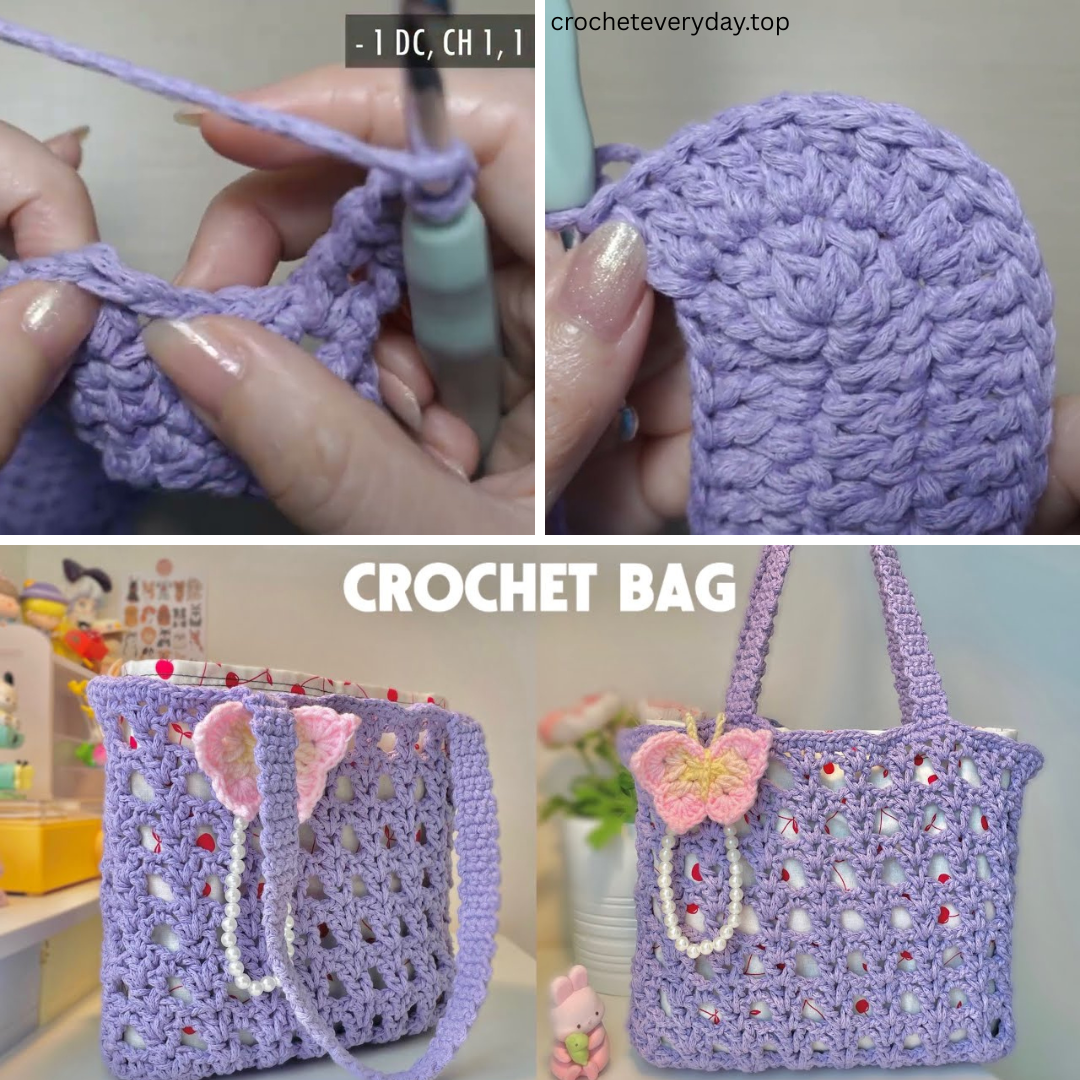
Video Tutorial :