by
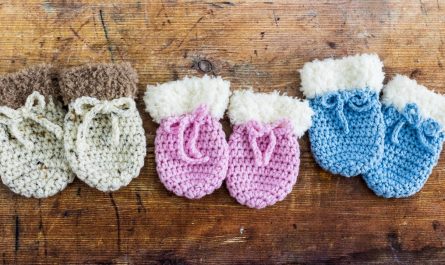
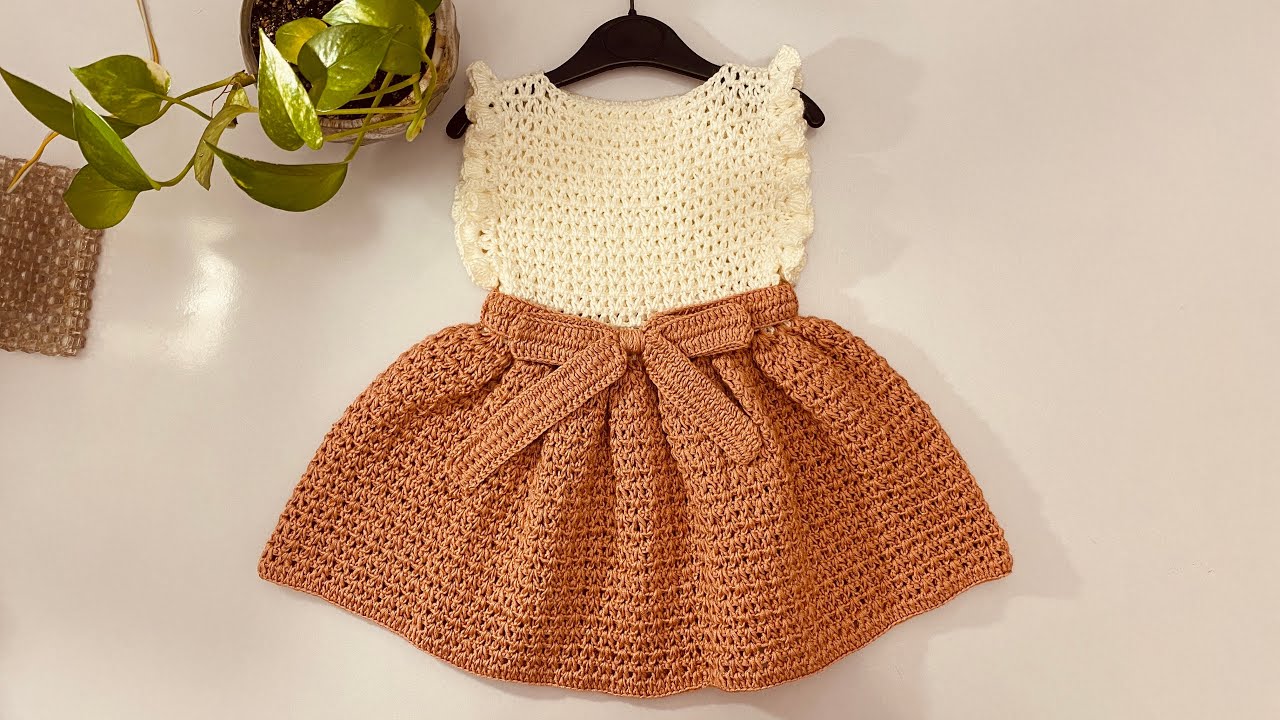
by Crocheting for babies is one of the most joyful experiences a crafter can have. The tiny size of the garments, the softness of the yarn, and the adorable end result make every stitch worthwhile. One of the most treasured handmade gifts is a crochet baby dress—a keepsake item that combines both warmth and beauty.
This article will walk you through everything you need to know to create a simple yet elegant baby dress. Whether you’re making it as a baby shower gift, for a newborn photo shoot, or as a family heirloom, this step-by-step guide ensures you’ll craft something special.
What Makes a Baby Dress Simple and Elegant?
Simplicity and elegance go hand-in-hand when it comes to baby garments. In crochet terms, that means:
-
Lightweight yarn for a delicate finish.
-
Clean lines and minimal shaping for ease.
-
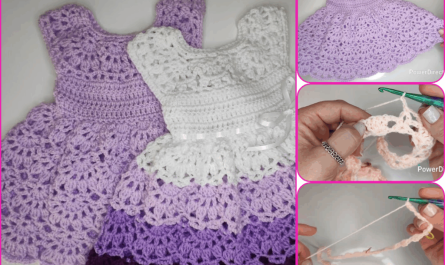
Subtle stitch patterns like shell stitch, V-stitch, or lace clusters.
-
A touch of embellishment like bows, flowers, or ruffles without overwhelming the design.
The ideal pattern should be easy to follow and require only basic techniques while resulting in a sophisticated look.
Sizes and Fit
Before starting, decide on the size. Here’s a rough guide:
| Age | Chest Circumference | Dress Length |
|---|---|---|
| 0–3 months | 14–16 in (35–40 cm) | 12–14 in (30–36 cm) |
| 3–6 months | 16–17 in (40–43 cm) | 14–15 in (36–38 cm) |
| 6–12 months | 17–18 in (43–46 cm) | 15–17 in (38–43 cm) |
This pattern is adaptable, so you can make minor adjustments for fit by changing hook size or number of stitches.
Materials You’ll Need
-
Yarn: Light or sport weight yarn (Category 3). Cotton or bamboo blends are soft and breathable—ideal for sensitive baby skin.
-
Yardage: ~300–500 yards depending on size and sleeve length
-
-
Hook: 3.5 mm – 4.0 mm (E/4 – G/6)
-
Scissors
-
Yarn needle for sewing in ends
-
Stitch markers
-
Buttons (2–3 small) for back closure (optional)
-
Optional embellishments: ribbons, small crocheted flowers, lace trims
Stitches You Should Know
You’ll need to be familiar with these basic stitches:
-
CH – Chain
-
SC – Single Crochet
-
DC – Double Crochet
-
HDC – Half Double Crochet
-
SL ST – Slip Stitch
-
Shell Stitch – 5 DC in one stitch (creates a fan)
-
V-Stitch – (DC, CH 1, DC) in same stitch or space
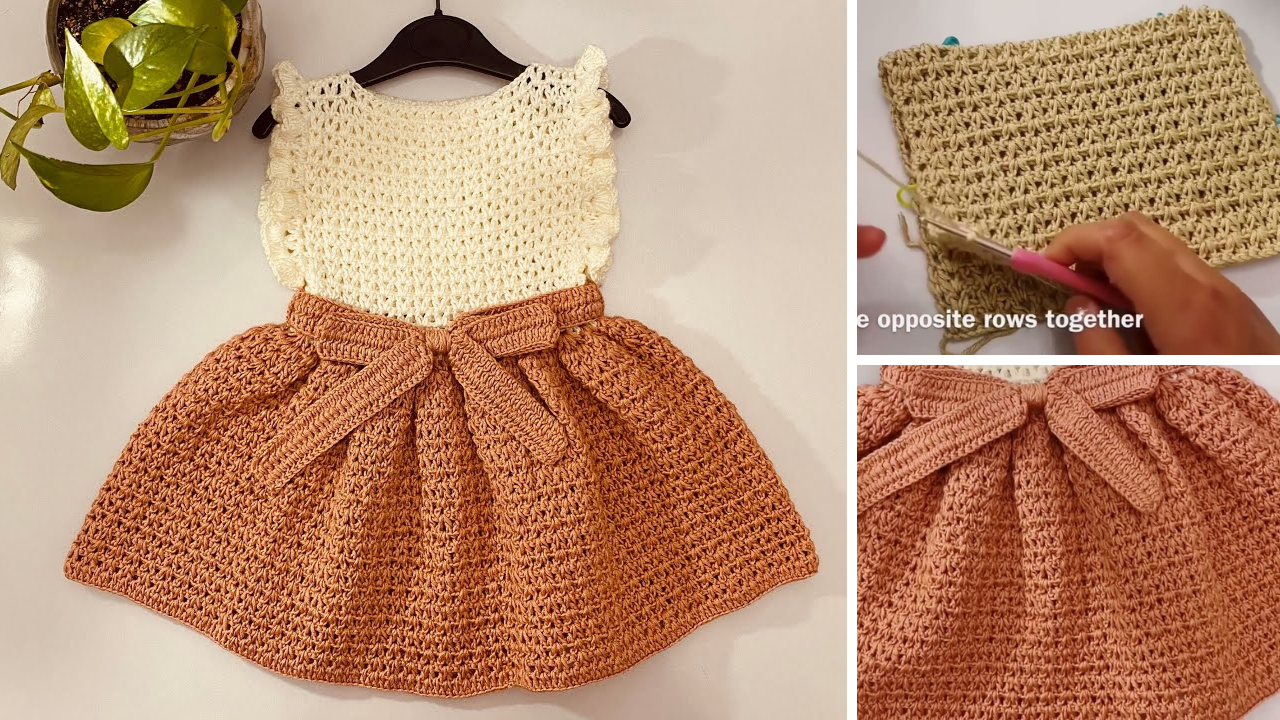
Pattern Overview: Simple and Elegant Baby Dress
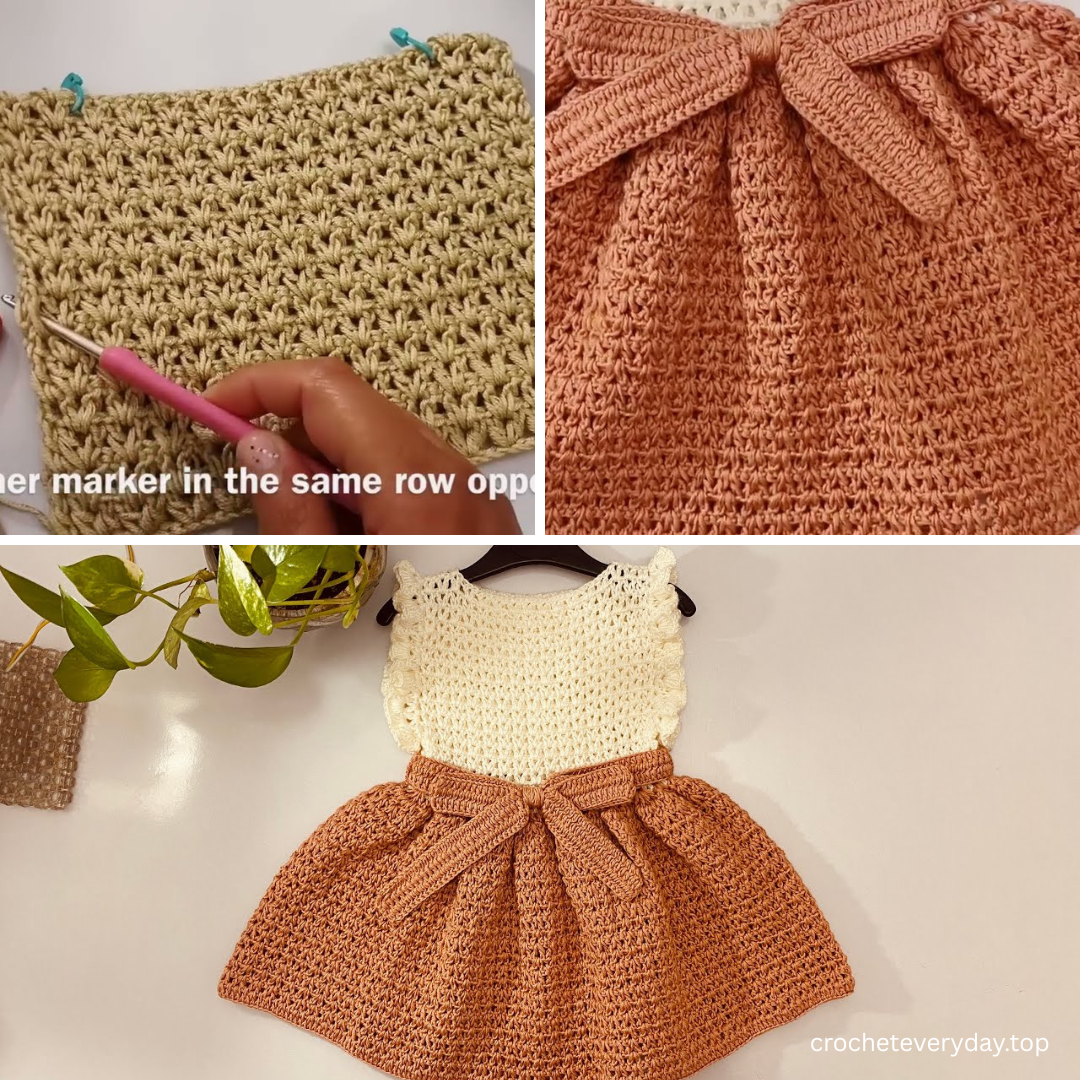
This dress is worked top-down in the round using the yoke method. Once the yoke is finished, the body is crocheted with a flowy stitch pattern.
Step 1: Start the Yoke (Neckline to Underarm)
Foundation Chain:
-
Chain 56. Join with a SL ST to form a ring. (Make sure it’s not twisted.)
Round 1:
-
CH 2 (counts as DC), DC in each chain around. Join. (56 DC)
Round 2–6:
-
Begin increasing for the yoke using raglan-style shaping.
-
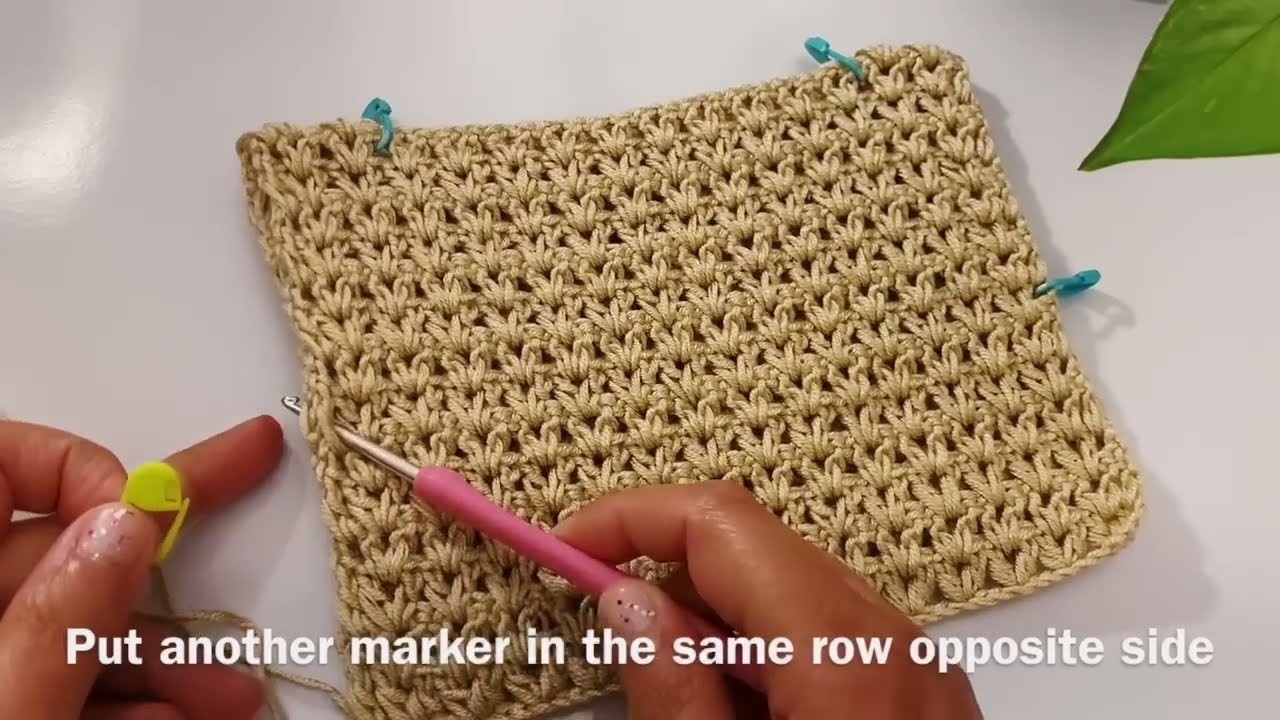
Place stitch markers at:
-
1st, 15th, 29th, and 43rd stitches.
-
-
In each of these 4 marked stitches, do:
-
(DC, CH 1, DC) – your increase stitch.
-
-
DC in all other stitches.
Continue until you have ~88–100 stitches around, depending on size.
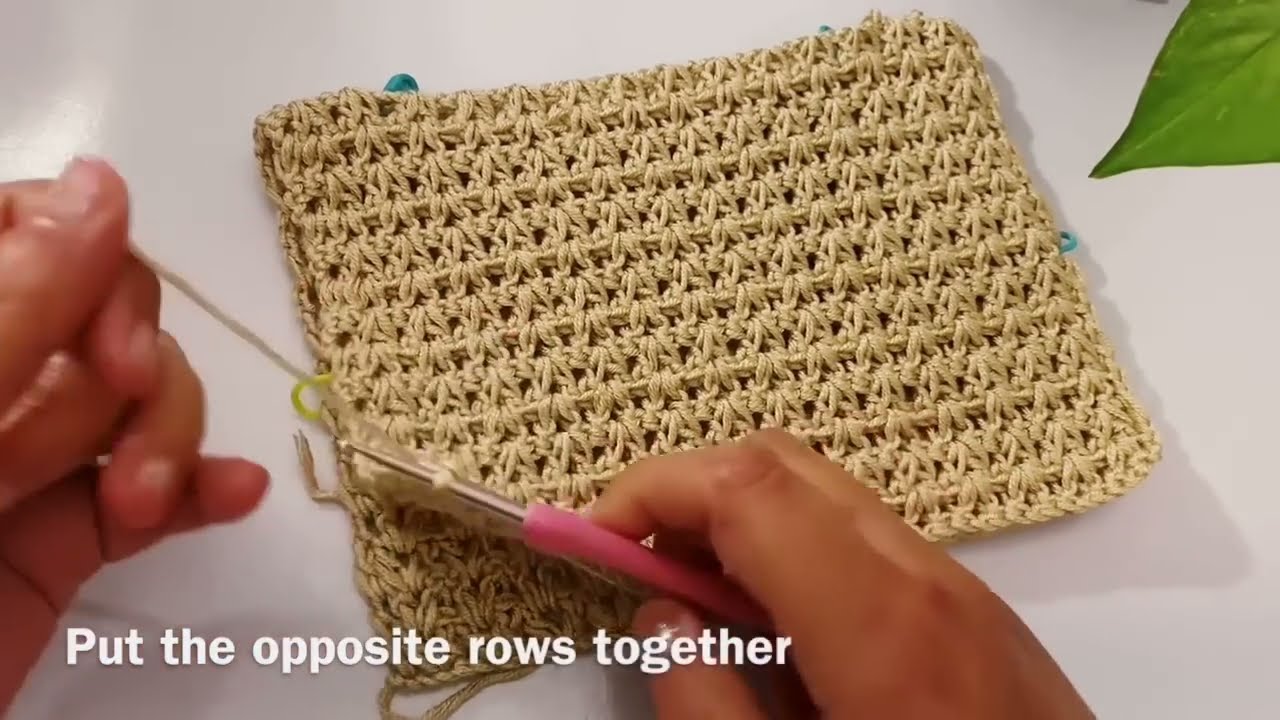
Step 2: Separate for Sleeves
On the final increase round:
-
Chain 2, DC across to first marked stitch.
-
Skip the sleeve stitches (approx. 18–20), and chain the same number.
-
DC across front panel.
-
Repeat for second sleeve.
This creates the armholes.
Step 3: Work the Skirt Body
Round 1:
-
Join yarn to bottom of yoke (where you joined the body).
-
CH 2, skip 2 stitches, 5 DC (shell) in next stitch. Repeat around. Join.
Round 2:
-
SL ST into middle of first shell.
-
CH 2, make 5 DC in same stitch. Skip to next shell. Repeat.
Continue shell pattern for 10–15 more rounds depending on desired length.
Optional Hem Edging
Add a delicate lace or picot edge for a polished finish.
Picot Hem:
-
SC around bottom edge.
-
(SC, CH 3, SL ST in first CH) in every third stitch. Repeat.
Step 4: Sleeves (Optional)
You can leave the sleeves open (for a sleeveless look) or add short cap sleeves.
Cap Sleeve Option:
-
Attach yarn to armhole.
-
CH 2, DC evenly around armhole opening. Join.
-
Work 2–3 rounds, ending with shell or picot trim.
Step 5: Back Opening & Finishing Touches
Back Closure (Optional):
-
Leave a small slit in the back for easy dressing.
-
SC evenly along the back edges.
-
Add button loops on one side (CH 5 loops) and sew buttons on the other.
Final Finishing:
-
Weave in all ends with a yarn needle.
-
Steam or lightly block the dress to smooth out stitches.
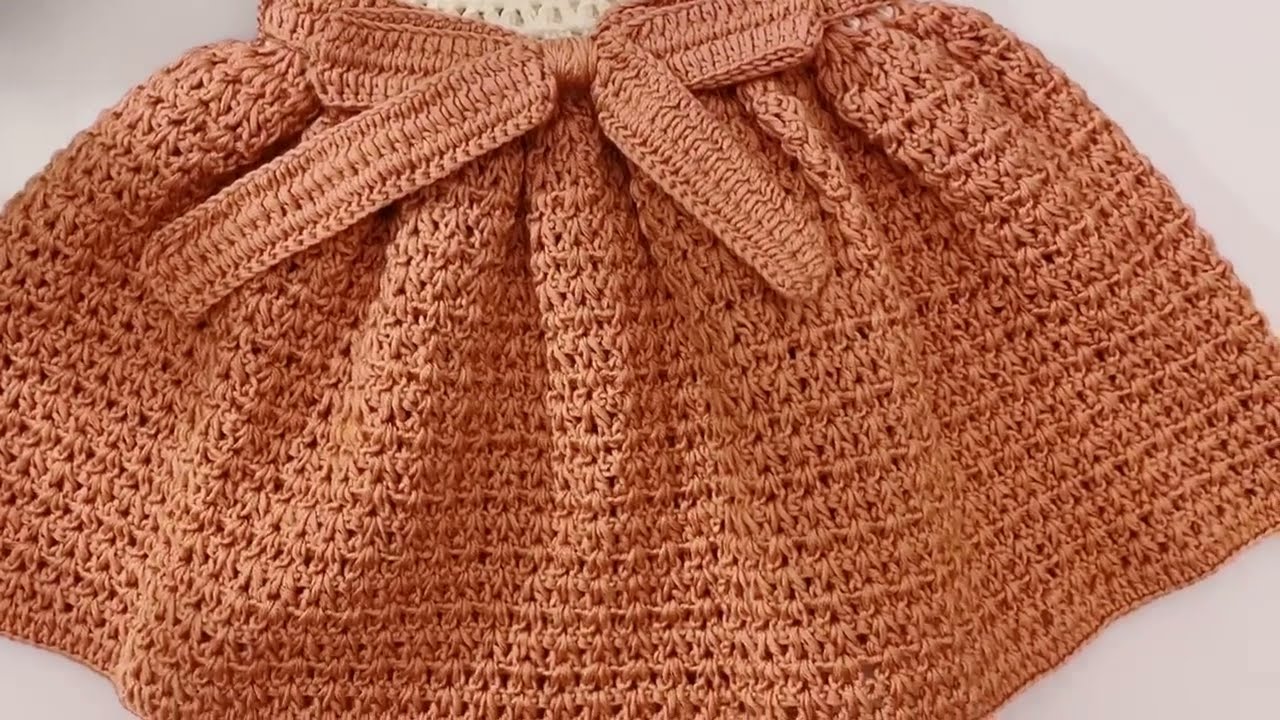
-
Add any embellishments like bows, tiny crochet flowers, or ribbon belts.
Customization Ideas
-
Change the skirt stitch to V-stitch or a lace fan for a lighter feel.
-
Use multicolor or ombré yarn for an artistic gradient.
-
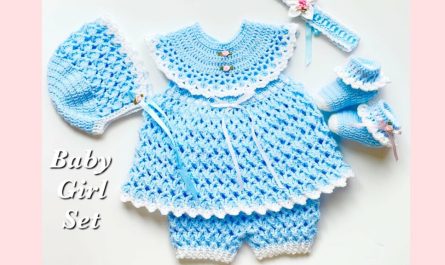
Crochet matching baby booties or a headband for a full outfit set.
-
Add a petticoat or lace lining for special occasions like baptisms or weddings.
Care Instructions
-
Hand wash in cold water with gentle detergent.
-
Lay flat to dry to prevent stretching.
-
Do not bleach or wring.
-
Store in a cool, dry place (great for preserving keepsake quality).
Tips for Success
-
Use stitch markers generously to keep track of increases and pattern repeats.
-
Check gauge before beginning if you’re following a strict size.
-
Practice the shell or lace stitch in a swatch if you’re new to it.
-
Don’t be afraid to modify length and width—it’s easy with top-down construction.
A Handmade Gift to Treasure
Crocheting a baby dress is more than just crafting a garment—it’s creating a memory. Whether it’s a gift for your own child or someone special, the effort and love poured into every stitch will be appreciated for years to come.
A simple and elegant baby dress made with care can become a family heirloom, passed down through generations.
Video tutorial:
https://youtu.be/-3pK-zCFsHY