by
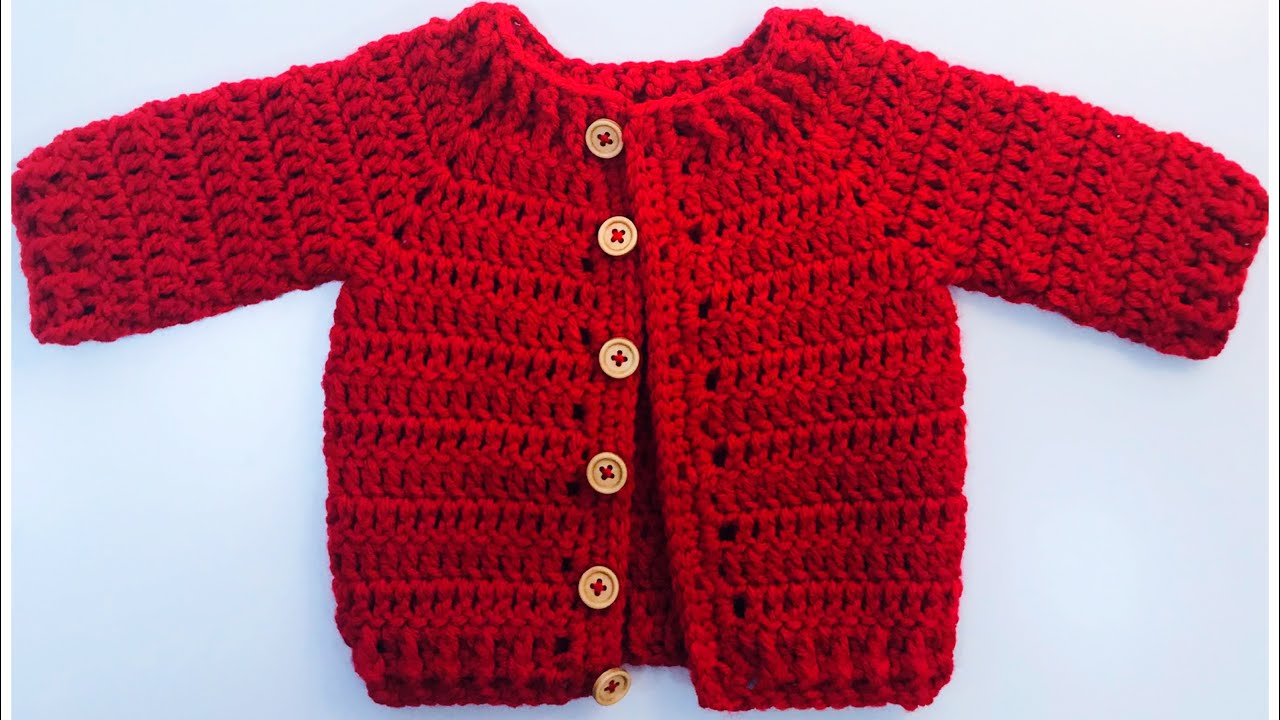
by Hello, fellow makers! Are you ready to create a truly special and cozy garment for a newborn baby? Inspired by the spirit of kindness and handmade love, I’m excited to share this detailed pattern for the Sunset Cardigan. This classic top-down sweater is worked in one piece, so there’s no seaming the body together, and the final result is a beautiful and professional-looking cardigan perfect for a baby shower gift or a thoughtful keepsake.
The pattern is designed to be a great project for a variety of skill levels. We’ll start with a classic yoke, separate the armholes, and then work the body and sleeves in simple double crochet stitches. The final front post and back post stitches on the bottom and cuffs add a beautiful ribbed detail, and the buttonholes are built right into the front panel. Let’s grab our hooks and yarn and get ready to create something beautiful!
Why You’ll Love Crocheting This Cardigan:
- Seamless Design: The top-down construction means the body of the cardigan is worked in one piece, with no seaming required.
- Classic Look: The design is timeless and perfect for any newborn.
- Skill-Building: You’ll practice a variety of stitches, including double crochets, post stitches, and single crochets.
- Customizable: Easily change the yarn color and buttons to personalize the cardigan.
What You’ll Need:
- Yarn: Medium weight number 4 yarn.
- Crochet Hook: A 5mm crochet hook.
- Yarn Needle (Tapestry Needle): For weaving in all those ends.
- Scissors:
- Small Buttons: For the front closure.
Essential Crochet Abbreviations:
- ch: chain
- sl st: slip stitch
- sc: single crochet
- dc: double crochet
- FPdc: front post double crochet
- BPdc: back post double crochet
- st(s): stitch(es)
- sk: skip
- FO: fasten off
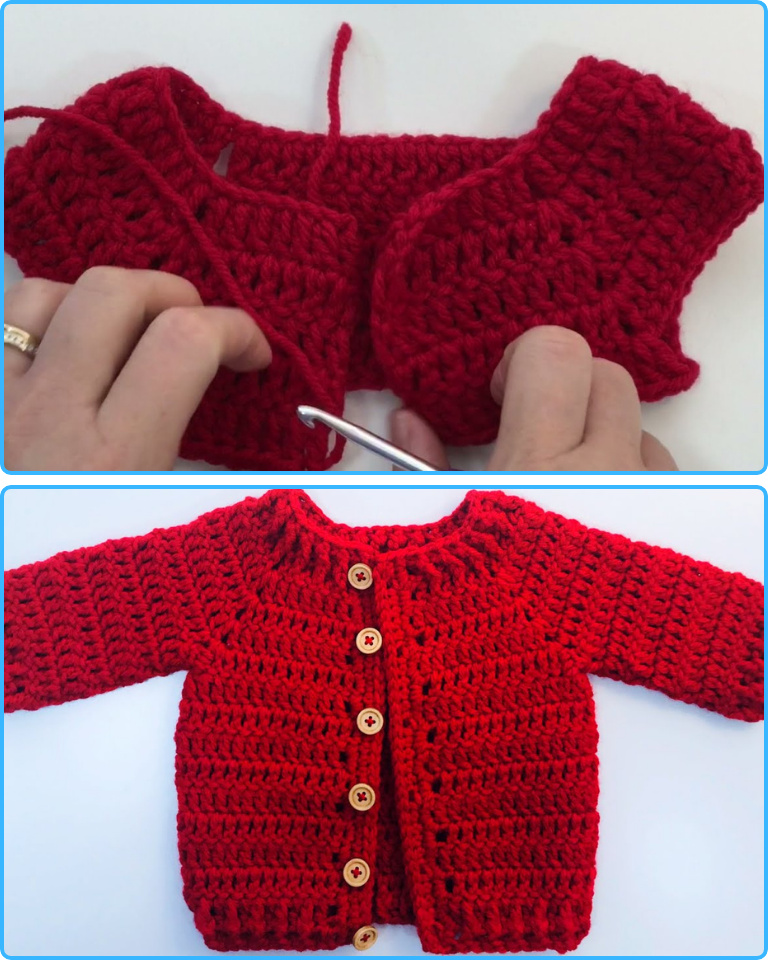
The Pattern: The Sunset Cardigan (Newborn)
This cardigan is worked from the top down, starting with the yoke.
Part 1: The Yoke
- Foundation Chain:
Ch 54. - Row 1:
Dcin the 4thchfrom the hook.Dcin the next 6ch.Ch 1.Dcin the next 12ch.Ch 1.Dcin the next 14ch.Ch 1.Dcin the next 12ch.Ch 1.Dcin the last 7ch. (Total: 52 dc, 4 ch-1 spaces) - Row 2:
Ch 2(does not count as a st), turn.Dcin each of the first 7 sts. In the nextch 1sp, make(dc, ch 1, dc).Dcin each of the next 12 sts. In the nextch 1sp, make(dc, ch 1, dc).Dcin each of the next 14 sts. In the nextch 1sp, make(dc, ch 1, dc).Dcin each of the next 12 sts. In the lastch 1sp, make(dc, ch 1, dc).Dcin each of the last 7 sts. - Row 3:
Ch 2, turn.Dcin each st, making(dc, ch 1, dc)in each of the fourch 1spaces. - Row 4:
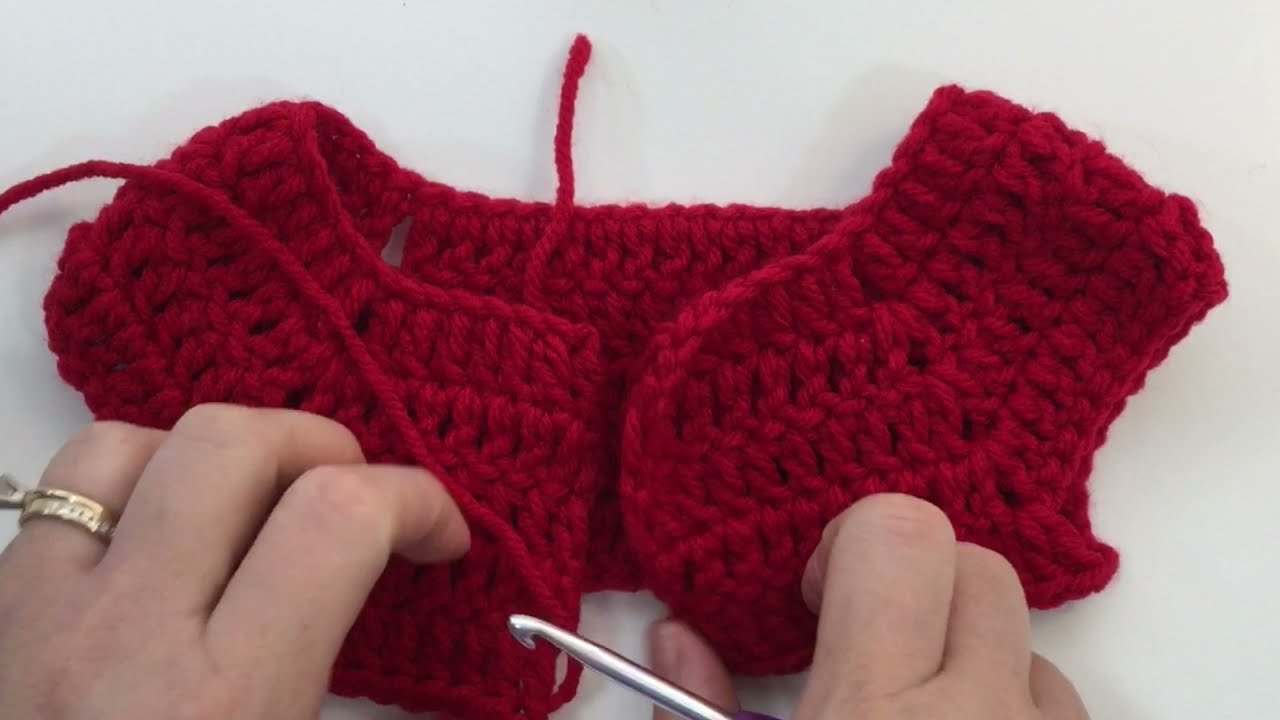
Ch 2, turn.Dcin each st, making(dc, ch 1, dc)in each of the fourch 1spaces. - Row 5 (Separate Sleeves):
Ch 2, turn.Dcin each of the first 10 sts.(Dc, ch 2, dc)in the nextch 1sp.Skthe next 18 sts (first sleeve).(Dc, ch 2, dc)in the nextch 1sp.Dcin each of the next 14 sts (back panel).(Dc, ch 2, dc)in the nextch 1sp.Skthe next 18 sts (second sleeve).(Dc, ch 2, dc)in the nextch 1sp.Dcin each of the last 10 sts.
Part 2: The Body
- Row 6:
Ch 2, turn.Dcin each of the first 12 sts.Dcin each of the 2 chains of the armhole space.Dcin each of the next 14 sts.Dcin each of the 2 chains of the armhole space.Dcin each of the last 12 sts. (Total: 56 dc) - Rows 7-14:
Ch 2, turn.Dcin eachstacross the row.
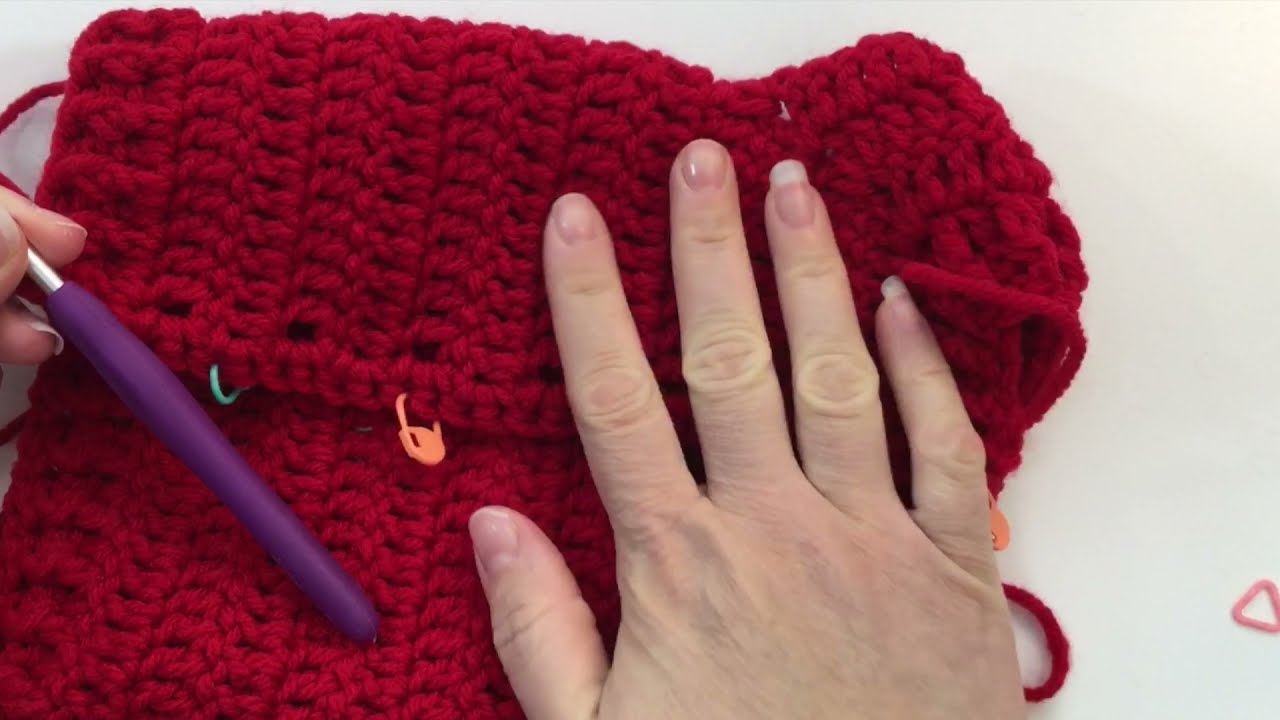
Part 3: Final Touches
- Bottom Edging:
Ch 2, turn. Alternate betweenFPdcandBPdcall the way to the end. - Front Panels:
- Work two rows of
scup one side of the front opening. - Buttonhole Row:
Ch 1, turn.Scin the first st,ch 1,sk 1 st. Repeat this pattern for your buttonholes, spacing them out as desired. - Work one row of
sl stall along the front opening edge.
- Work two rows of
- Sleeves:
- Join yarn in the center of the 4 dc under the armhole.
- Round 1:
Ch 2.Dcin the same space. Make a stitch reduction by crocheting the next 2 sts together.Dcin each st around to get a total of 21 sts. - Rounds 2-8:
Ch 2,dcin each st around. Join with asl st. - Cuff:
Ch 1,sl stin the first st.Ch 2, alternate betweenFPdcandBPdcall around the cuff. - FO and repeat for the second sleeve.
Congratulations, you’ve created a beautiful and unique Sunset Cardigan! It’s now ready for buttons and a happy new owner. Happy hooking!
Video tutorial: