by
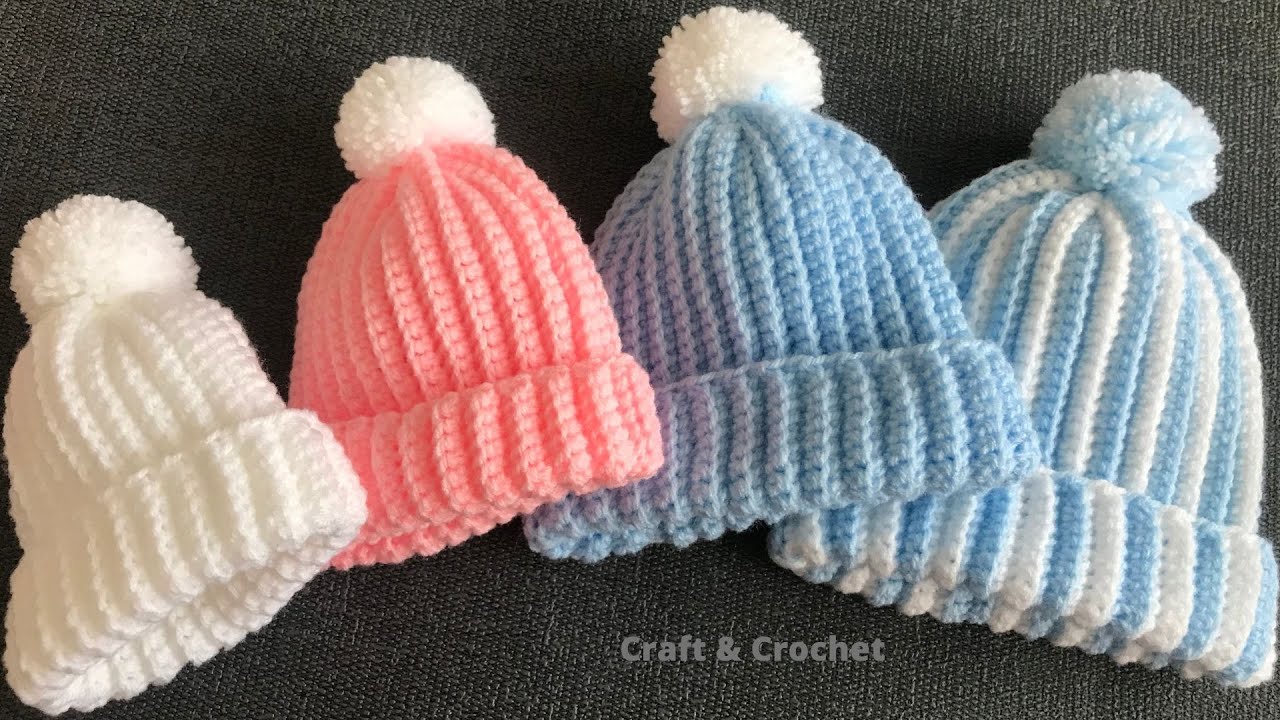
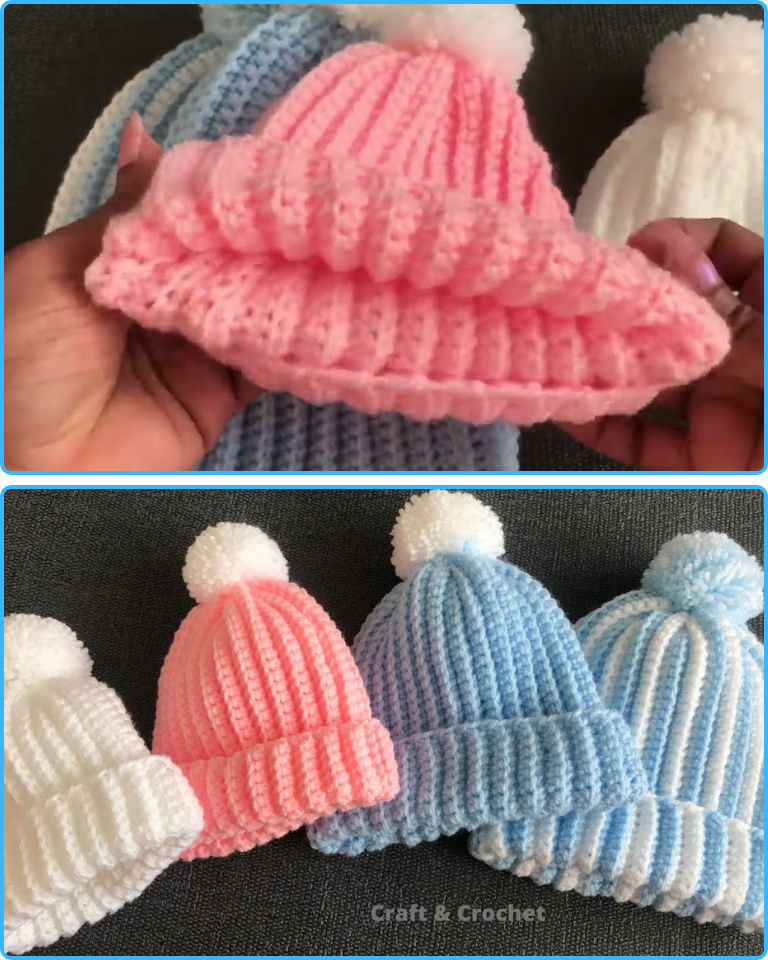
by Hello, fellow makers! Are you ready to create a sweet, cozy, and wonderfully quick project for a baby? I’m excited to share this detailed pattern for the Sunset Beanie, a classic ribbed hat that’s perfect for keeping tiny heads warm. This pattern is designed for beginners and uses only one simple stitch, making it a fantastic project for a baby shower gift or to practice your skills.
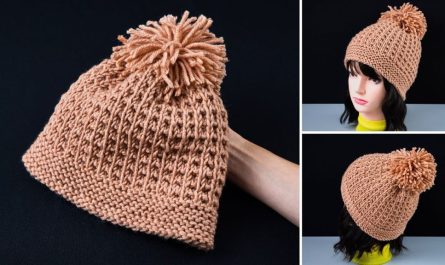
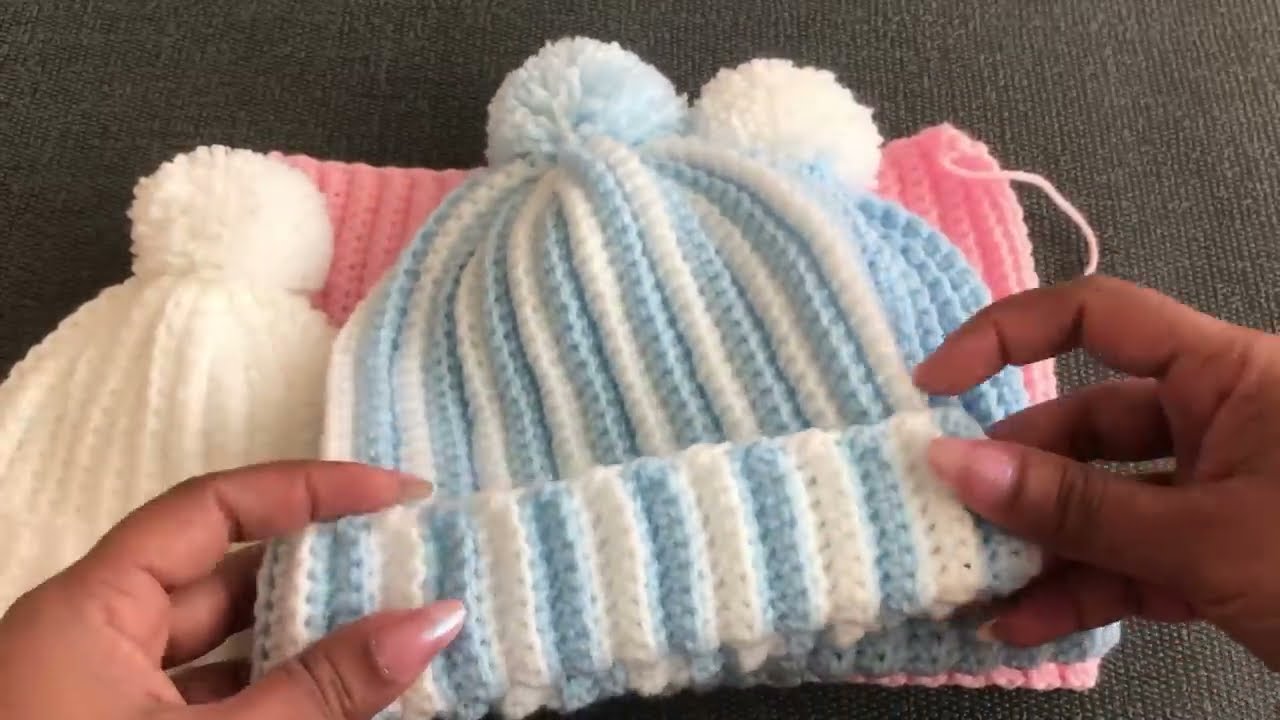
The unique ribbed texture is created by working in the back loop only, which gives the hat a lovely stretch and a timeless look. The hat is worked as a flat rectangle and then seamed together, which means no complicated increases or decreases! We’ll start with a foundation chain, work up the body, seam the side, and then cinch the top closed for a polished finish. Let’s grab our hooks and yarn and get ready to create something beautiful!
Why You’ll Love Crocheting This Beanie:
- Quick to Make: Depending on the size, you can whip up this hat in under an hour.
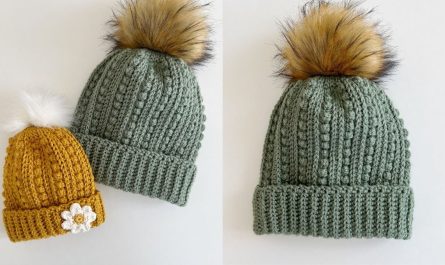
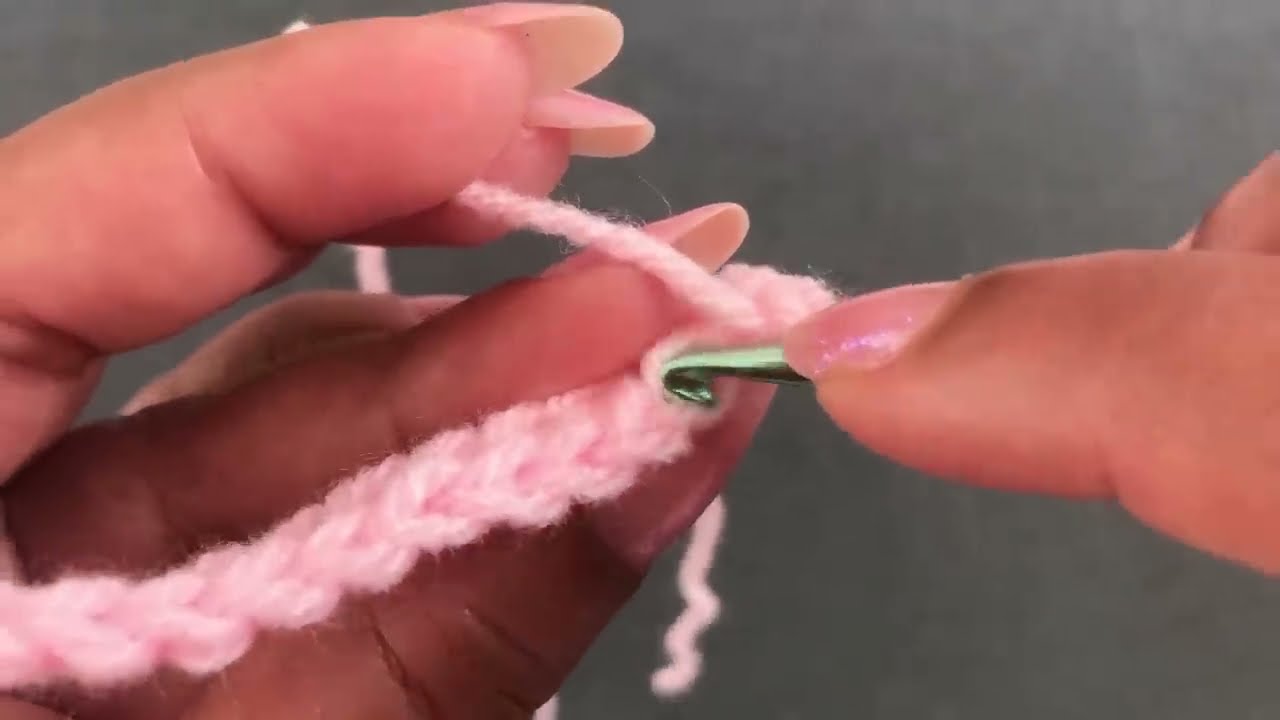
- Classic Ribbed Texture: The back-loop-only technique creates a beautiful, stretchy fabric that looks like knitting.
- Beginner-Friendly: The pattern uses only one simple stitch, making it perfect for new crocheters.
- Customizable: The pattern includes four different sizes, from tiny baby to 12 months, and you can easily change the yarn color.
What You’ll Need:
- Yarn: Double knitting (DK) or light worsted weight yarn.
- Crochet Hook: A 4mm crochet hook.
- Yarn Needle (Tapestry Needle): For weaving in all those ends and seaming the hat.
- Scissors:
- Pom-Pom (optional): A pom-pom maker or a store-bought pom-pom.
Essential Crochet Abbreviations:
- ch: chain
- sl st: slip stitch
- sc: single crochet
- BLO: back loop only
- st(s): stitch(es)
- FO: fasten off
The Pattern: The Sunset Beanie
This beanie is worked as a flat rectangle, and then seamed.
Part 1: The Hat Body
- Foundation Chain:
- Tiny baby:
Ch 30 - 0-3 months:
Ch 34 - 3-6 months:
Ch 38 - 6-12 months:
Ch 40
- Tiny baby:
- Row 1:
Scin the 2ndchfrom the hook and in eachchacross. - Subsequent Rows:
Ch 1, turn.Scin the back loop only in eachstacross the row. - Repeat this row until you have completed the following number of rows for your desired size:
- Tiny baby: 48 rows
- 0-3 months: 50 rows
- 3-6 months: 56 rows
- 6-12 months: 60 rows
Part 2: Finishing the Beanie
- Seaming the Hat:
- FO, leaving a long tail for seaming.
- Fold the rectangular piece in half, bringing the two short ends together.
- Using your yarn needle, sew the two edges together to create a seam. The video recommends sewing through two loops on one side and one loop on the other to create a neater seam.
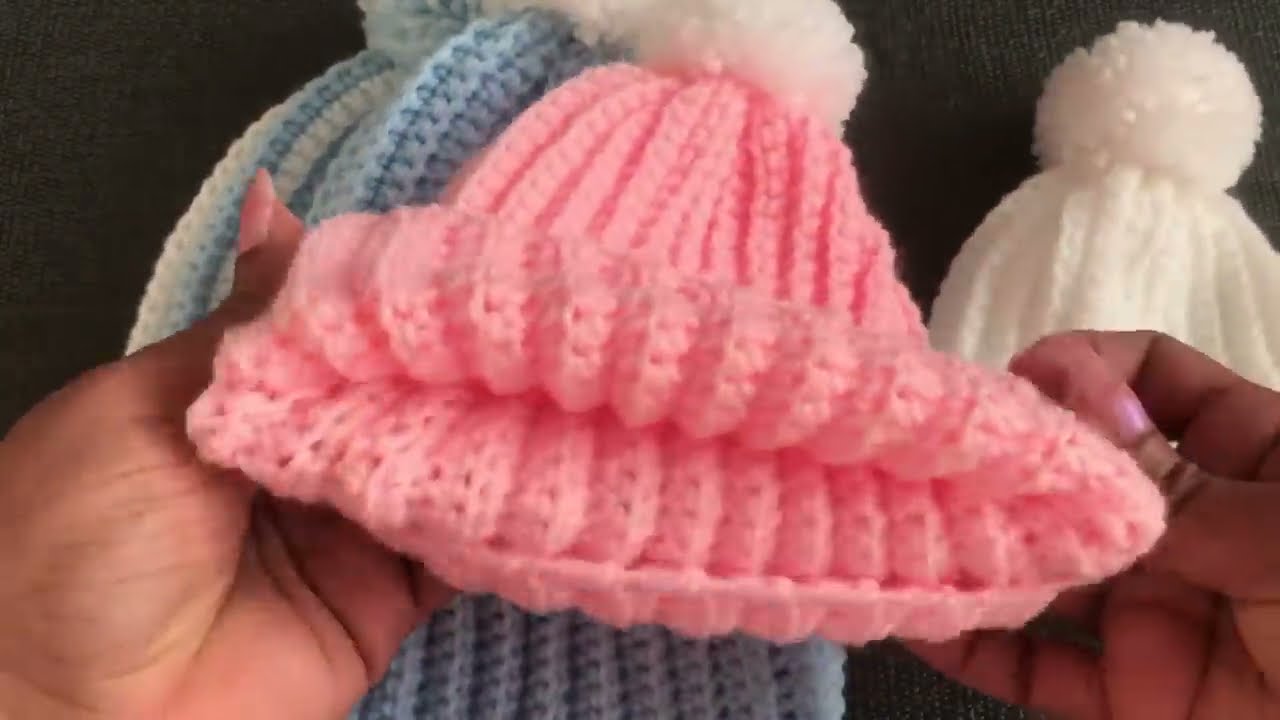
- Cinching the Top:
- Using your yarn needle and the remaining yarn tail, weave the needle in and out of the stitches around the top edge of the hat.
- Gently pull the yarn tail to cinch the top of the hat closed.
- Make a few extra stitches to secure the top firmly.
- Final Touches:
- Weave in all loose ends.
- Optional: Attach a pom-pom to the top of the hat.
Congratulations, you’ve created a beautiful and unique Sunset Beanie! It’s now ready for a happy new owner. Happy hooking!
Video tutorial: